Footer
Learn how to set up your Footer and the differences between Footer Settings in Theme Options and the dedicated Footer Builder in Pro.
The standard Footer Settings in Theme Options are available in both X and Pro, however in Pro you'll have access to a powerful Footer Builder that allows you to custom build (and manage) a limitless number of Footers. If you are using X, the Header Settings in Theme Options are where you will manage everything.
How Widget Based Standard Footer Works
To access the Footer Settings of Theme Options you need to go to Cornerstone > Theme Options > Footers in both the X and Pro.
The standard Footer consists of two parts:
- Footer Widget Areas
- Bottom Footer
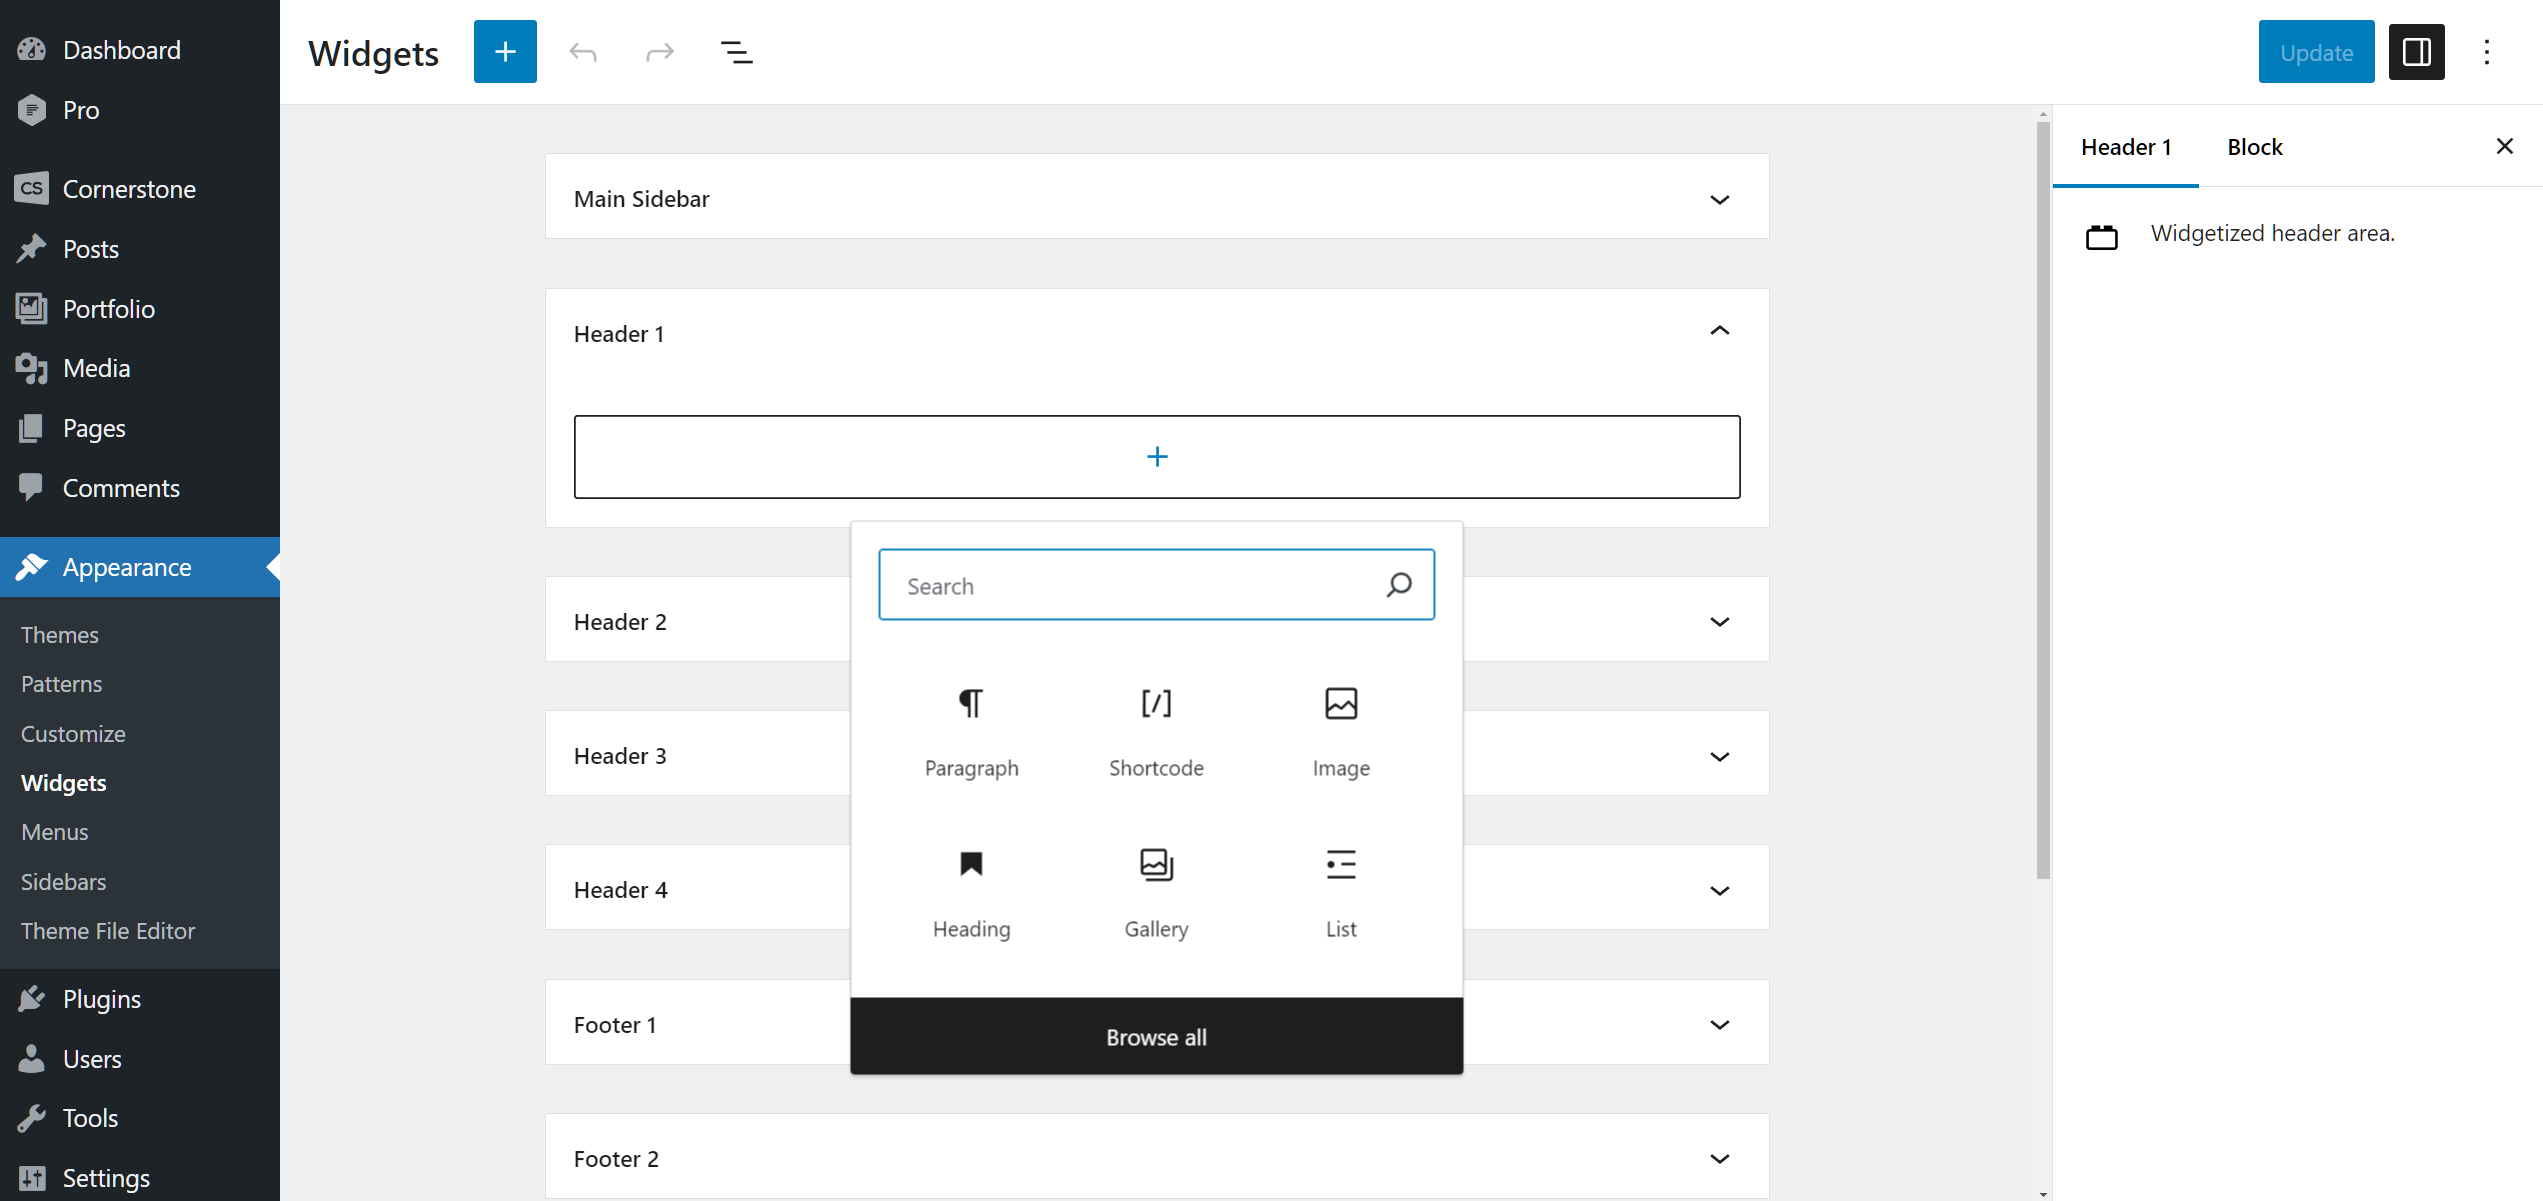
The way you can add content to the Footer for your website is to assign widgets to one of the footer widget areas. Go to Appearance > Widgets and drag whatever widget that you want to one of the Footer widget areas:
You can set how many columns you want to have in the Footer by going to X/Pro > Theme Options > Footer and set the Footer Widget Areas options, you have the options below:
- None (Disabled): Selecting this will disable the Footer widget areas section completely.
- One: The Footer widget area will have one column and the Footer 1 widget area will show in the Footer.
- Two: The Footer widget area will have two columns and the Footer 1 and Footer 2 widget areas will show in the Footer.
- Three: The Footer widget area will have three columns and the Footer 1, Footer 2 and Footer 3 widget areas will show in the Footer.
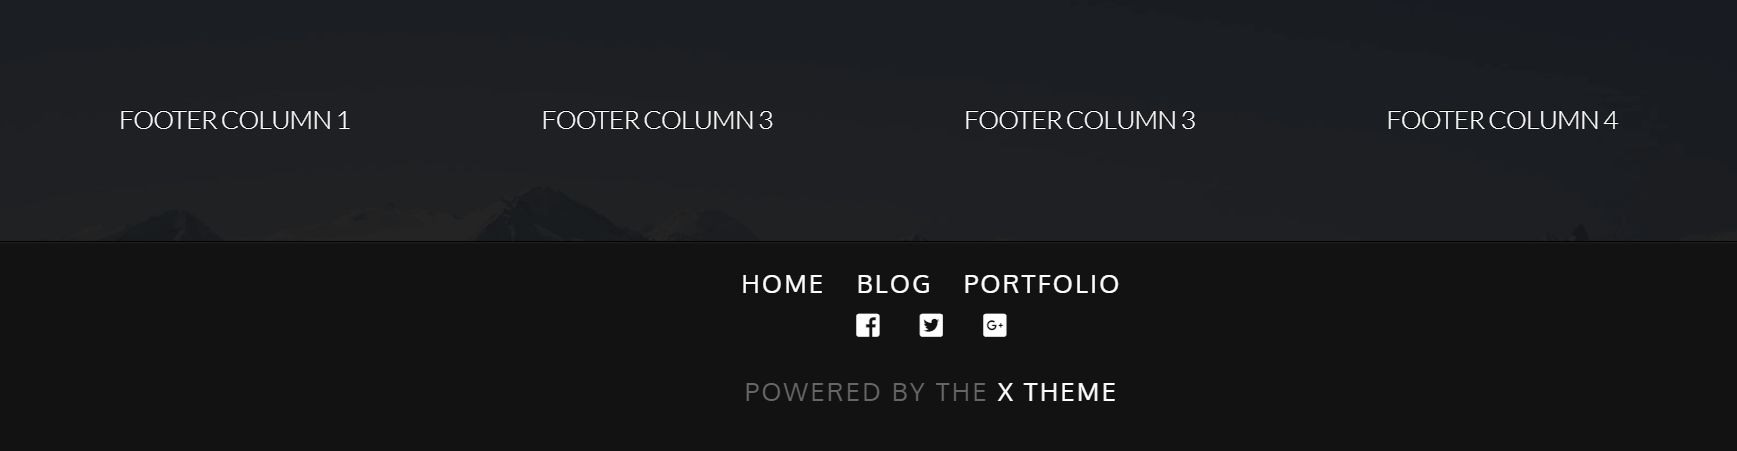
- Four: The Footer widget area will have four columns and the Footer 1, Footer 2, Footer 3 and Footer 4 widget areas will show in the Footer.
Bottom Footer
The bottom Footer is a separate section which can have a Footer menu, social media icons, and custom content.
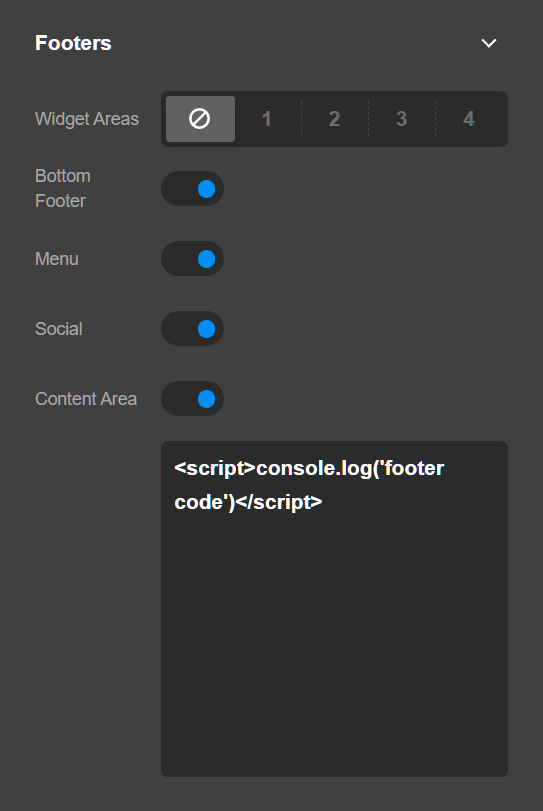
- Bottom Footer: Enabling this option will show the Bottom Footer area which you can control the content of in the following Settings.
- Footer Menu: Enabling this option will show the flat menu which you assigned as a Footer Menu location in Appearance > Menus.
- Footer Content: Enabling this option will show a text area below the option which you can add custom HTML code and it will show in the Footer.
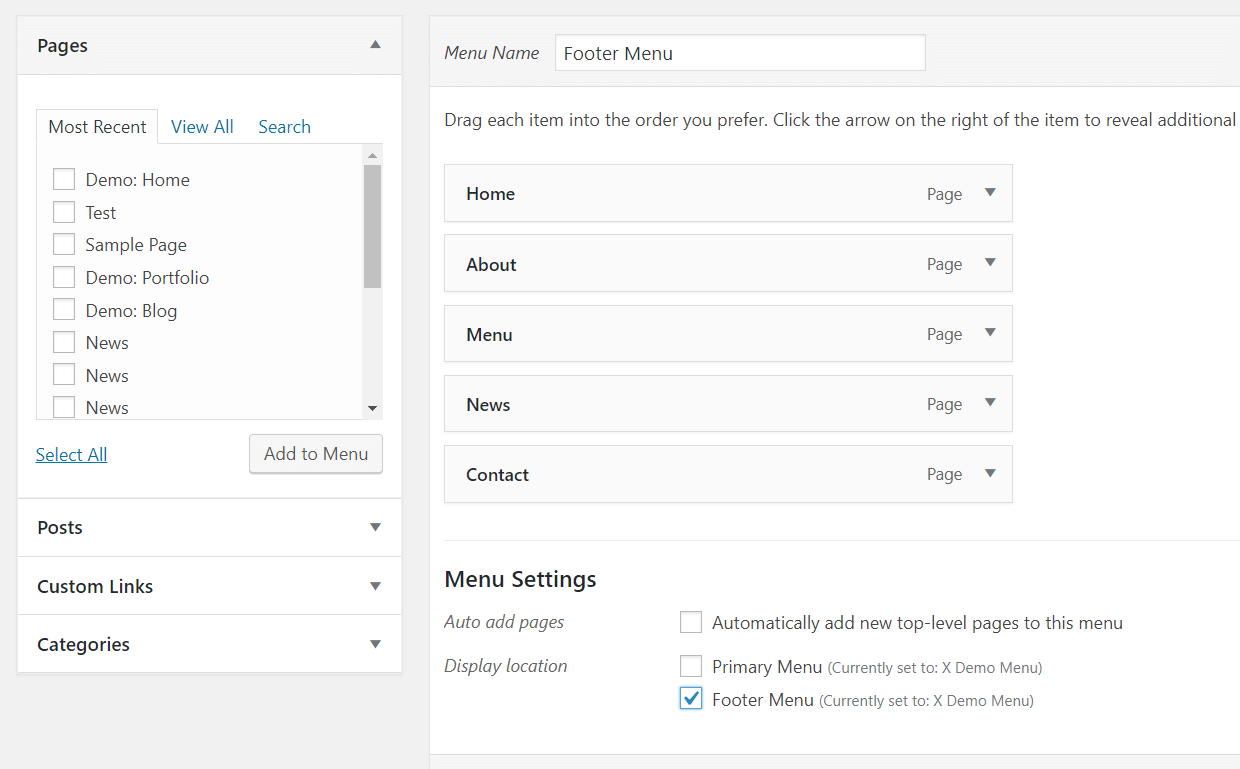
To assign a WordPress menu to Footer Menu menu location you need to go to Appearance > Menus and select the menu you want or create a new one and select the Footer Menu checkbox for that menu:
The Footer menu is a linear menu and it will not show the dropdown items and simply will ignore the child items of the menu. Click here to learn more about general menu setup in WordPress.
Summary
We've learned about the Footer Settings of Theme Options and how we can setup the Footer using the available controls. We also learned about the difference between the Footer Settings in Theme Options and the Footer Builder available in Pro. The next step is to learn details about Blog Settings in Theme Options.
See something inaccurate? Let us know