Revolution Slider
In this article, we're going to explain how to add Revolution Slider slides and incorporating the slider in the Cornerstone/Content Builder.
Revolution Slider is an innovative, responsive WordPress slider plugin that displays your content the beautiful way. Whether it's a slider, carousel, hero scene or even a whole front page, the visual, drag & drop editor will let you tell your own stories in no time!
Getting Started
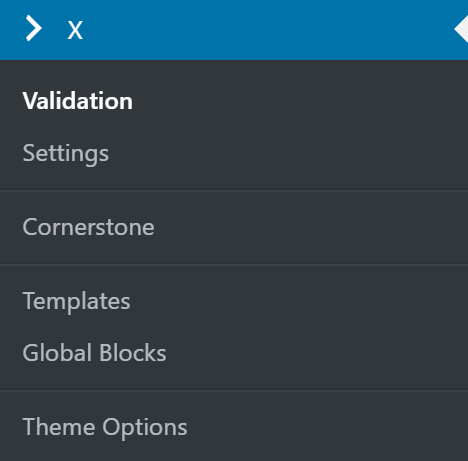
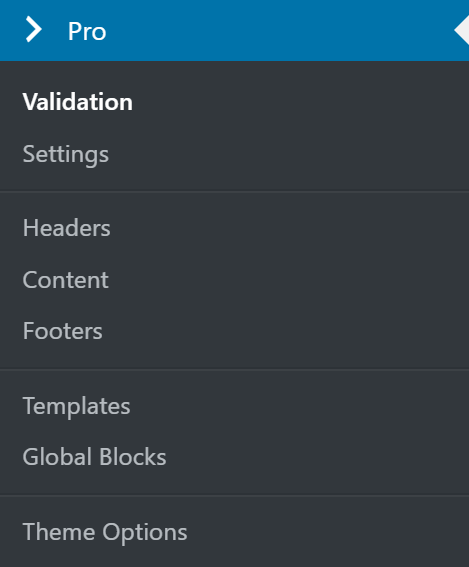
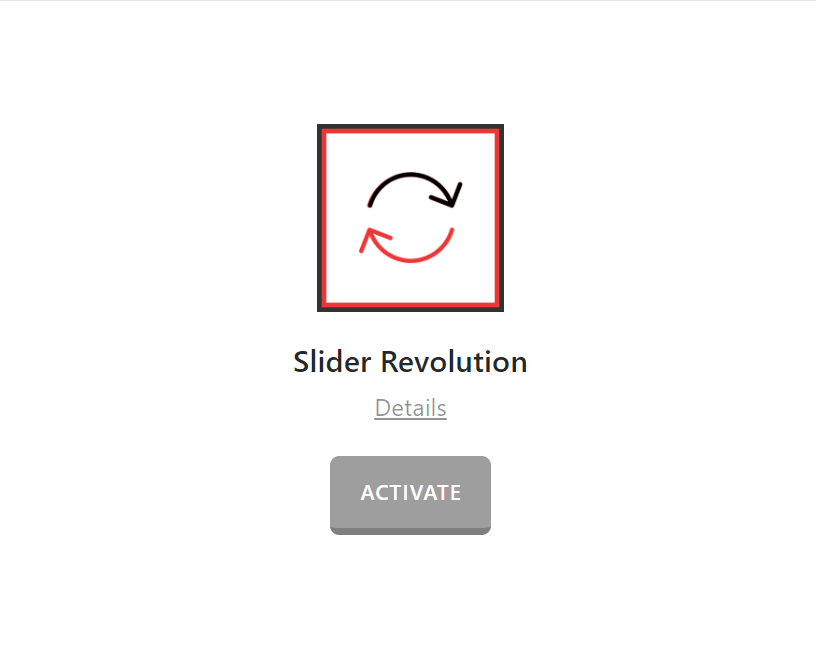
Go to: Pro > Validation or X > Validation for then look for Revolution Slider. Click Install.
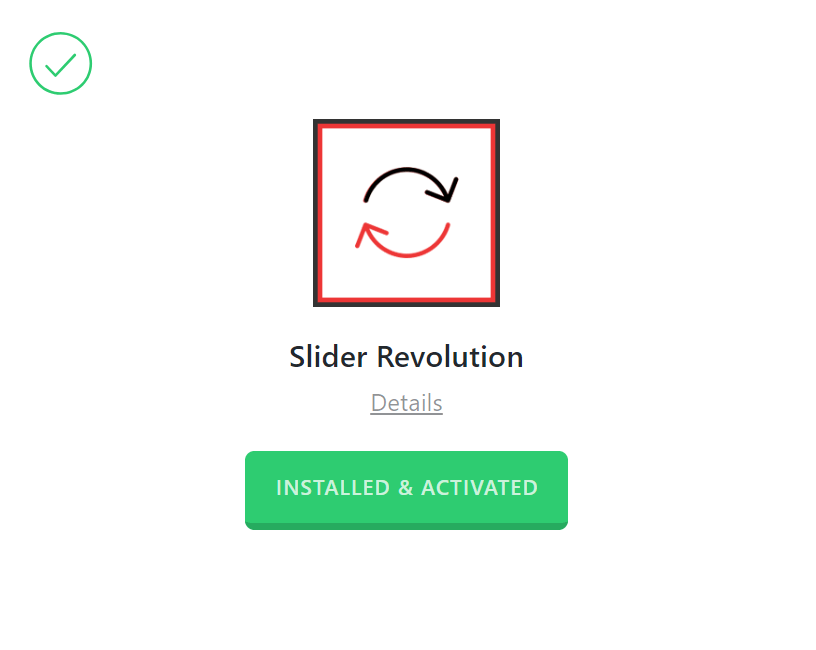
Once installed, the Install button will change and say Activate. Click that button and it will activate the plugin. You will then see the status change to Installed and Activated.
You will now see the Revolution Slider menu item on your WordPress dashboard.
Creating Slides Using Revolution Slider
We are going to show how to add a slider using the Revolution Slider plugin. The example is a simple case of a background image for the slide and a text over the background image. The plugin is capable of virtually unlimited effects and layers that you can use as a slide which we recommend to learn more using the official documentation mentioned in the Further Reading section.
- Go to Revolution Slider > Revolution Slider menu item.
- Click the plus (+) button to add a New Slider at the top corner of the screen.
- Set the Content Source that you want to use for your slider. We will select the Default Slider in our case.
- Add a Title and Alias for the slider.
- Select the Slider Type, we select the Standard Slider in our case.
- Select the Slider Layout for the slider. We select the Auto layout in our case.
- Click the Save Settings button at the bottom corner of the screen.
- You will be redirected to the slide creation screen to add a background and a layer.
- Use the Main Background section to add a background image which shows the standard WordPress media selection dialog.
- Click the Add Layer button and choose a Text layer to add the text that you want.
- You can repeat the layer addition step to add different kinds of layer available in the plugin.
How Revolution Slider is Used Within X or Pro
Get the module's shortcode in Slider Revolution dashboard:
Method 1: Main Dashboard (Fastest)
- Open the Slider Revolution plugin in your WordPress dashboard.
- Locate your slider in the list.
- The shortcode is displayed next to the module title.
Click the copy icon to copy it.
Method 2: Inside the Editor
- Open your slider for editing.
- Click on the Slider Settings tab (gear icon).
- Navigate to the Module Title/Shortcode section.
- Copy the shortcode from the field provided.
Enter the shortcode in a Raw Content element
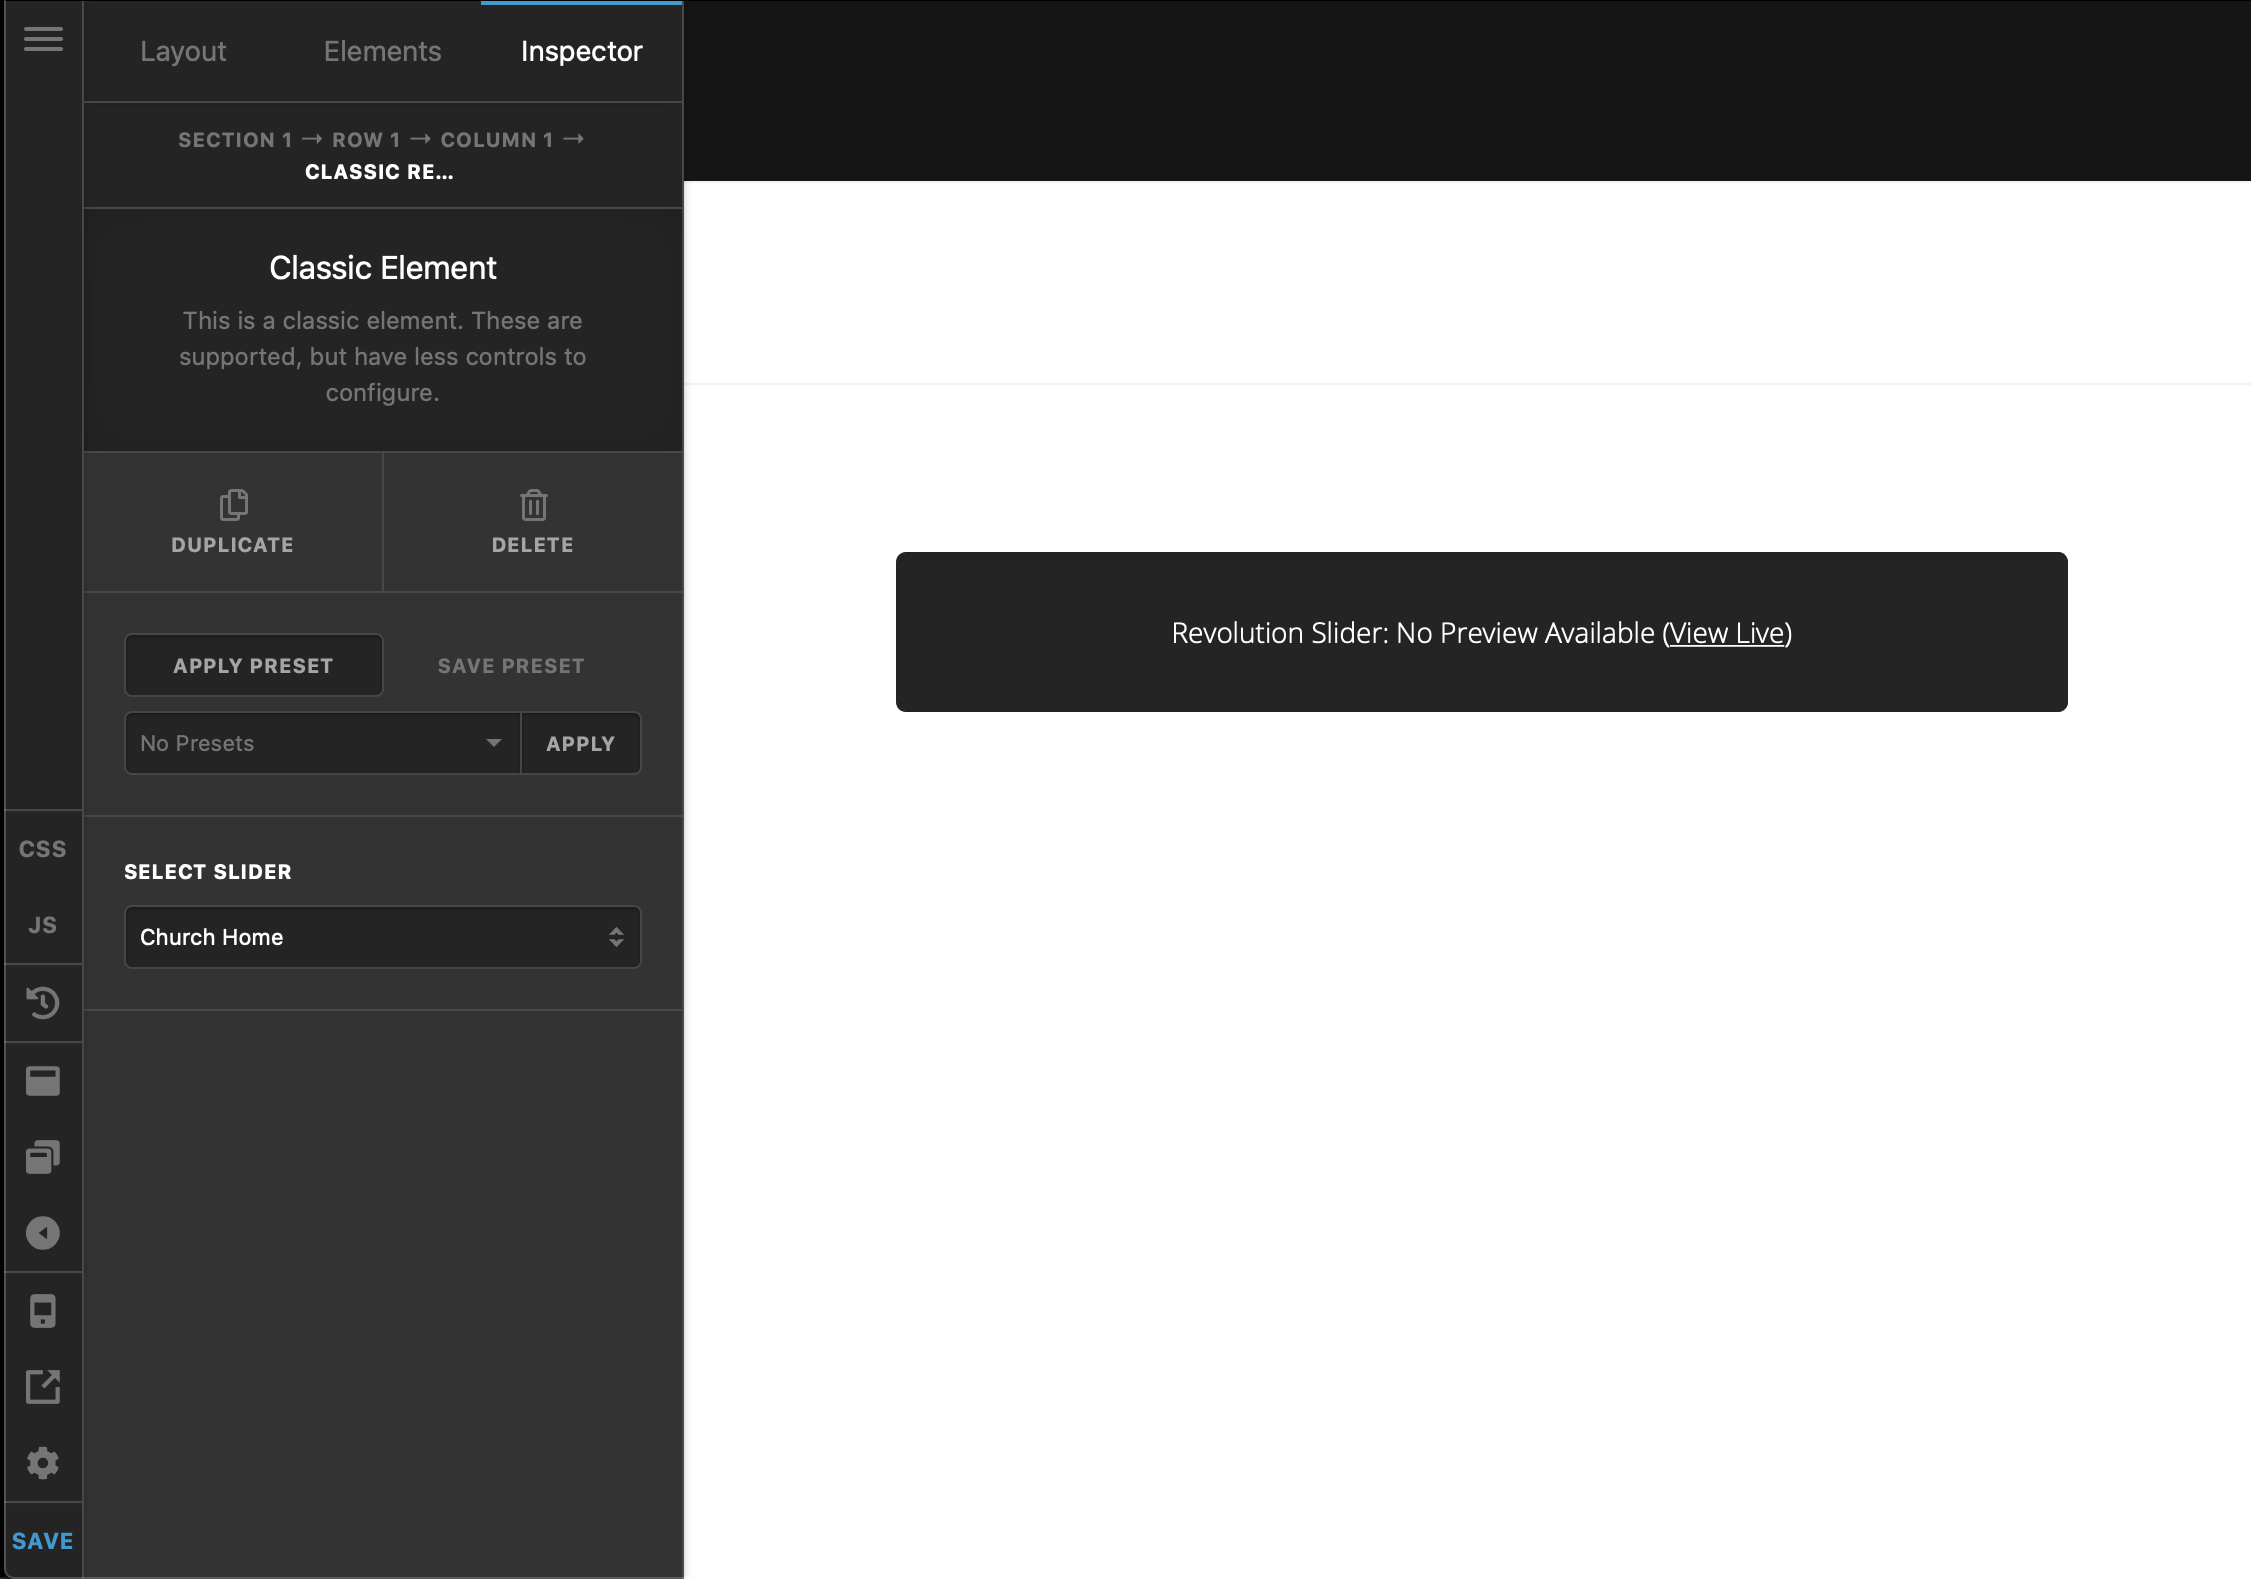
Due to the complicated nature of the slides and the way Revolution Slider plugin embeds the assets to show the slides you can not see the slides on the fly in the builder. You will see a message mentioning that no preview is available and you need to check the front end of the website to see the actual result.
How To Add Revolution Slider Slides Directly Above Or Beneath Your Website’s Header
The X and Pro themes have a special feature to add the slides above or below the header of the page without using the builders. The main plugin slides that are available for that feature is the Revolution Slider plugin, and using the feature lists the slides you created in the Revolution Slider plugin to choose from. Click here to learn more about adding the slides above or below the header of the website.
Further Reading
This article barely scratched the surface of the Revolution Slider capabilities. If you are interested in learning the plugin features in more depth we suggest that you check the official documentation.
Summary
We've explained how to add sliders using the Revolution Slider plugin and briefly touched the setting available to fine tune the slides and how to add layers and backgrounds. We've also talked about adding the slides created with Revolution Slider to the page using Cornerstone (X) and Content Builder (Pro).
We also briefly talked about adding the slides above or below the header of the website using a special feature within X and Pro. Finally, we linked to the official documentation of the Revolution Slider plugin which is the main place to learn in-depth about the ins and outs of the plugin.
See something inaccurate? Let us know