Template Manager
In this article, we're going to discuss about the Template Manager and how to access, save, and use templates in Cornerstone.
Overview
The Template Manager is the control center of your theme which you can use to save parts of the assets which you created using Cornerstone and use them again on a different section of the current website or even the other projects. There are 5 types of templates available:
- Presets – (X and Pro) The settings of an individual element can be saved, allowing you to recall them on elements of the same type.
- Content – (X and Pro) The content that you add in the page using the builder elements. The Content Template consists of all the sections or selected sections of the content you built.
- Header – (Pro Only) The header content that you add in the Header Builder. The header Template consists of all the bars, containers and elements or selected ones of the header you built.
- Footer – (Pro Only) The footer content that you add in the Footer Builder. The footer Template consists of all the bars, containers and elements or selected ones of the footer you built.
- Layouts – (Pro Only) The template structure surrounding
the_contentor archival loops for various post types.
Getting to the Template Manager
Whether you're using X or Pro, go to the WordPress Admin → Cornerstone → Templates

Alternatively, when you're already in Cornerstone, open a document or create a new document, then click on the Templates icon in the workspace area, and after that, click on the Manage Library button located at the lower right corner of the screen. You'll see the Template Manager popup.

Using the Template Manager
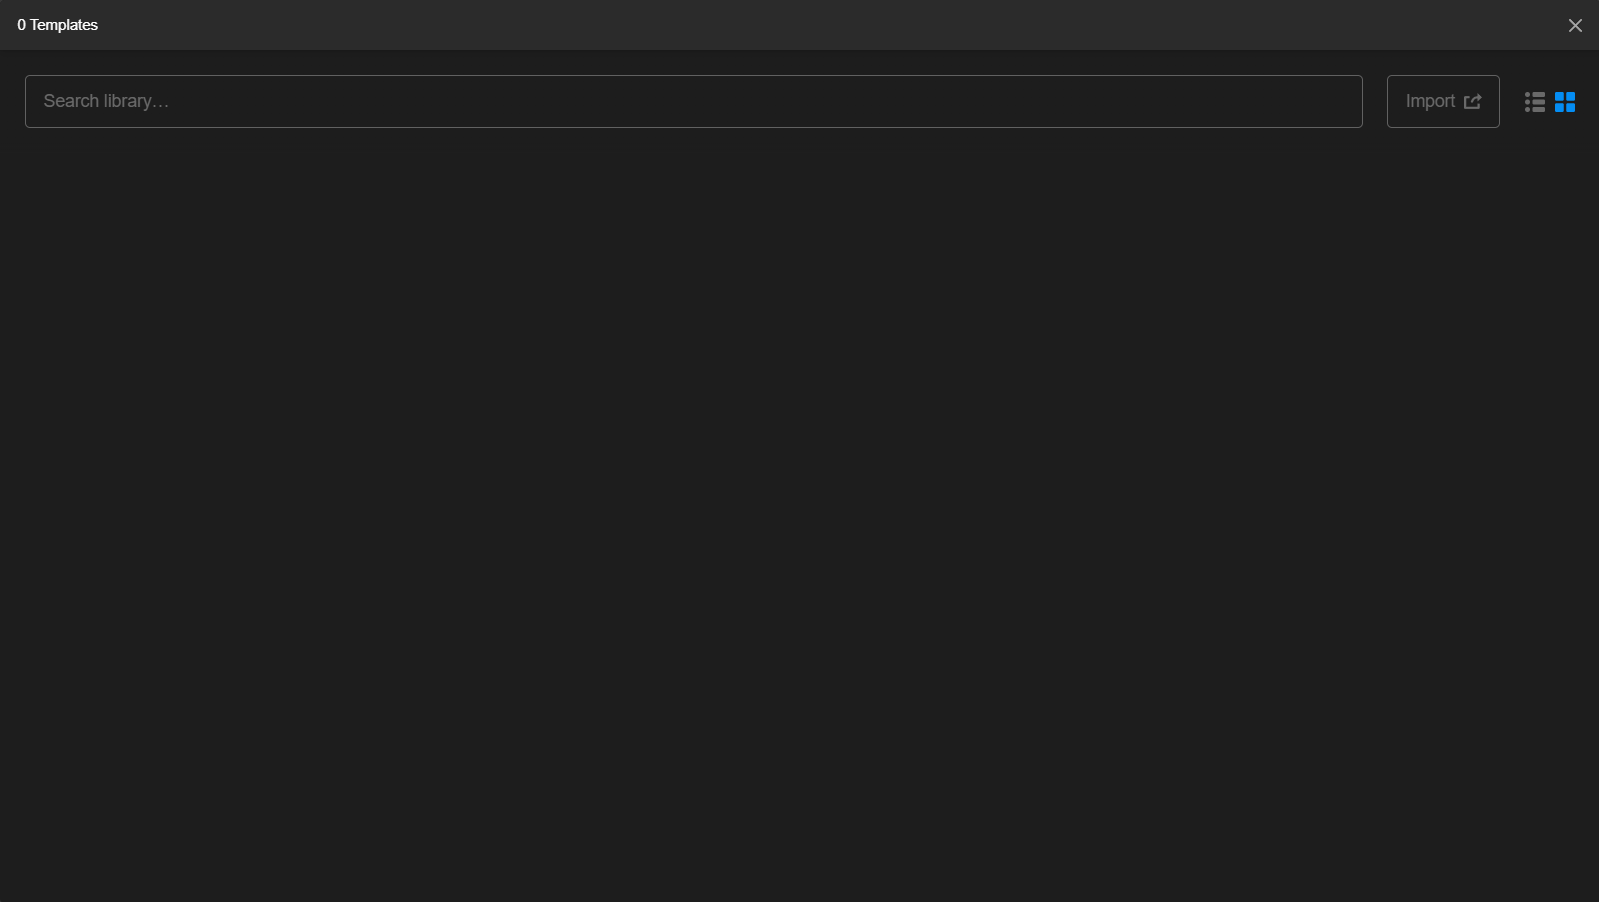
If you are on a brand new installation or have not yet saved any personal templates, you will see the following interface:
All saved templates will show up as you work on your designs and save out various pieces to reuse later.

Saving Templates
The process is the same for saving a Document Type (Content, Header, Footer and Layout) template. Just create or open the document you wish to save as template, open the Templates tab and click the Save Template button right beside the Manage Library button located in the lower right corner of the screen.
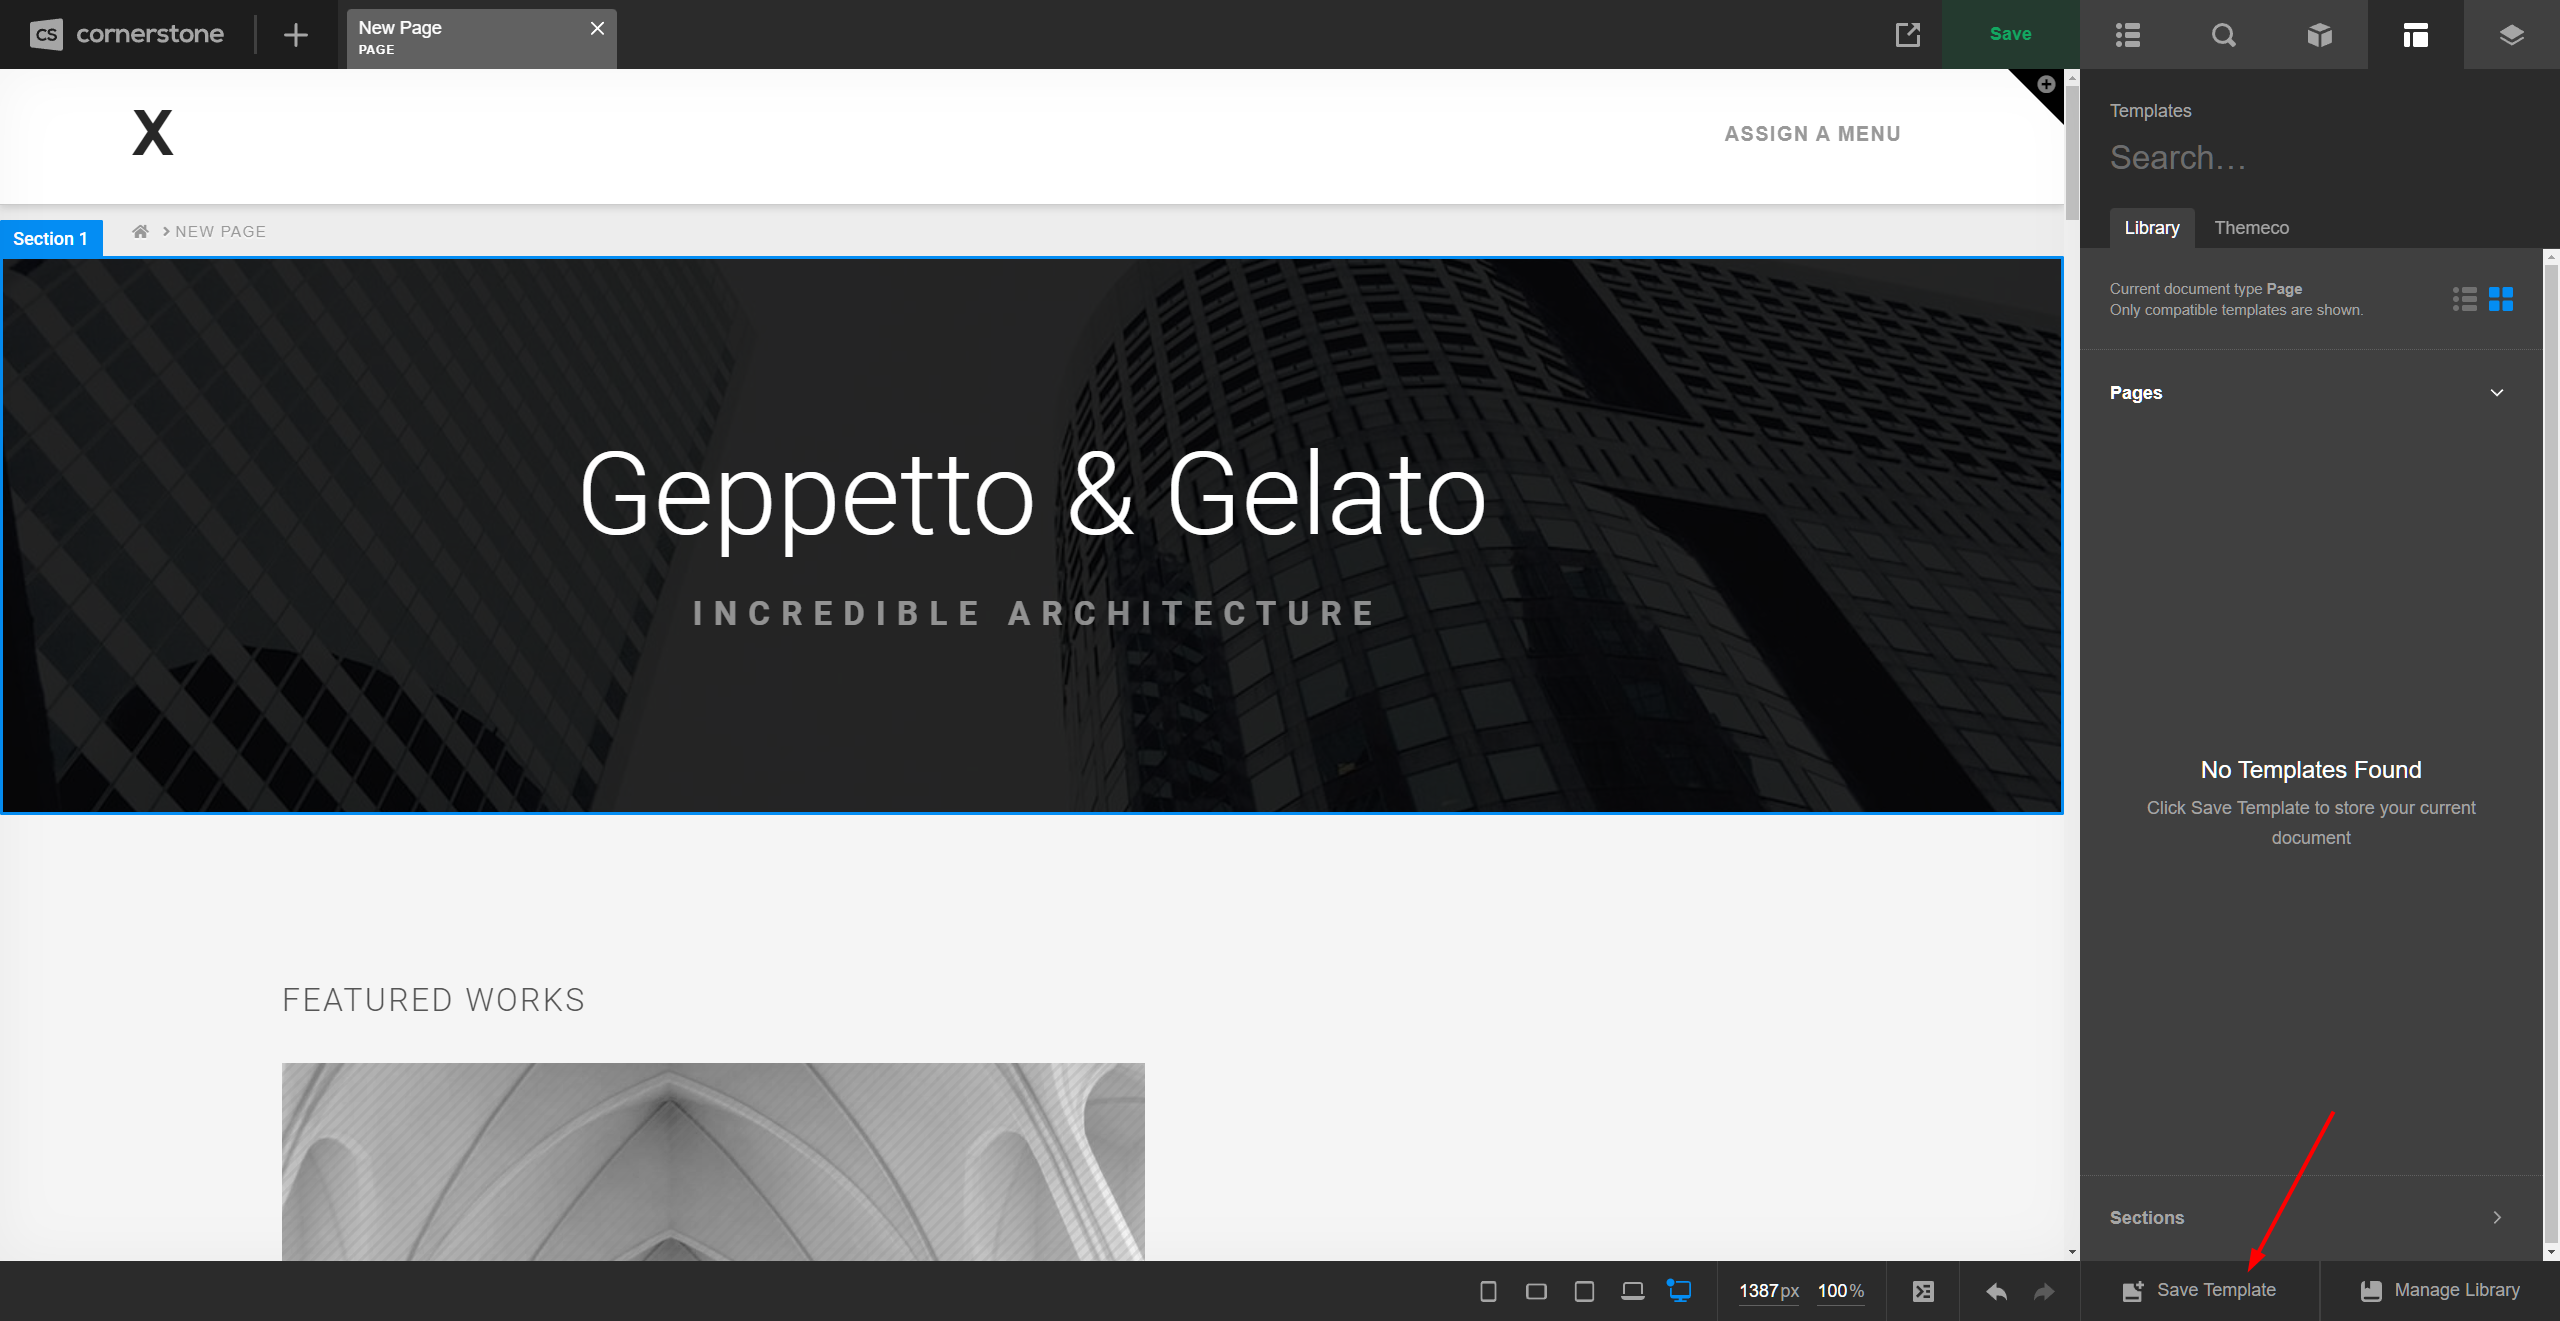
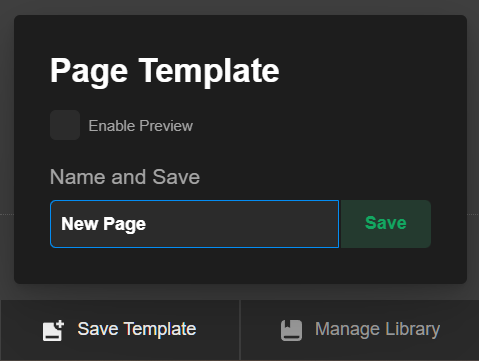
Clicking this button will reveal a popup with an input where you can name your asset, in addition to automatically selecting all Sections on your page to be included in your asset.
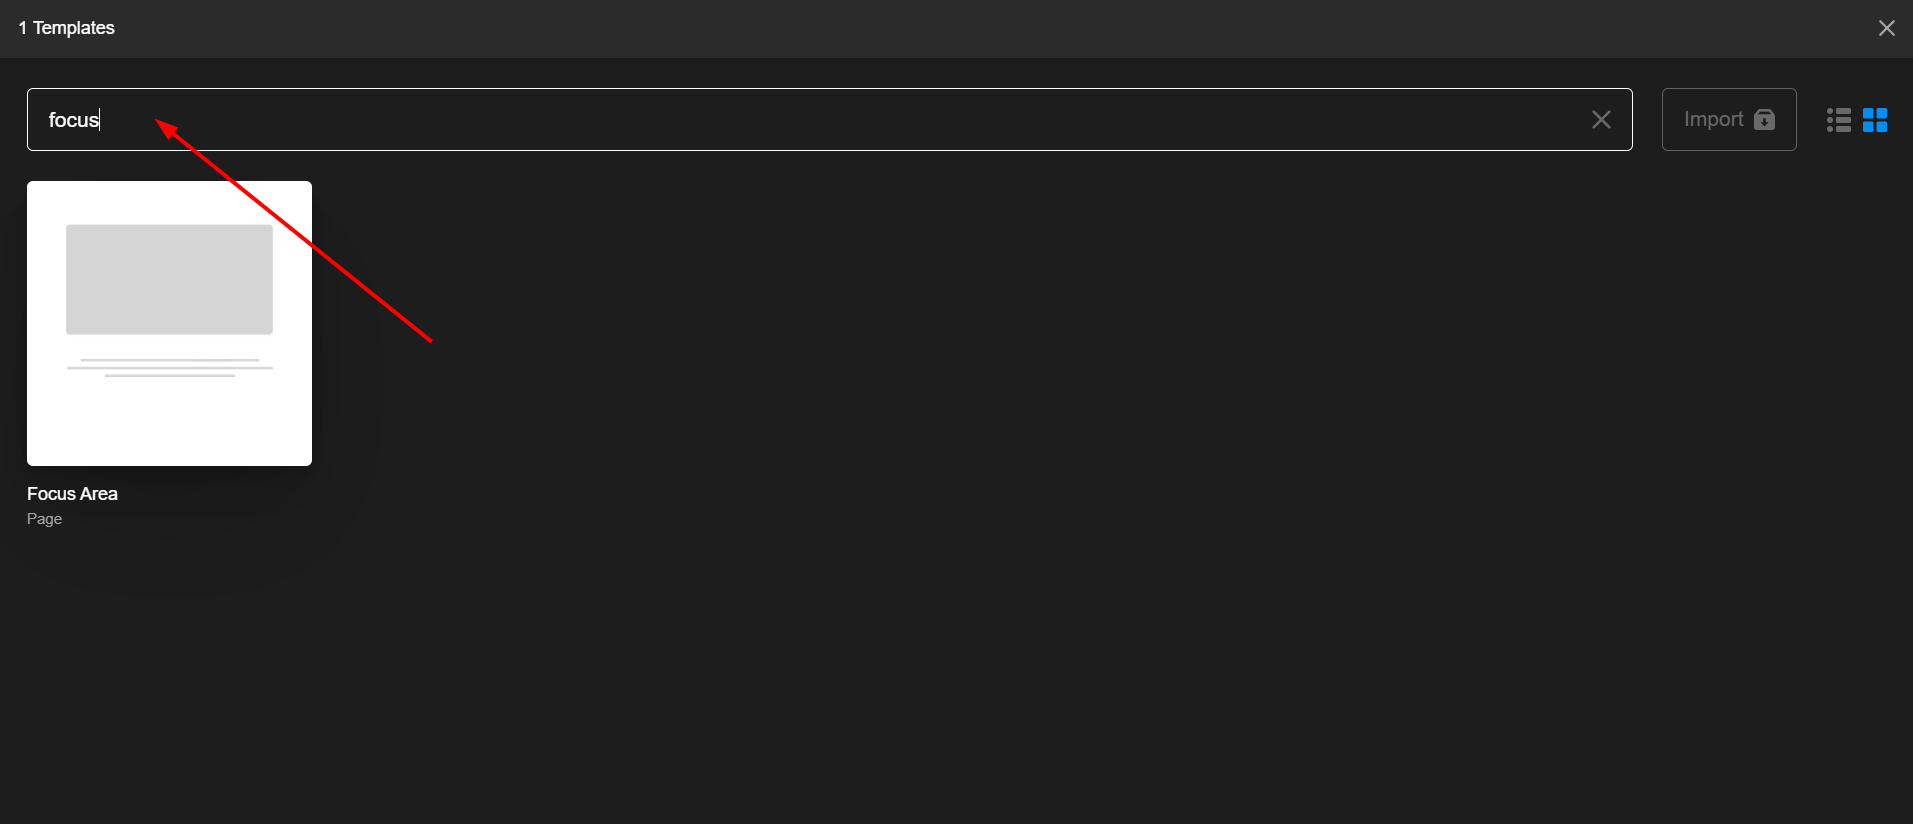
Now, if you go back to the Template Manager, you will find your newly saved asset in your personal library:
Searching
If you know the name of an asset you're looking for, you can do so by using the global search at the top of the Template Manager:
Frequently Asked Questions
What is the purpose of the Template Manager?
The purpose of the Template Manager is to store all of your available template files. In Pro, this includes Header Templates, Content Templates, Footer Templates, and Layout Templates and in X this includes Content Templates. Standardizing the templating process across many different types of assets allows for a streamlined experience and portable data.
How can I organize my templates?
There are several ways you can organize your template files. For starters, each template can be named/renamed on the Template Manager home screen just by clicking into the text. Any change you make here is automatically updated across your builders. You can use names such as MyTemplate1 / MyTemplate2 or Label1 / Label2 to group various assets together or come up with your own naming convention. You can sort by name or type, and you can even view just one particular type of template by using the navigation at the top.
Summary
Hopefully you have a good working knowledge of the Template Manager. First, we've explained how to access the Template Manager. Next, we've introduced the different kinds of the Templates and how to use them including saving and loading Templates throughout Cornerstone.
See something inaccurate? Let us know