Contact Form 7
In this article, you'll learn how to create a working contact form using Contact Form 7.
Contact Form 7 is one of the most popular WordPress form plugins. It allows you to create contact forms and add those forms to any page on your website using a generated shortcode.
For example, you can create a simple contact form that has these fields: Name, email, message and a submit button.
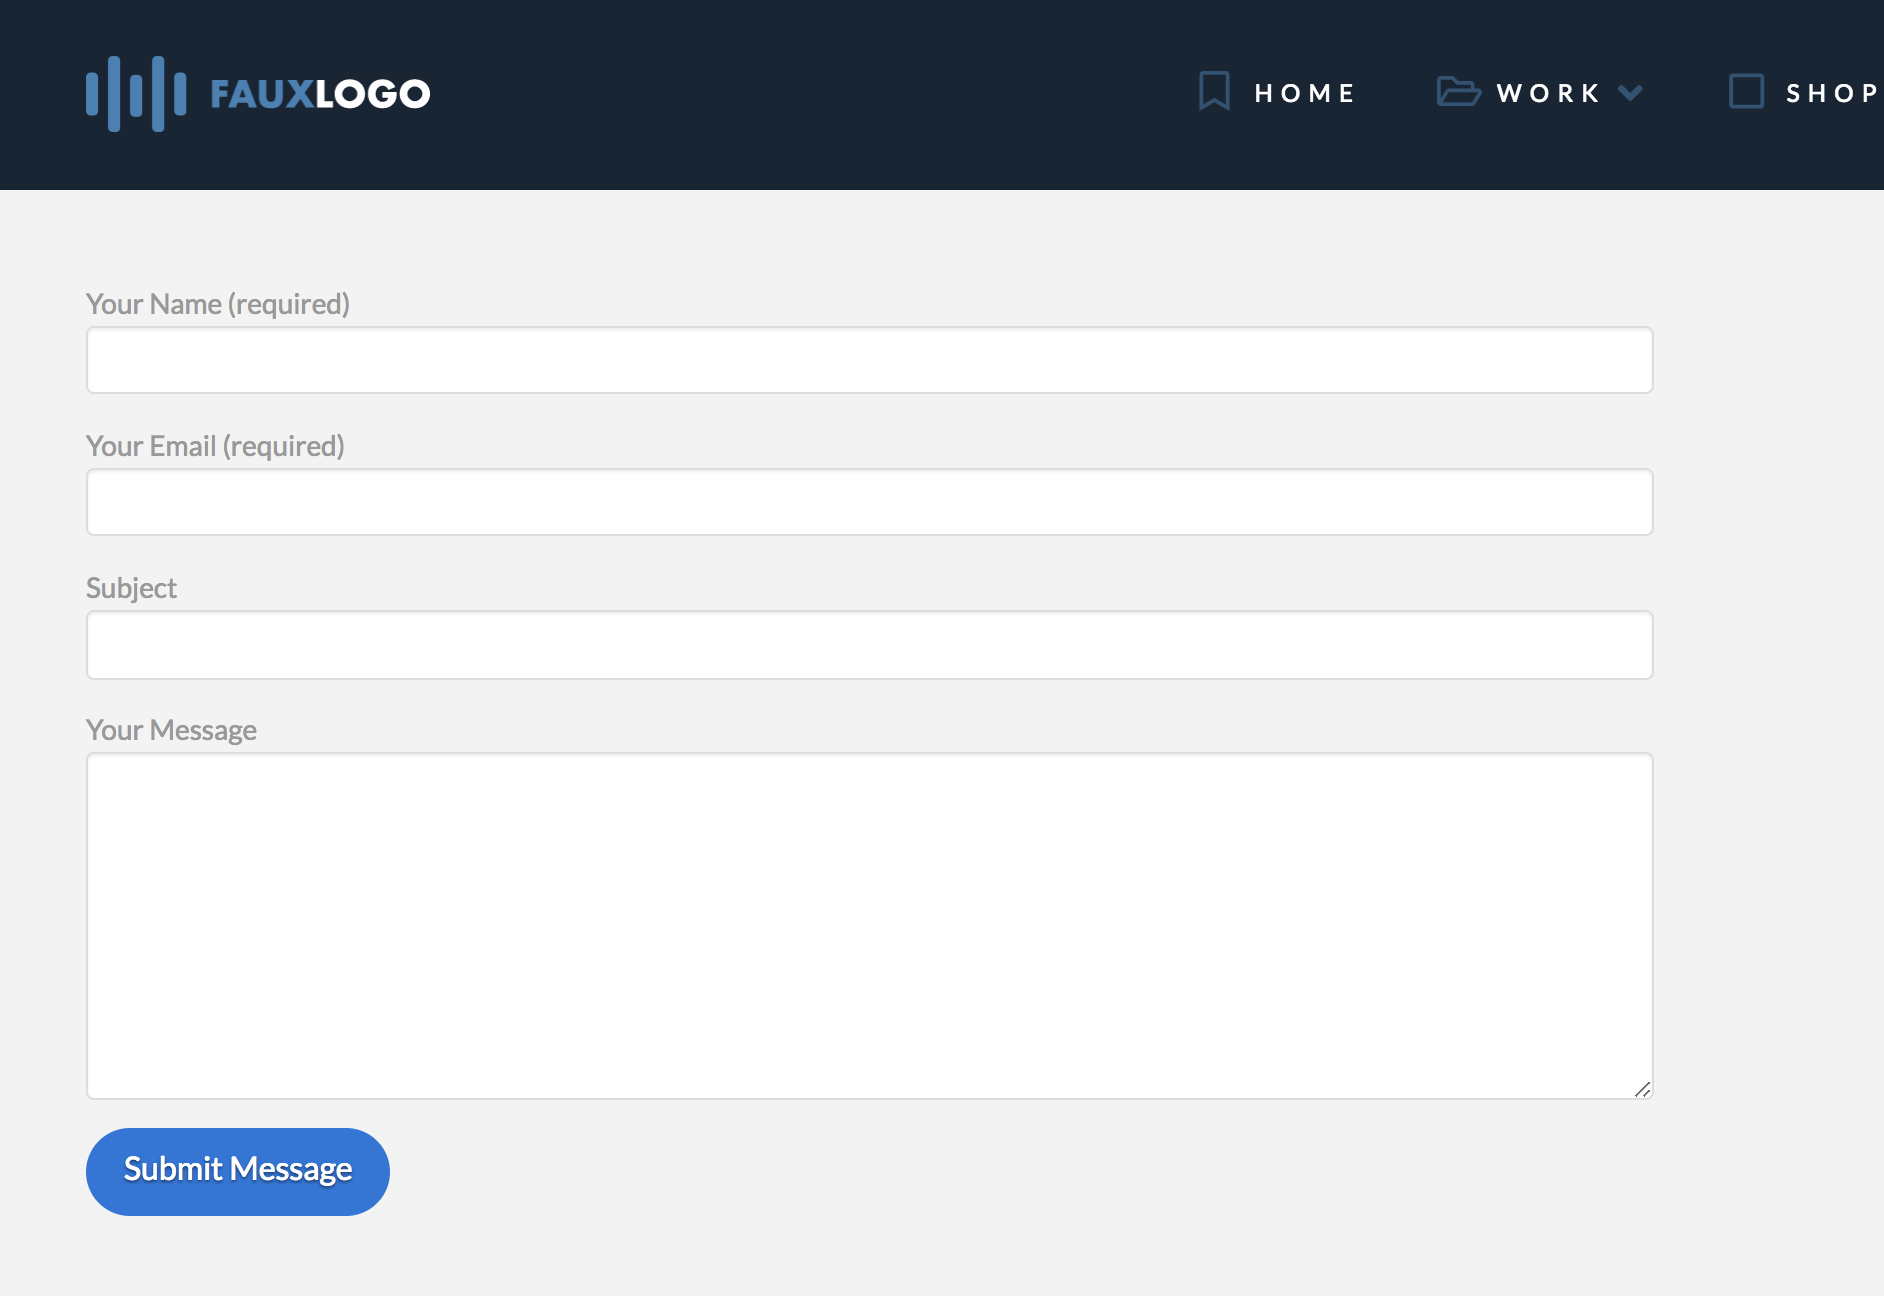
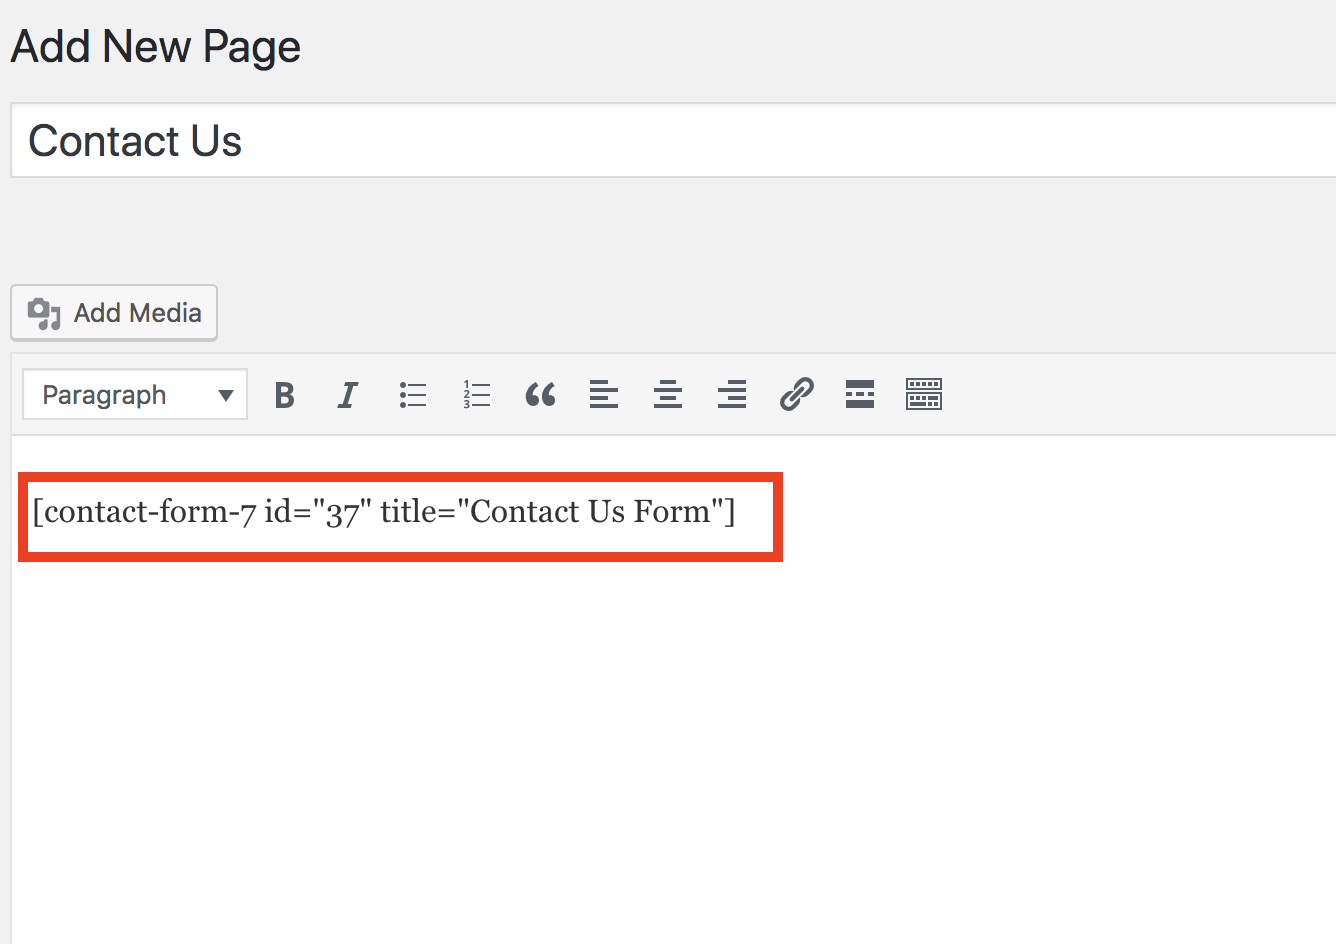
You simply create the form and you will get a generated shortcode after you've published it, like this:
Then you just have to put that shortcode on any page.
That's it!
Let's dive a little deeper...
Getting Started
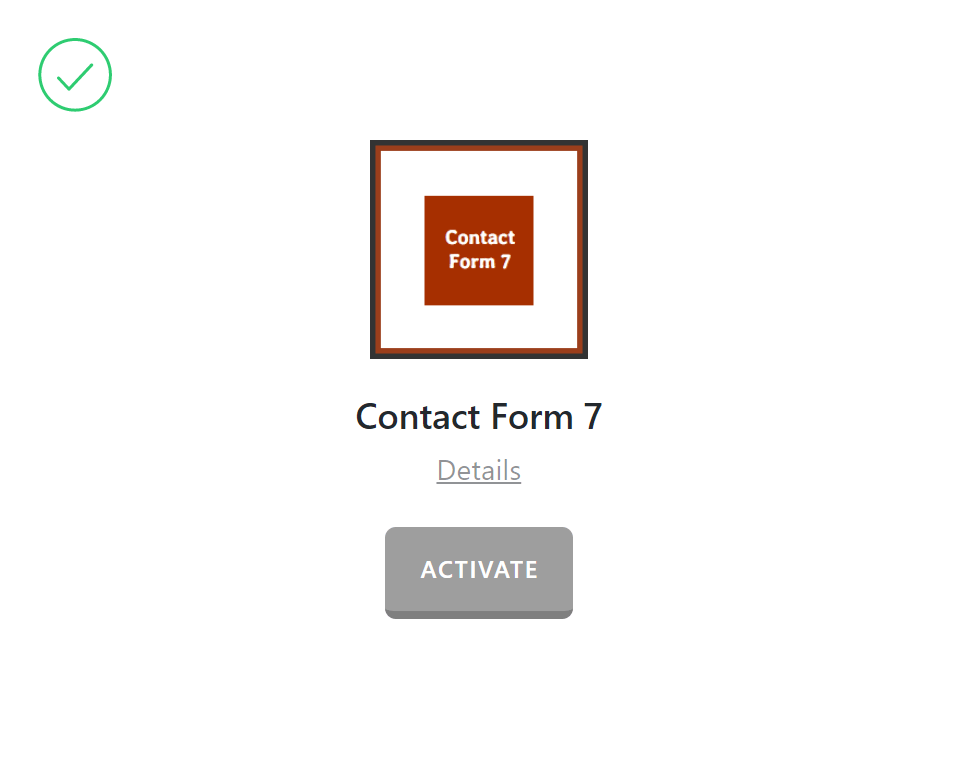
Go to Pro > Validate then look for Contact Form 7. Click Install.
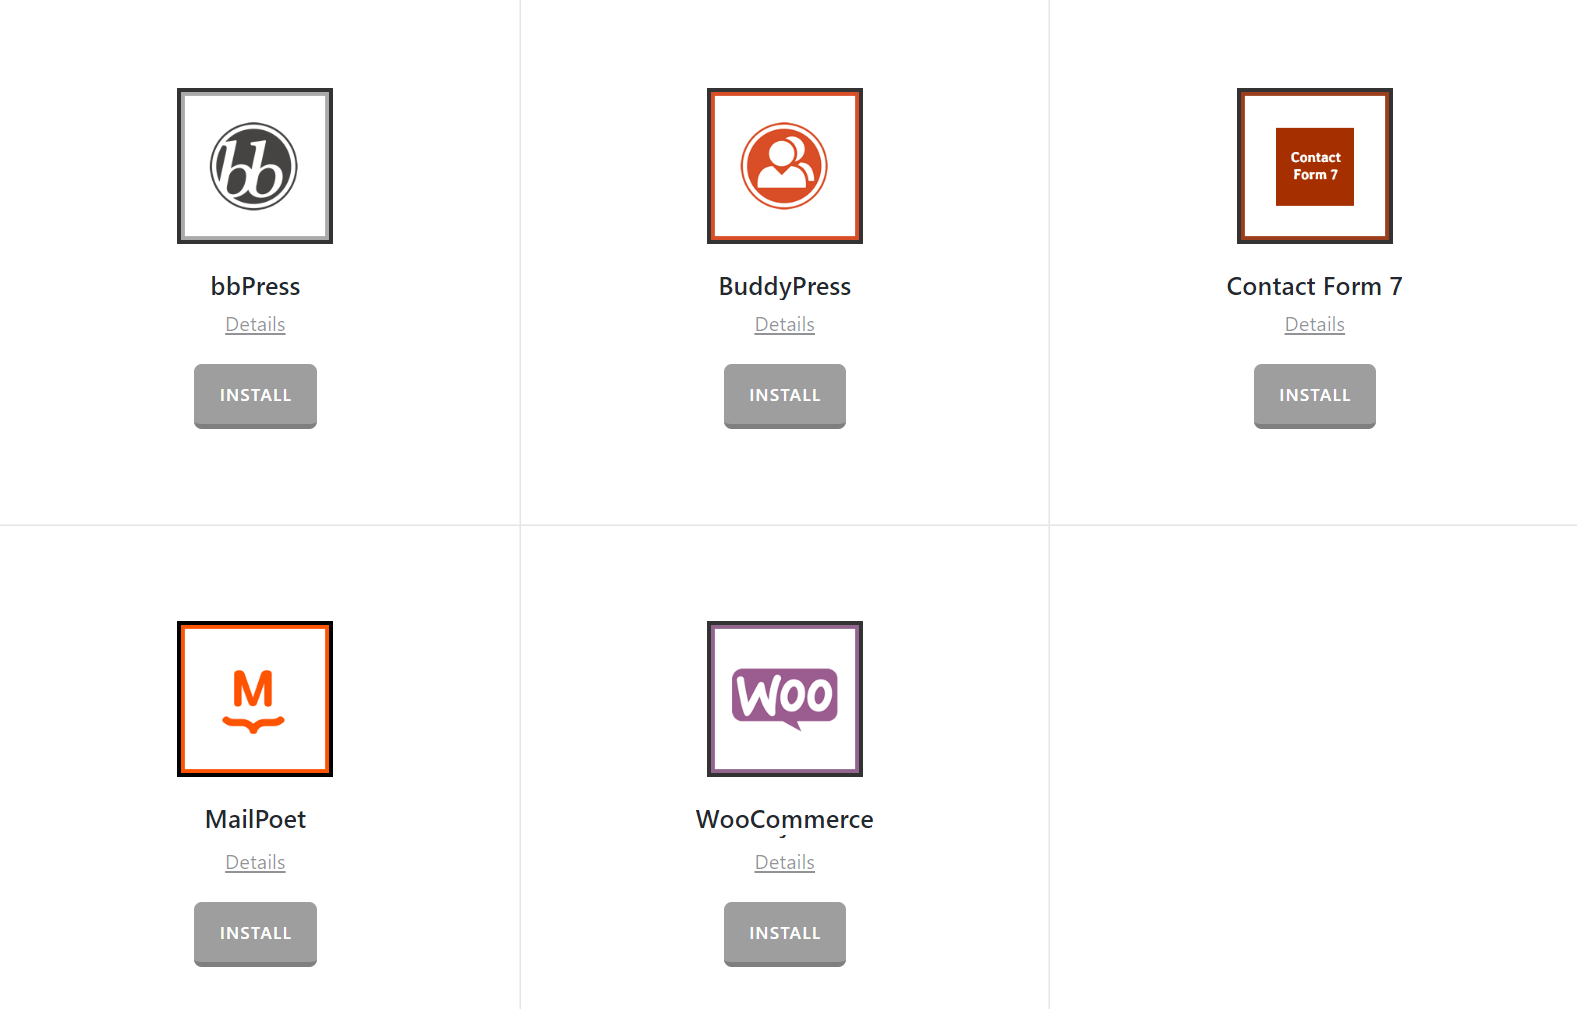
Then go to Plugins, look for Contact Form 7 and click Activate.
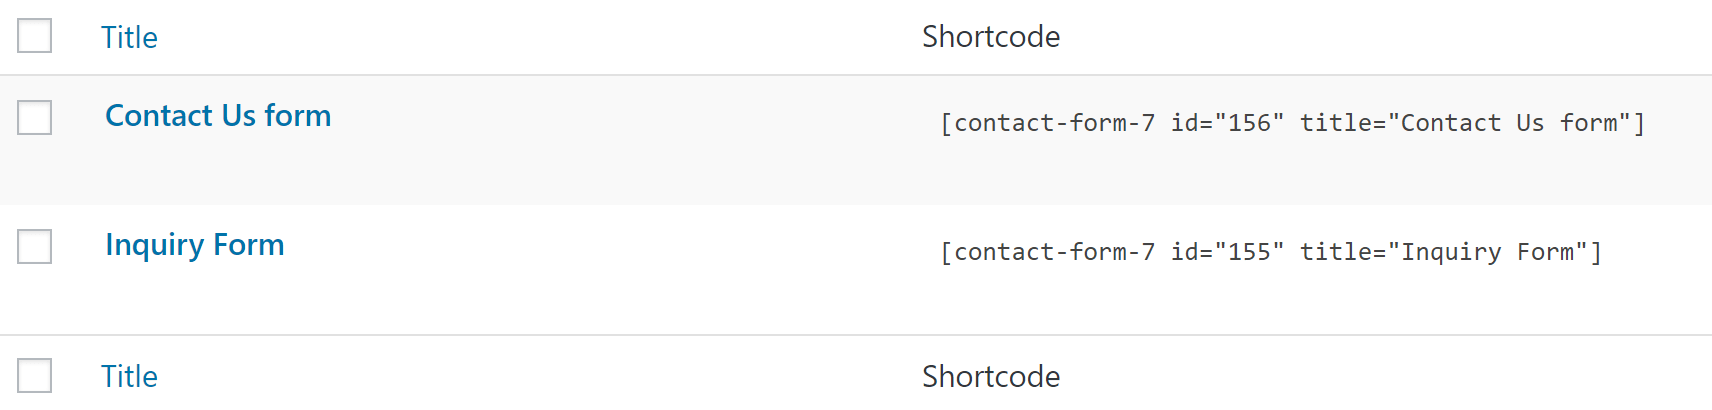
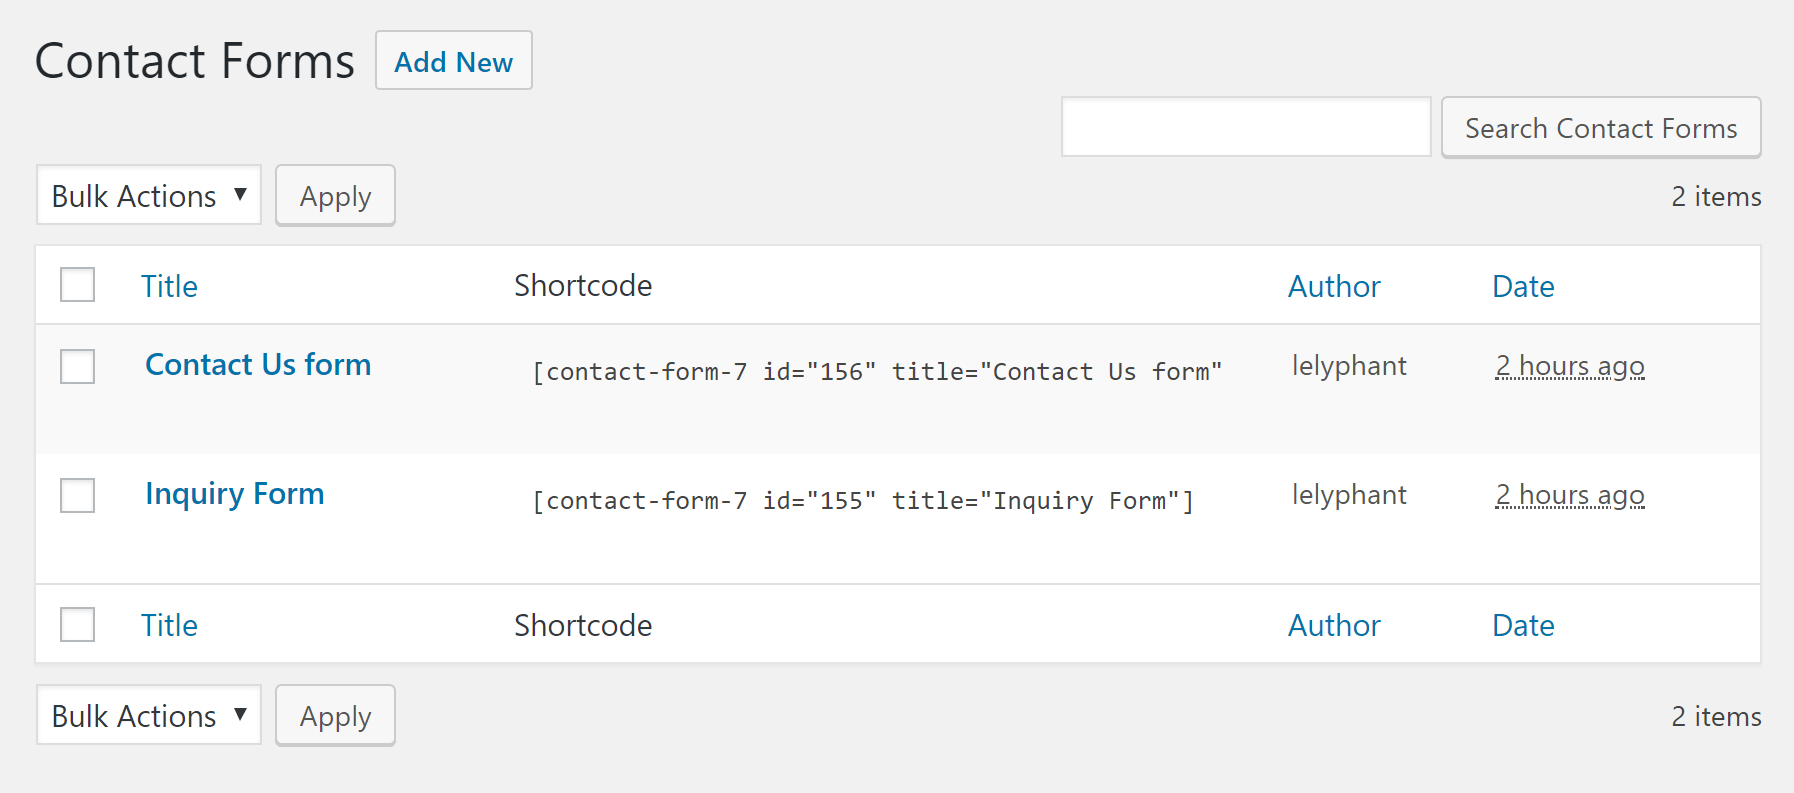
After you've installed and activated Contact Form 7, you will see an additional menu item on your WordPress dashboard called Contact. By clicking on Contact > Contact Forms you'll be able to see your list of contact forms.
By default, Contact Form 7 already creates one contact form for you.
The Admin Screen Explained
List Page
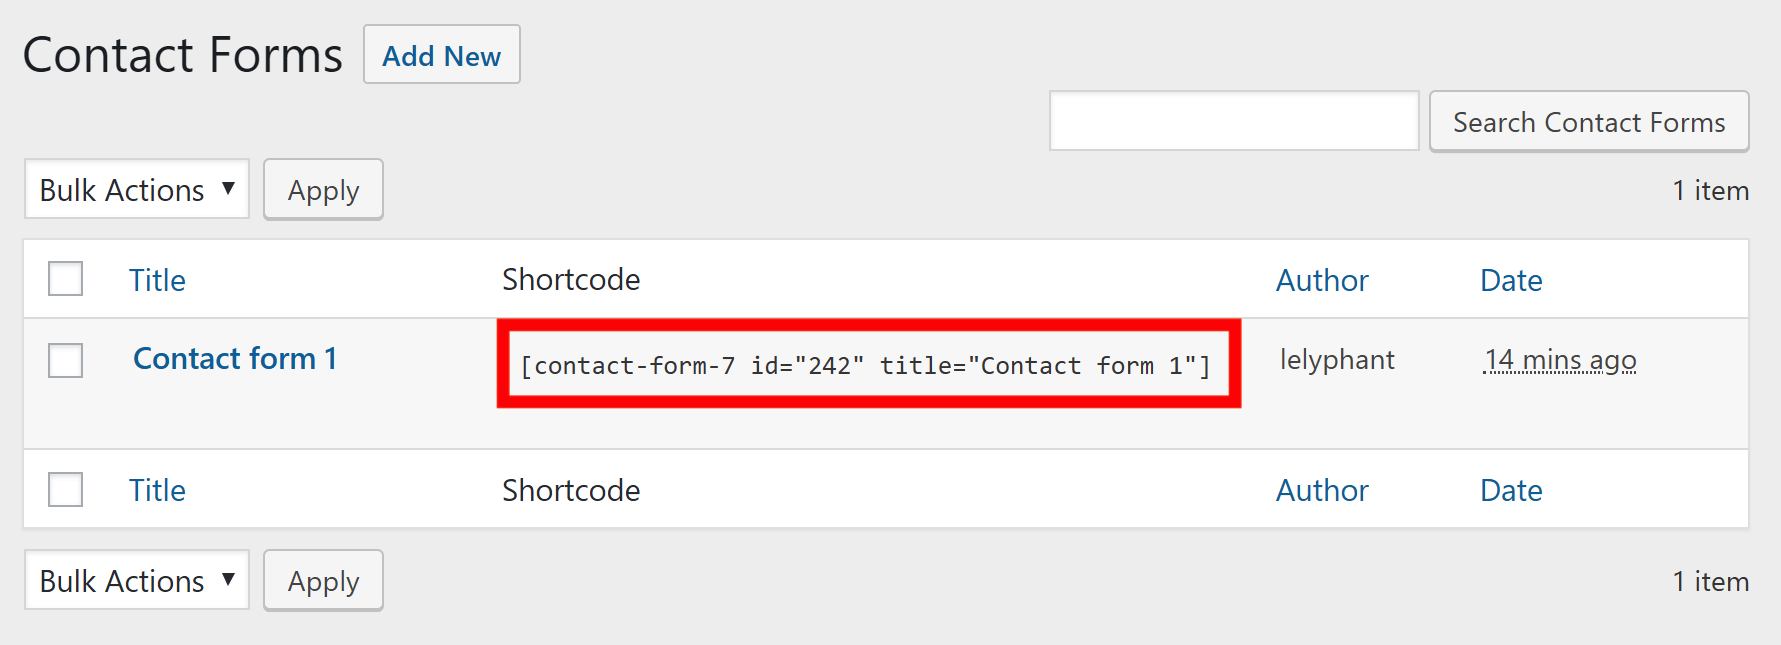
The above screenshot shows you the area where your contact forms are listed.
As discussed in the introduction earlier, the value under the Shortcode column is code you'll need to attach in order to display the form on the front-end.
To add a new contact form, simply click on the "Add New" button on the top of the page.
Add / Edit Contact Form
When you add or edit a contact form, this is what you'll see:
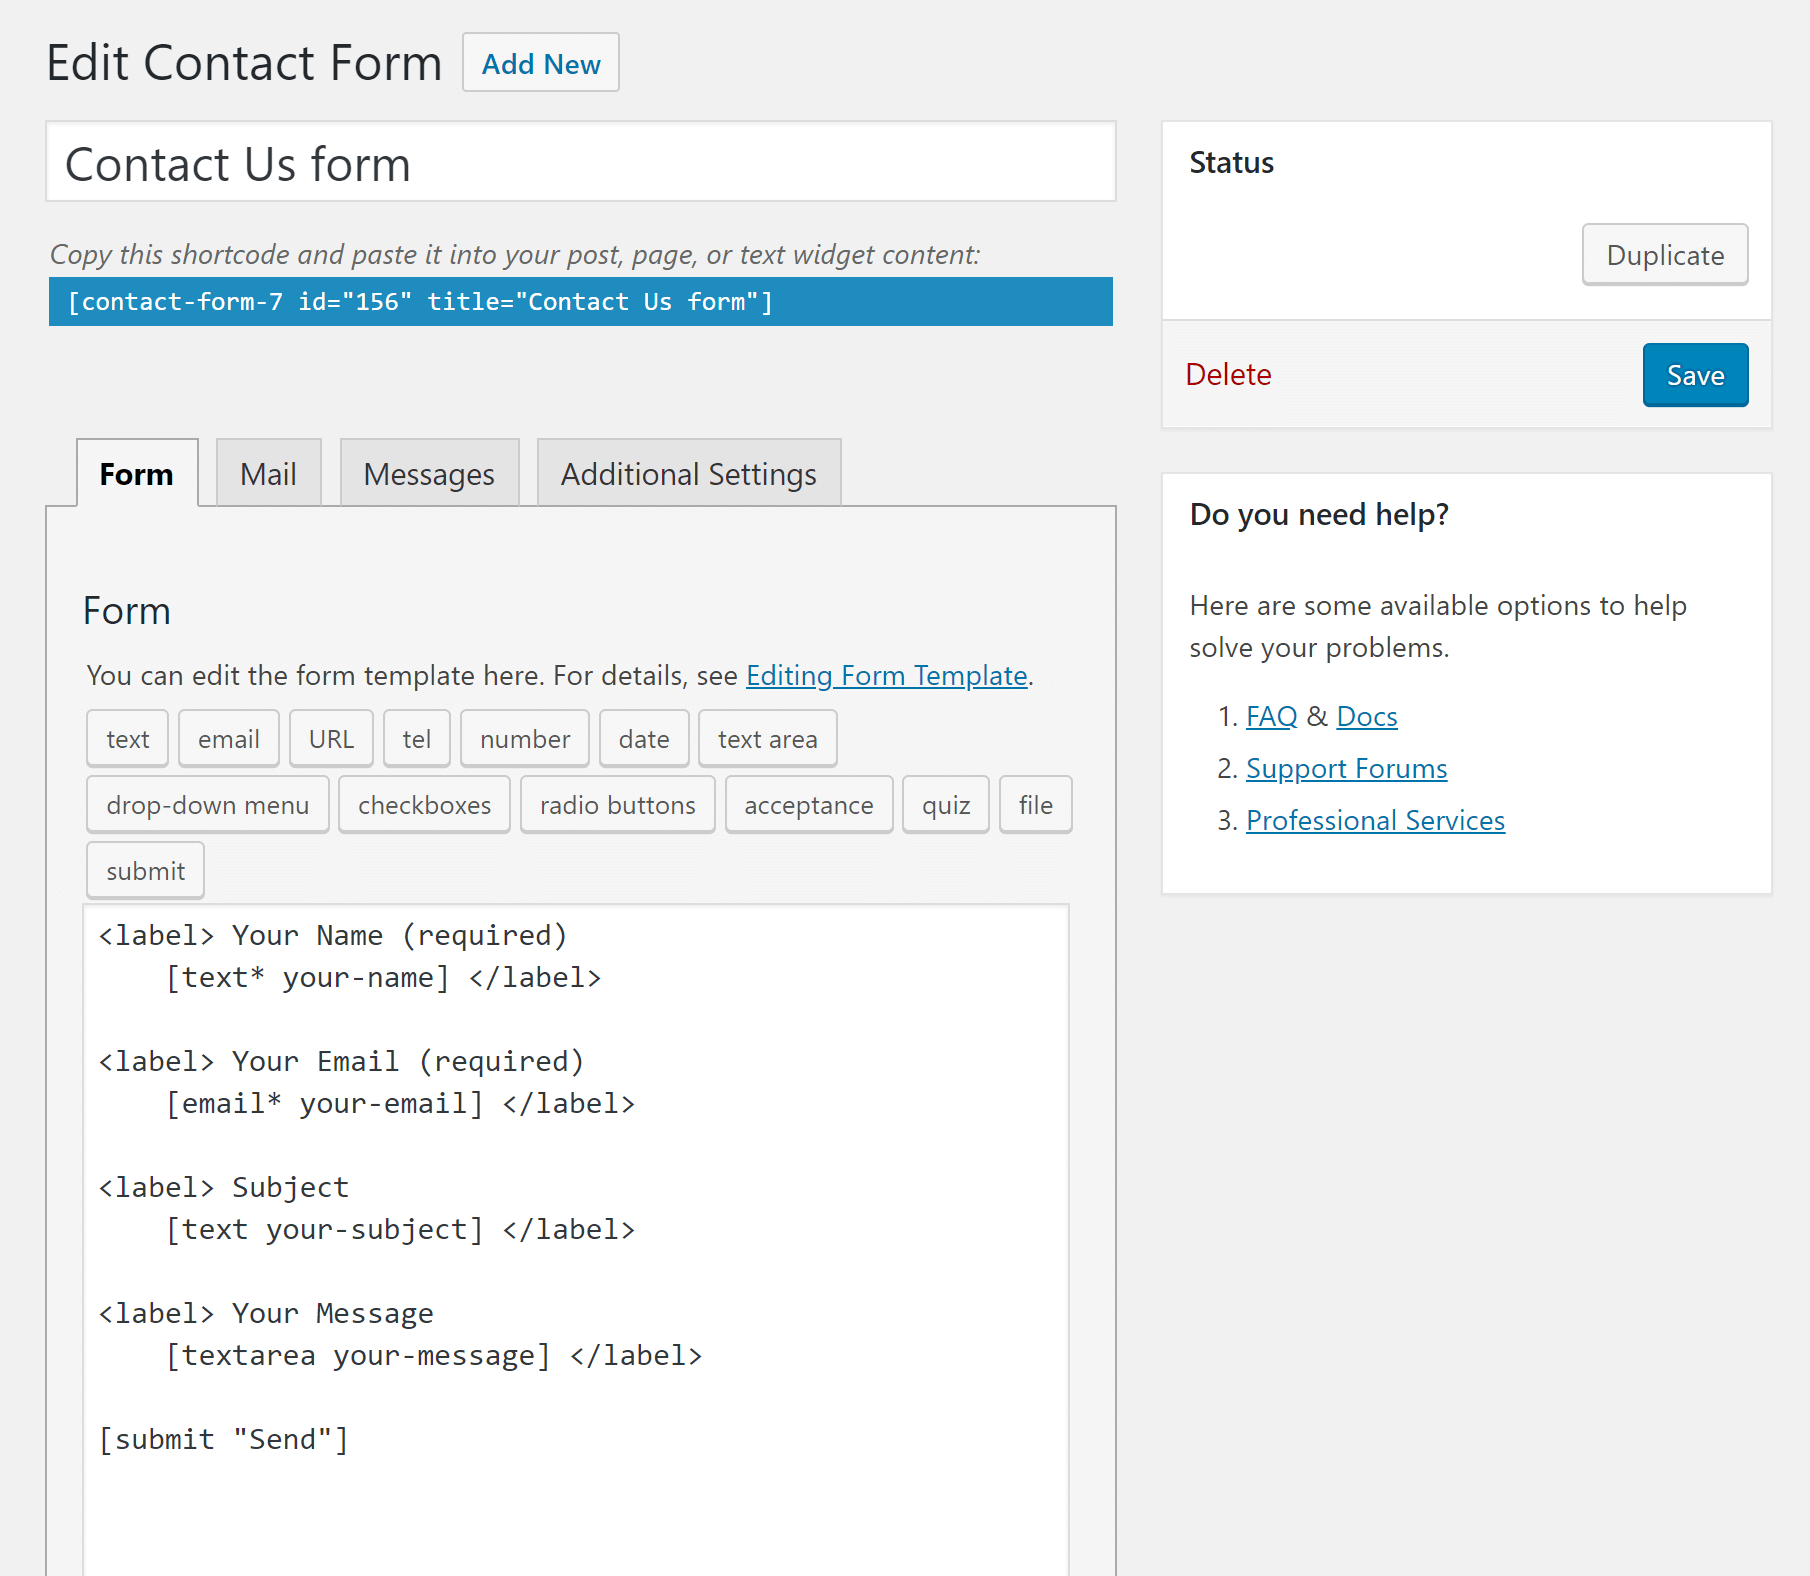
There are 4 main elements worth mentioning
- Title - Quite obvious and common across WordPress.
- Tabs - There are 4 tabs, each having its own purpose: Form, Mail, Messages and Additional Settings. We'll discuss each one in detail later.
- "Duplicate" button - Gives you an easy way to create an exact copy of the current form. This appears only on edit mode not on add new.
- "Save" button
How Tags Work
If you are familiar with HTML, you know that almost everything you can see on a webpage is there because an HTML "tag" was placed. Contact Form 7 also has its own tags to display form elements. There's one tag for a text input, there's another tag for a submit button, then there's another one for an email input, textarea and another for a dropdown.
All Contact Form 7 tags are enclosed in square brackets []. Below is an an example:
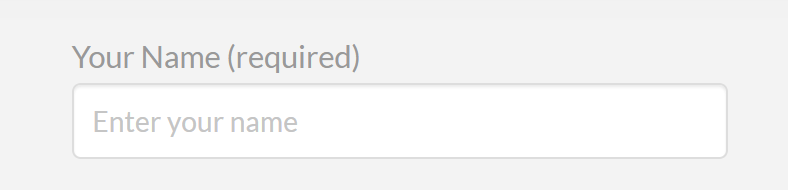
[text your-name placeholder "Enter your name"]
What this does is it displays a text input box with a placeholder that says "Enter your name."
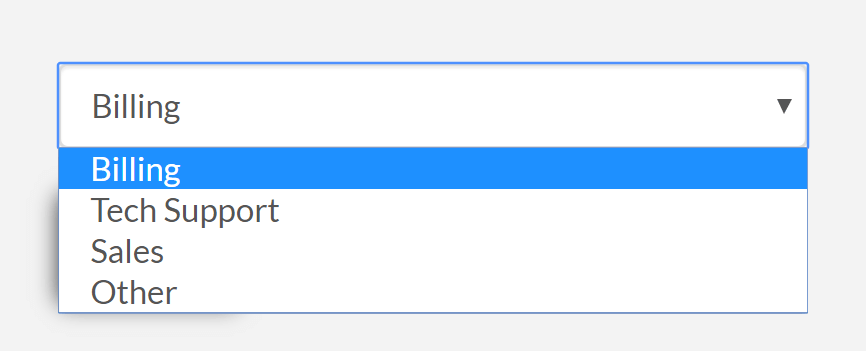
Here's another one - this time it's a dropdown:
[select menu-707 "Billing" "Tech Support" "Sales" "Other"]
That code generates this dropdown form element.
If learning these tags isn't your thing, don't worry, you don't have to. They are generated for you by filling up following these steps:
- Let's say you wanted to add a textarea where people can enter their messages. Simply click on the "text area" button.

Fill up the details if necessary.
Click "Insert Tag"
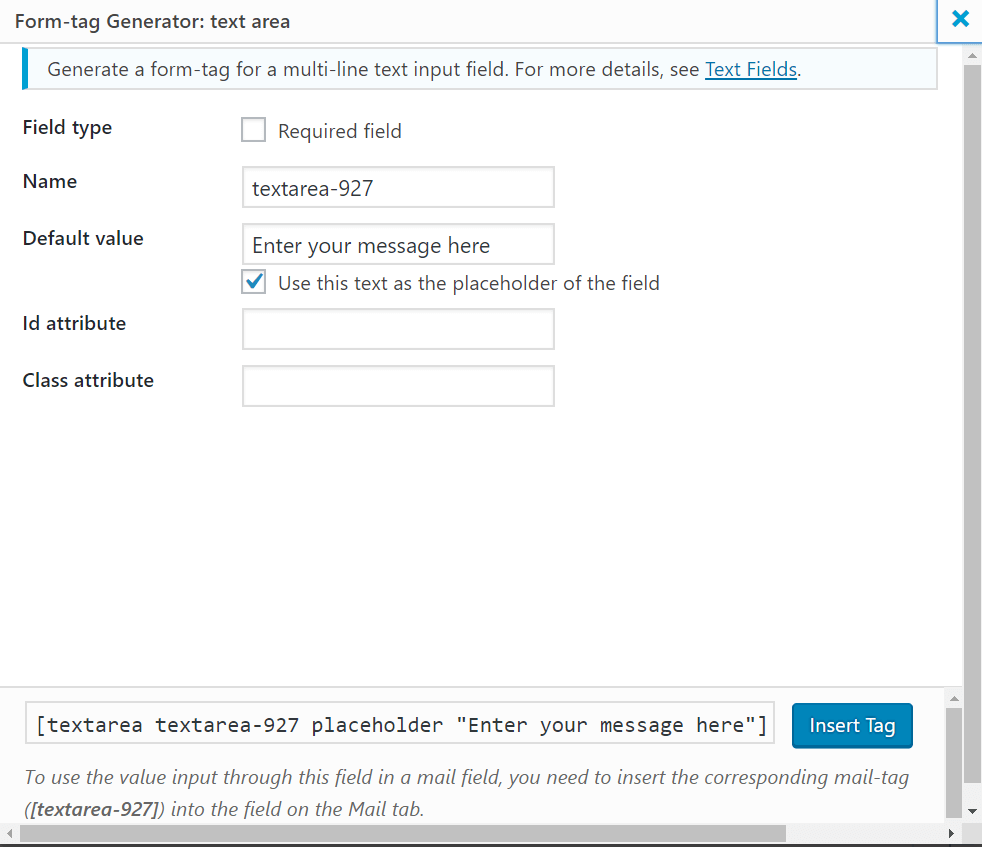
That's all!
If you want to learn more about how tags work, visit the Contact Form 7 website here.
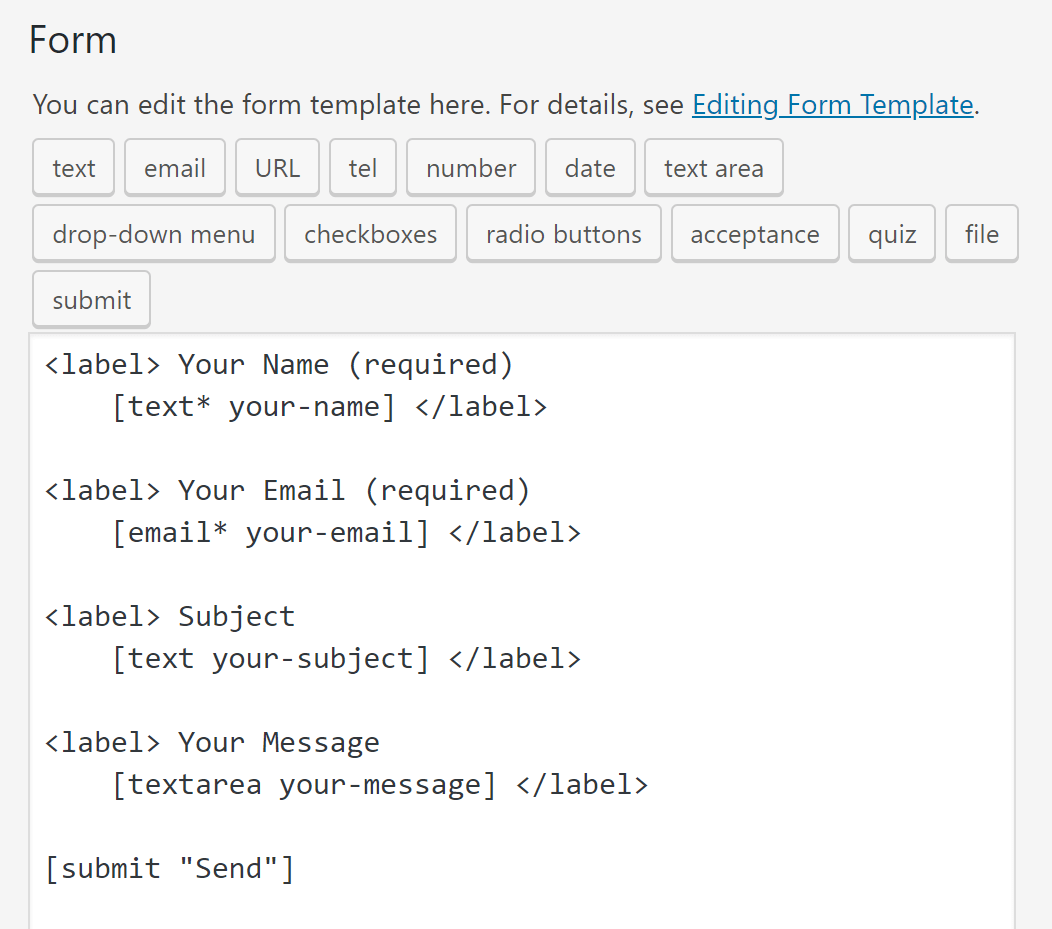
Editing Form Template
To set up what fields should appear on the contact form and how they will be arranged you'll need to go to the Form tab. When you create a new form, you will already have a default form template so you don't have to add tags from scratch. The default template includes the following fields:
- Text input for the name
- Email input for the email address
- Text Area for the message
- Submit button
Depending on what details you want on the form, you can either edit the template or erase all contents to start adding tags from scratch. However, most contact forms are the same, thus you might not need to create from scratch.
It's important to note that you have the freedom to add HTML codes in the contact form template editor. You'll notice that the default template makes use of the
<label></label> HTML tag. You can add just about any HTML tag in there be it a div, span, p, h1, table, etc.
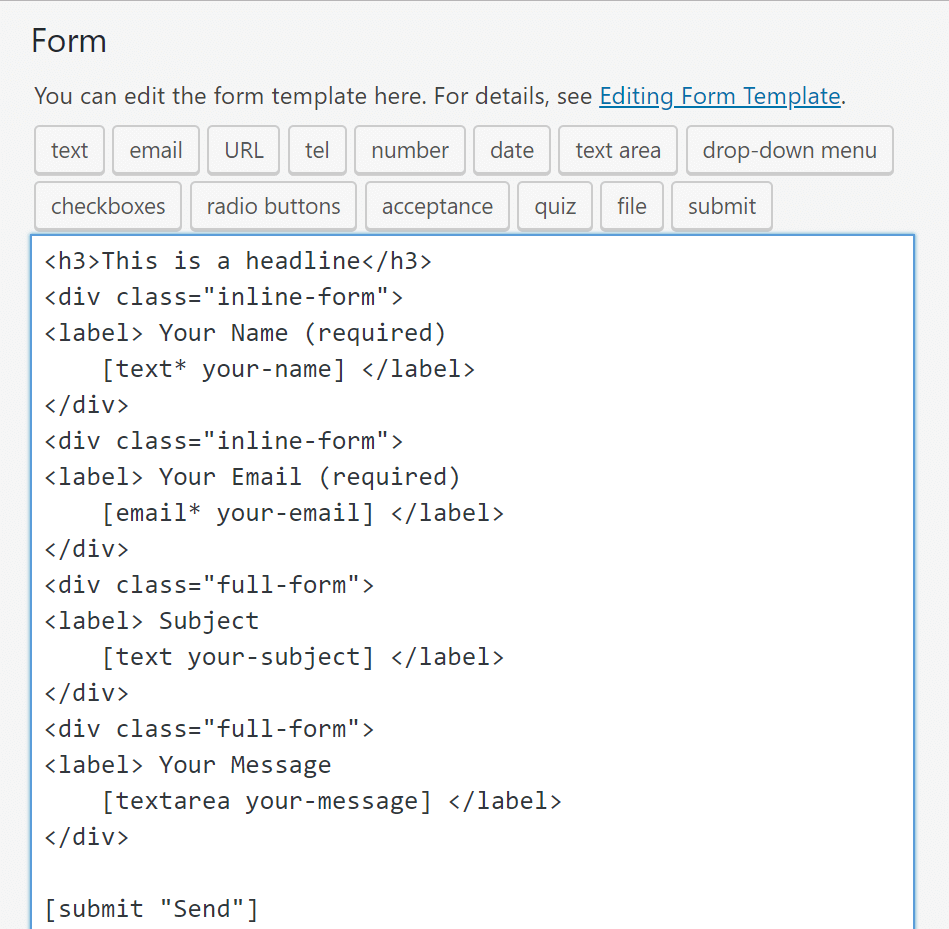
This gives you the freedom to dictate how the form is going to be laid out.
Setting Up Mail
This is what the "Mail" tab looks like:
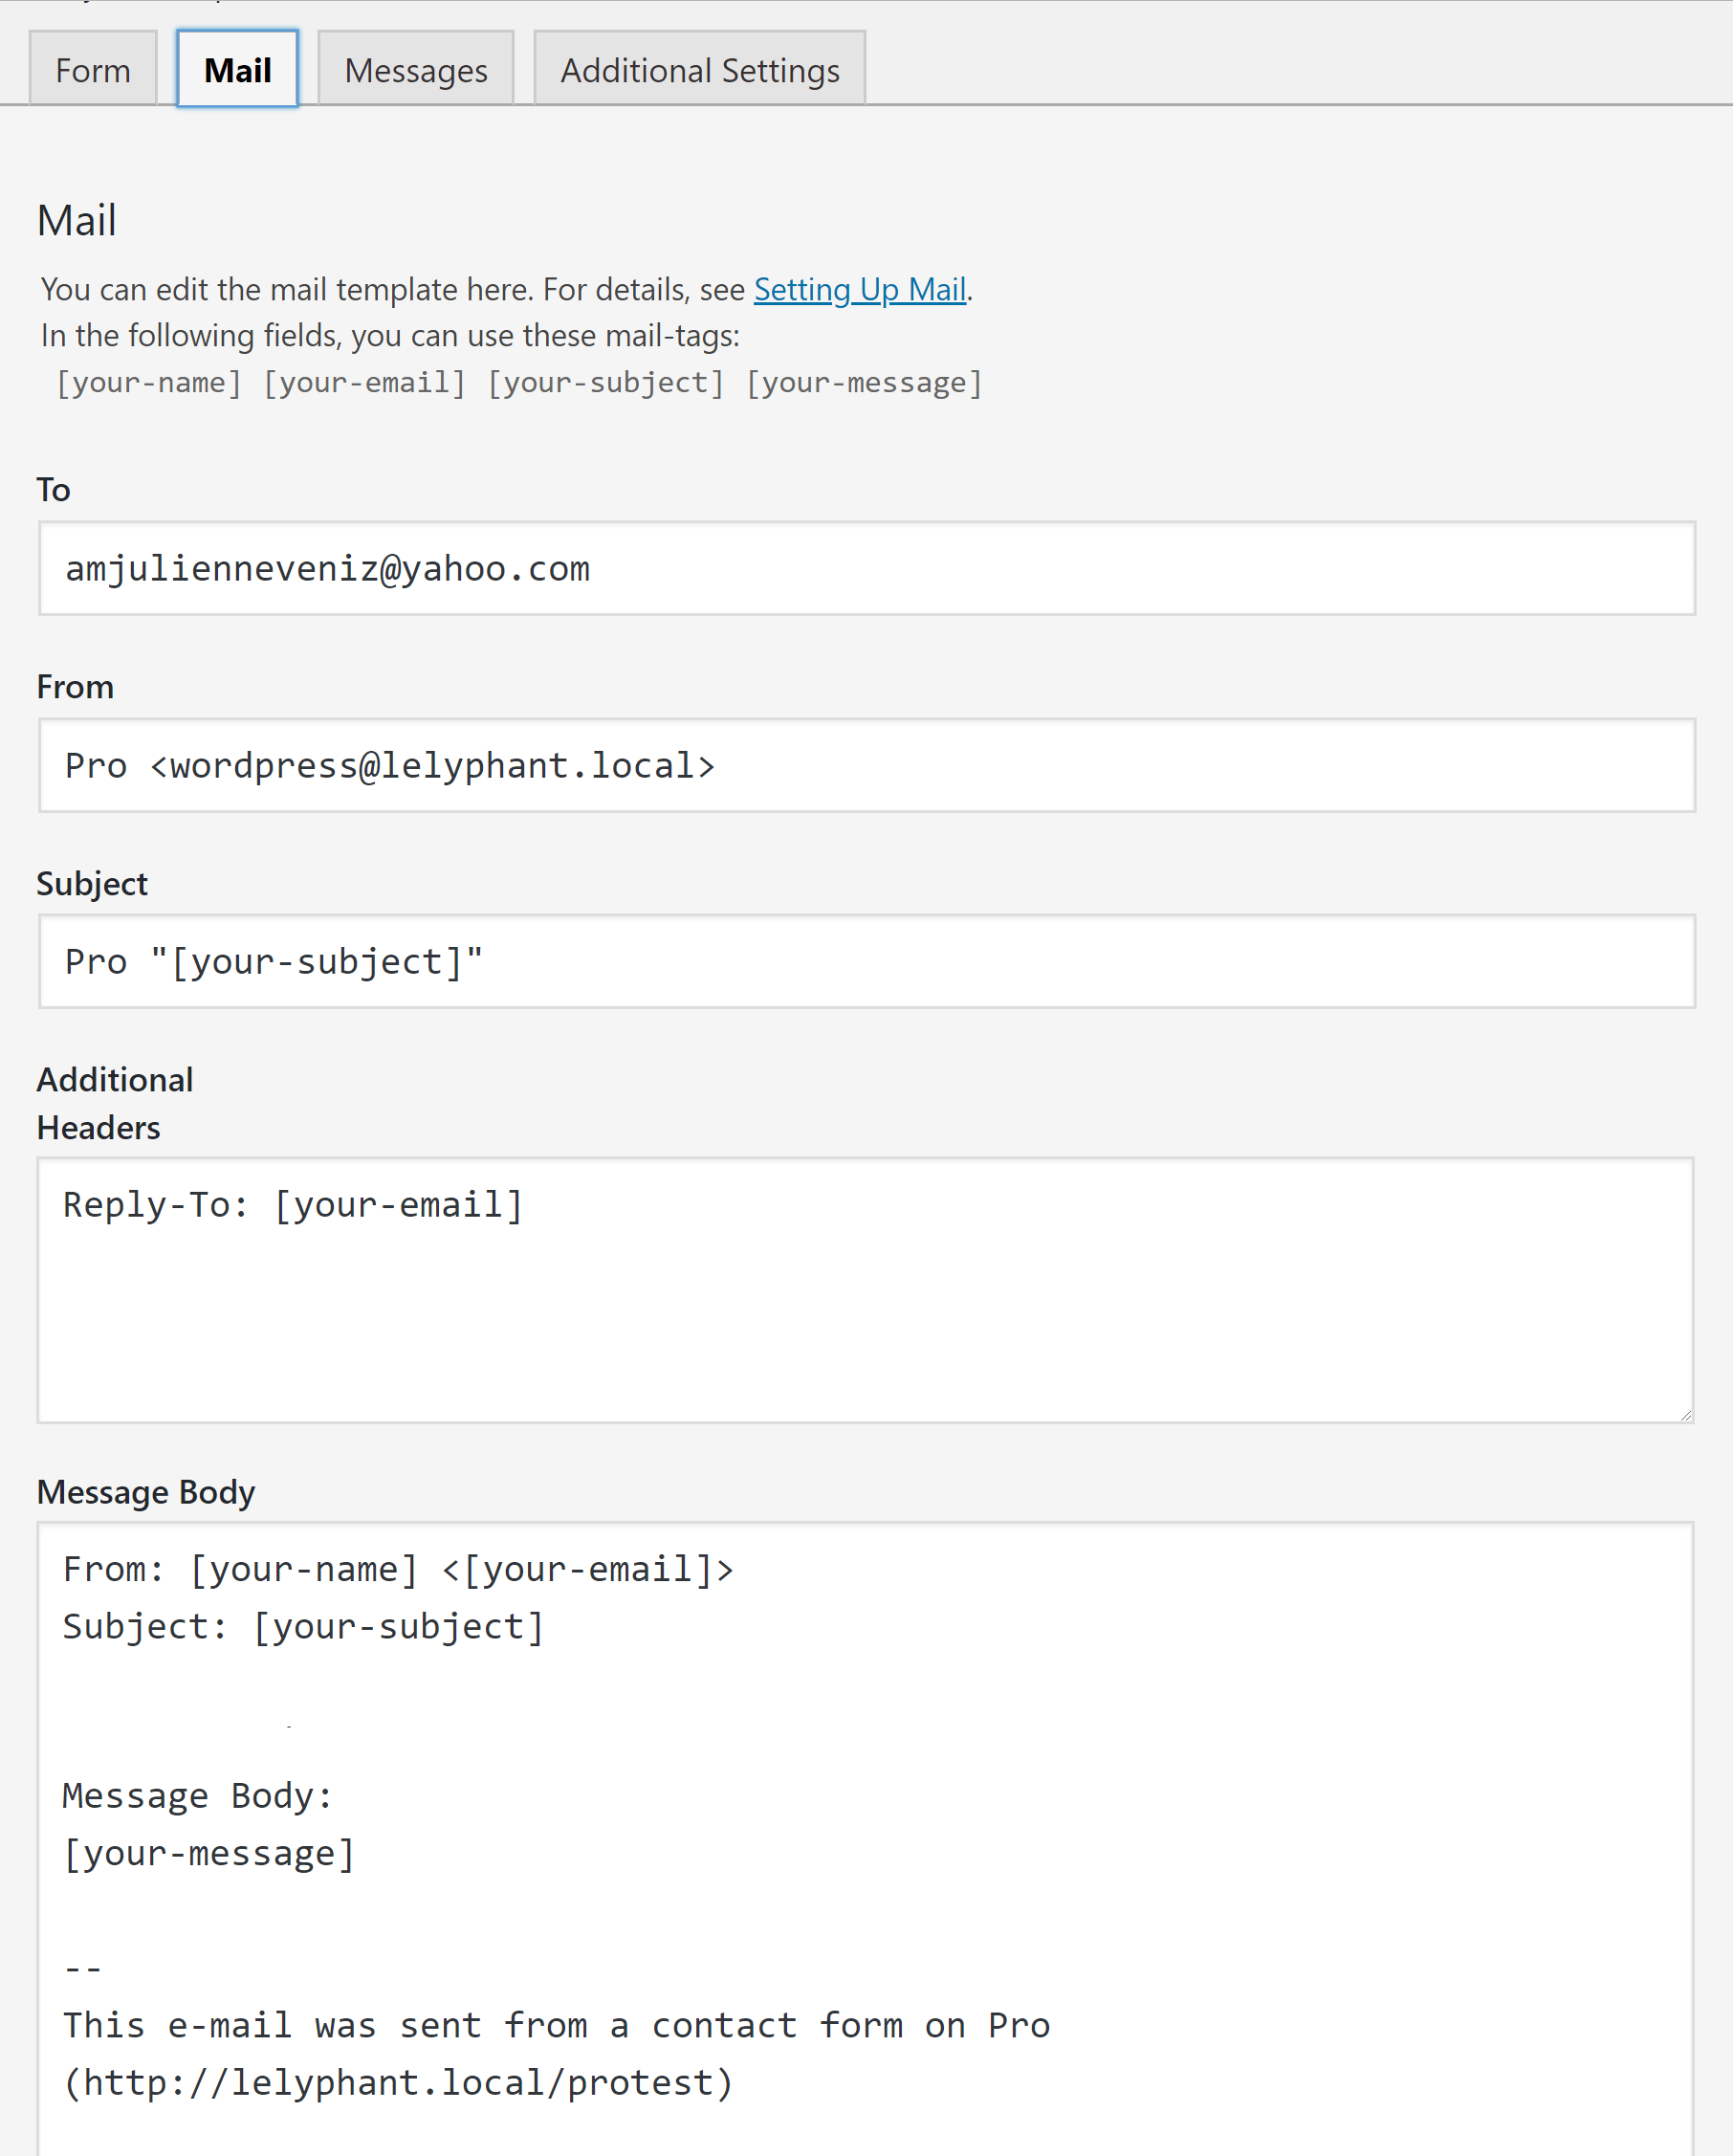
To
This is the email address that will receive the email from the contact form. Generally, this email address is your company's email address or the email address of the appropriate person on your company.
From
Do not mistake that "From" is the name and email of the person who filled up and submitted the form. Generally "From" is your WordPress site's admin email address, but it's not strictly that.
Subject
This is the title that will appear when you receive an email.
Additional Headers
Want to add CC and BCC on your emails? Add them on this field.
Message Body
This is the actual email body. But it's not limited to it. You can include the email address of the sender here. Actually, that's what the default setting of Contact Form 7 is.
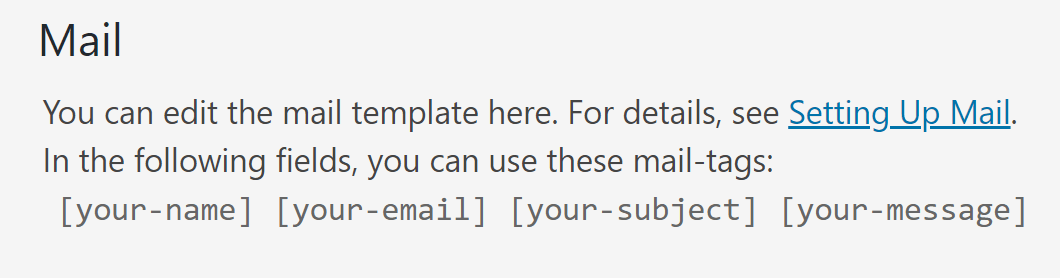
You'll notice a text that says "In the following fields, you can use these mail-tags."
What that means is you will be able to use the tags created on the
Form tab and apply them to the fields on the Mail tab. For example, on the "Subject" field, you'll see a [your-subject] tag.
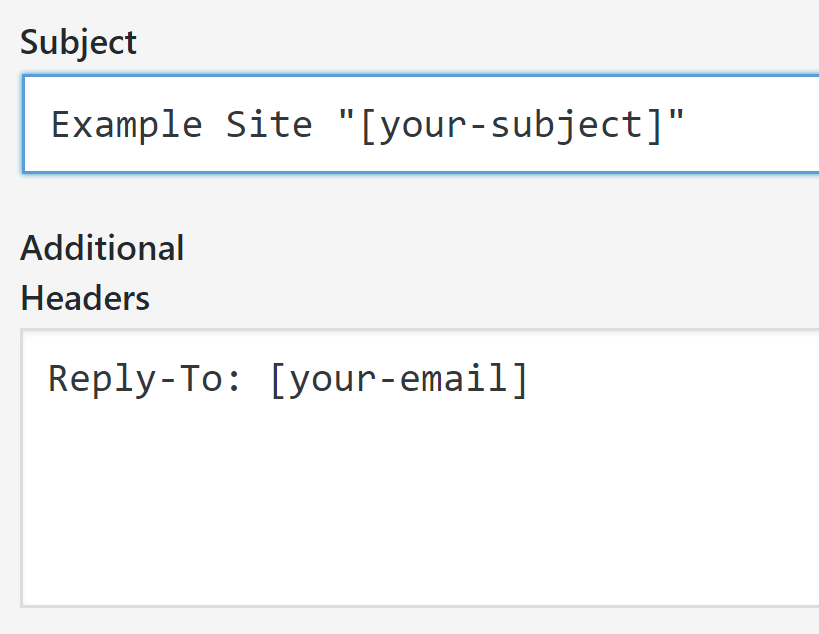
[your-subject] came from the the Form tab.

What happens is whatever value is entered by the one who filled and submitted on the form on your site for the "Subject" field will by dynamically used as the Subject of the email. The same goes for all other tags on the form, from the name of the sender to the body message.
You can read further about the Mail tab here.
Editing Messages
On the Messages tab, you will be able to change the error and success messages. You can set what message to display after a successful submission and another one if it failed. You can set what message to display the email address entered is invalid, another one if the date format entered on a date field is invalid, etc.
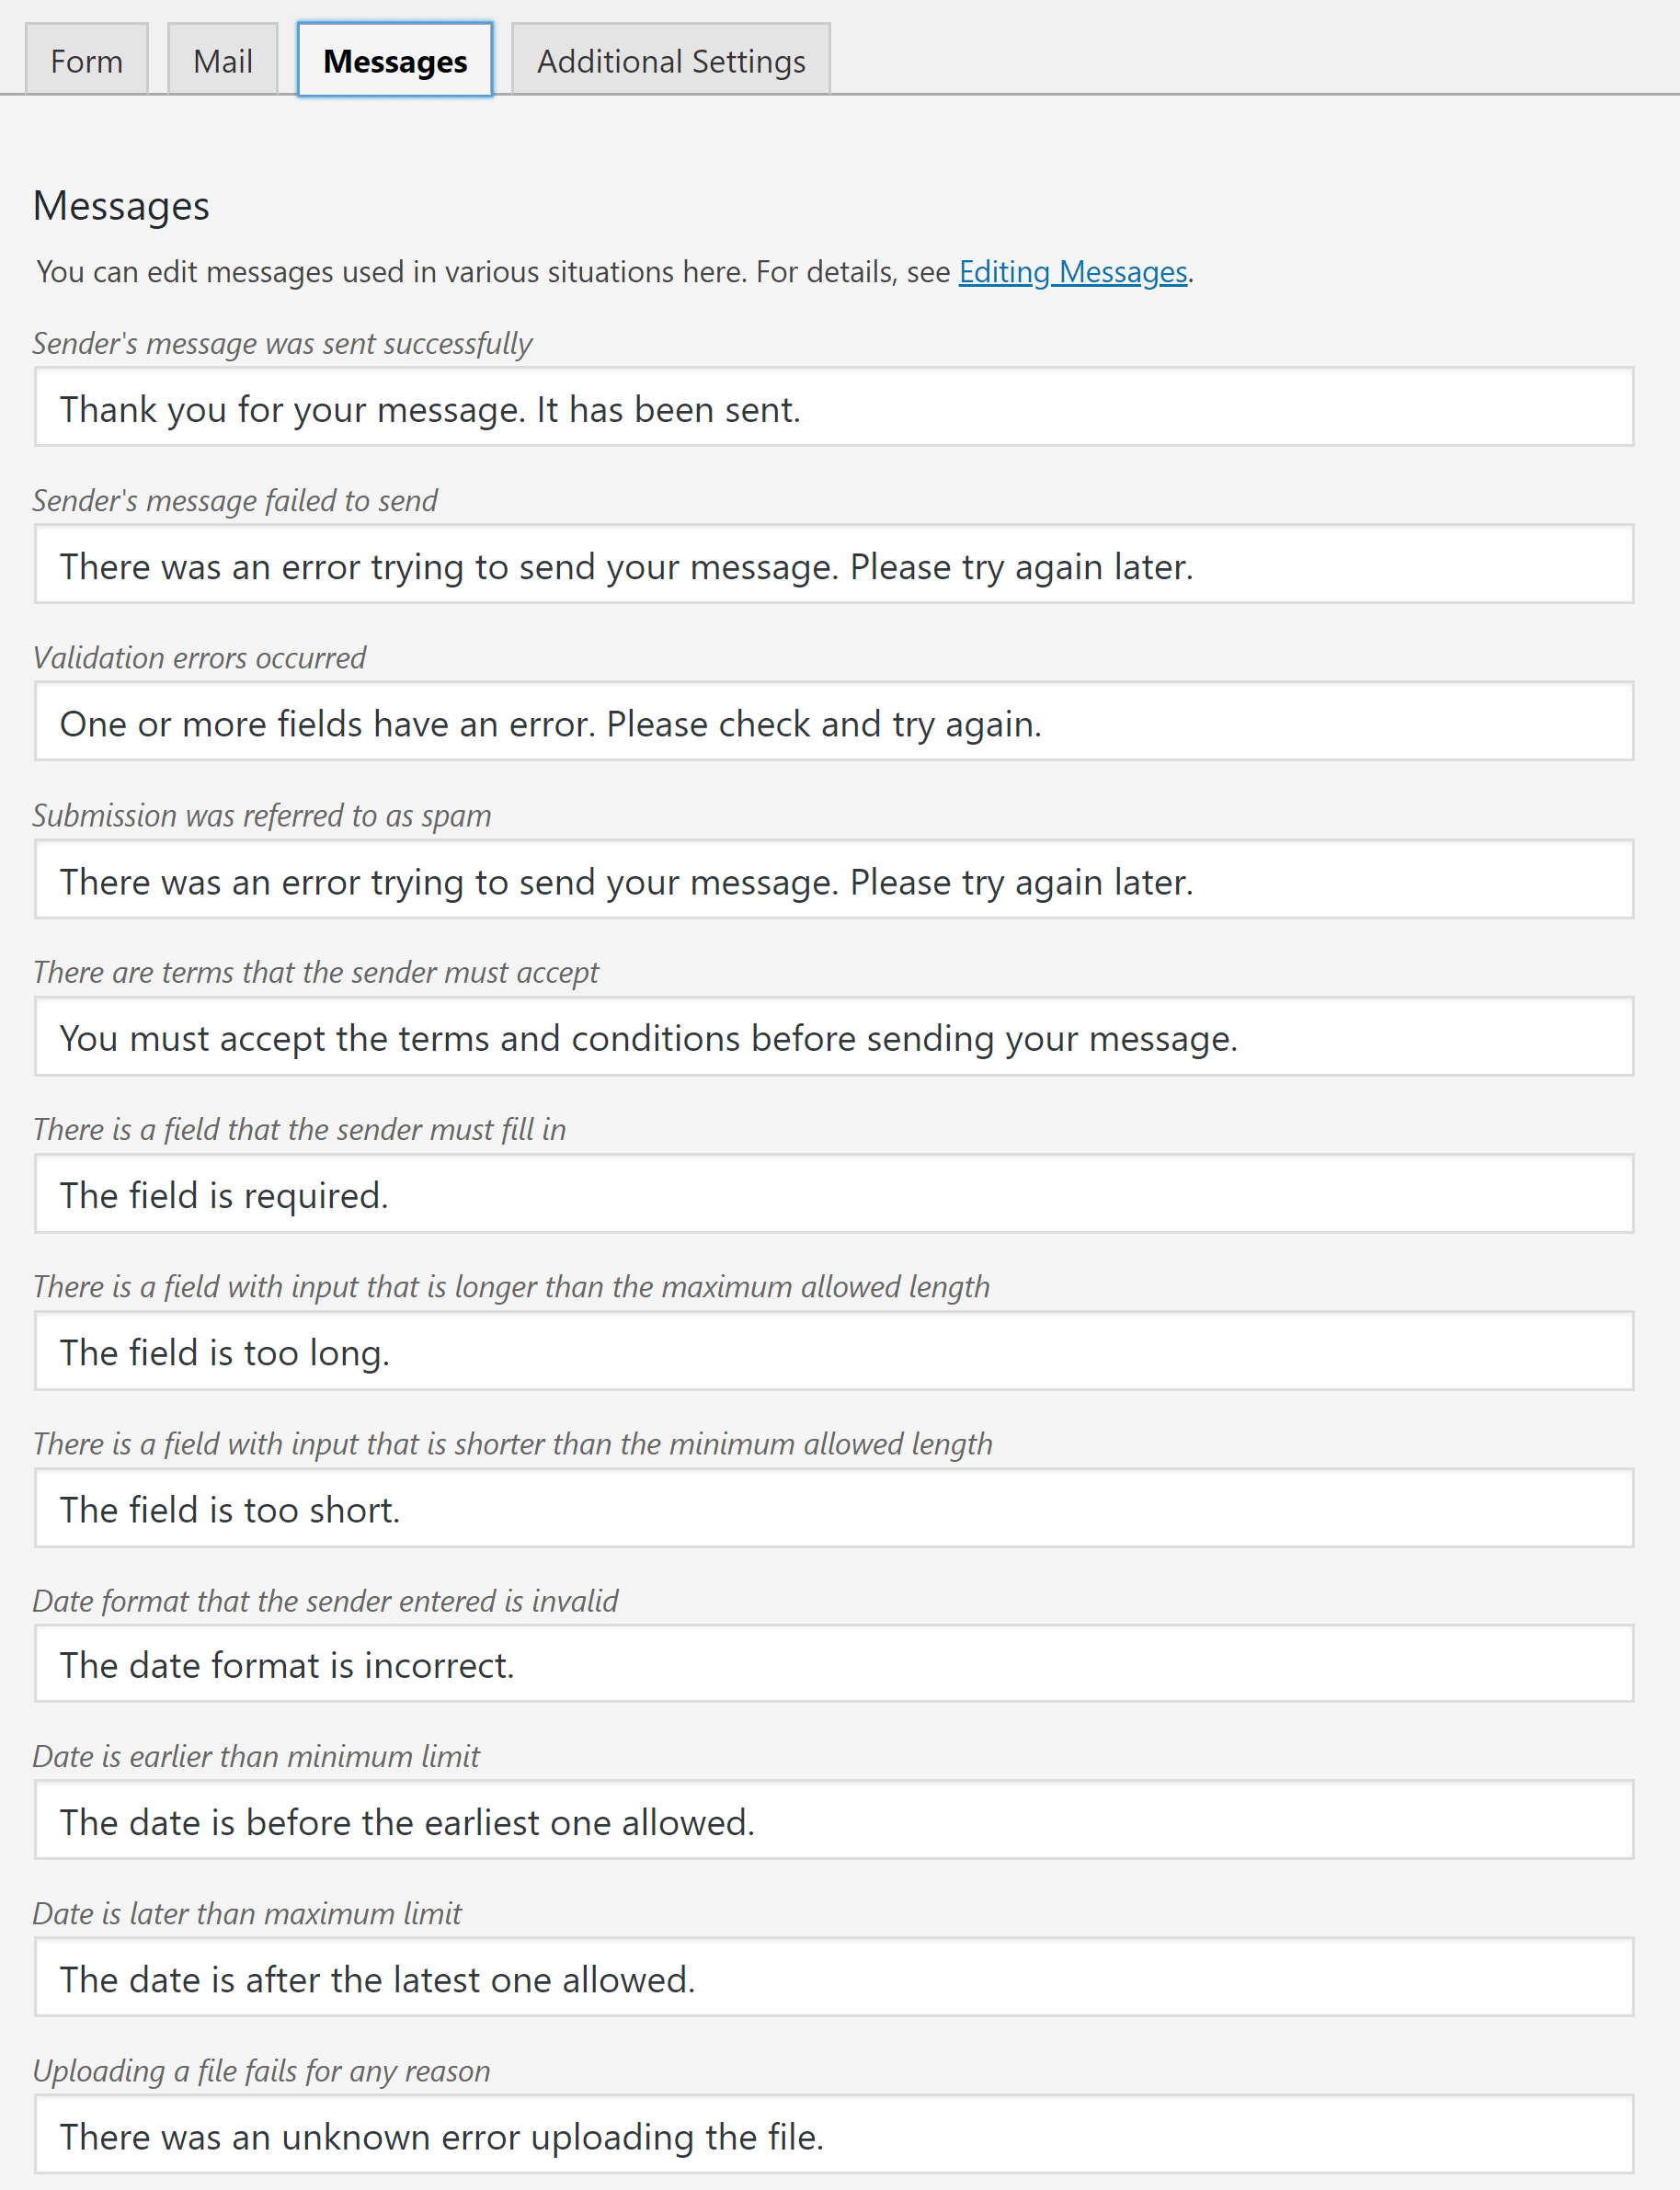
Reading the description of each message field will immediately shed light on what it will be used for.
For more information about editing messages, this article is worth a read.
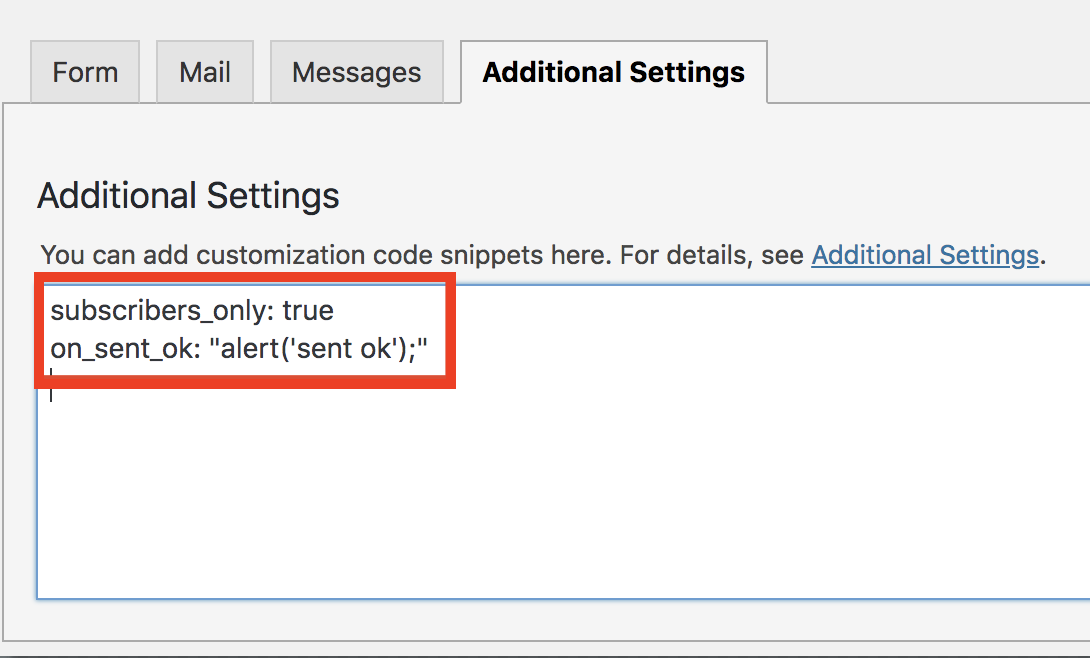
Additional Settings
Want to restrict the use of the contact form only to logged in subscribers? Want to show a popup message if the form is submitted? These and many others can be set on the Additional Settings tab.
Contact Form 7 has a brief discussion of available settings in this article.
How to Use Contact Form 7 in Cornerstone/Content Builder
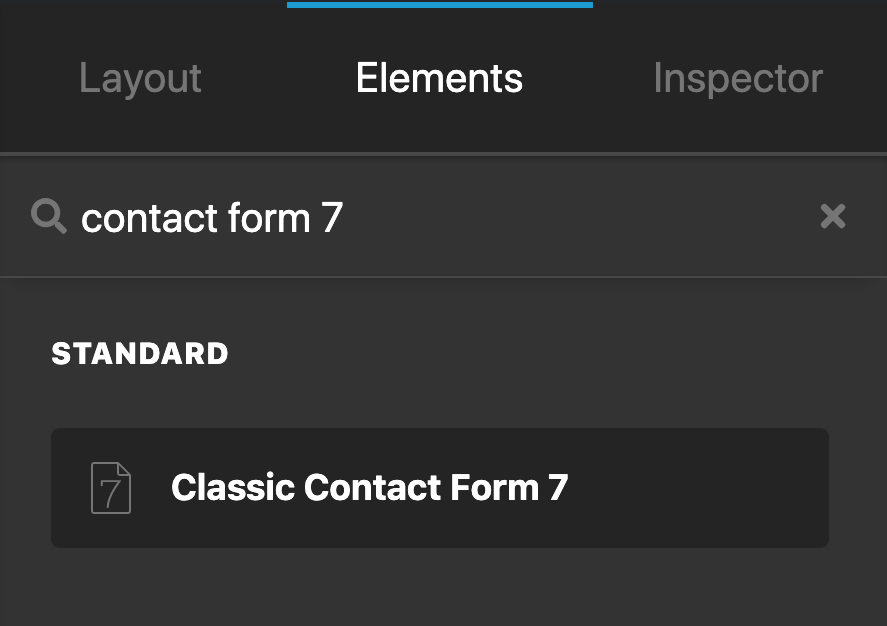
Open up a page using Cornerstone or Pro Content Builder.
Once that is opened, on the Elements tab, search for "Contact Form 7" and drag it to the content pane of Cornerstone / Content Builder.
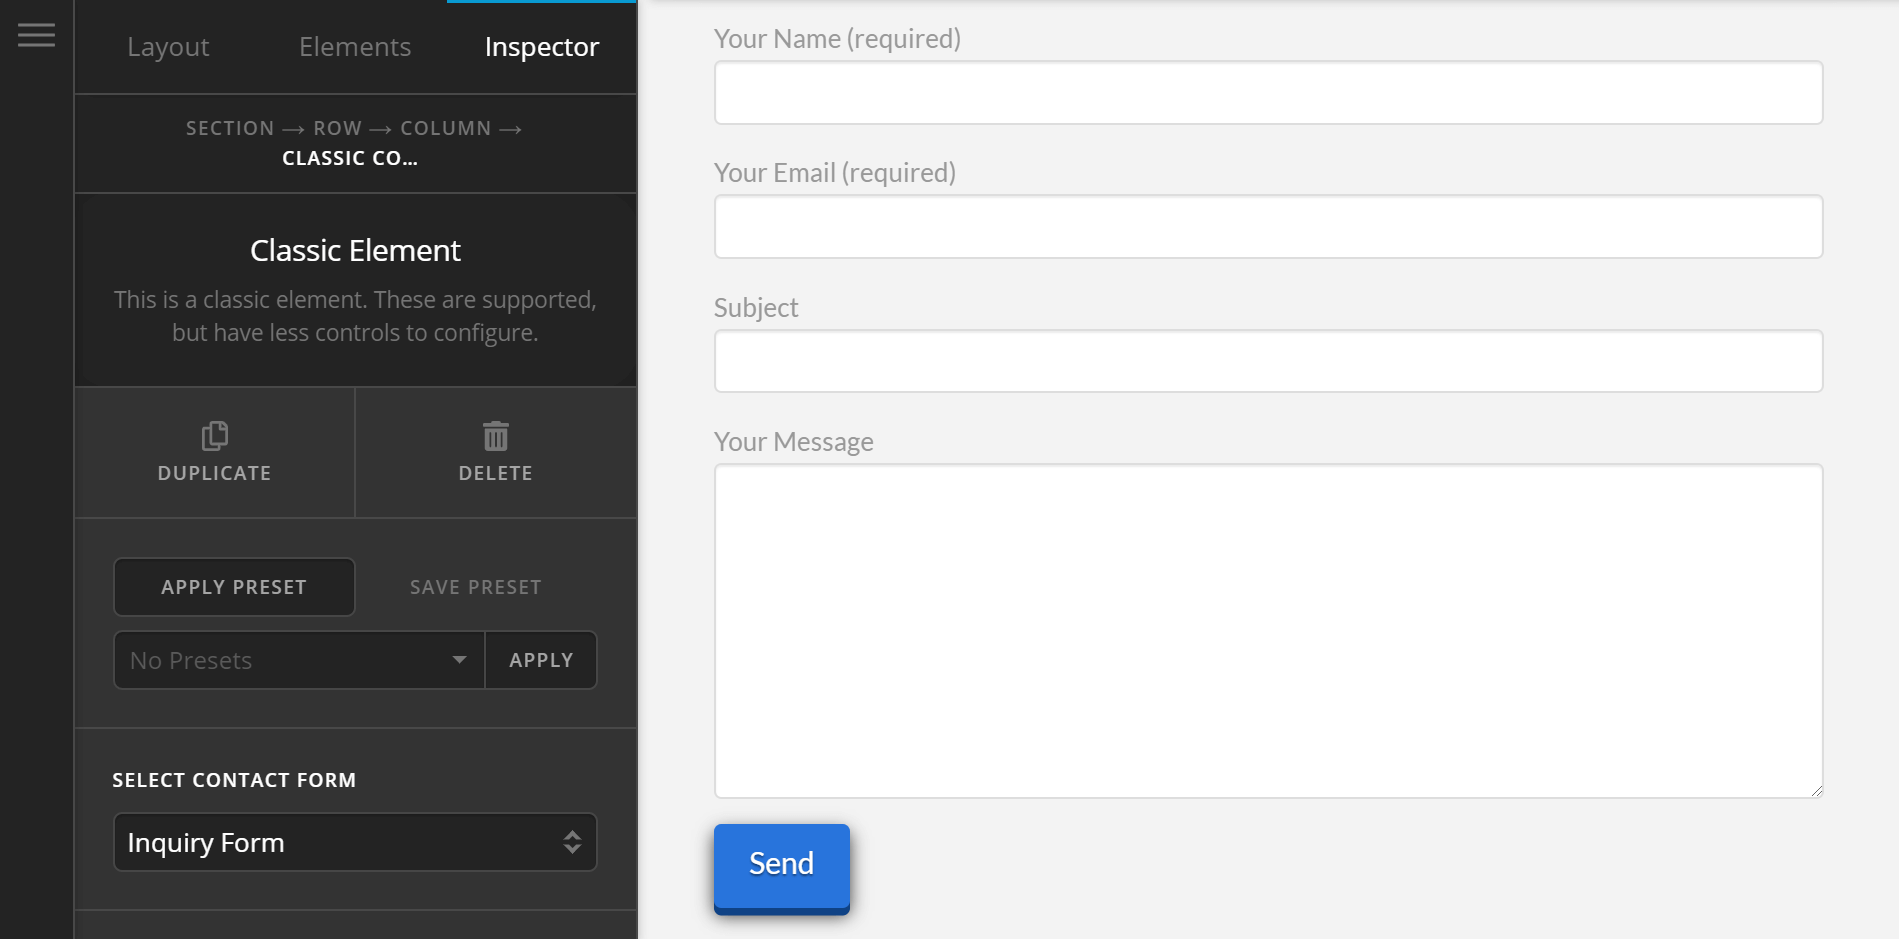
Then select the contact form you want to add. If you only have one form, there's no need to choose.
Summary
There you have it! You've learned how to create contact forms using Contact Form 7 and what each tab on the Add / Edit field page is for. Lastly, you learned how to add our forms on Cornerstone / Content Builder using the Contact Form 7 Element.
See something inaccurate? Let us know