Color Manager
In this article, we're going to discuss the Color Manager and how to use it when building or managing your site.
What is the Color Manager
The Color Manager allows you to set a color palette for use on your site. Meaning you can switch one of the colors and it'll instantly update sitewide, saving you time on going back and forth editing individual color values.
When to Use the Color Manager
The Color Manager serves as an abstraction layer for easily assigning and updating colors throughout Cornerstone. For example, say you have some pages you've designed and they're using a select grouping of specific colors. Maybe you have dozens or even hundreds of instances of these colors across your site from borders to backgrounds to text to box shadows. Now let's say that down the road you decide that one of those colors used throughout those hundreds of instances needs to be updated. Without the Color Manager, you would need to revisit every element and update that color...one by one...hundreds of times over. With the Color Manager, you can instead label a color however you see fit (e.g. "Primary Brand Color") and assign that labeled color. If you ever have to go back and update that color, you can simply update it once in the Color Manager and it will change all assignments of that color throughout your website.
How to Access the Color Manager
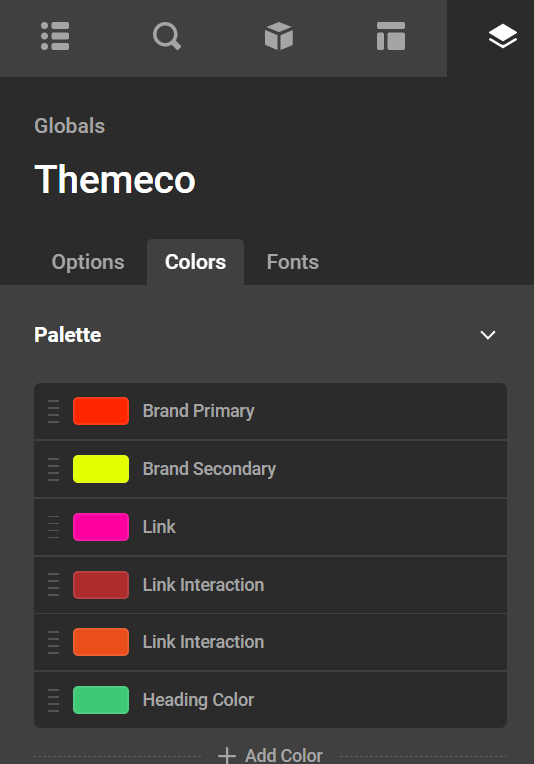
- Go to X / Pro in the WordPress admin Dashboard and click on Cornerstone.
- Click on the Layers icon to access the Theme options.
- Select Colors from the control tabs.
How to Create the Global Colors
Once you have opened the Color Manager, click the + button in the upper-right corner to add your first color:
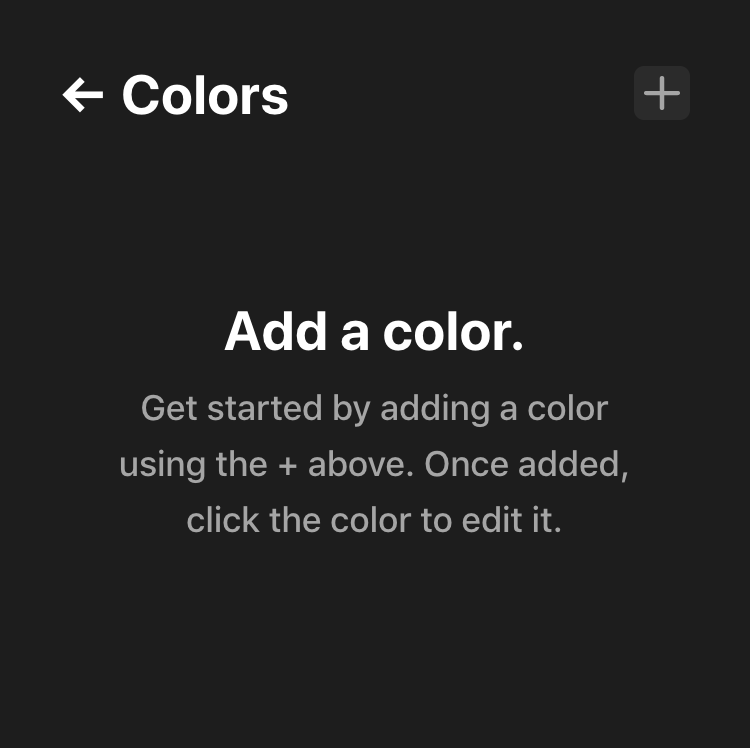
Clicking on the + button will add a new color to your color palette. By default, these colors are named with an incrementing label (e.g. Color 1, Color 2, et cetera) and will be given a random value:

Clicking on the color will reveal its color picker, where you can update the color's name using the input at the top, duplicate the color, delete the color, and alter the color value to your desired output:
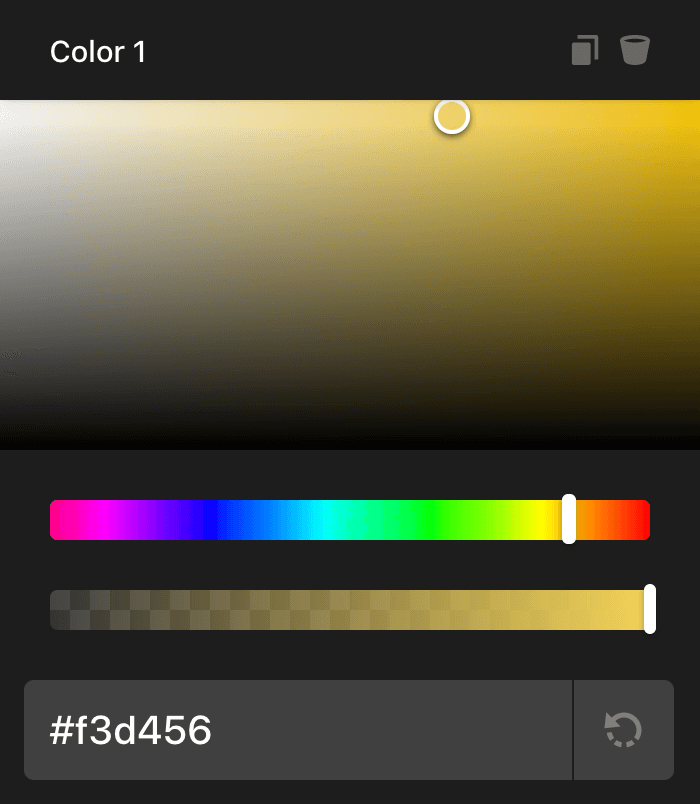
For instance, let's say that we want this color to be used as a sitewide accent color. You could update the color to your desired value and adjust the label accordingly:
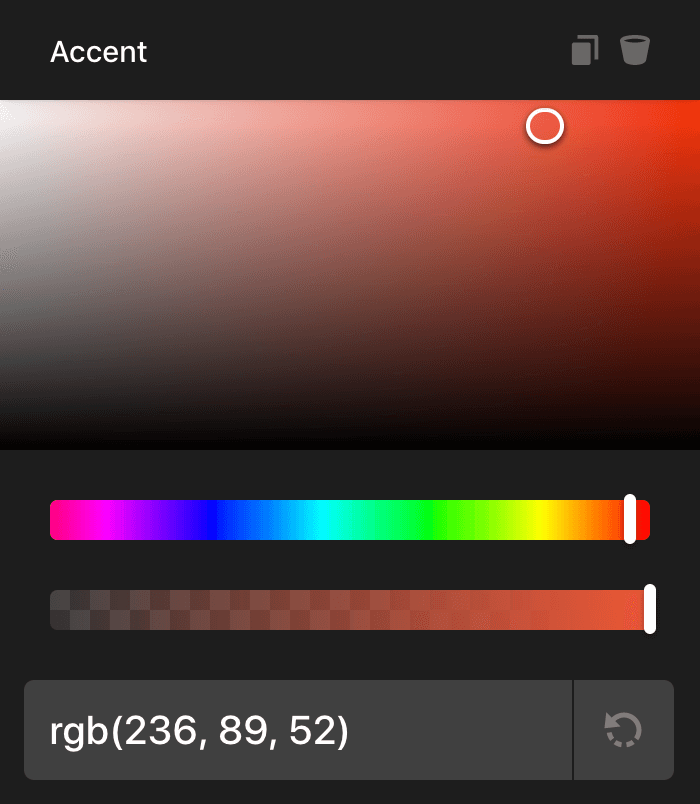
Once adjusted, your color palette item will reflect the new color in the manager. Hovering over this item will reveal its label so you can remember what it is:

How to Use Global Colors
Now that you have created some colors in the Color Manager, they will be available throughout different settings of the theme and in Cornerstone. You can use the added colors whenever there is an color picker in the builders or theme options. The ordering of your available colors will match the order you have set in the Color Manager. Additionally, hovering over your palette items here will also reveal a tooltip showing the label of that color to help you remember what it is intended for:
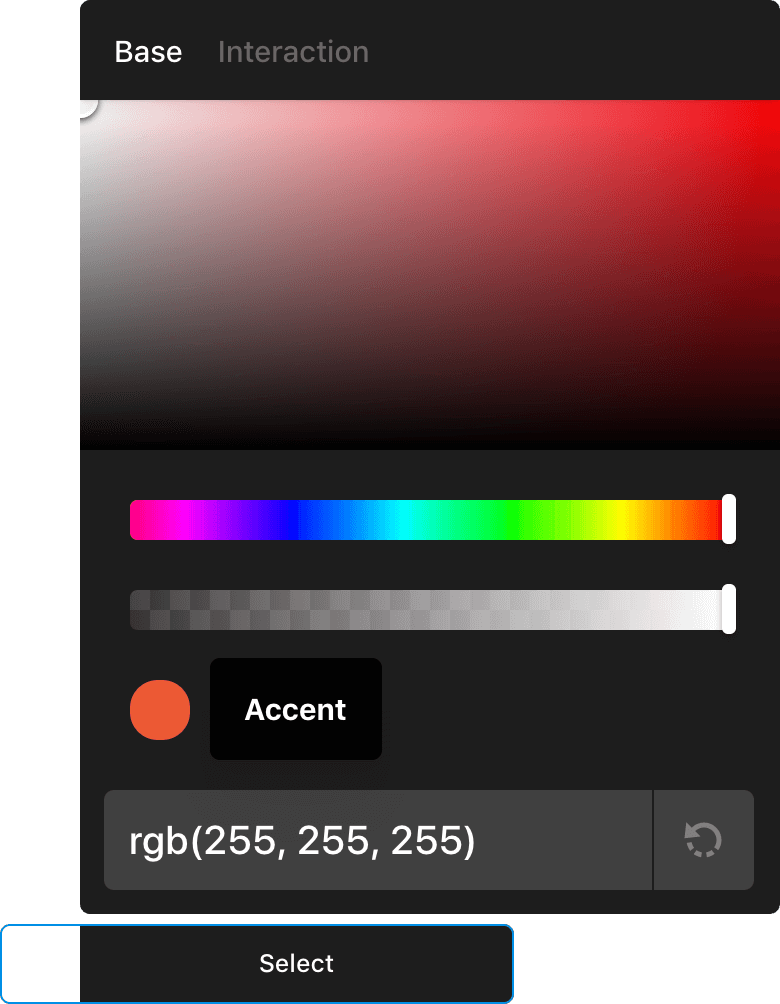
The beauty of the Color Manager is that as long as you use these global assignments wherever appropriate, if you ever want to go back and make adjustments to your site's colors (such as change a primary brand color, accent, text, et cetera), you can update it in one spot in the Color Manager and it will be automatically reflected across your entire website! This is an incredibly powerful tool that should certainly be taken advantage of for large builds, and even smaller sites alike.
Imagine if you had a long landing page full of Elements. It's easy to imagine that you might be calling up the same colors over and over again across your design...probably hundreds of times. Using the Color Manager ensures that you don't have to remember those colors all the time, you can just select them from your palette, and if you ever need to make a change you can do so easily and save yourself tons of time!
The EyeDropper
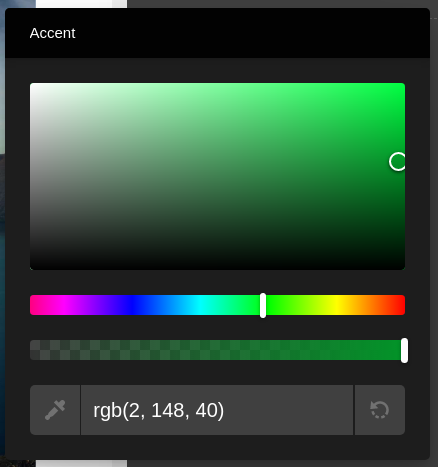
Currently (April 24th 2023) only available in newer Webkit Browsers is the ability to select a color directly on the page. Your site will also need to be on HTTPS. When it is accessible it will show up as an eyedropper icon next to the color input.
How to Use Global Colors via Dynamic Content
Global Colors are accessed via the id parameter to the global:color field. It would look something like this. To reference the IDs currently you need to access the "colors" in Dev Tools > Tools.
{{dc:global:color id="YOUR_ID"}}
Adding Global Colors Programmatically
There are two options here.
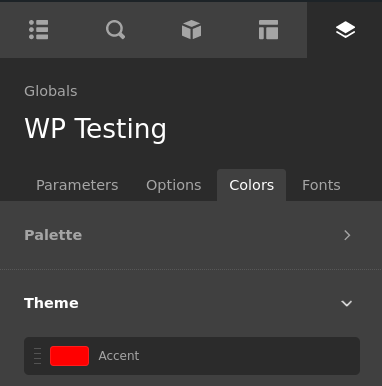
The first being to use "Theme" colors, which is currently accessible via the filter cs_colors_extend. This means in the UI you won't be able to change these color values which could be your preferences. You could for example, control your theme colors by environment variables.
<?php

add_filter("cs_colors_extend", function() {
    return [
        [
            "title" => __("Accent"),
            "value" => "rgb(255, 0, 0)",
            "_id" => "accent",
        ]
    ];
});
In the UI it would similar to this.
The second option being to change the "Palette" colors, which is an entry in wp_options. This option_value is cornerstone_color_items and is expecting a json_encoded string that has been passed to wp_slash. In this example we will set initial colors if your color palette is empty.
// Check if not empty don't overwrite
if (!empty(get_option('cornerstone_color_items', null))) {
    return;
}

// Your initial colors
$initialColors = [
    [
        "title" => __("Accent"),
        "value" => "rgb(255, 255, 0)",
        "_id" => "accent2",
    ],
];

// Encode
$stored = wp_slash( json_encode( $initialColors ) );

// Update
update_option( 'cornerstone_color_items', $stored );
Summary
We've talked about the Color Manager feature and why it is recommended to use for small or big projects. Additionally we've explained how to access the Color Manager and add the global colors. Finally, we've discussed the usage of those colors throughout Cornerstone.
See something inaccurate? Let us know