Preview Manager
In this article, we're going to discuss the Preview Manager and how to use it while working on design assets.
The Preview Manager allows users to specify what page or post should be viewed while editing a design asset (in addition to a few other helpful goodies). To open the Preview Manager, click the button shown in the screenshot below:

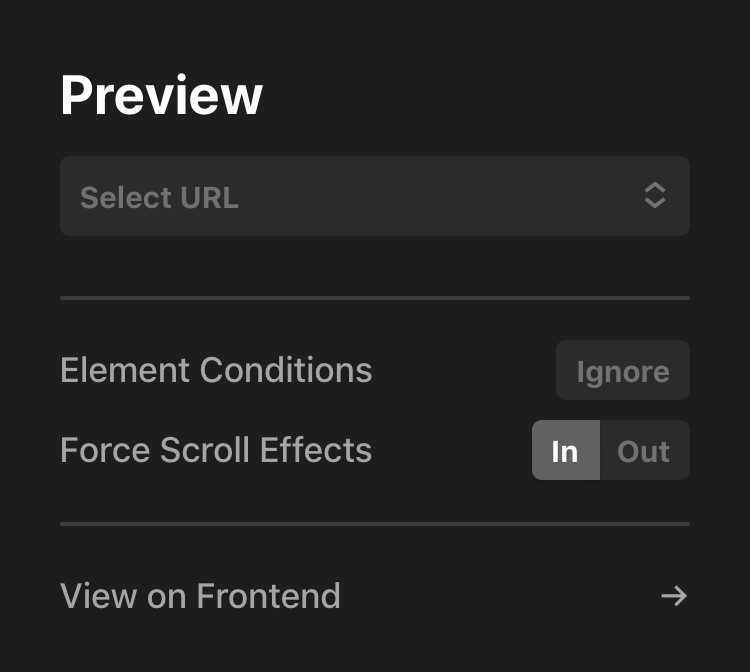
Once selected, the following dropdown will appear:
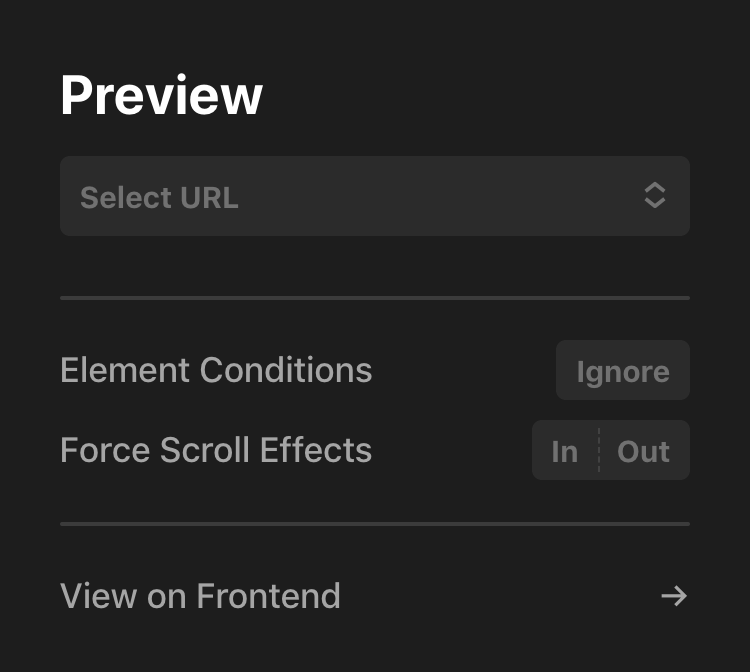
Note: the Preview Manager might appear in a sightly different manner depending on the Builder you are in, or based on certain conditions during the page building process. The primary change you will notice is the absence of the Preview Switcher control when in the Content Builder.
Preview Switcher
To select the page or post you want to preview your Header, Footer, or Layout on you will need to first select the appropriate context. For example, if it is a page you want to preview your asset on, you would select Page from the first dropdown:
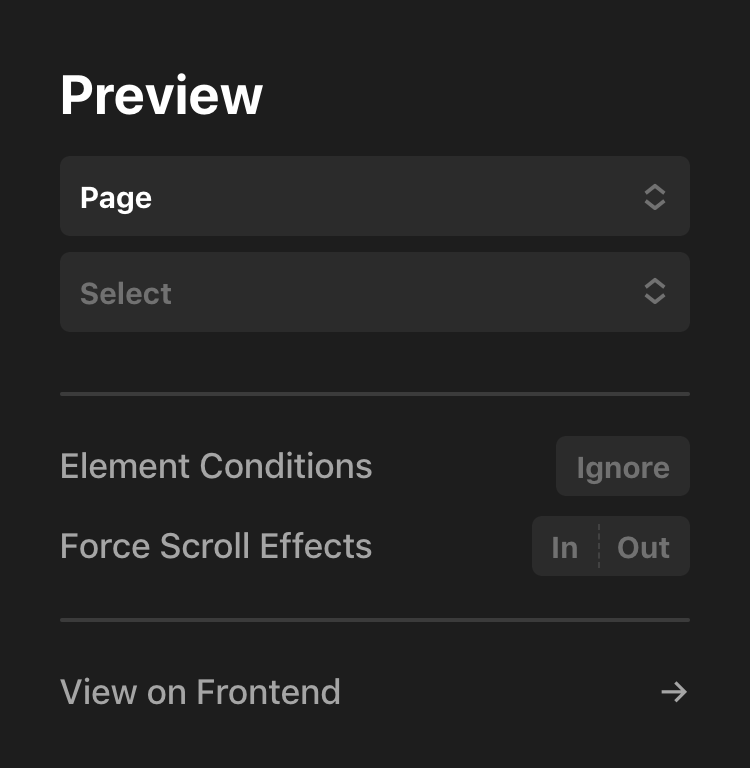
Next, locate the specific page you want to preview your asset on in the secondary dropdown that appears below:
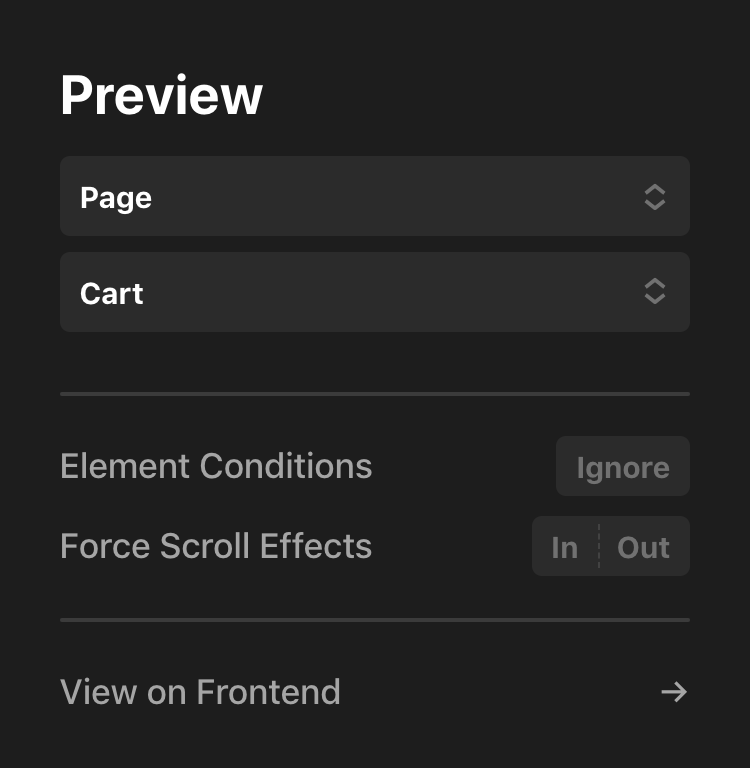
In the example above, the preview would be routed to display the Cart page on your site. The ability to alter the preview context is very important, especially when working on assets with dynamic content. For instance, imagine you had a custom Header designed for your WooCommerce product pages that showcased the product title, price, and an add to cart button—being able to switch to individual product pages and test out that Header is an important part of the development process. Now with the inclusion of the Preview Manager, performing this step has never been easier.
State Management
There are a couple situations where you will want to be able to manage the state of certain Elements while you work on designing them:
- If working on conditional content, you may want to toggle between honoring the conditions you've set or ignore them completely. For example, if you are creating a looper to output some recent posts, you may have need to apply a condition to only output a featured image if it is set on the backend. In that case, you may need to toggle between honoring that condition to see how your posts will work with and without the image present and ignoring the condition so you can see the image and style it appropriately.
- If working on an Element with a scrolling Effect applied, you might wish to lock the Element in either its "in" or "out" state so that you can style it quickly without having to retrigger the transition over and over.
If you wish to ignore all applied Element conditions as mentioned above, click on the following toggle in the Preview Manager:
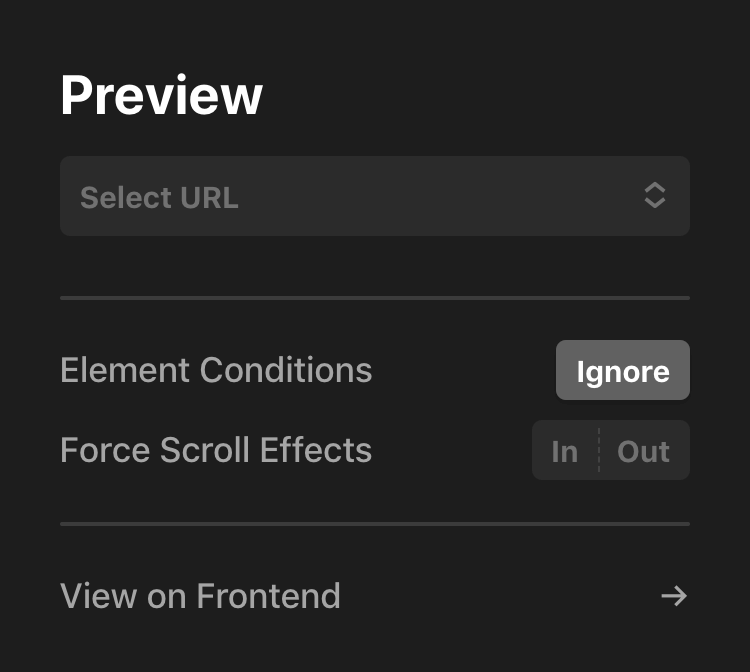
Furthermore, if you wish to lock your scrolling Effects in the "in" or "out" position, select the following toggle as needed:

Assignment Alerts
For Pro users, one pattern to be aware of is assignment alerts in the Preview Manager. If you are working on a Header, Footer, or Layout that you have not yet assigned to a context, you will see the following notification bubble on the Preview Manager button:

Opening up the Preview Manager will show the following message:

Clicking on that alert will take you directly to the assignment screen for that asset to ensure that you have it output appropriately on the frontend of your site, otherwise you will not be able to see your asset on the frontend.
Frontend Preview
Previewing your asset on the frontend can be done by opening the Preview Manager and selecting View on Frontend, or you can CMD / Ctrl + click on the icon directly in the toolbar, which will open the link in a new tab (this is a much quicker method rather than having to open the dropdown each time).
See something inaccurate? Let us know