HubSpot
In this article, we're going to introduce the HubSpot All-In-One Marketing WordPress plugin.
HubSpot is a marketing, sales, and service software that helps the business grow without compromise. The HubSpot All-In-One Marketing plugin connects your HubSpot account to your WordPress installation.
How to Enable the Extension
To install and enable the HubSpot All-In-One Marketing plugin, go to Pro > Validation or X > Validation. Scroll down and look for HubSpot and click the install.
Once installed, the Install button will change to Activate. Click that button, and it will activate the plugin. You will then see the status change to Installed and Activated.
Just like in the free version, once installed, the Install button will change to Activate. Click that button, and it will activate the plugin. You will then see the status change to Installed and Activated.
Connect with Hubspot
When you have HubSpot installed and activated, you should see a HubSpot menu item on the WordPress dashboard. Go to that menu, and you will have two options:
- Register: If you do not have an account with Hubspot click Create Free Account button.
- Sign in: If you already have an account with HubSpot Click the Sign in link.

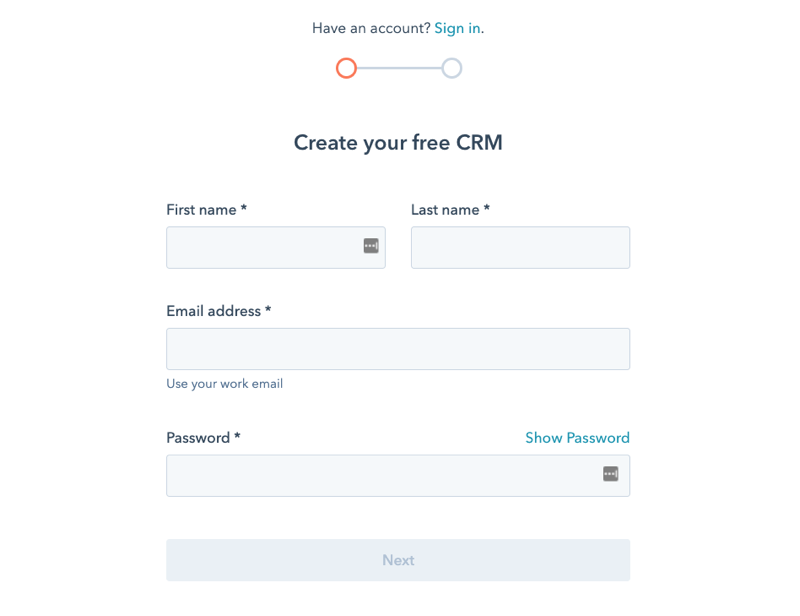
Registering with HubSpot is an easy process with a typical registration form that you will provide Your name, last name, email, and a password.
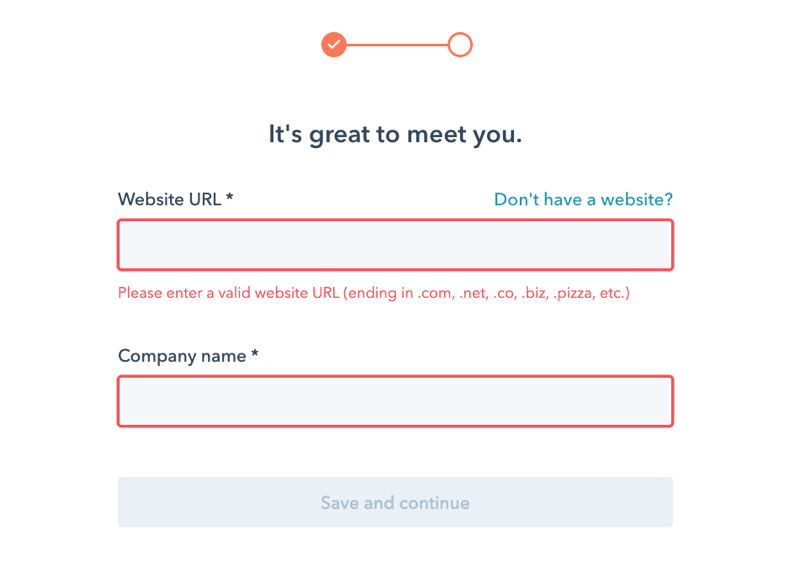
The next step is to provide a valid website URL and the name of your company:
The last step is to click the Connect button, and your WordPress installation will be linked with HubSpot.
Create Form
You can create a form which will collect your customer's information and create leads. Click the Create Form button at the top right-hand side of the screen to start the form creation process.

Choose a Type
You can choose the type of the Form in the next step:
- Regular Form: You can convert more leads with regular forms that you can embed on your website or share across platforms.
- Pop-up Form: You can create forms that pop-up on your website. Add a thank you message and a follow-up email to send your leads.
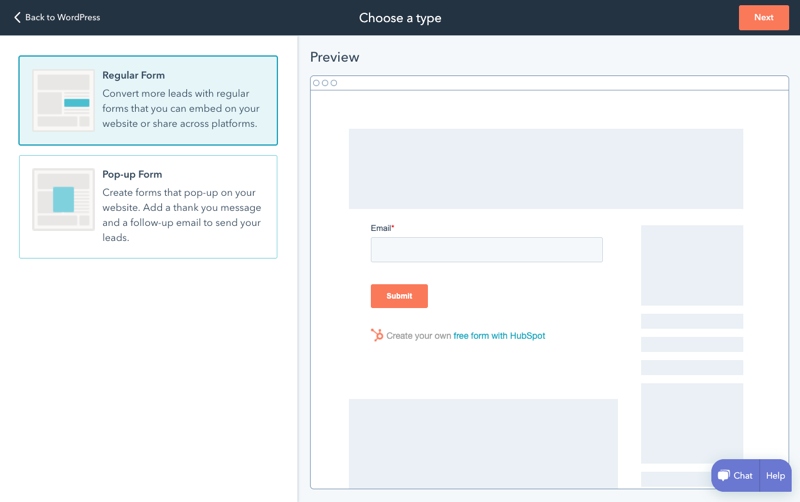
We are going to choose the Regular Form type in this case.
Select a Template
The next step is to select a template. You can start with a blank or one of the commonly used templates such as Registration, Contact Us, Newsletter Signup, eBook Download, and Event Registration.
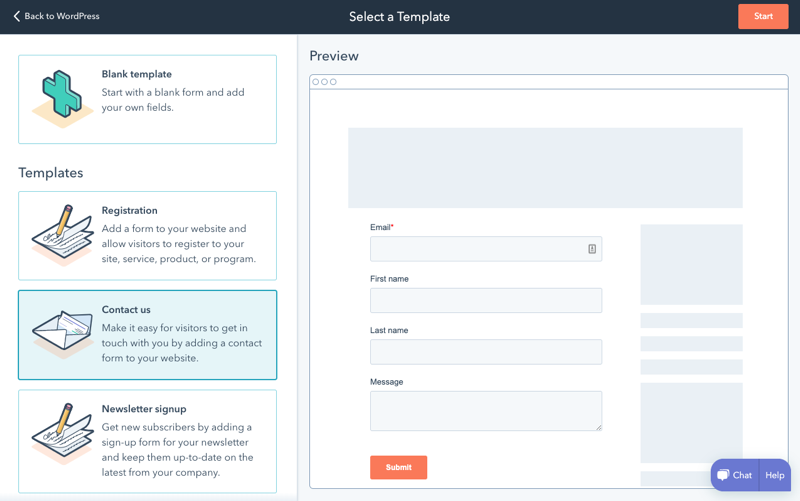
We are going to select the Contact Us template in this case.
After the template selection, click the Start button at the top right section of the screen.
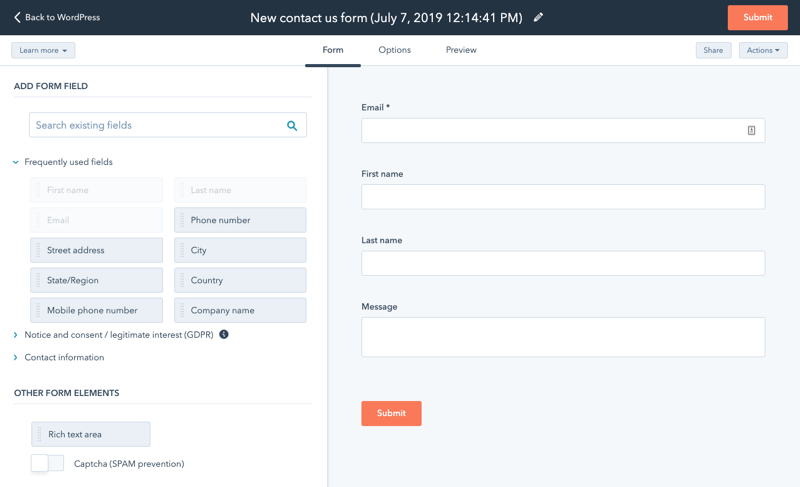
Form Details
You will be able to change the form details, and add, or remove inputs in the next step. You can also set the general options by clicking the Options tab at the top, and finally, you can see the preview of the form by clicking the Preview tab at the top.
After finishing the creation of the form click the Submit button at the top right section of the screen and you will be presented with the form shortcode:
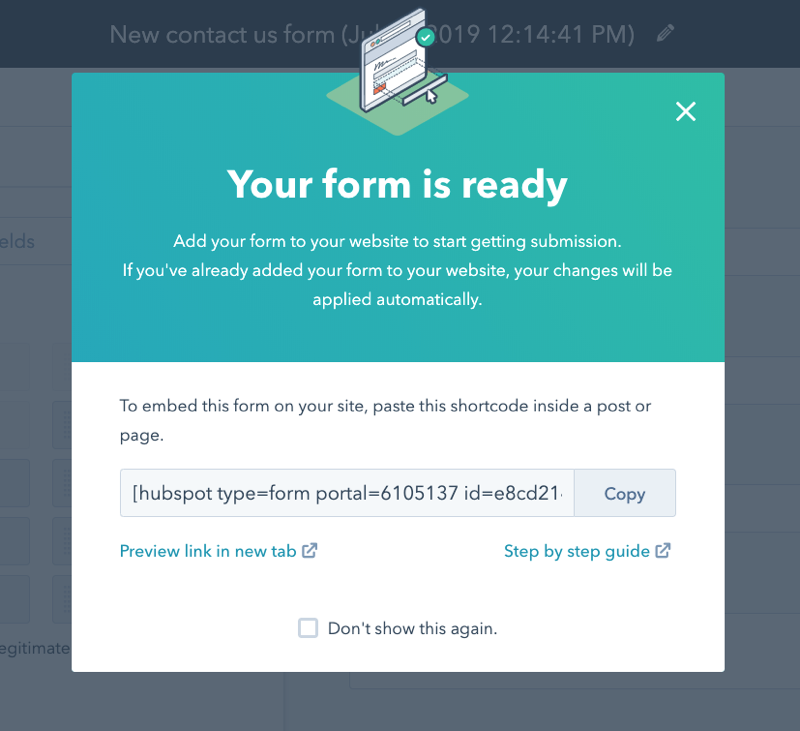
Copy the shortcode to as we will use that in the next step.
How to Add HubSpot Form in Cornerstone/Content Builder
For the purpose of this article, we're going to cover adding HubSpot Form on a new page through Cornerstone / Content Builder, but you can add it to an existing page/post anywhere you want. Load up the page/post you want to add it to in Cornerstone / Content Builder.
If it's a new page/post, add a new section in Cornerstone / Content Builder which will contain the form. Search for the Raw Content element to add it on the page/post:
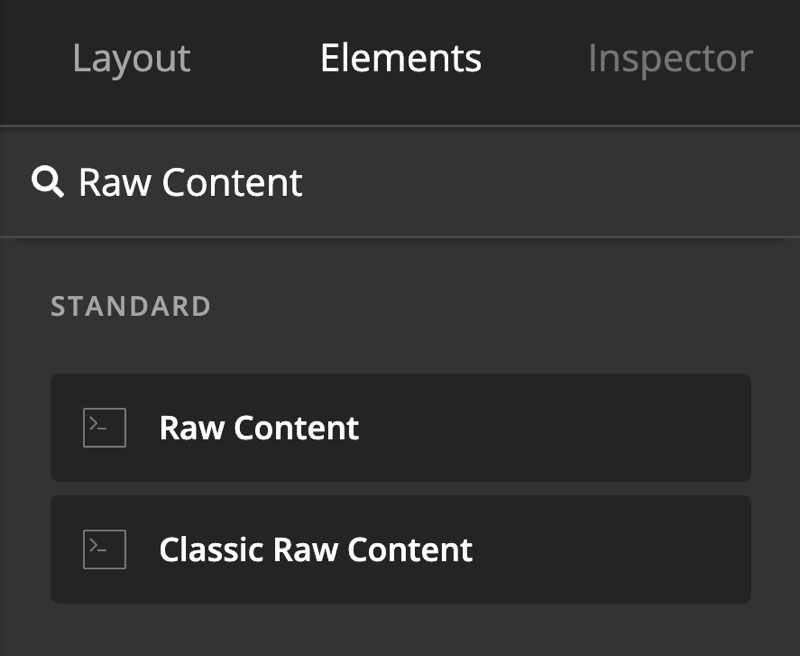
Drag and drop that Raw Content element into the Preview area of the page builder and you will be presented with the options of that element in the Inspector panel.
Paste the Shortcode that you have copied in the previous step into the Content option of the Raw Content element and save the page/post.
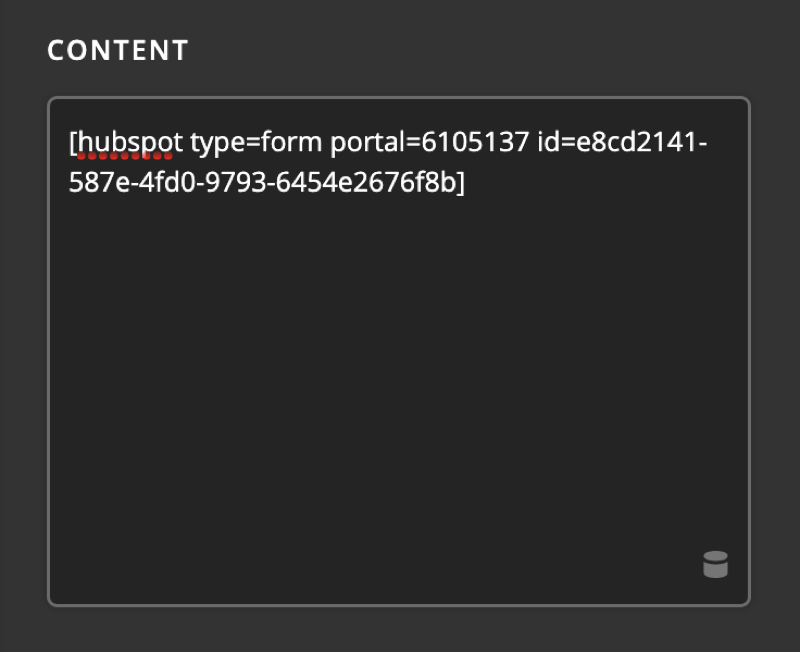
Now you've successfully added the HubSpot form into your website!
Further Documentation
HubSpot features a great knowledge base which covers individual topics in detail. You can find it here.
Summary
Hopefully, this introduction to HubSpot gave you a better understanding of the main options and features this plugin provides. We explained how to create forms within the plugin options and show them on your website using Cornerstone (X) and the Content Builder (Pro).
See something inaccurate? Let us know