ACF Pro and Loopers
In this article, we're going to discuss how to leverage ACF Pro and Loopers to create powerful, data-driven layouts.
Loopers, loopers, loopers. It seems to be all anyone is talking about around here lately…and with good reason. Loopers open up so many possibilities when working on design patterns for your website, which is why we are incredibly excited to announce ACF Pro Integration with Loopers and Dynamic Content! 🥳
That's right! You can now leverage the flexibility and power of ACF Pro and access it directly inside our family of Builders to create stunning layouts that can plug in your custom ACF data however you see fit.
Let's imagine a situation in which a client requires dozens of templates to be made that need a very intricate—and formulaic—layout. Something that comes to mind in this vein might be a gym or fitness center that offers many different classes, all of which need a very specialized set of output. To help demonstrate some of these concepts more clearly, we've created a simple page template that employs a few different techniques for accessing information in your ACF Pro setup:
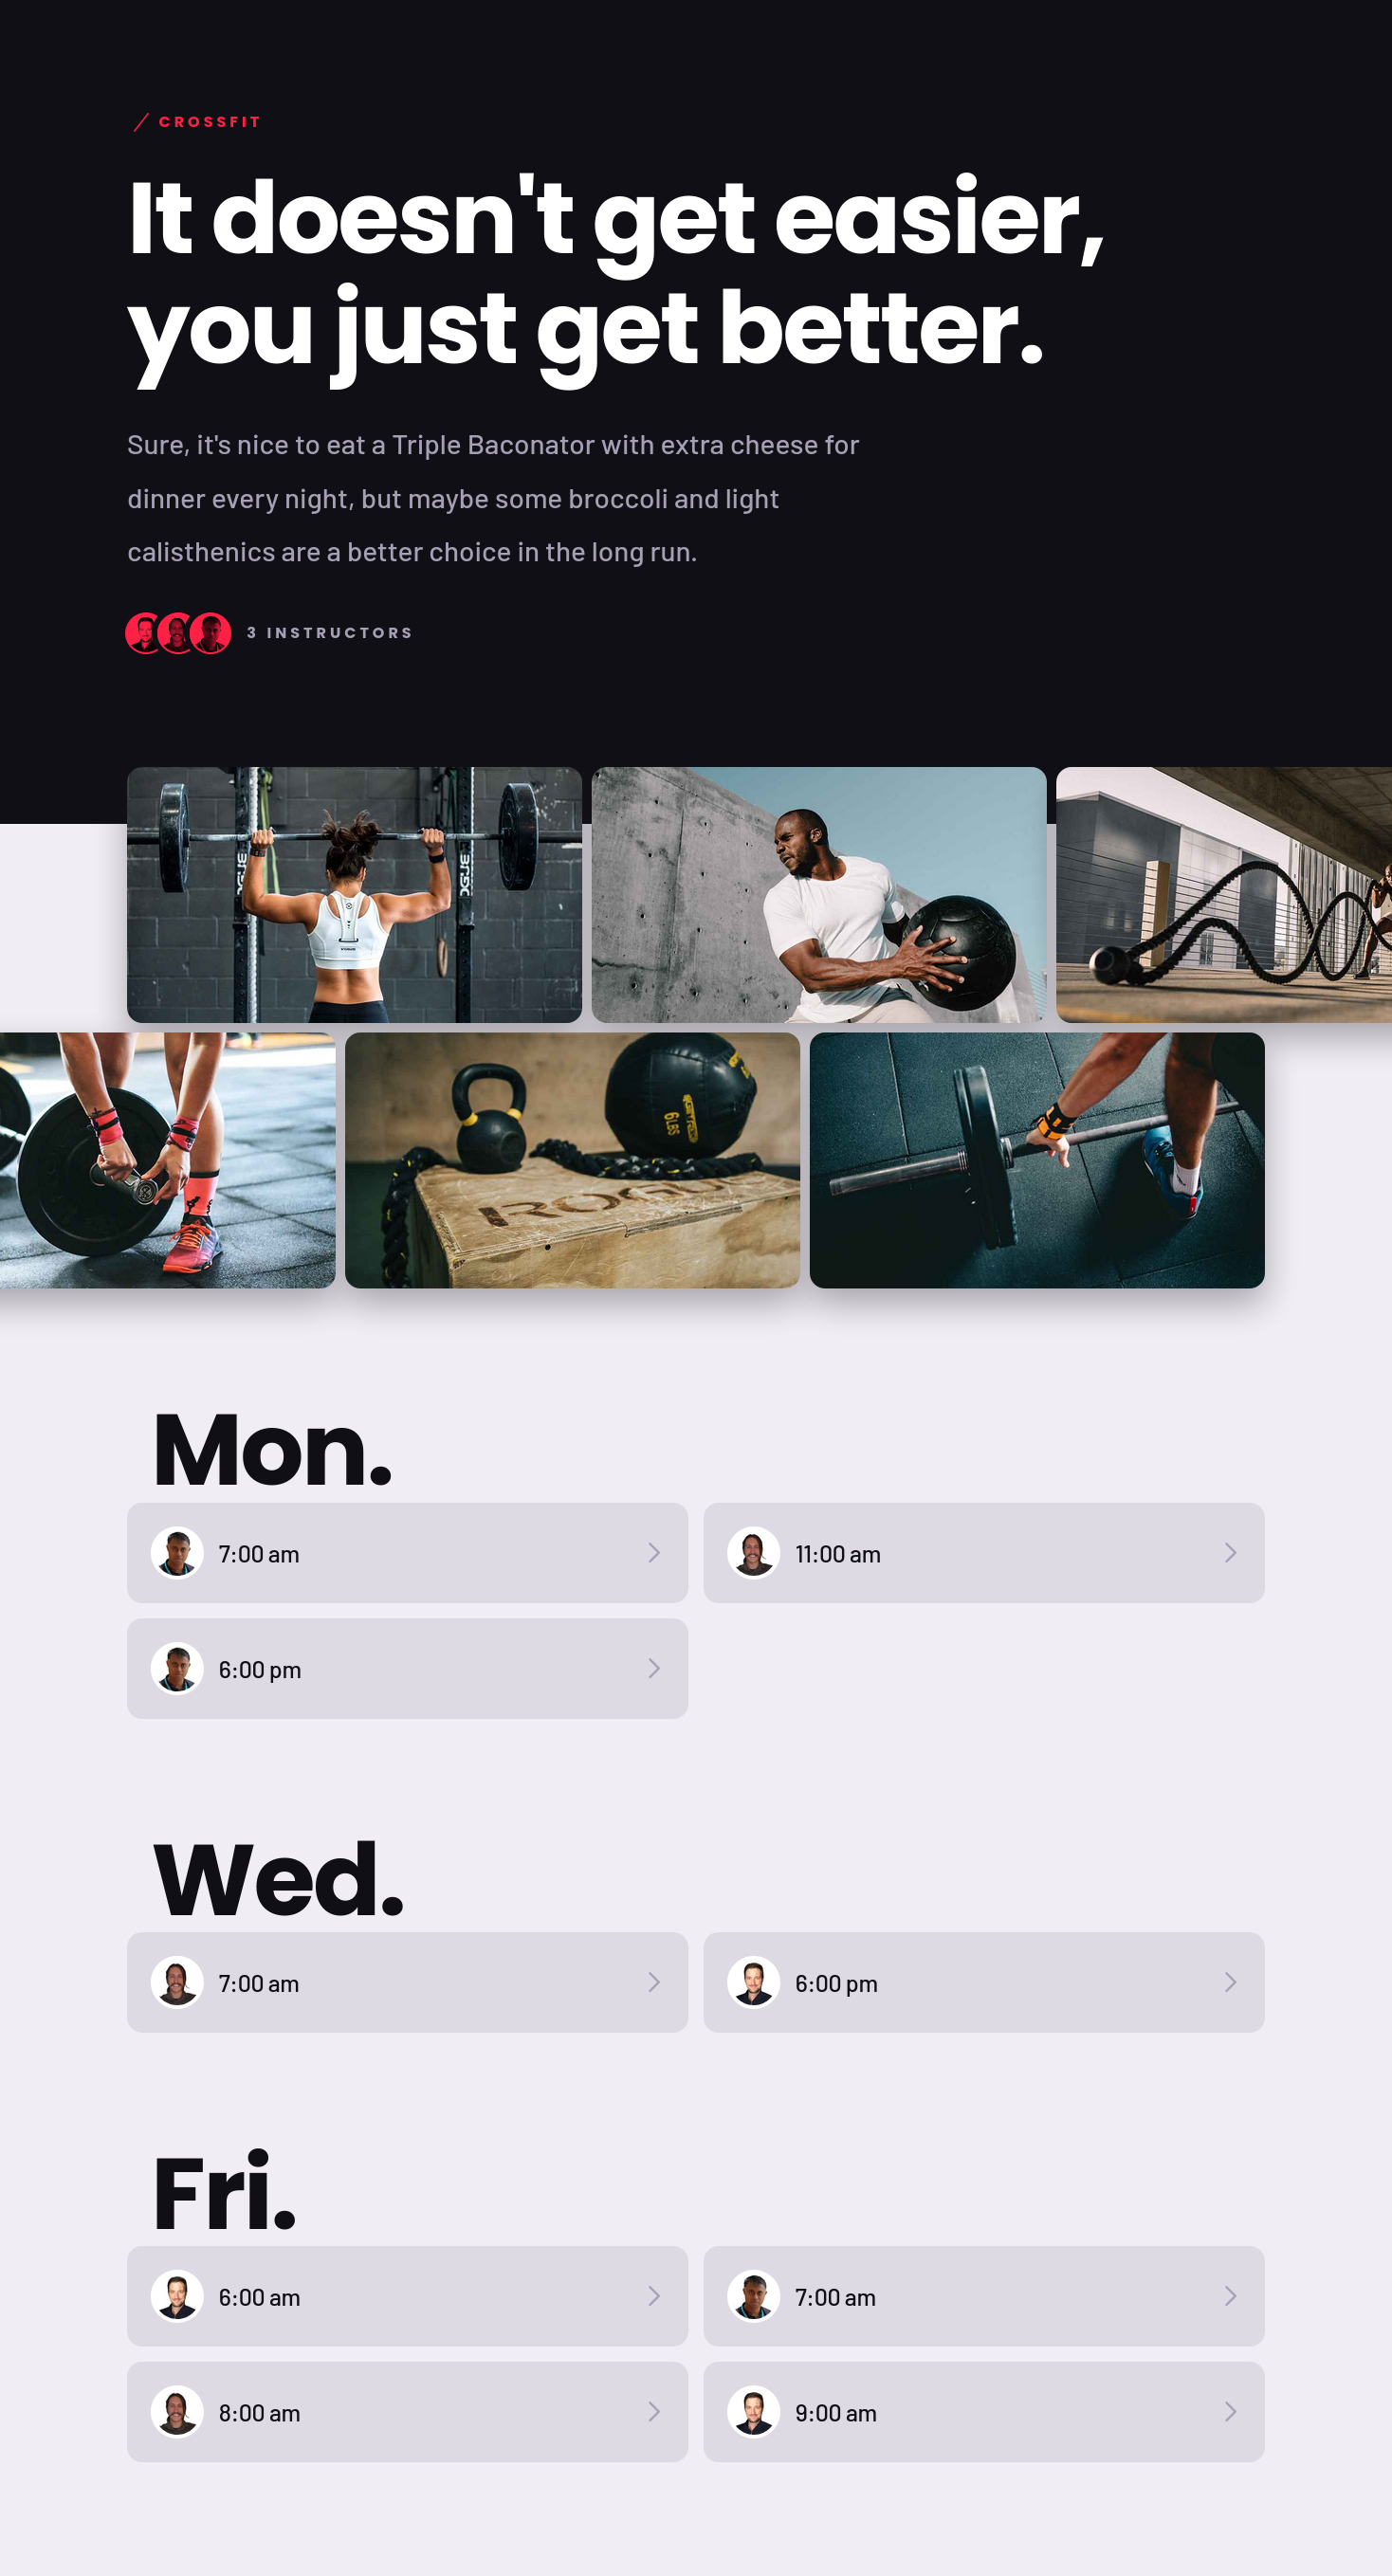
While this example is simplified to some extent, it helps to illustrate how we can open up a lot of content management potential when we take advantage of all that ACF Pro has to offer. While we could certainly mix and match where information is coming from (e.g. we could get the page's title using the {{dc:post:title}} Dynamic Content string if we needed), we went ahead and setup every bit of information to be pulled through from ACF Pro:
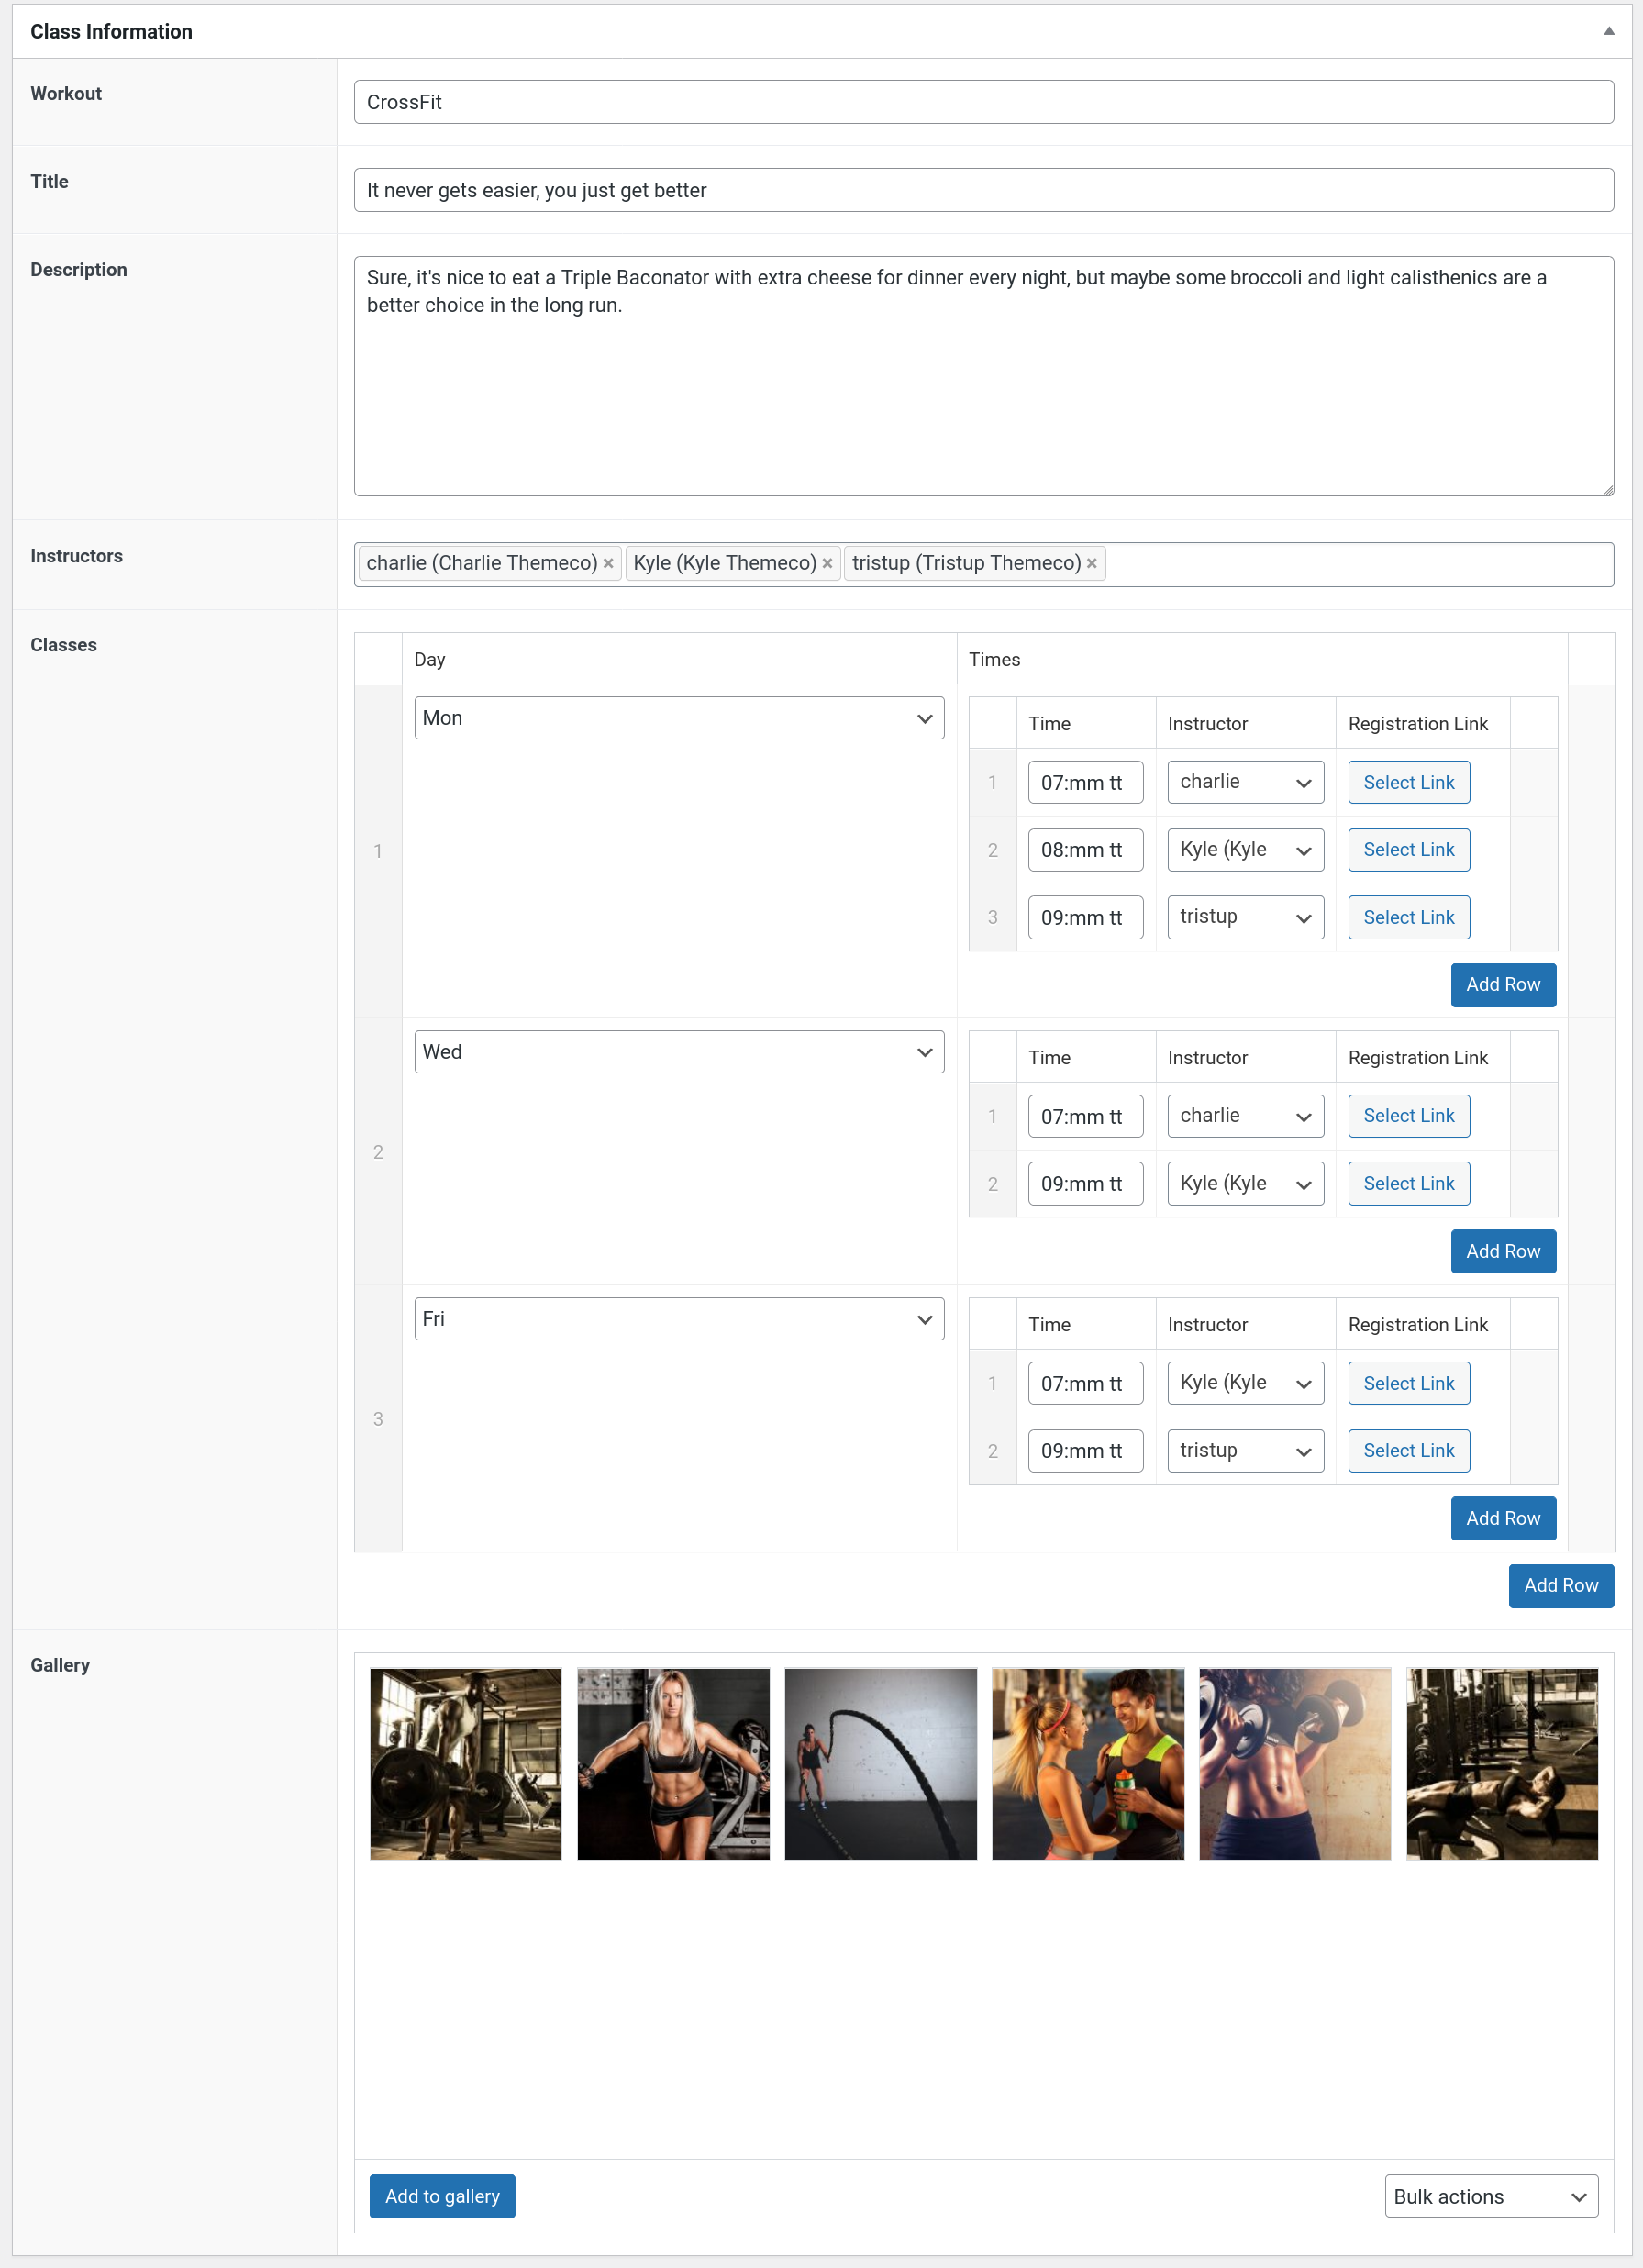
ACF Types and Settings
ACF Pro features four primary types of fields, which can be assigned to their respective contexts:
- Post Field: Can be assigned to any post type, including custom ones (e.g. Posts, Pages, Products, et cetera)
- Term Field: Can be assigned to any term within a taxonomy (e.g. Tags, Categories, Product Tags, Product Categories et cetera)
- User Field: Can be assigned to any user's profile
- Option Field: Can be assigned to extend a theme's base options
Expanding on this, a setting in ACF Pro's lexicon is any meta information associated with a particular field that you might want to reference for some reason. For example, you may wish to access the Field Label to output in your design along with its actual value, or perhaps you'd like to use the Field Type in a dynamic Element Condition Expression. There are numerous users for why you might want to access these parameters, but for now we will focus on the fields themselves and their respective values.
Singular Fields
Based on the example we have been looking at so far, some examples of singular fields would include:
- Workout (text input)
- Title (text input)
- Description (textarea)
Each of these fields is singular in nature meaning it is only returning one explicit value. Other fields may be multi-dimensional, meaning that they return many values or objects, which can then be looped over to access the information of each item (more on this later).
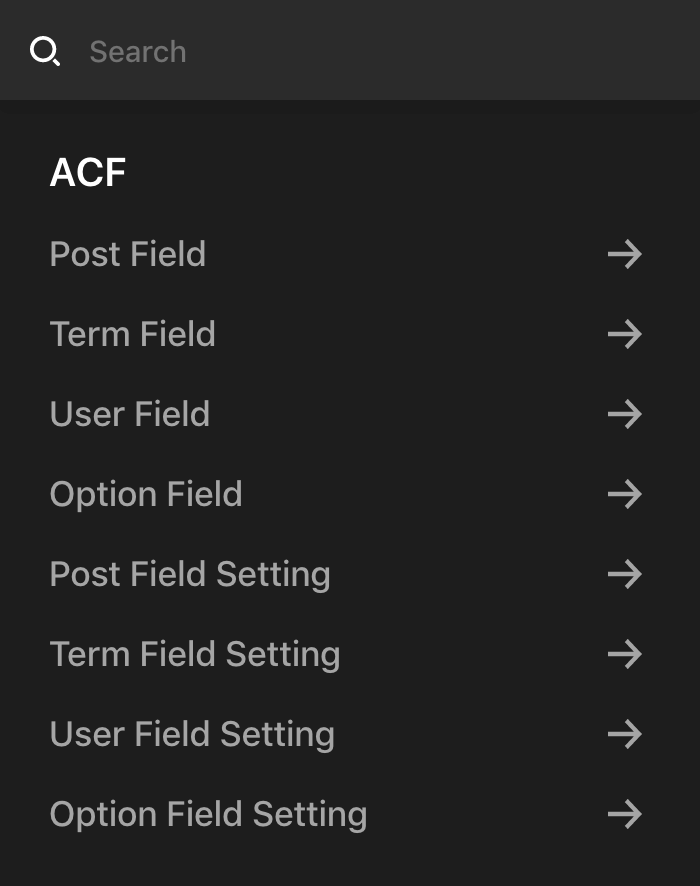
Accessing a singular field does not require a Looper. To retrieve a singular field, start by opening the Dynamic Content Popup wherever you are trying to access that information and find the ACF group. Let's say that we wanted to output the Workout field seen above on our page. That was setup on the backend of our installation with a “Field Name” of workout, so that is the key we will be using to access that field. Since we have assigned that to our Pages, we will use the Post Field Dynamic Content string to retrieve that information:
Once you click on the Post Field item, a pane will be revealed where you can enter in the key you are wanting to access:
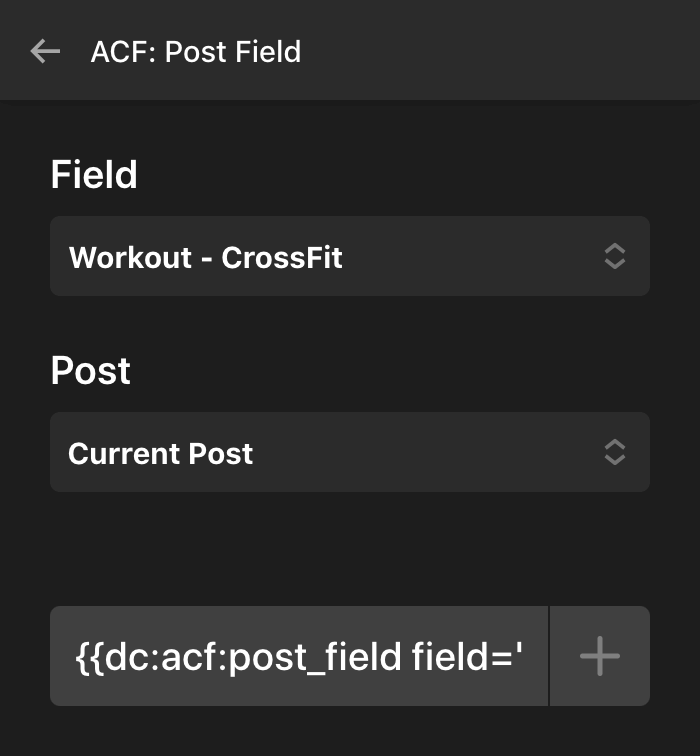
When accessing a top-level field like this, we are able to pull in your specified fields via ACF Pro's APIs, making the selection process very straightforward. If you see a <select> menu like this where you can make a choice, it will start with the Field Label followed by your input value on the backend, allowing you to easily see which field it is you're looking for. Once you have finished, click the + button to add the Dynamic Content string to your input or editor. In this case, the generated string ended up being:
{{dc:acf:post_field field="workout"}}Multi-Dimensional Fields
Based on the example we have been looking at so far, some examples of multi-dimensional fields would include:
- Instructors (user selection)
- Classes (custom repeater)
- Gallery (image gallery)
Accessing a multi-dimensional field does require a Looper due to the fact that it is not returning a simple value such as a string or integer. Instead, these fields can contain one or more items being referenced, each of which will have their own assortment of information that can be accessed.
For example, let's take the Instructors field from our asset above. You will notice that this is a user select, allowing us to assign one or more users to this page as our instructors that help lead this class.
To access the associated information for each of these users we've assigned, we will first need to setup our Dynamic Content Looper Provider on a parent Element, which will give us the information we need to use with a Consumer somewhere down the chain. To set this up, we will go to the Element where we want to apply our Looper Provider, click on its Customize control tab, and turn on the Looper Provider and set its type to Dynamic Content:
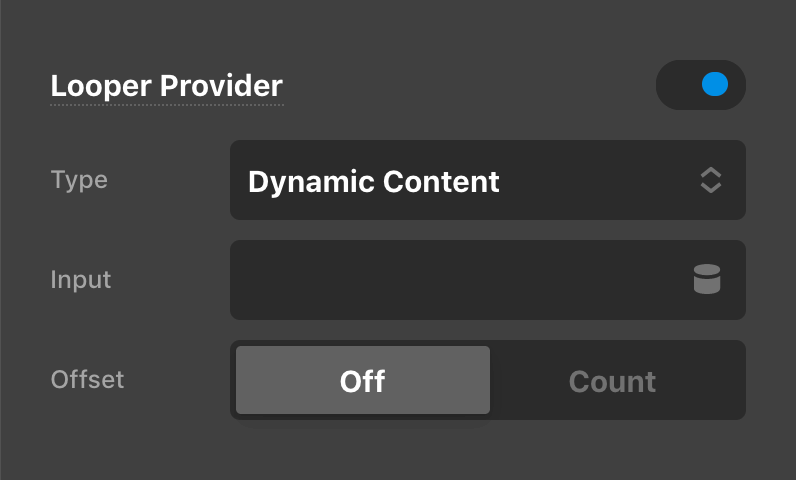
This Dynamic Content Provider is the heart and soul of what powers our ACF Pro integration with Loopers. This is where any multi-dimensional source of data can be specified to then be consumed down the line to output data points from each entry. In keeping with our example, if we wanted to loop over our instructors we would once again click on the Dynamic Content icon to reveal the popup, find the Post Field item under the ACF section as we are wanting to reference a field added to our page, and then select the Instructors field from the <select>, which would generate the following string upon clicking the + button:
{{dc:acf:post_field field="instructors"}}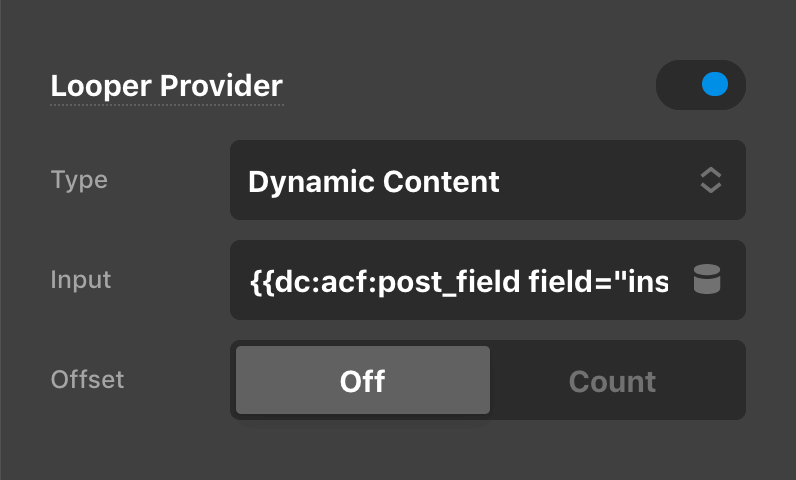
That data will then need to be consumed somewhere down the Element tree, which will give us the ability to access the information we want to pull out from each item. In this particular example, we setup an Image field to be assigned to all users within the installation so that we could set our own thumbnail separate from the Gravatar that WordPress attempts to pull in, giving us much more control over the output on the frontend of our site. That field was assigned to all users with a key of image. Because of this, we would want to access that field with—you guessed it—the User Field Dynamic Content string.
To include this ACF data, we would go to our Image Element and click the Dynamic Content icon, revealing our friendly popup. Locate the User Field item and click on it to specify the appropriate key (one nuance of accessing information that is “nested” at these deeper levels is that ACF Pro does not have an API that will allow us to populate these sub-field values in a <select> as we saw previously, so these keys will need to be handwritten):
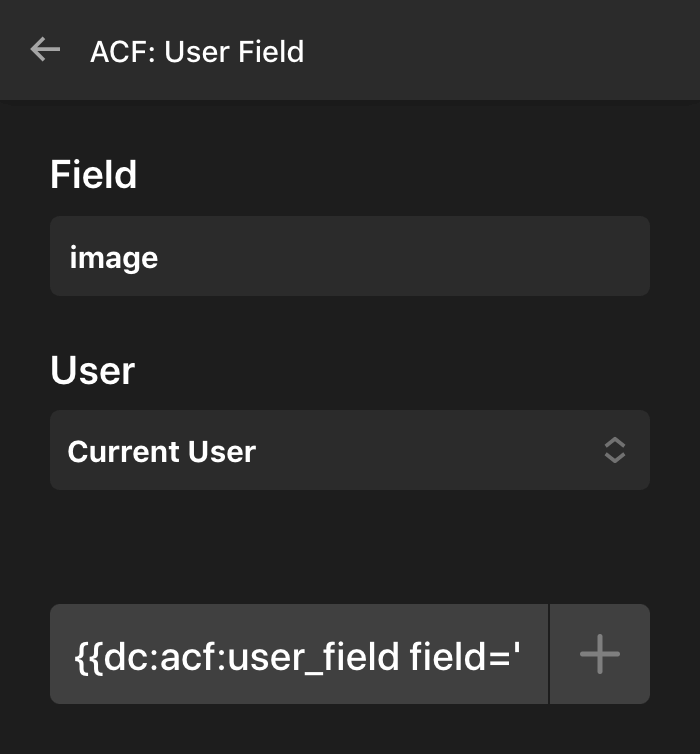
Which is how we populated the following portion of our example design. Voilà! Our masterpiece is coming together one Looper at a time:

One additional piece of information to be aware of when working with certain multi-dimensional fields is the Return Format that can be specified during the setup process. Whenever you are working with a field that either an array or an object, we recommend switching this control to the object setting to allow access to Dynamic Content within your consumer. So for our user field, you would want to set this value to User Object in the backend, like so:

Another example of a multi-dimensional field from our example would be the Gallery Field Type, which allows us to add a collection of images that we can later access and output accordingly in our design:
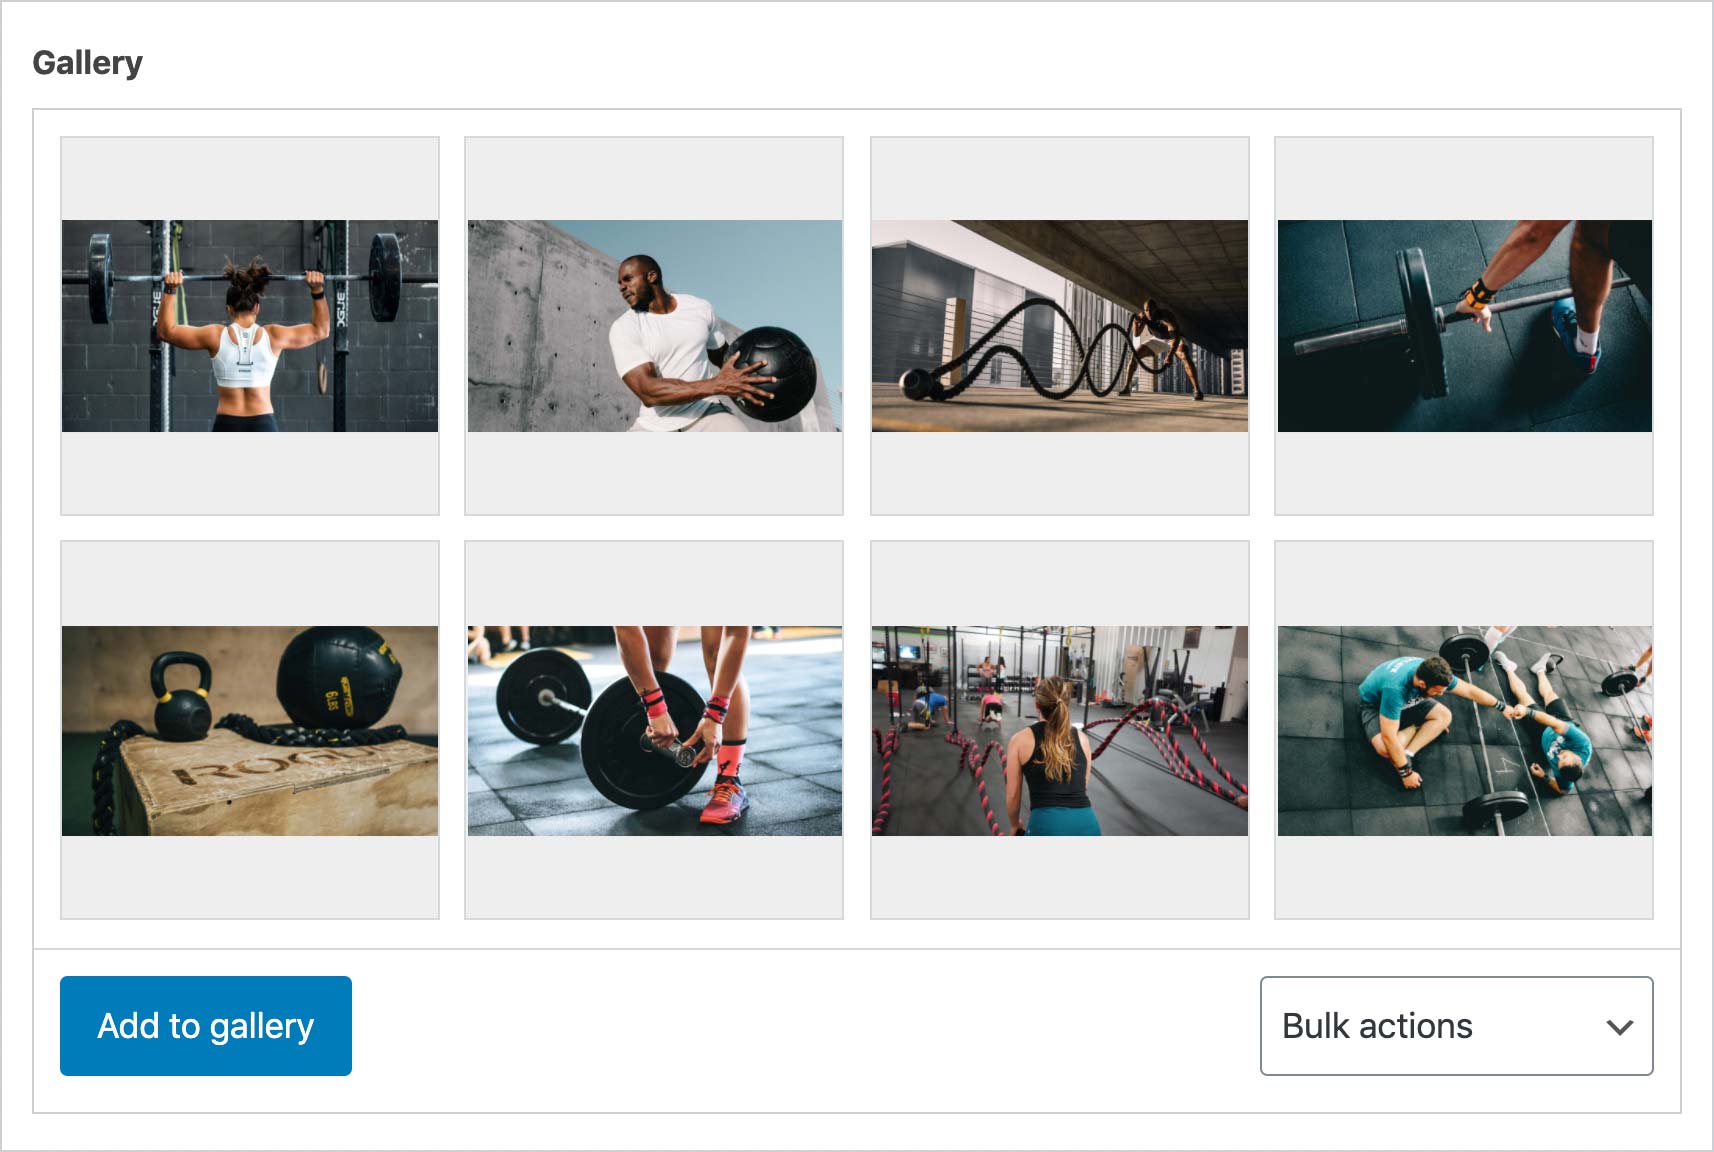
As we have done previously, looping over these images is accomplished by setting up a Dynamic Content Provider somewhere up the Element chain that accesses that field in our setup:
{{dc:acf:post_field field="gallery"}}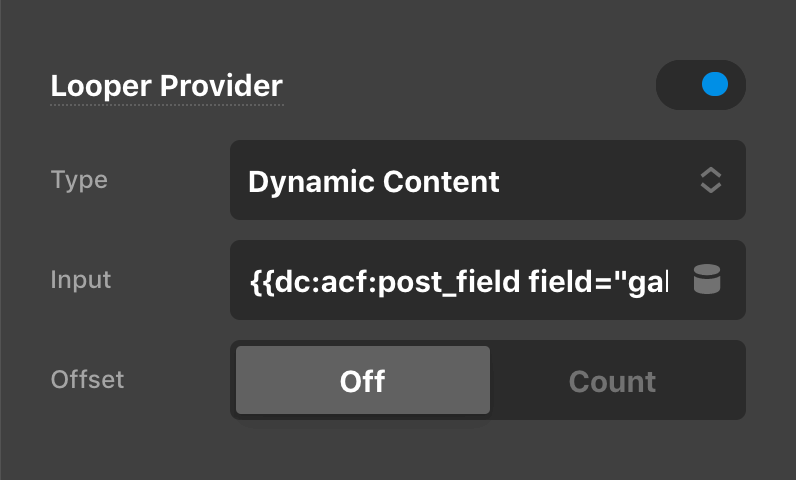
This can then be consumed on a child Element further down the chain. In this particular instance, we were using a Div Element as the parent for our images, so we enabled the consumer on that level:
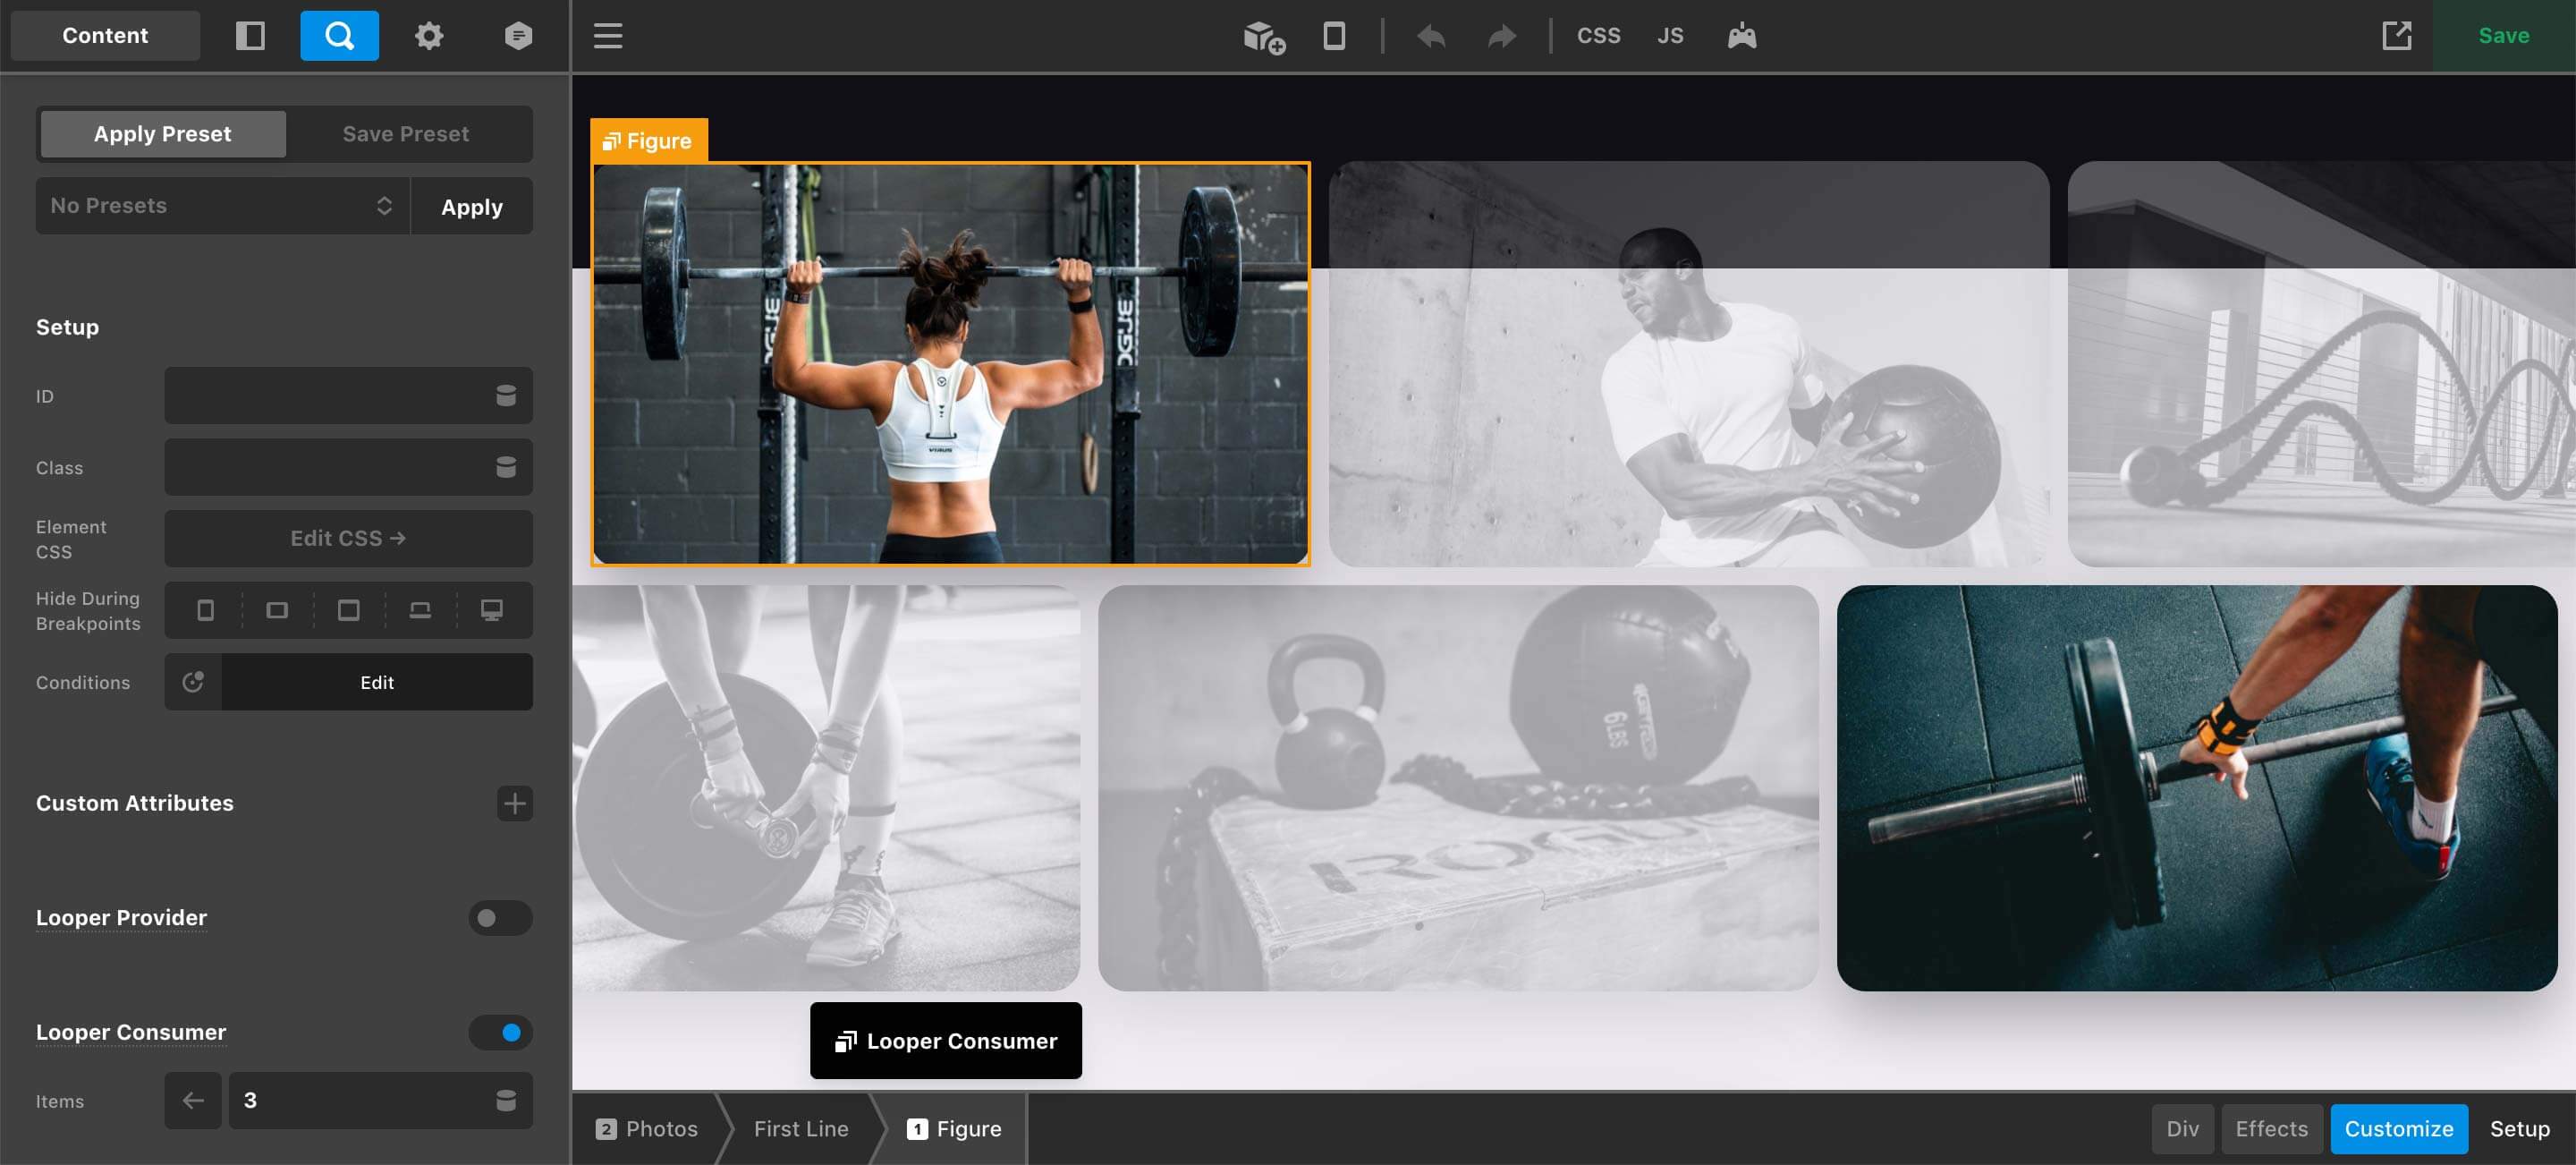
You will also notice that we are only consuming 3 of our images from the gallery. This was done to achieve the look we wanted in our design with the staggered appearance of the two lines. Each line features the same stylistic approach for the images and layout just reversed, which is why it needs to be broken out into two separate Consumers.
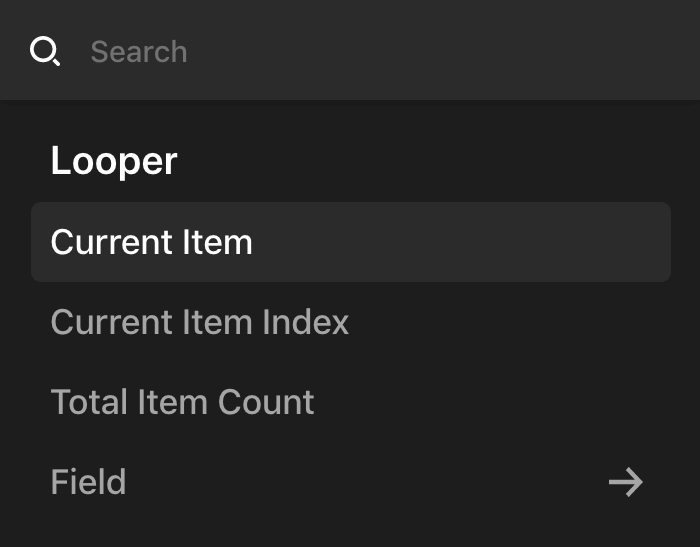
Once the data from the gallery is being consumed by our parent Div, within the Image Element itself we can access the image asset with {{dc:looper:item}}, which can be found in the popup under the Looper section:
The reason why we can access the data in this way comes down to how we setup the Return Format for our field in the backend:

Since we are just returning the Image URL—which is a string—we can access this using {{dc:looper:item}} as there is no specific key to reference. This works great when all you want to do is access the fullsize image, which is the default in ACF Pro when using this setting.
However, if we setup our gallery to return an Image Array, you could then at that point access a specific key from the data returned, which includes many helpful pieces of information such as the image's title, alt text, caption, various sizes, et cetera. For example, if you wanted to get a specific image size that was created by WordPress, you could use the following:
{{dc:looper:field key="sizes.thumbnail"}}For this particular scenario, the sizes key itself is an array with many different keys representing the different sizes available to us. Because of this, we would need to use our dot notation to access a sub-key and pluck out the reference to that size. In this particular example we are targeting the image's “thumbnail” size, but there could be many other versions available.
Just as before with our user field, keep this return format in mind when working with multi-dimensional fields. It will play an important part in what information you have access to as well as how you access it during the design process.
Custom Repeaters
ACF Pro features a Field Type known as a Repeater, which provides a neat solution for repeating content—think slides, team members, CTA tiles, et cetera.
This field type acts as a parent to a set of sub fields which can be repeated again and again. What makes this field type so special is its versatility. Any kind of field can be used within a Repeater, and there are no limits to the number of repeats either (unless defined in the field settings). You can even place Repeaters within other Repeaters…how's that for Inception-level content management?
On the subject of nested Repeaters, you might think to yourself, "When would I ever need that?" One of the simplest examples we can think of would be if you setup a Repeater that only had one text field to be output as part of a list; however, what if you needed sub-lists beneath certain line items, like so:
- Top-level item #1
- Top-level item #2
- Sub-level item #1
- Sub-level item #2
- Top-level item #3
This would be a situation where within each top-level Repeater entry, you may wish to add an optional nested Repeater to give you the ability to output a list of sub items. In fact, this is precisely what we did to power the final section of our example design:
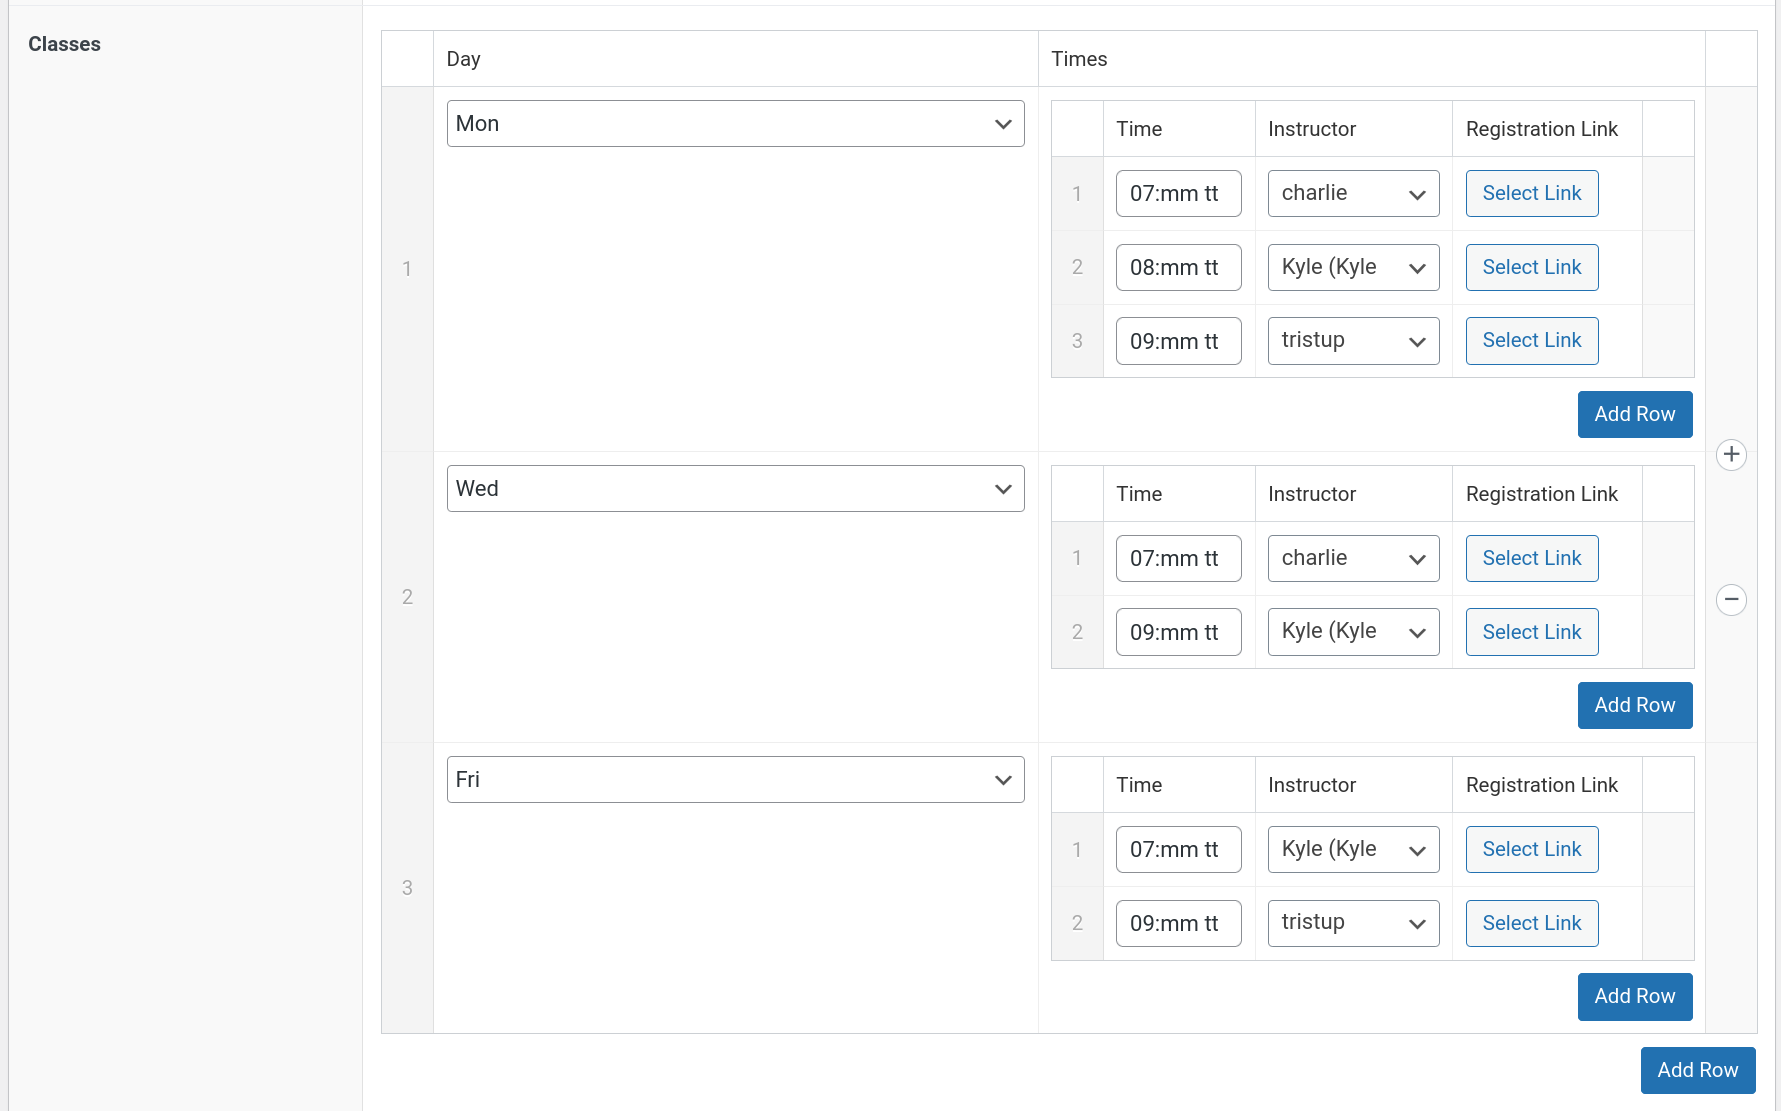
We wanted to create a way to output a list of registration links for all of the classes available for a particular workout, and we wanted to organize these classes by the day of the week in which they were offered:
- Classes: the top-level Repeater that will be used to represent each day classes are offered.
- Day: a
<select>with predefined choices to specify the day of the week in which the sub-grouped classes take place. - Times: a nested Repeater, containing the following information about each class offered:
- Time: a time picker to specify the time on that day in which the class takes place.
- Instructor: a user input to specify the instructor that leads that particular class.
- Registration Link: a simple text input to specify a URL to take the user off to a registration page for that particular time.
- Day: a
So how are we accessing all of these levels of information? The first thing we have to do is setup our primary Looper to begin working through the top-level data. For this particular situation, we ended up using a Row with only one full-width Column that would represent each “day” in our design (design hack: this means we can use the Row's Gap settings to only add spacing between our days as each new one is added). This is all kicked off by using a Dynamic Content Provider that contains the following value:
{{dc:acf:post_field field="classes"}}This gives us the whole Repeater we're wanting to work with so we can begin processing its sub-fields. Next, we immediately consumed this data on the same Element since we knew that the Column itself was what we wanted to repeat.
Now that we are inside our top-level Repeater, accessing the Day sub-field is fairly straightforward. Since we have begun looping over this Repeater's data, we can reference the “current item” using our Dynamic Content string from before:

Since we're wanting to access a specific key (i.e. the day key), we will need to make sure to explicitly reference that in the Dynamic Content string:
{{dc:looper:field key="day"}}Nested Repeaters
To access our nested Repeater we will need to setup another Dynamic Content Provider that specifically references that set of data for us to work with. To do this, we need to access our Times Repeater with the following Dynamic Content string:
{{dc:looper:field key="times"}}Remember that here we can use the Looper Field string because we're already inside another Looper from our top-level data source, so this is the appropriate way to access that sub-field. For this instance, we setup the Provider and Consumer all on the same Cell withing our Grid that was used to provide the structure for these registration links.
Now that we are inside this nested Repeater, for the most part our fields can be accessed using the Looper Field syntax (e.g. {{dc:looper:field}}) in our Dynamic Content with a specific key referenced. For example, to output our Time which has a key of time, we would use:
{{dc:looper:field key="time"}}And to reference our Registration Link, which has a key of registration_link, we would use:
{{dc:looper:field key="registration_link"}}The one area where things get a little tricky is our Instructor field. Because this particular field is multi-dimensional, it means we will need to loop over its contents to output our information even though we are only using it to specify one instructor in this situation. Because of this, we'll need to reference our input as another Dynamic Content Provider on some type of parent Element. In this case, we chose to wrap the image in a Div Element so that we could setup the proper Provider and immediately consume its data.
At that point, we're now back to consuming our User Field as we were previously, which would mean we can access our custom image by using the following Dynamic Content string:
{{dc:acf:user_field field="image"}}Much like our previous examples where we accessed our custom User Field, you wouldn't have to format this string yourself. Clicking on the Dynamic Content icon in the image control will reveal the popup where you can locate the User Field item and then go to the sub pane to specify the key you need to reference:

About the Example Page Template
The example page template we've been referencing here is available via Design Cloud and is labeled “Better Badder Bigger.” One nuance of .tco templates at this time is that we are unable to transmit test data for things such as ACF Pro fields—nor would you likely want that data to be placed everywhere in your WordPress setup upon installation. Because of this, all of the ACF Pro-powered Dynamic Content Looper Providers have been replaced with JSON Providers, which mimic the data structures seen in this example. This allows you to see exactly where we have placed all of our Providers and Consumers and how we're accessing various bits of data. If you wish to recreate some of the structures seen here using actual ACF Pro-powered fields, you will need to perform this setup manually and to your specifications.
See something inaccurate? Let us know