Olark
In this article, we're going to explain how to integrate Olark live chat platform with your Website using the Olark Integration plugin
Olark is the easiest way to boost your sales, help solve issues and get more information about your customers via a live chat.
What Olark Integration Does
Go to: Pro > Validation or X > Validation for then look for Olark Integration. Click Install.
Once installed, the Install button will change and say Activate. Click that button and it will activate the plugin. You will then see the status change to Installed and Activated.
How to Enable the Extension
To access the Olark Integration settings and enable the plugin, follow the steps below:
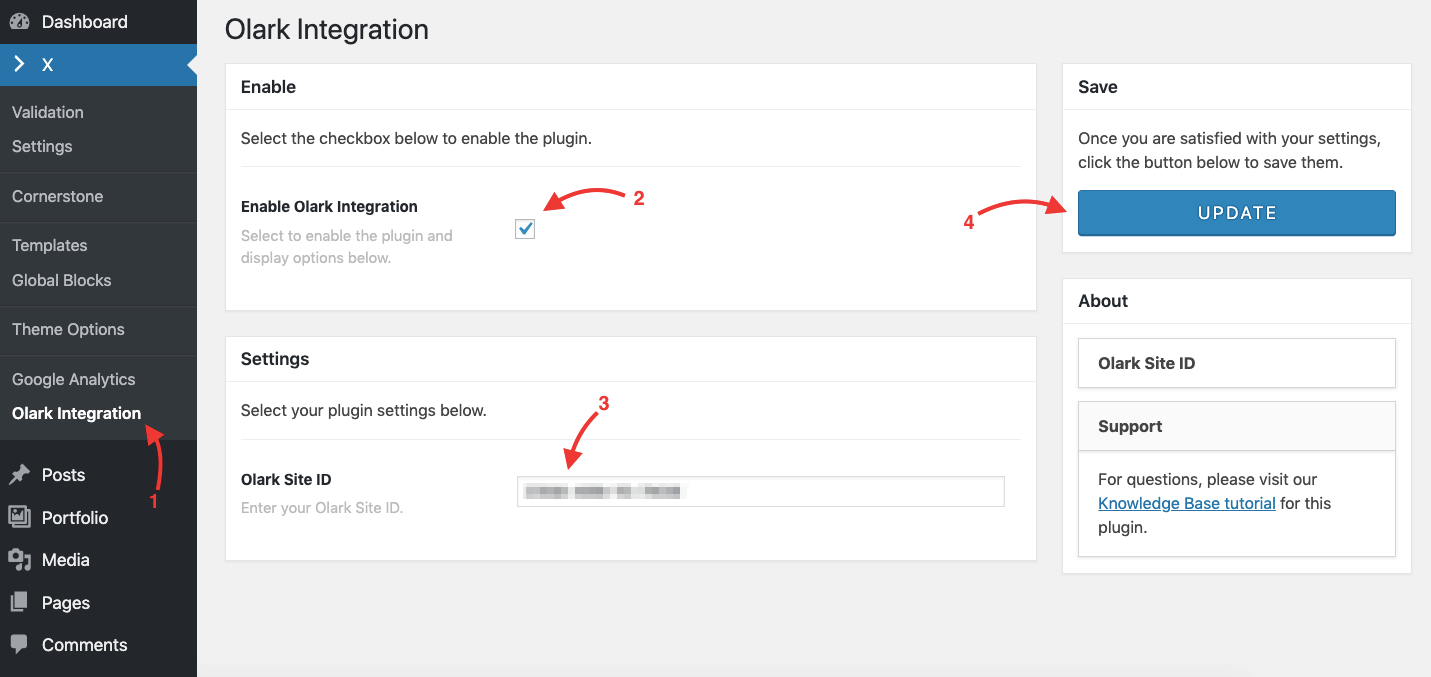
- Go to X/Pro > Olark Integration.
- Check the Enable Olark Integration checkbox to enable the plugin.
- Add the Site ID in Olark Site ID option. (See the next section to retrieve the Site ID)
- Click the Update button to save the settings.
If you disable the plugin by unchecking the Enable Olark Integration checkbox, the plugin itself will still be activated in the WordPress but the front end assets such as the images, CSS and Javascript files will not be loaded to keep the website light.
Setting Up Olark Integration
To setup the Olark live chat you need to go to the Olark website and sign up. The Olark live chat platform has different subscription plans including free and premium ones.
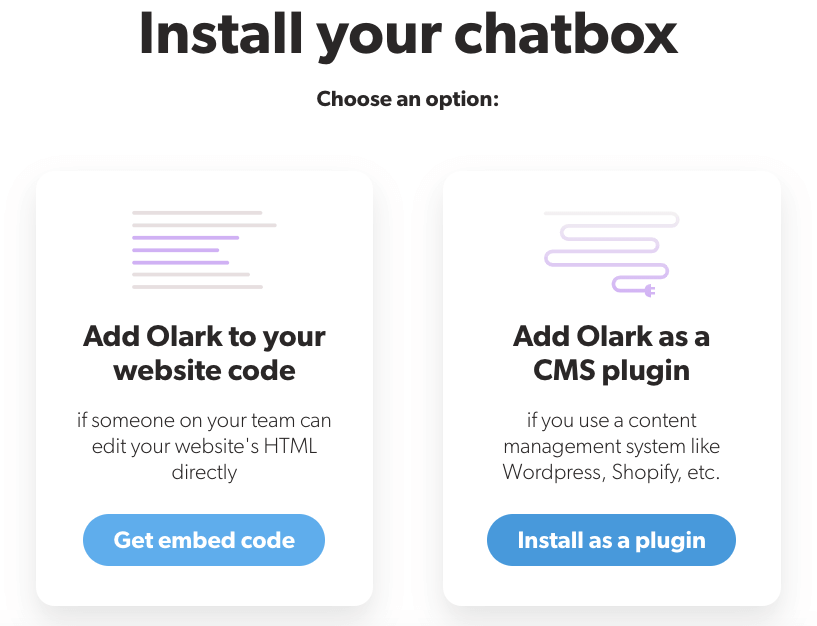
After that you signed up to the system, log in and go to this page to retrieve the Site ID which you will need for the integration. You will see two options available. Select the Install as Plugin option:
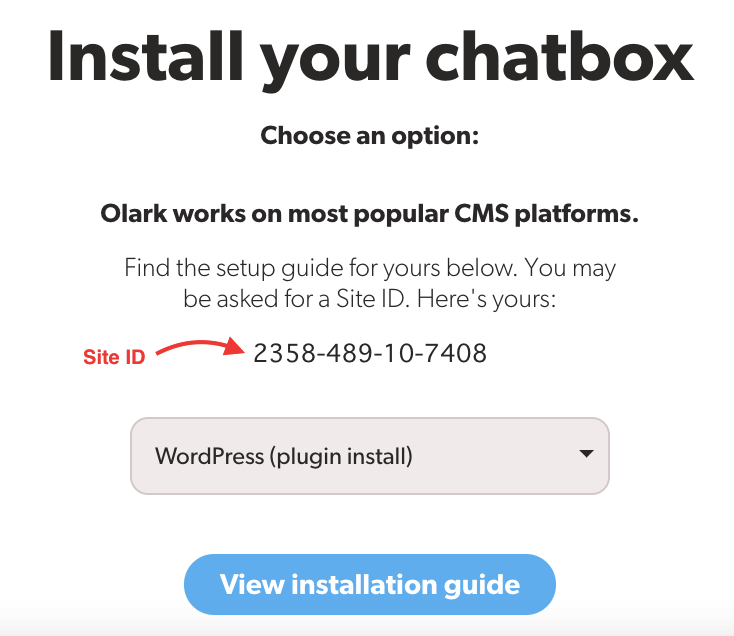
The next page will show the Site ID. Write down the Site ID and add it in the Olark Site ID option in the Olark Integration plugin settings screen discussed above.
As soon as you add the Site ID to the Olark Integration plugin settings and hit the Update button you will see the chat screen available on the front end of your website:

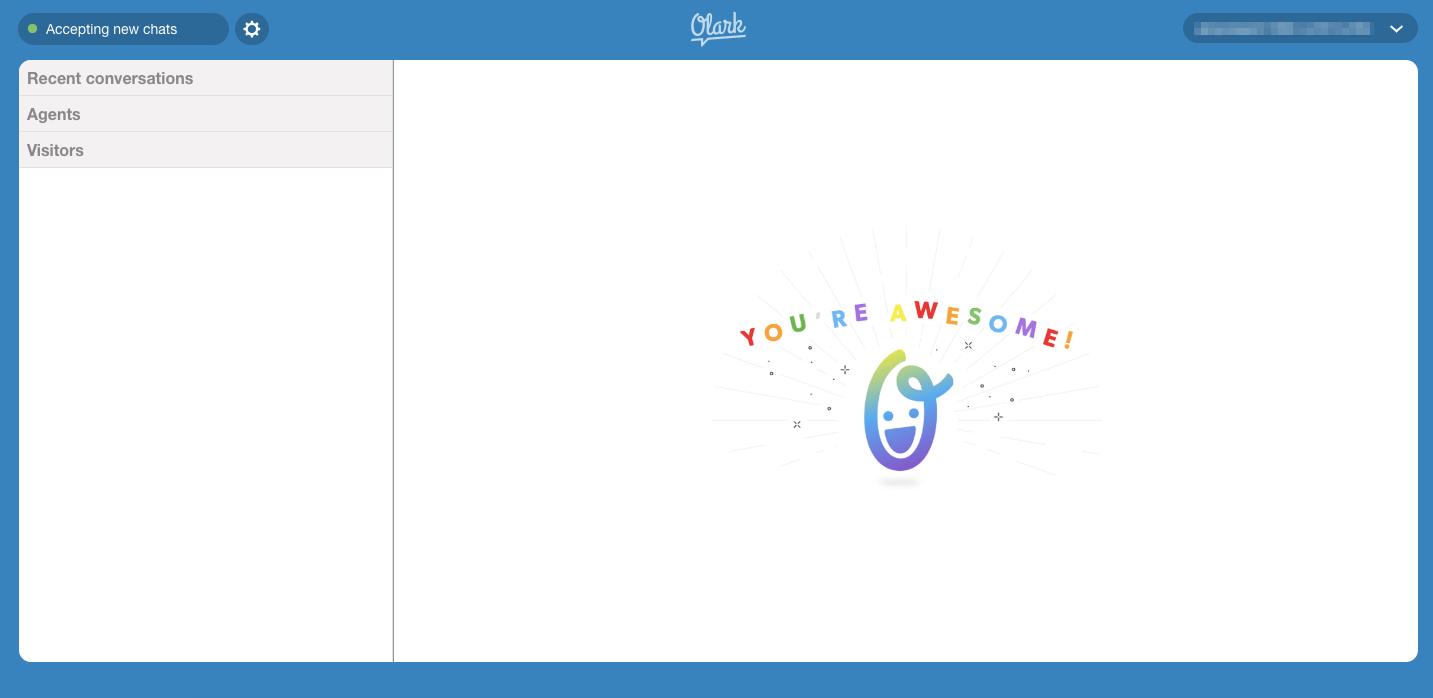
To be able to answer make the chat section live and answer to incoming chats you need to go to the Olark Website and click the Launch Chat button at the top right corner:

Doing so will redirect you to a screen which you will see the chats and can answer the incoming messages:
Summary
We've introduced the Themeco-developed Olark integration plugin and explored the settings available and how to access the settings screen. As the plugin is a bridge to integrate the Olark live chat system, we listed the steps needed to follow to setup a chat system in the Olark website and how to integrate your website with the help of the Site ID. Finally, we talked about the way to access the chat receiving message section of the Olark website to answer receiving messages.
See something inaccurate? Let us know