Page Builder Overview
In this article, we're going to discuss Cornerstone's Page Builder and how it can be used to craft beautiful content for your site.
The Page Builder (sometimes referred to as the Content Builder) is a powerful tool that opens up a wide range of possibilities for developers and designers. It can be used to craft the primary output for any singular endpoint in your WordPress installation—think pages, posts, products, portfolio items, et cetera.
What you create with the Page Builder will be output to the_content, a WordPress specific hook for outputting, well…content. Depending on the layout template used for the single Page or Post you are working on, the_content might be output in a different spot than you expect. For example, with WooCommerce it is often output in the “Description” tab found in many default templates. Keep this in mind when working on post types other than your typical Posts or Pages.
While the Page Builder can be used to create singular assets for all post types, this article will focus on the workflow of Pages specifically.
Getting Started
To begin working with the Page Builder, click on the plus sign (+) in the top bar to reveal the New Document pane, then click on Page:
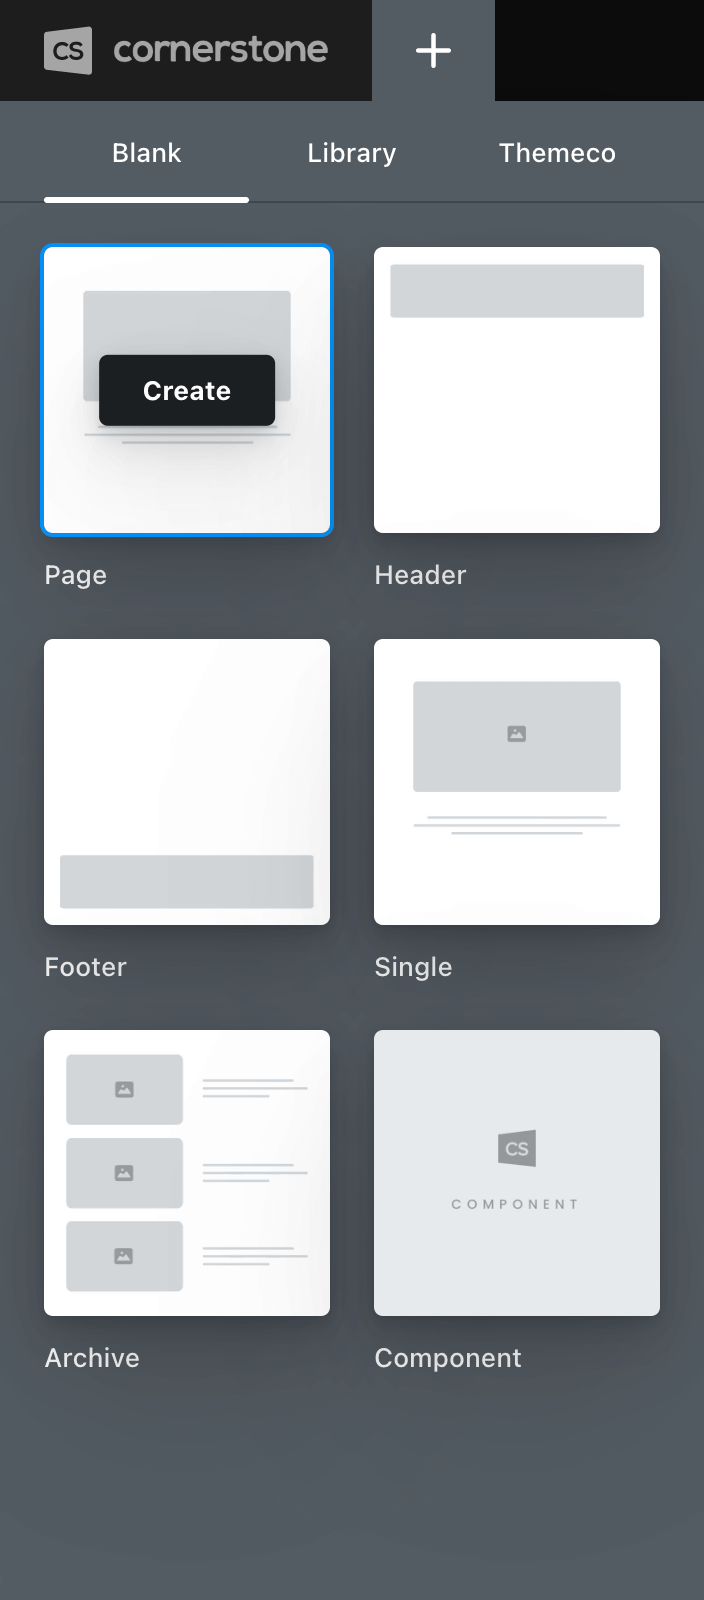
Upon clicking “Create,” a new document of the type you selected will be added to your site and a tab will be opened for you to begin working:
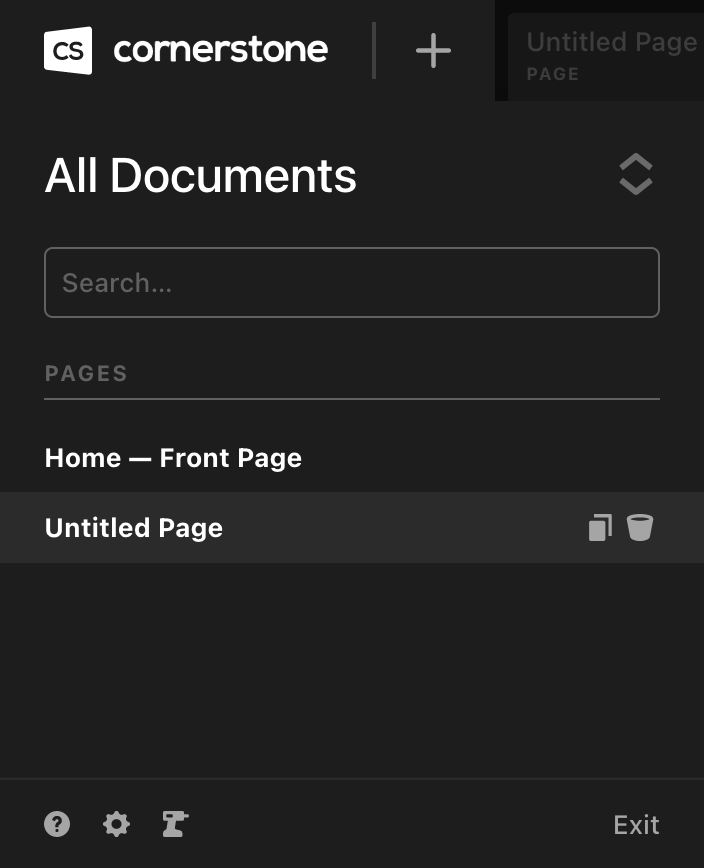
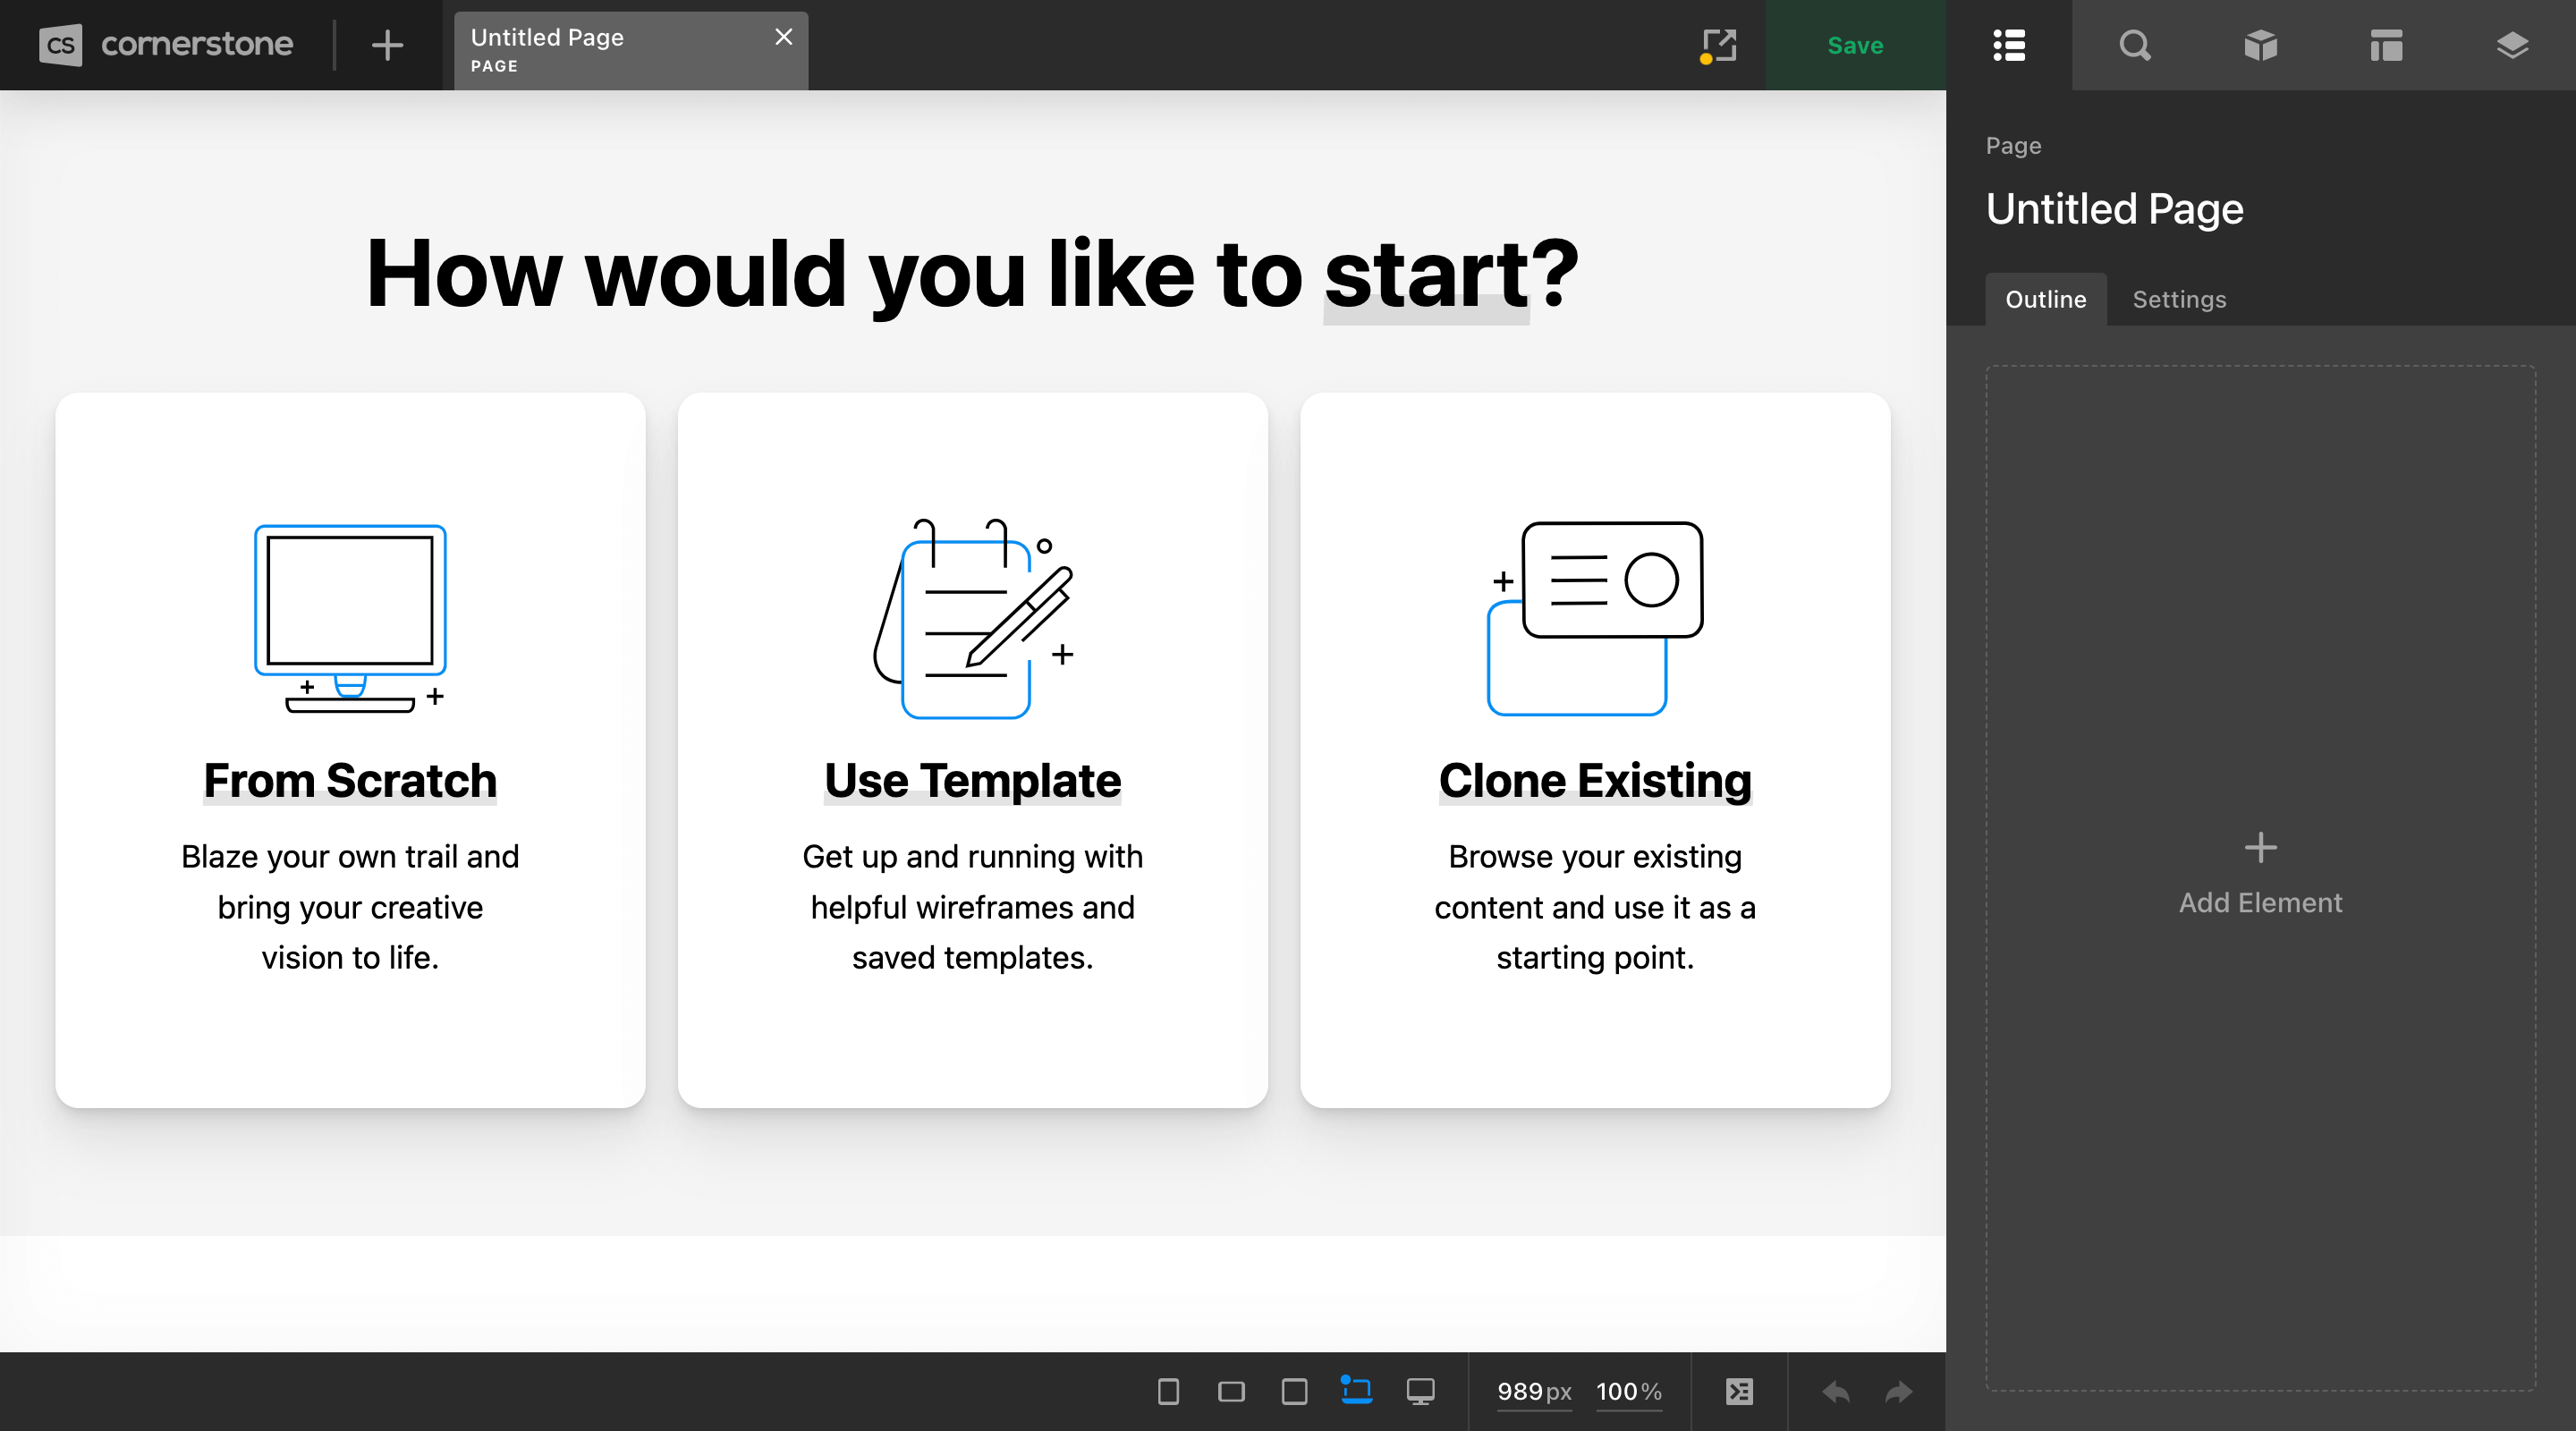
To rename your document, you can double-click in the workspace header title or go to the Settings tab found on the Outline pane. Once finished, clicking the Save button will apply your changes:
Designing Your First Page
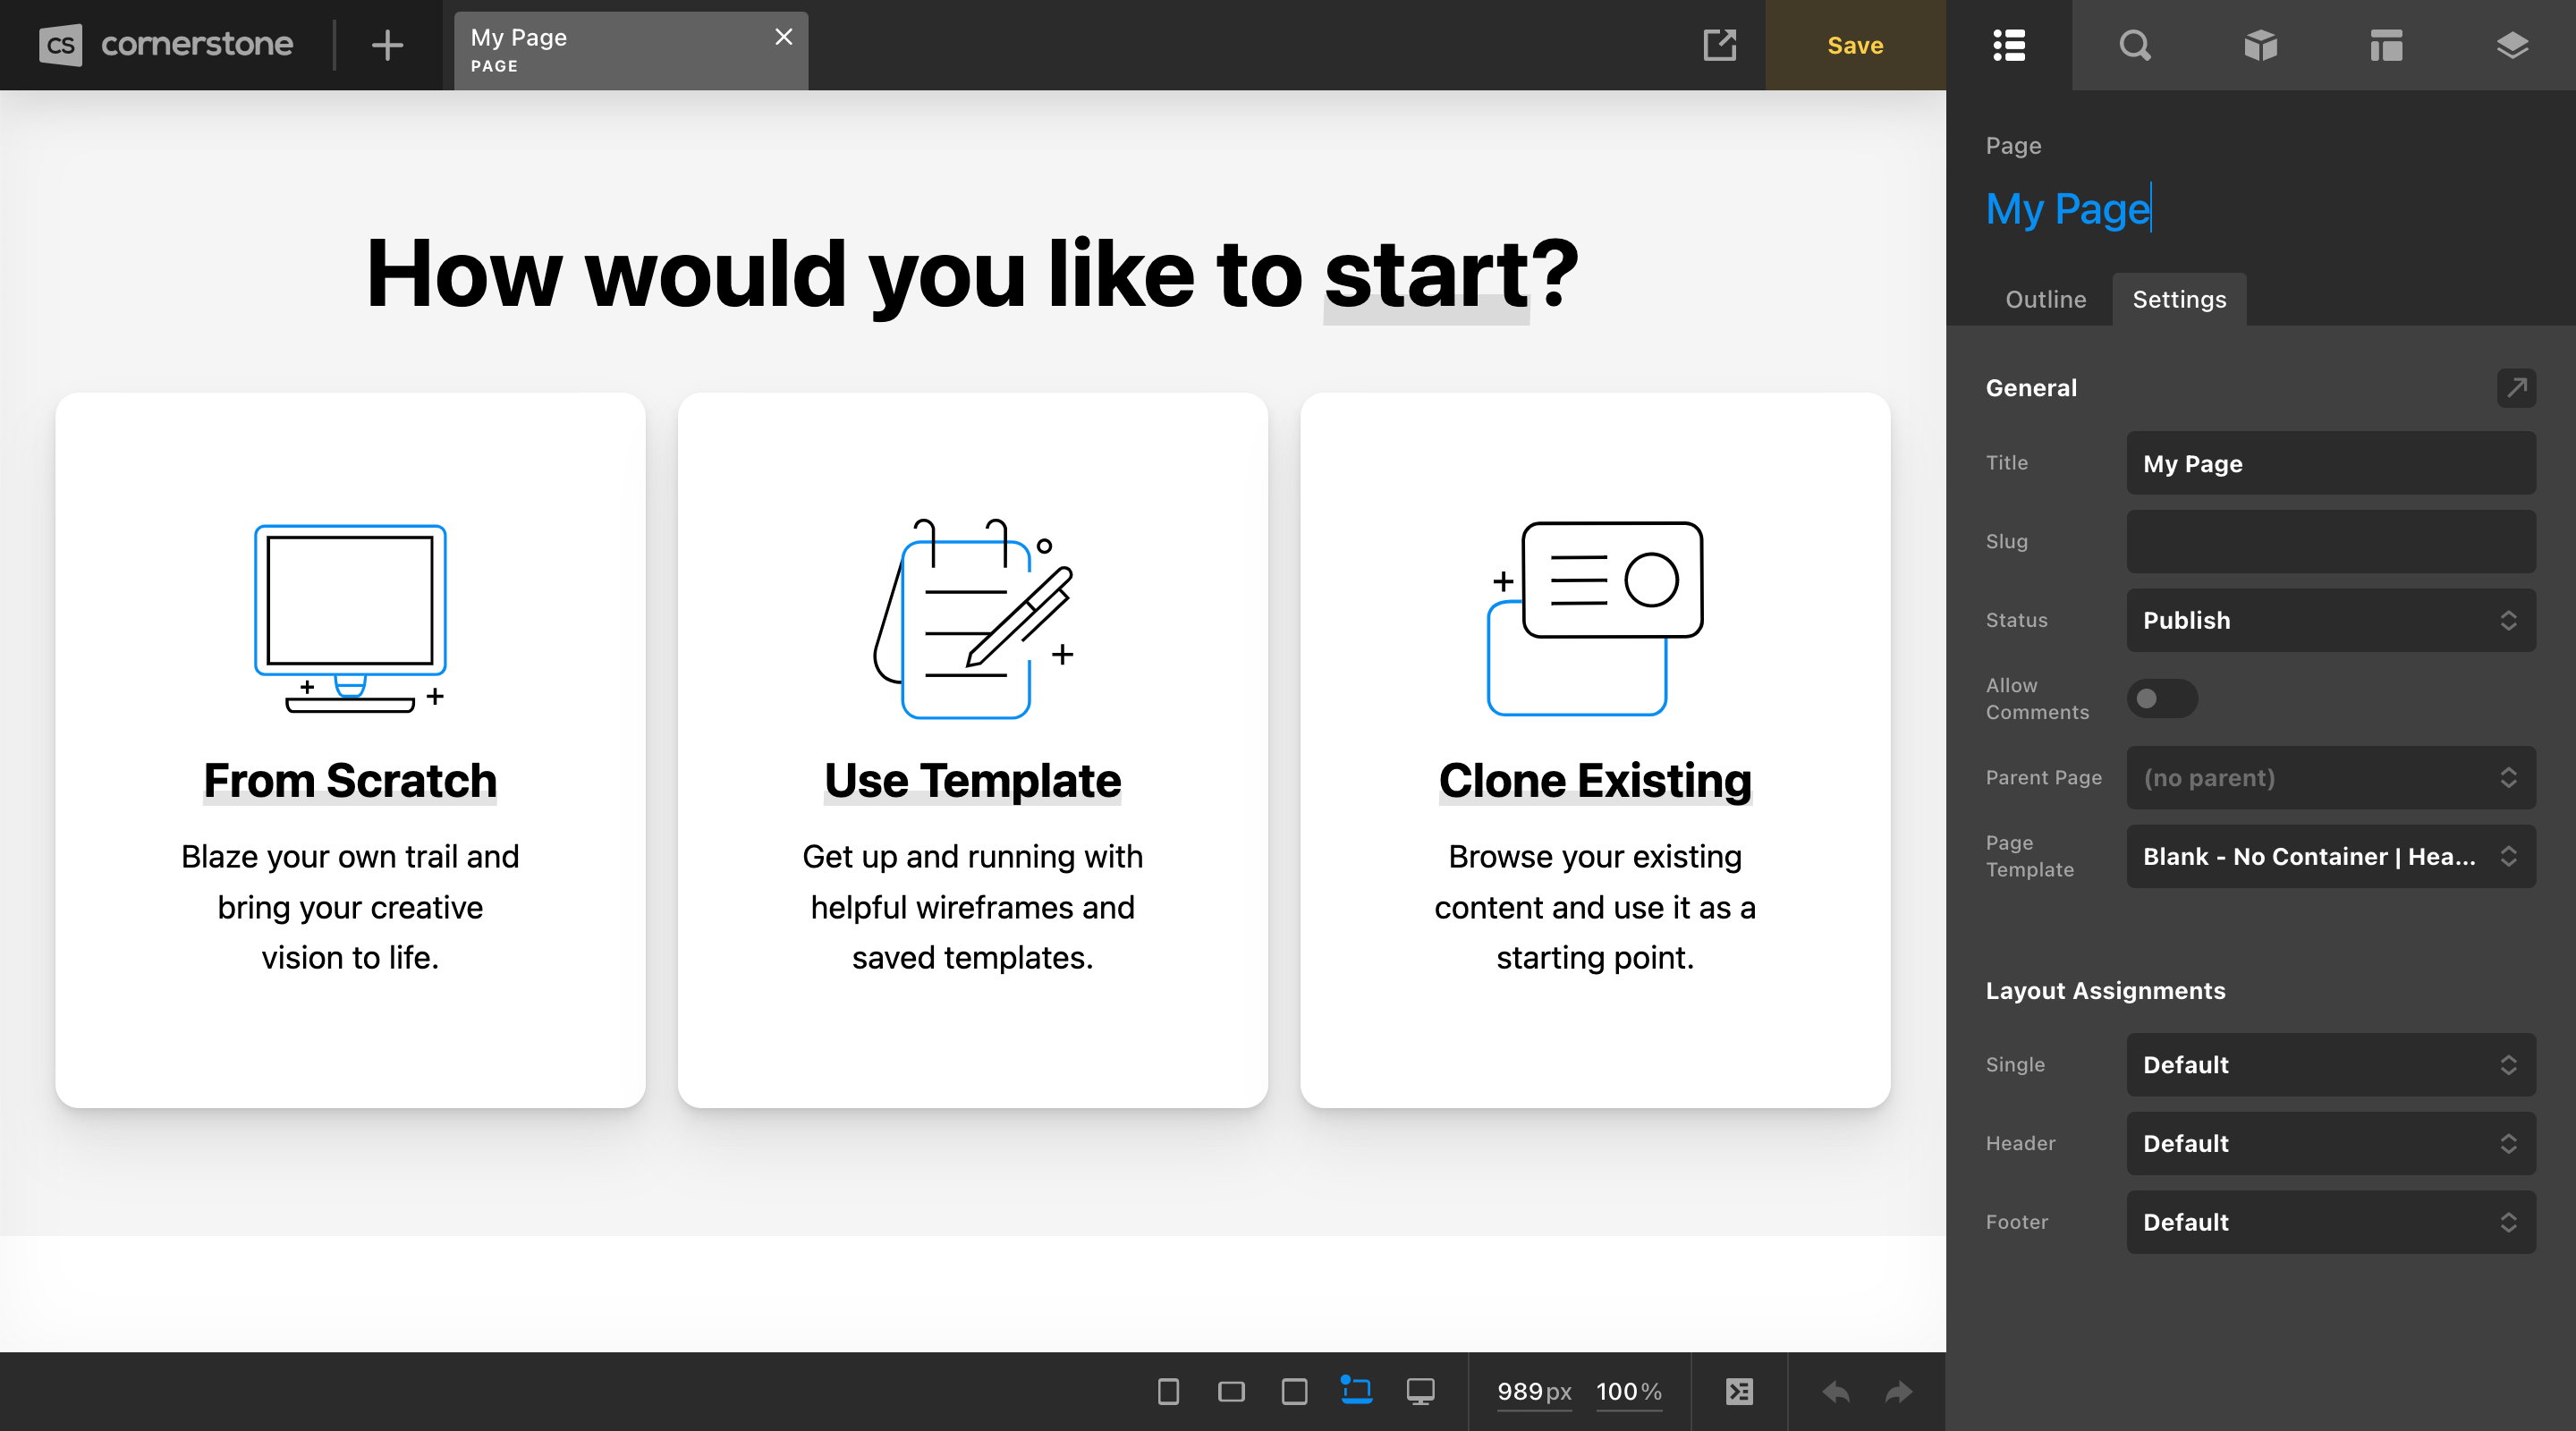
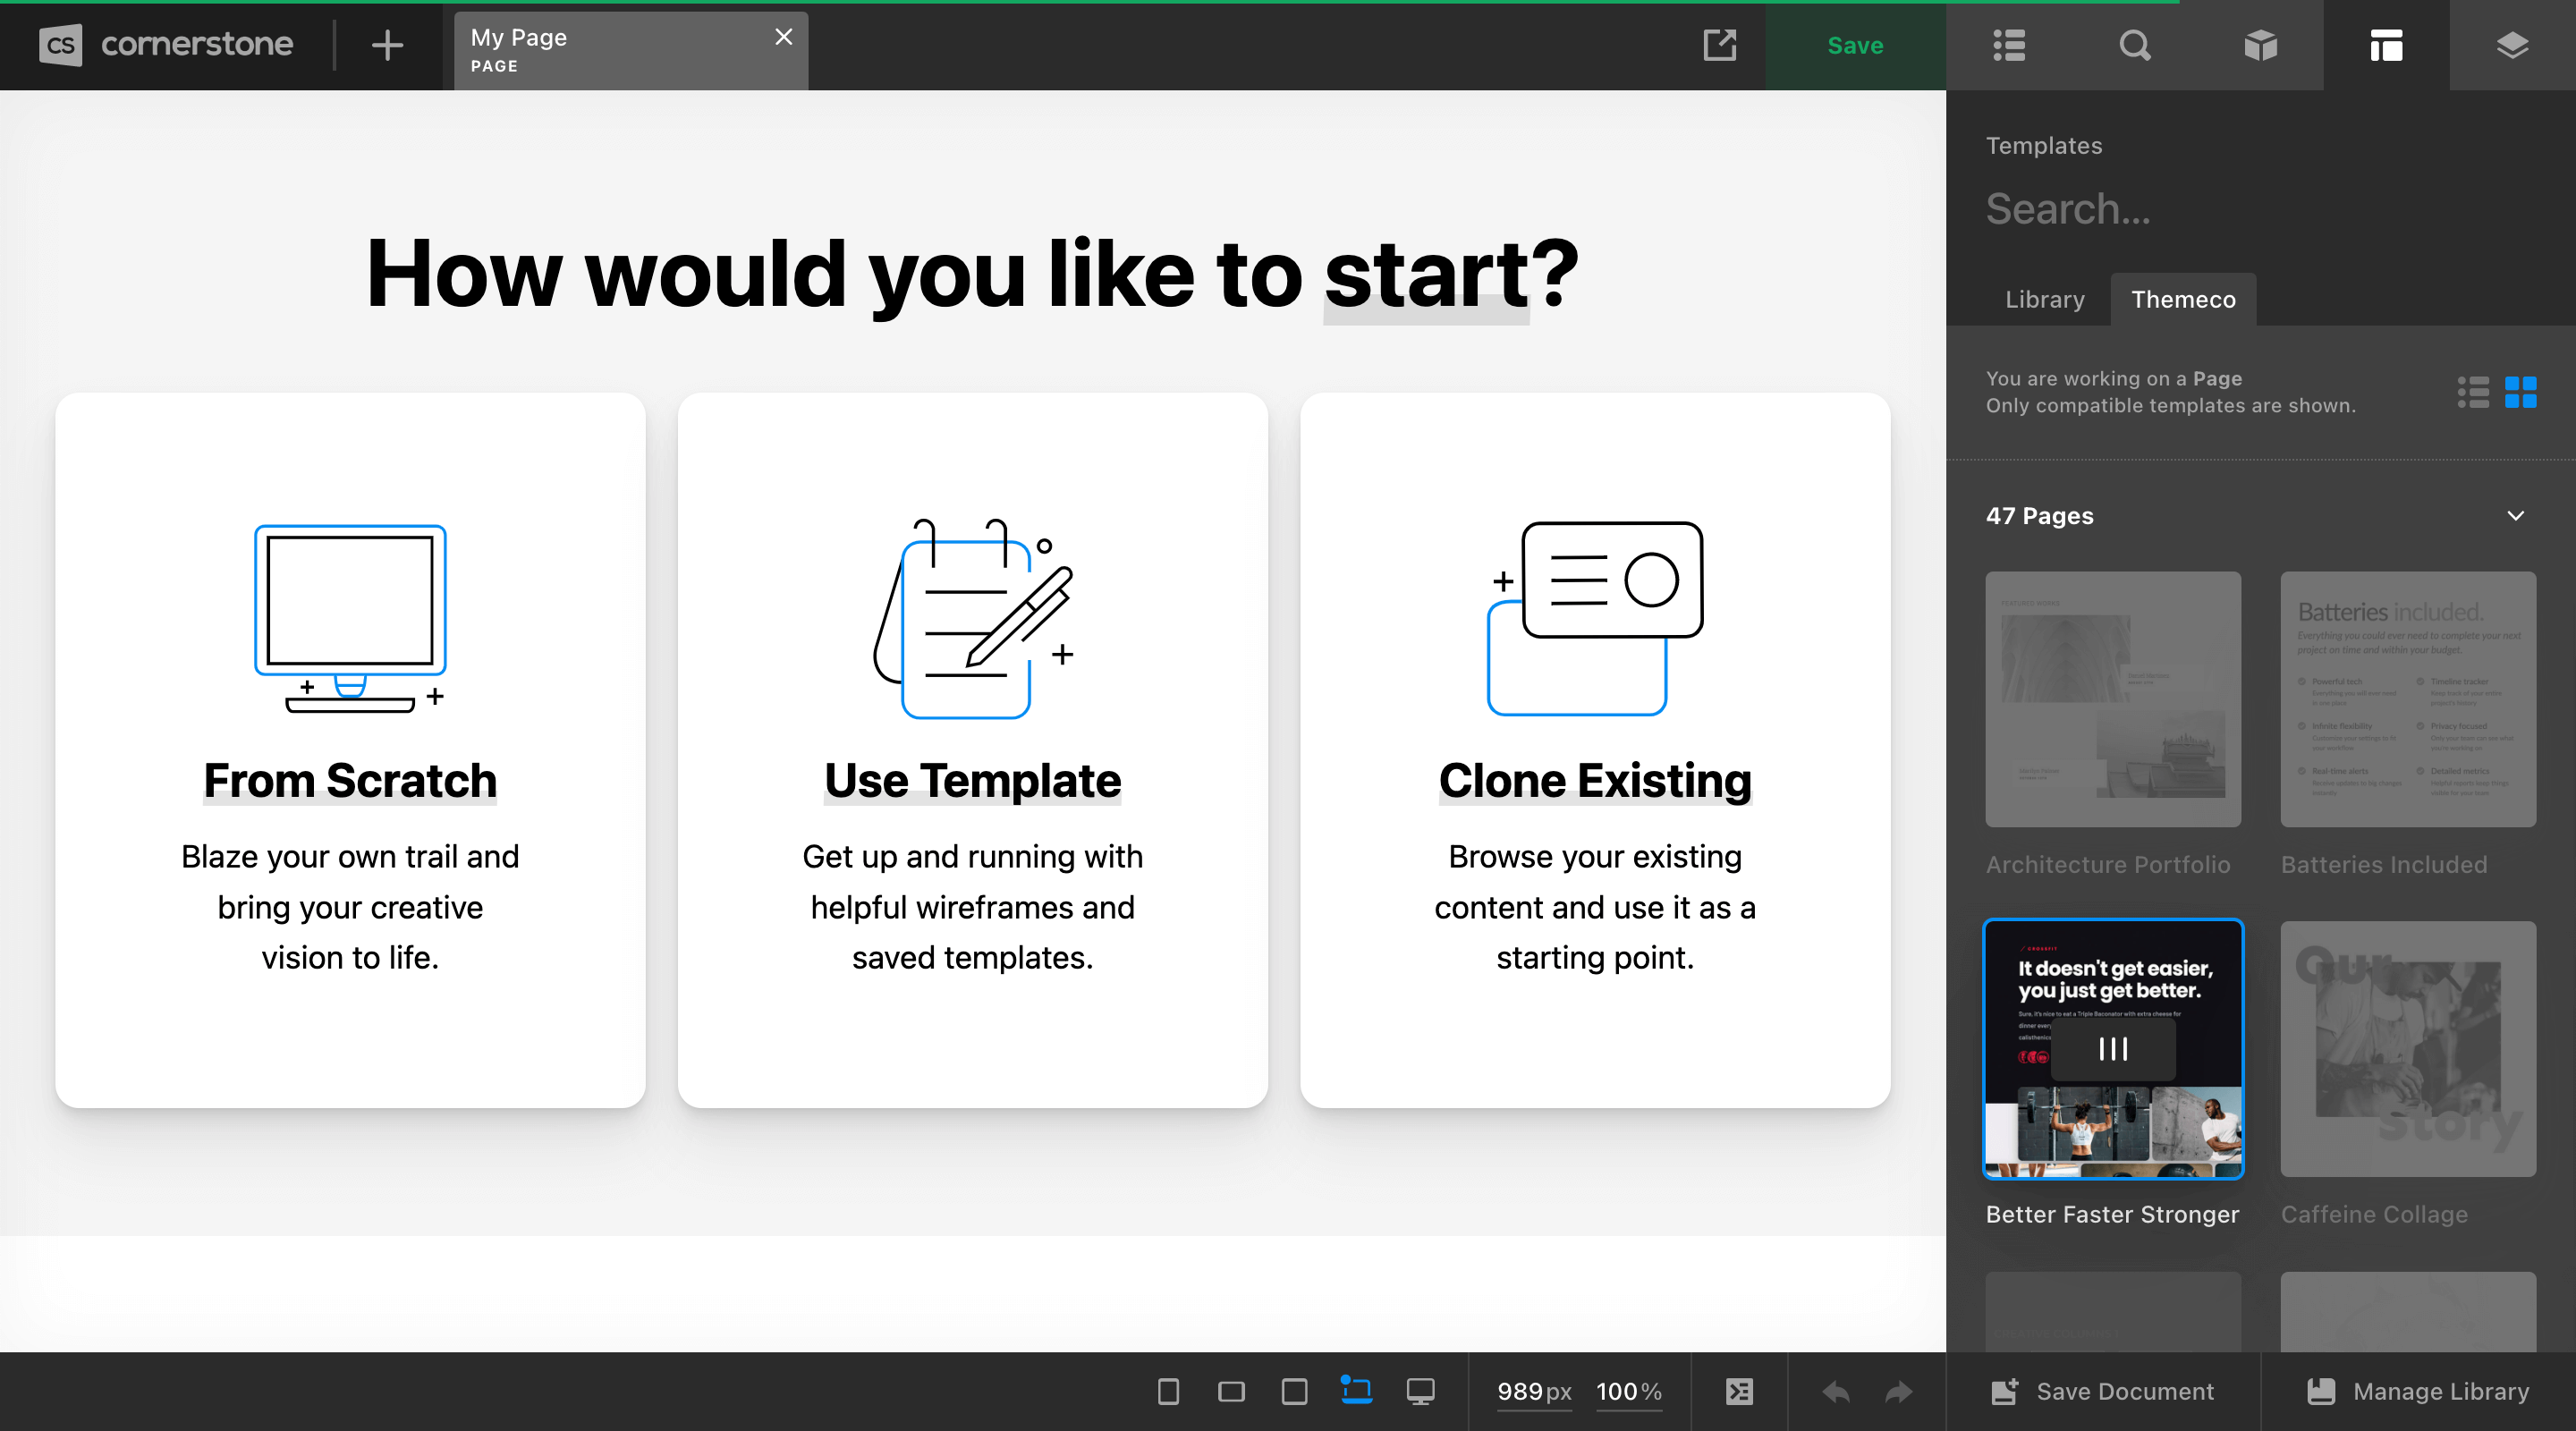
Once you have entered the page you wish to work on, if it is completely empty (i.e. does not have any Sections) you will see the following “How would you like to start?” area in the live preview:
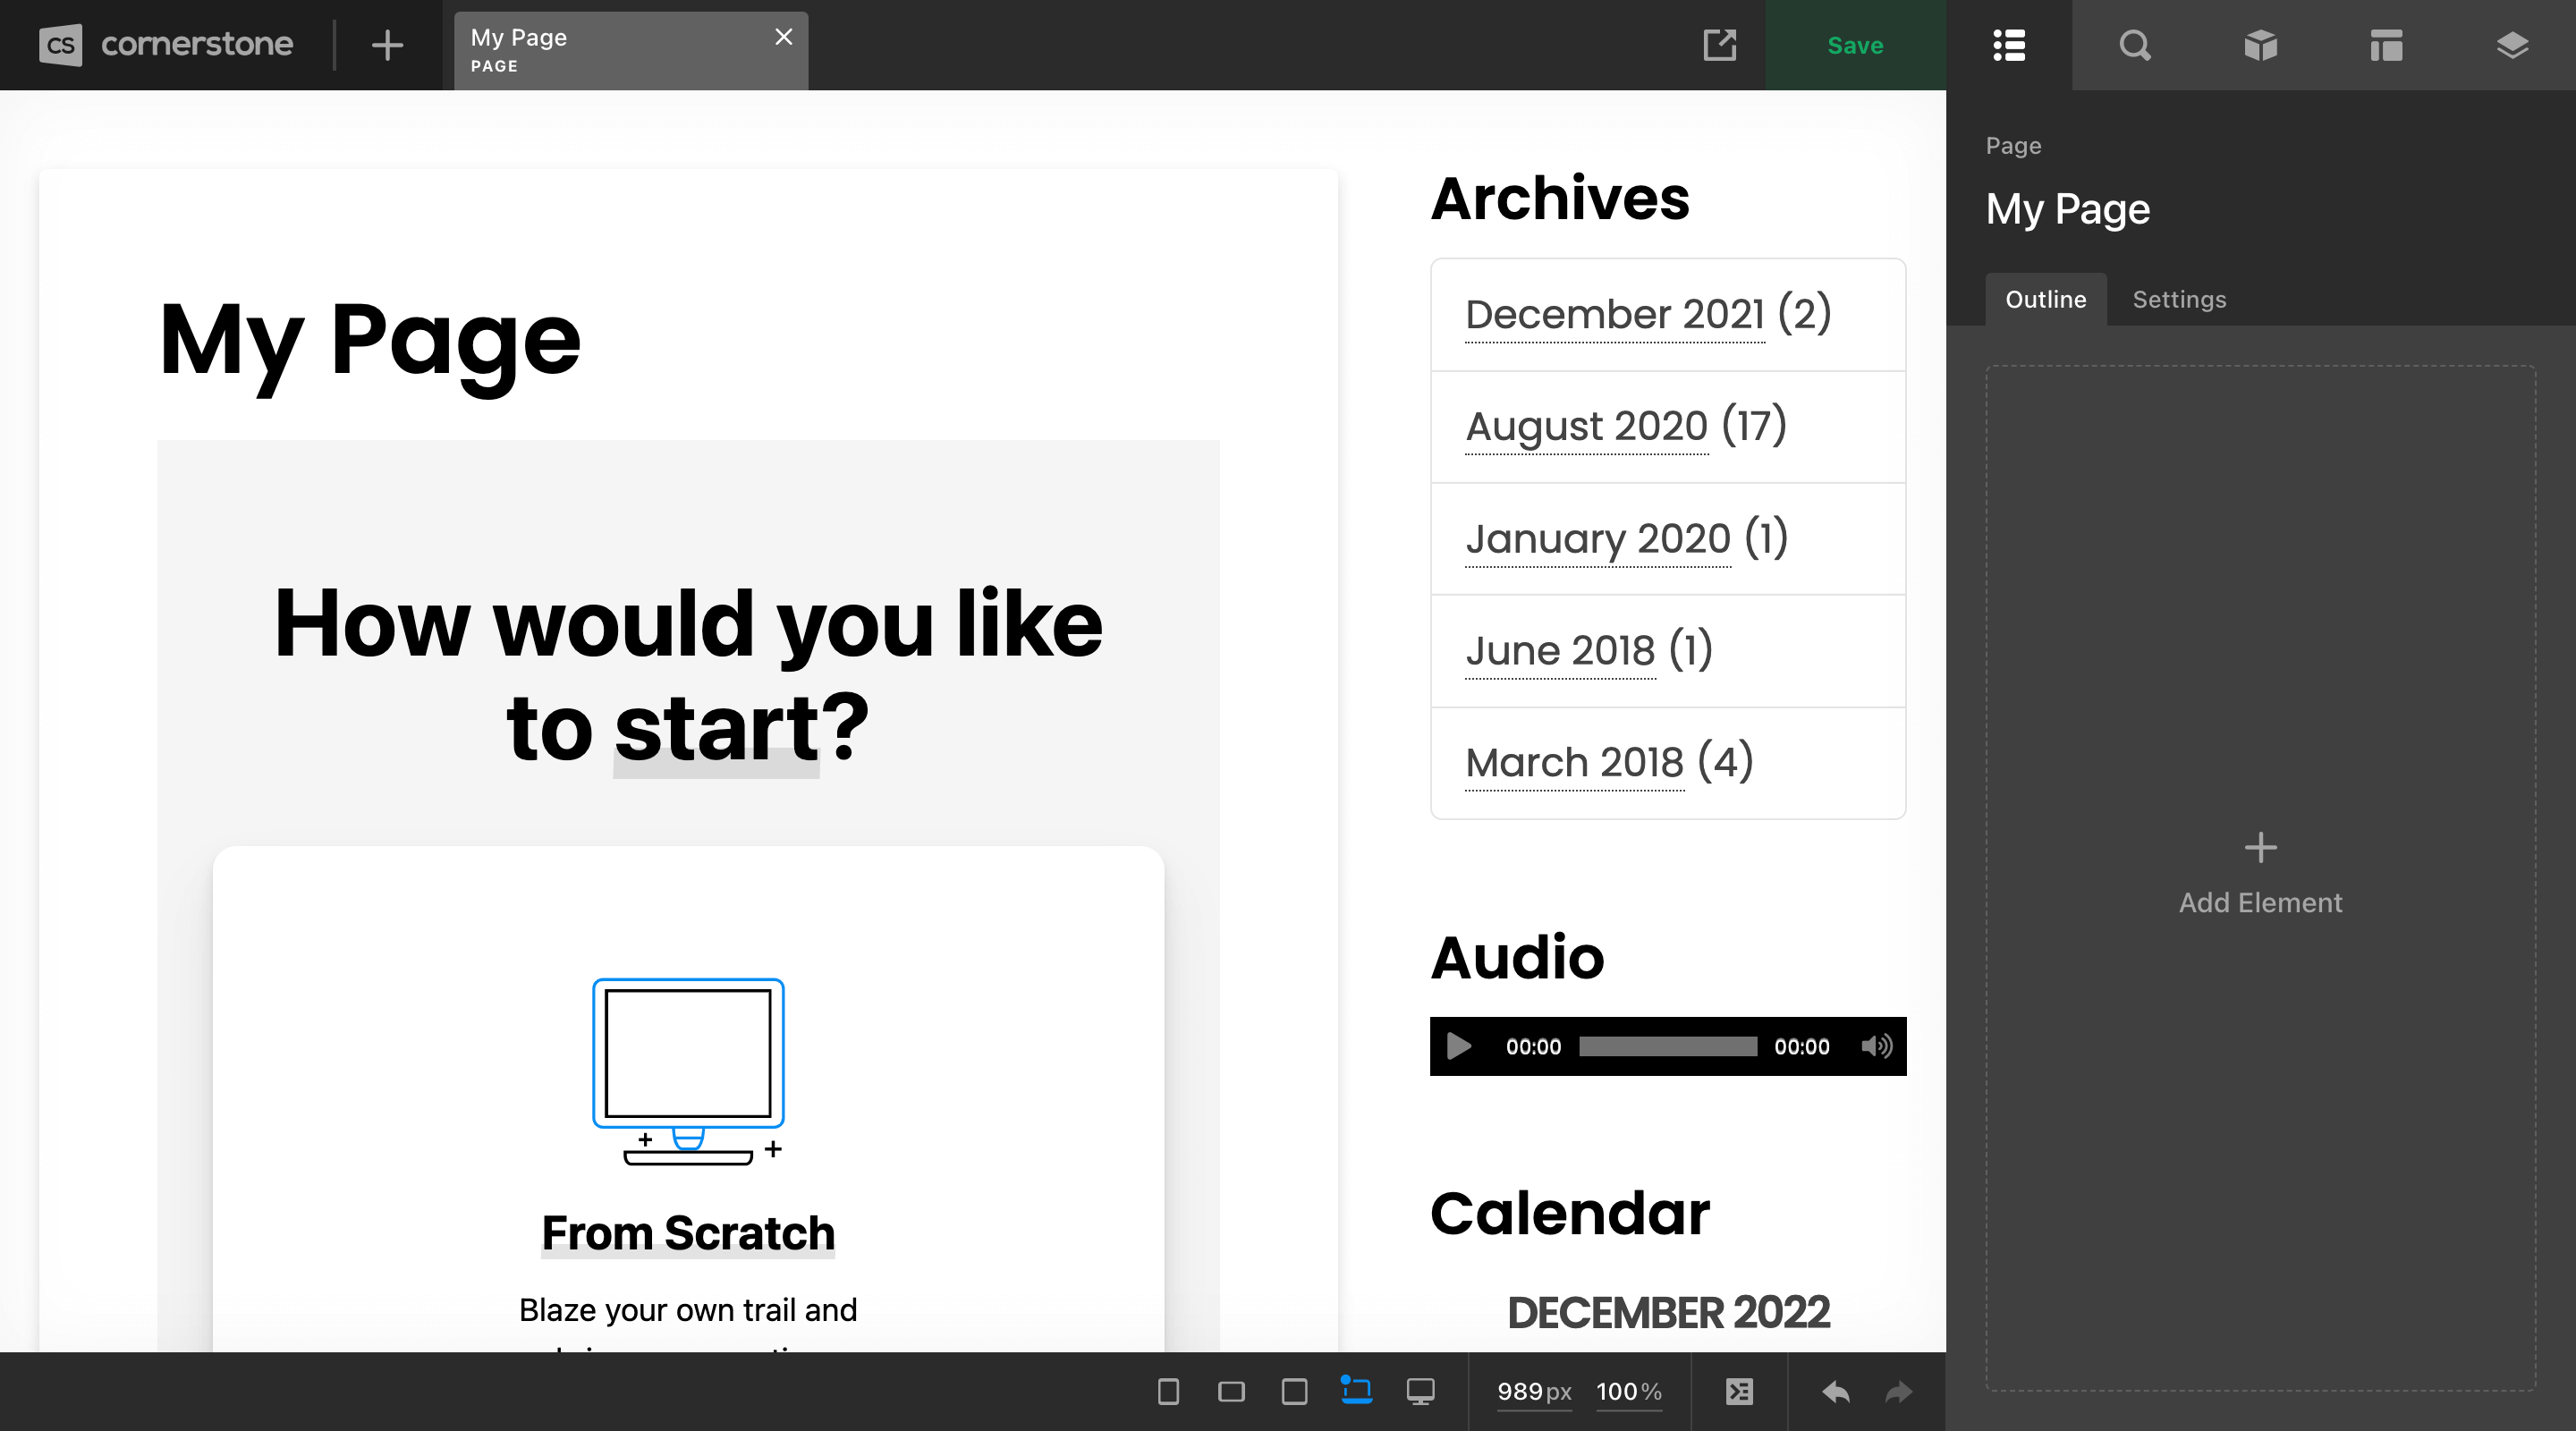
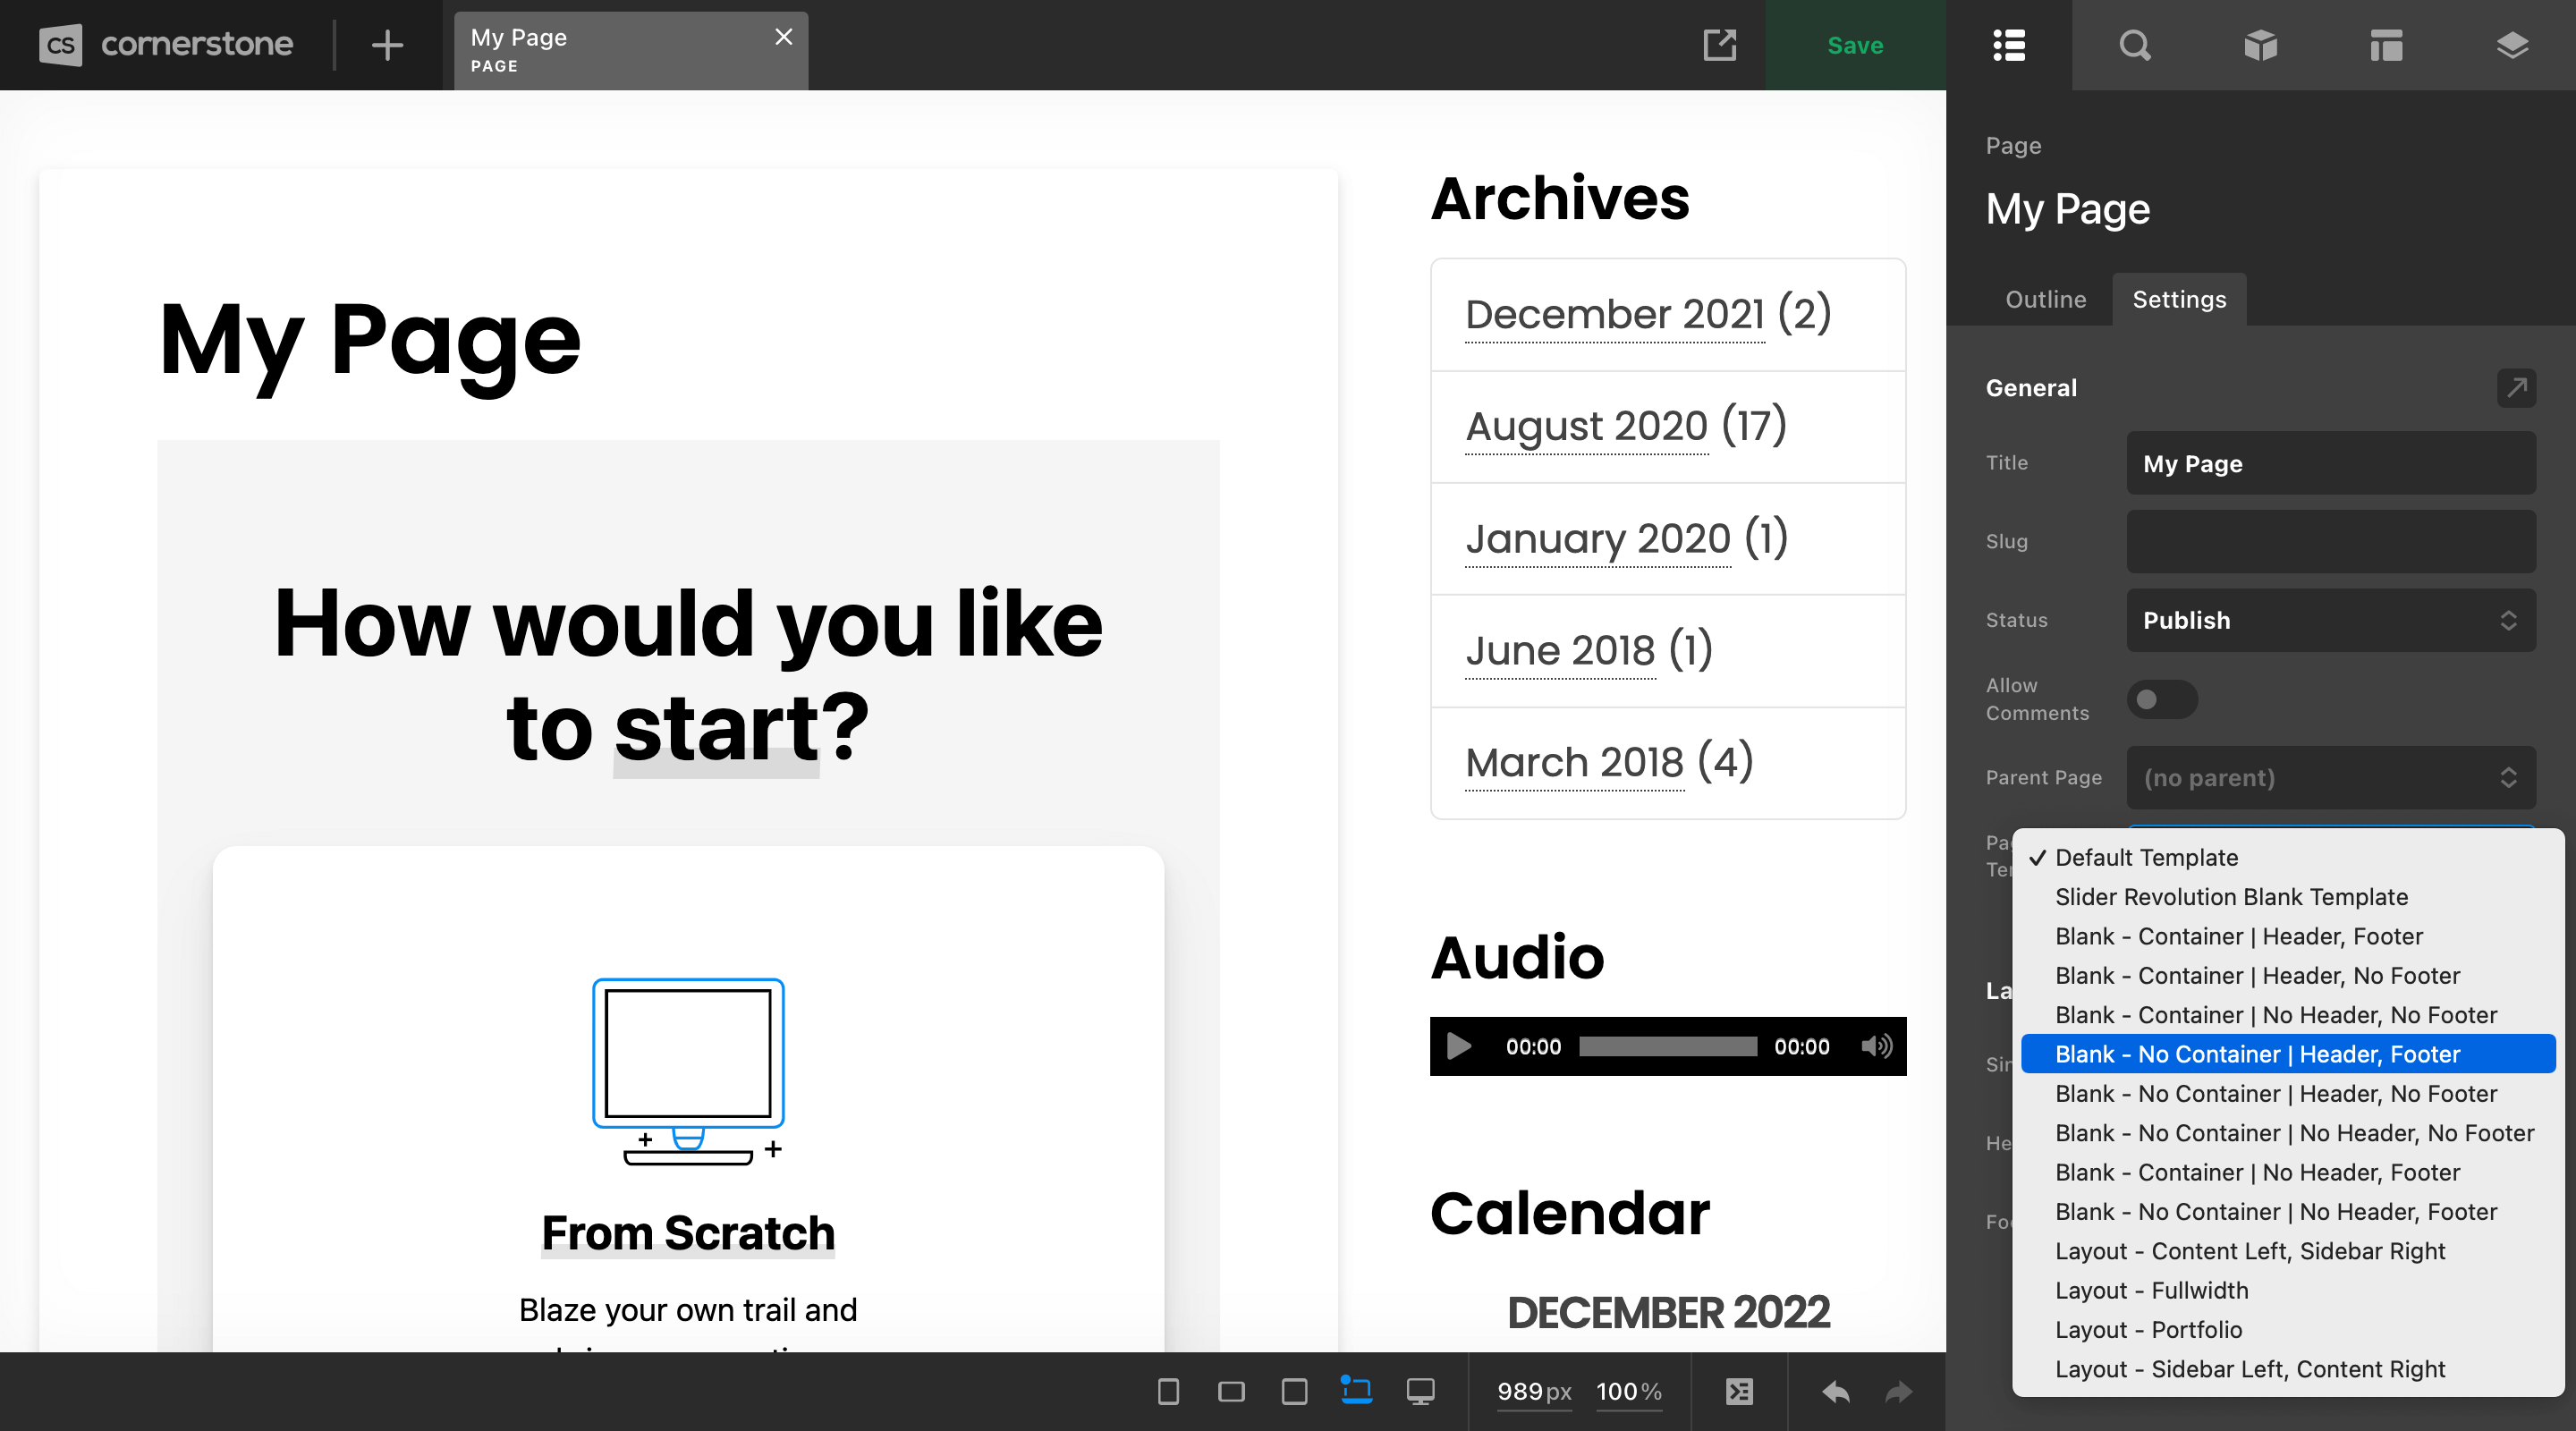
You will notice from the screenshot above that we are using the “Default Template” set by our Theme Options, which can sometimes be a page with a widgetized sidebar. If you wish to adjust the overall template used for the page you are working on, you can click over to the “Settings” tab on the Outline pane and adjust it there. Most often, users tend to prefer using the “No Container” options so that their content can span the fullwidth of any device viewing it:
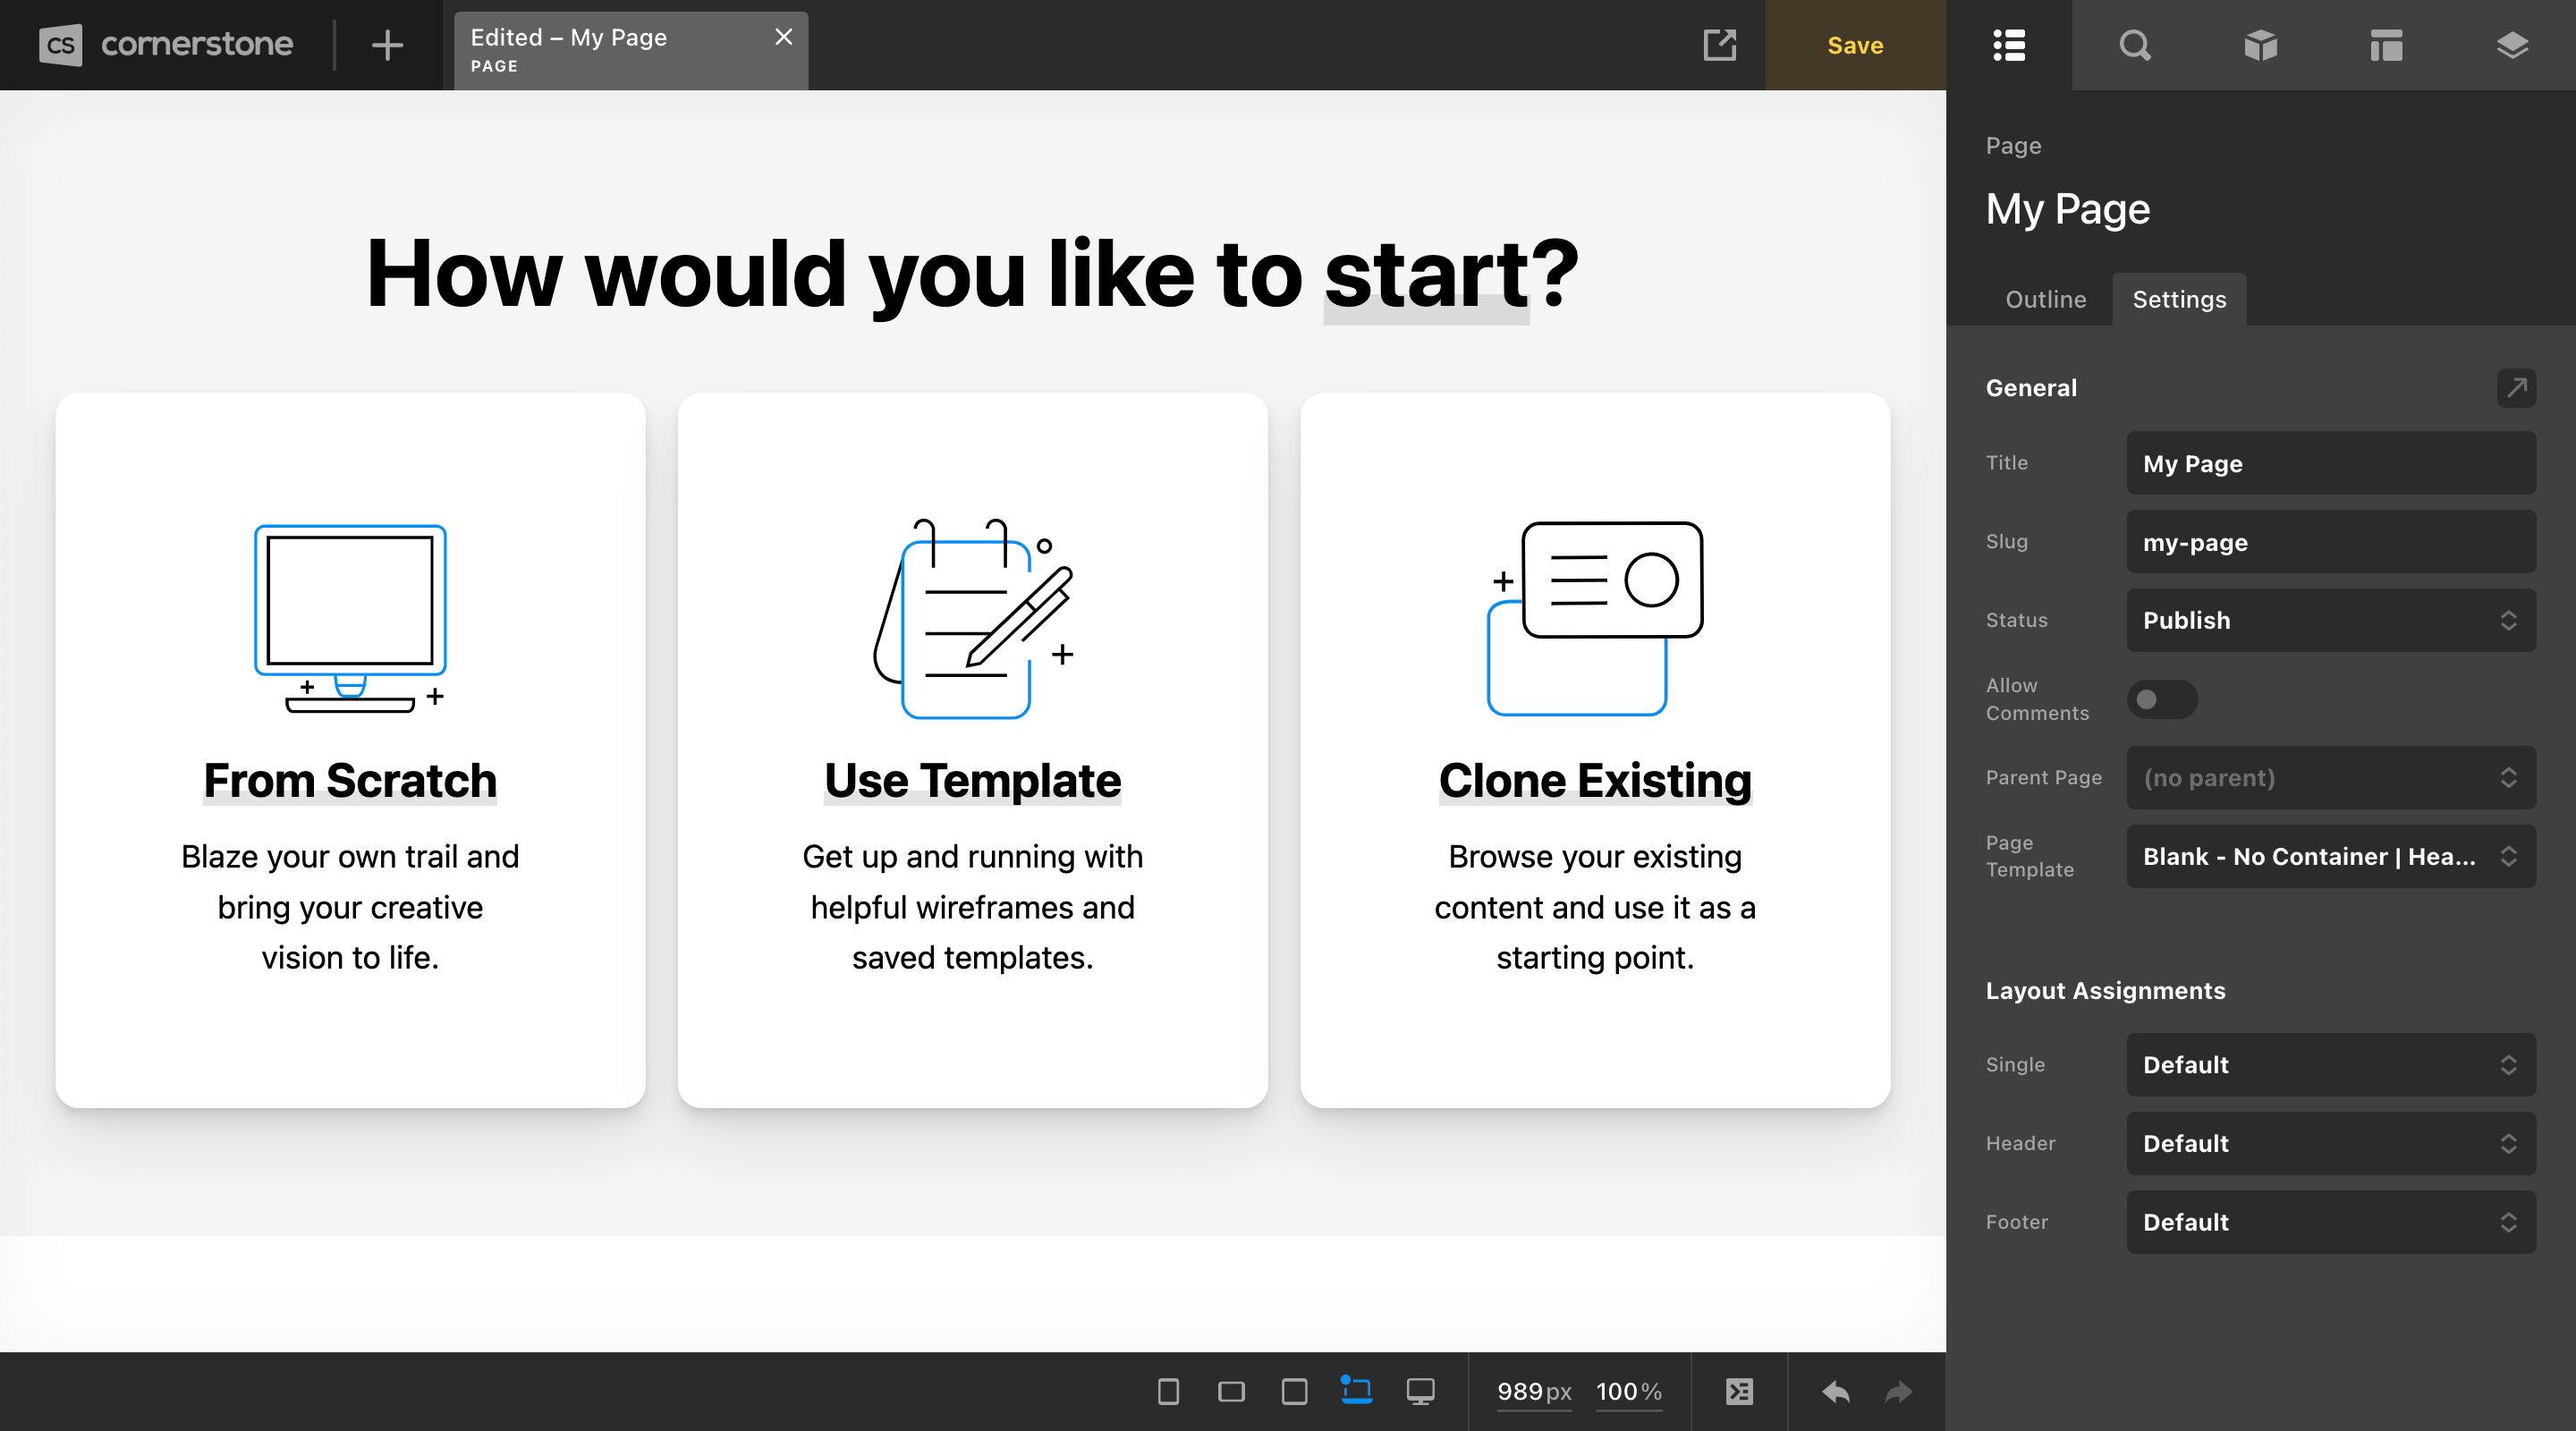
If a “No Container” option is selected, you will notice that the content now spans the entire width of your live preview:
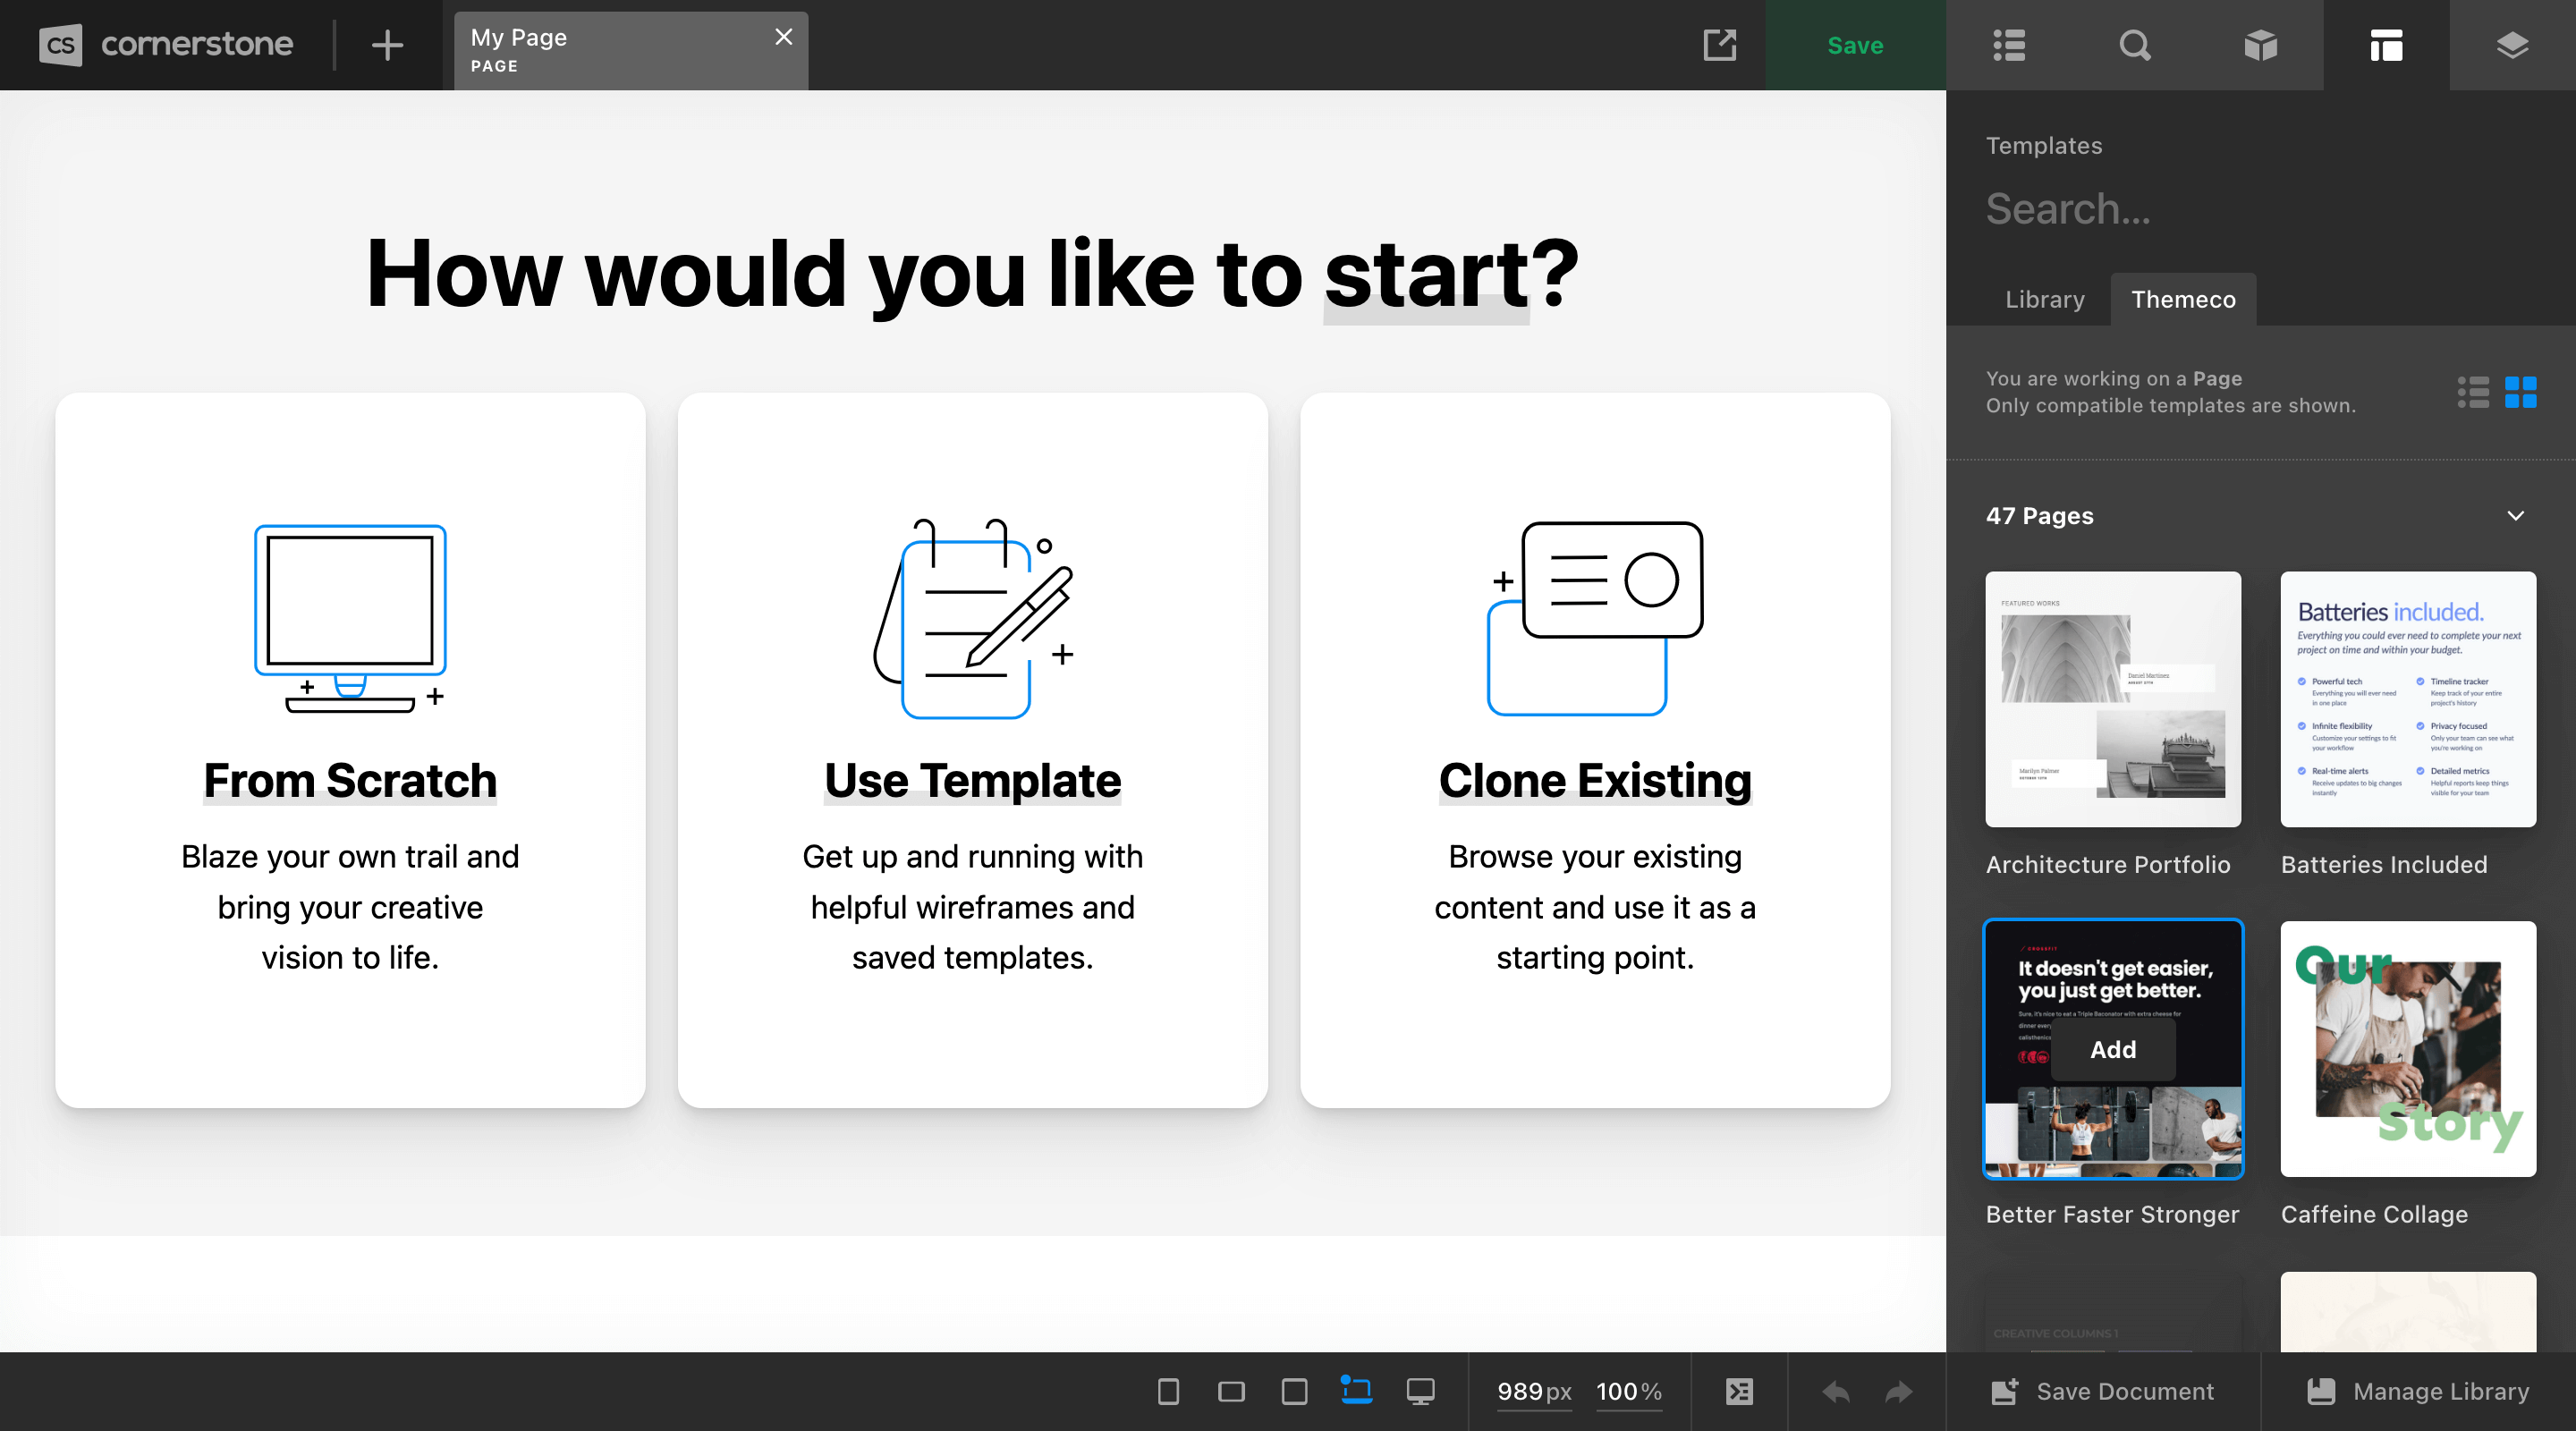
To begin working on your page, you can either select “Add Section” over in the Workspace, or “From Scratch” in the live preview. Either of these options will simply add a new Section to your Page for you to begin working with. For a bit of a headstart, select “Use Template,” which will navigate you to the Templates pane. By default, this will be on the Library tab to show you your own assets that you have saved, or you can click on the Themeco tab to see a selection of assets available to start with:
Selecting any of these assets will initiate a brief installation process. During this time, the other items in the Template pane will be disabled to avoid any accidental clicks on additional assets:
If you selected “Better Faster Stronger,” your page would look something like the following after installation:
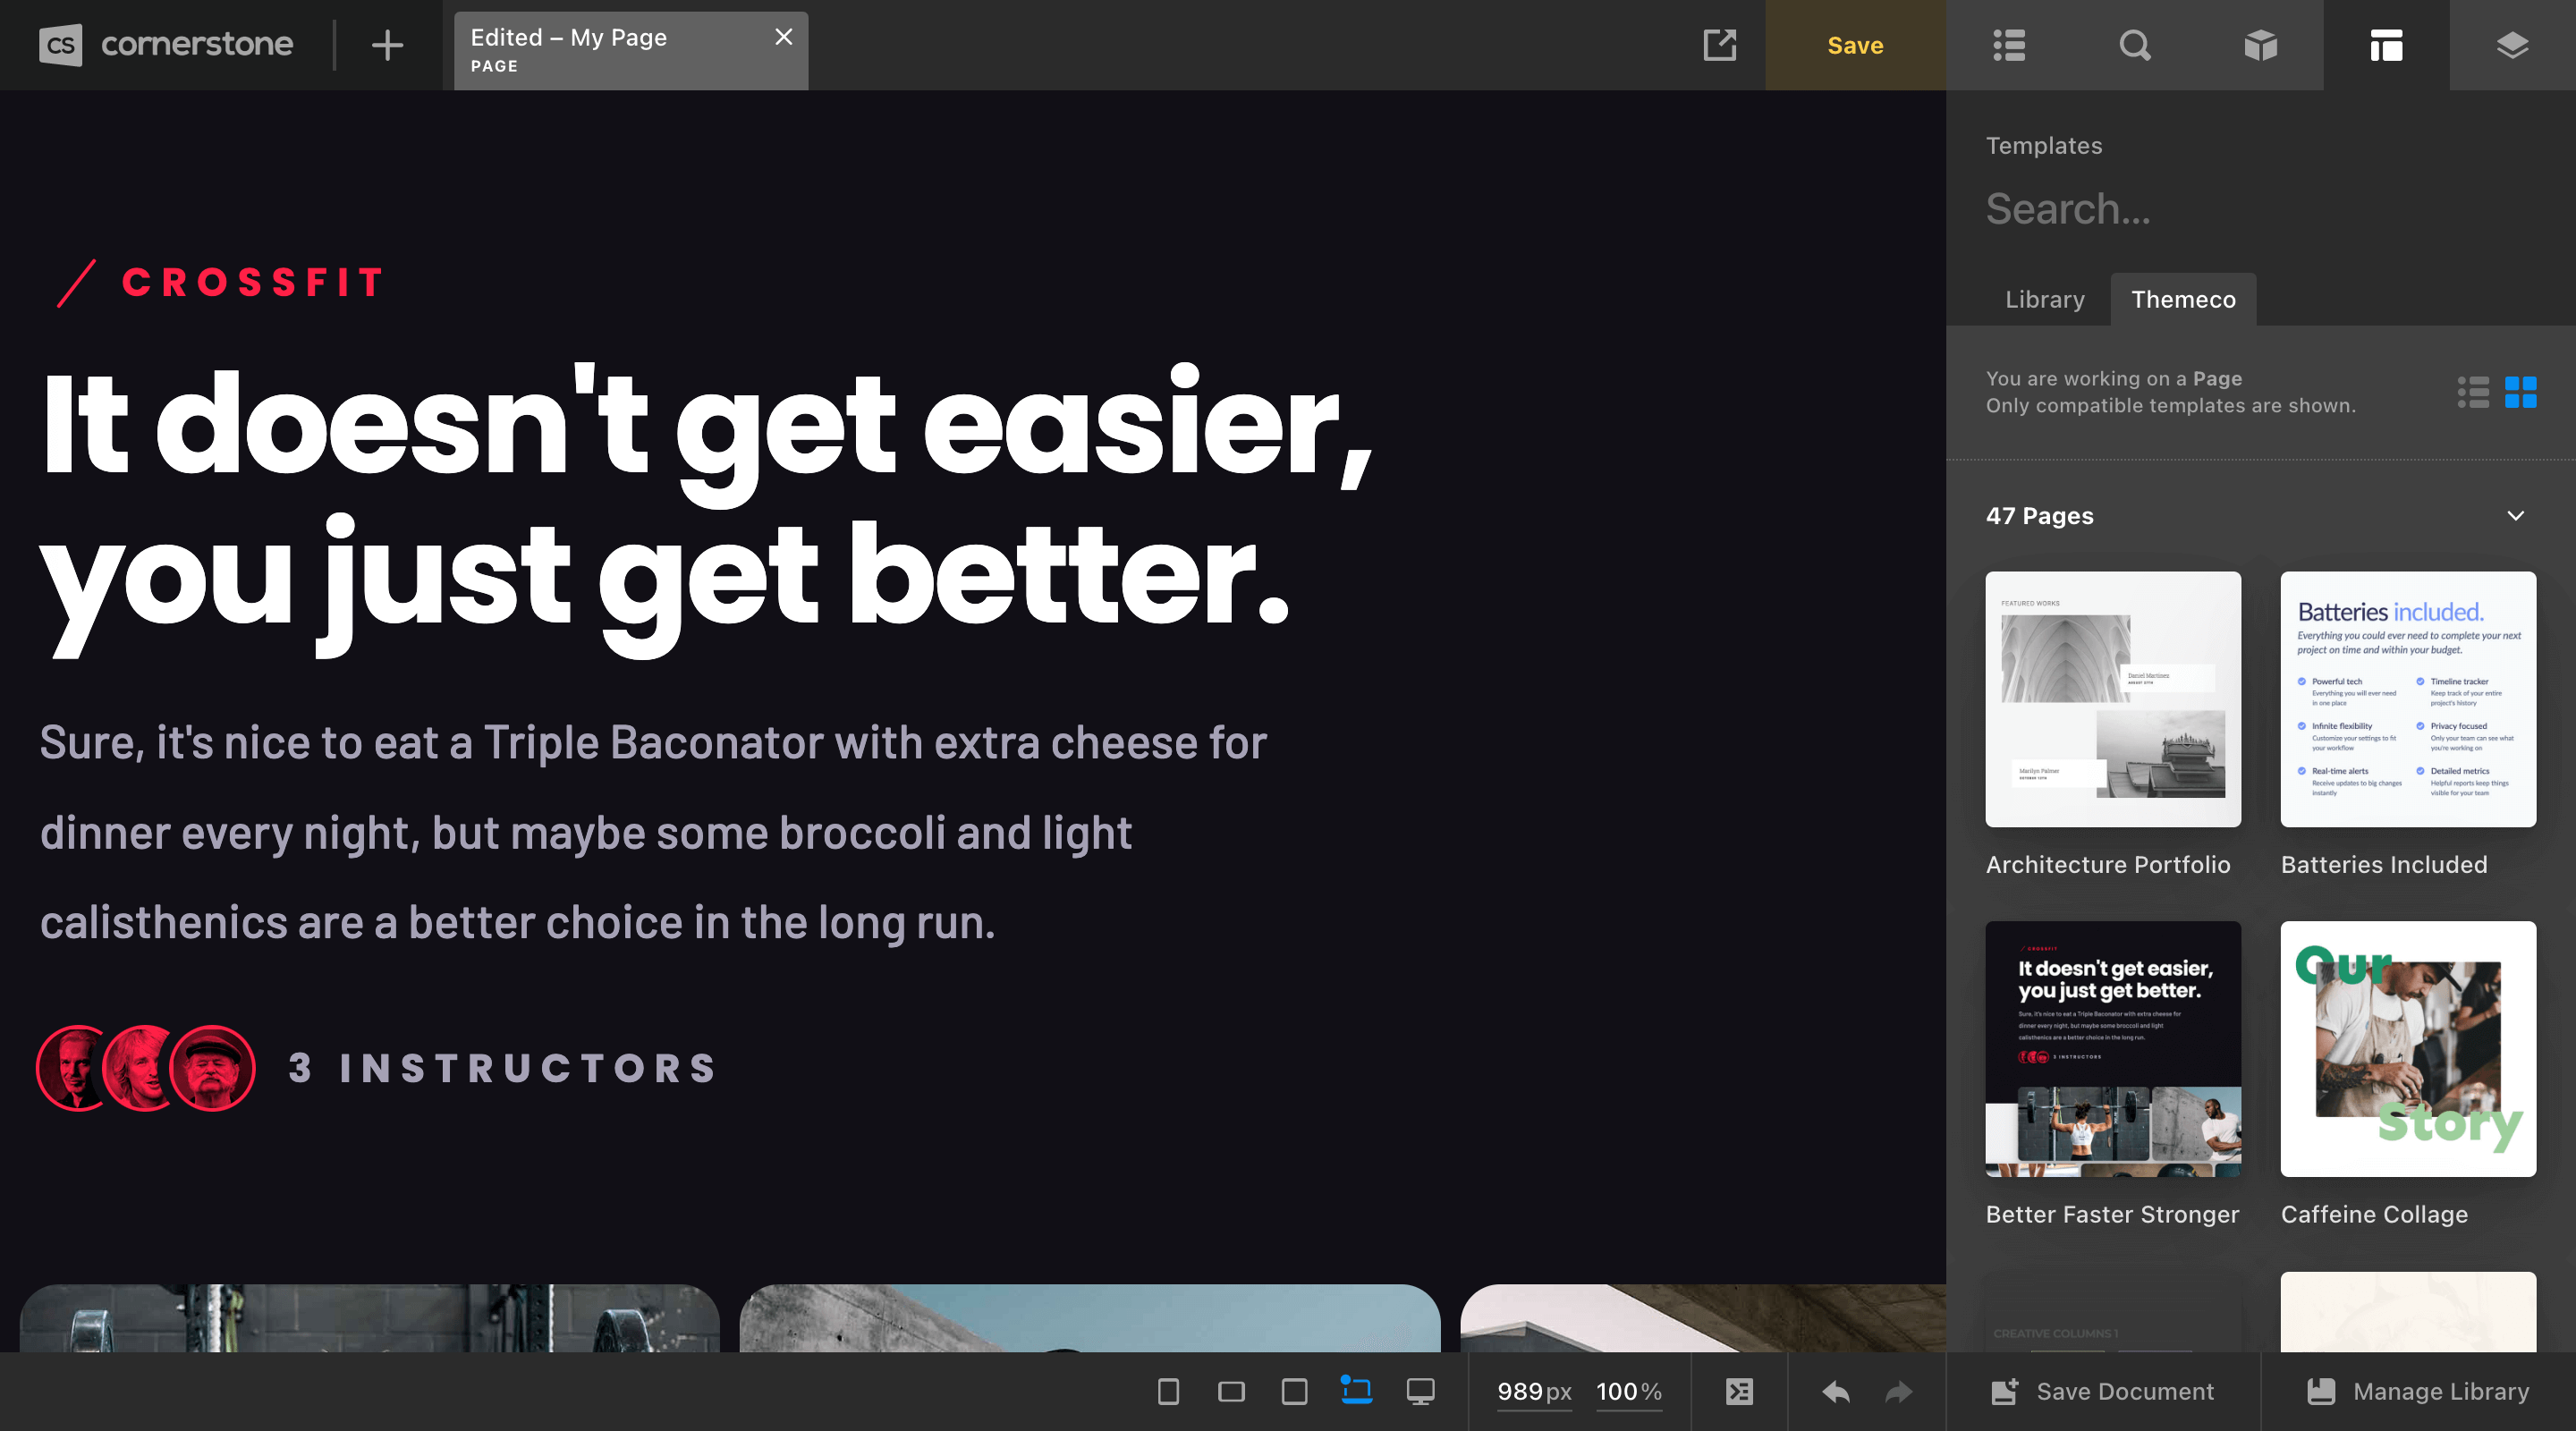
The great thing about these ready-made assets is that much of the heavy lifting has already been done for you. Colors, images, layouts, and more have all been set by one of our designers, and all you need to do is plug in your own images and copy and you're off and running!
Videos
We have numerous videos that we've made about different facets of the page building experience in Cornerstone that you can view on our YouTube channel. If you have some time, we highly encourage all users to look through that library to learn more about building with Cornerstone.
Summary
We've covered an introduction to the Page Builder, how to design pages, in addition to video tutorials so you can see it in person. We hope you enjoy this powerful addition to Cornerstone!
See something inaccurate? Let us know