Gravity Forms
In this article, you'll learn how to create a working contact form using Gravity Forms.
Gravity Forms is a great plugin to create complex forms for gathering data or giving your visitors a platform to submit data and connect.
Getting Started
In order to install Gravity Forms you will need to buy it here. Once you've downloaded the latest version go inside your WordPress dashboard and navigate to Plugins > Add New and within the page click on Upload Plugin.
On the new page click Browse and navigate to your recently downloaded .zip file. Once the file is selected click the Install Now button.
WordPress will now install the plugin and once it's finished make sure to click the Activate Plugin text.
The Admin Screen Explained
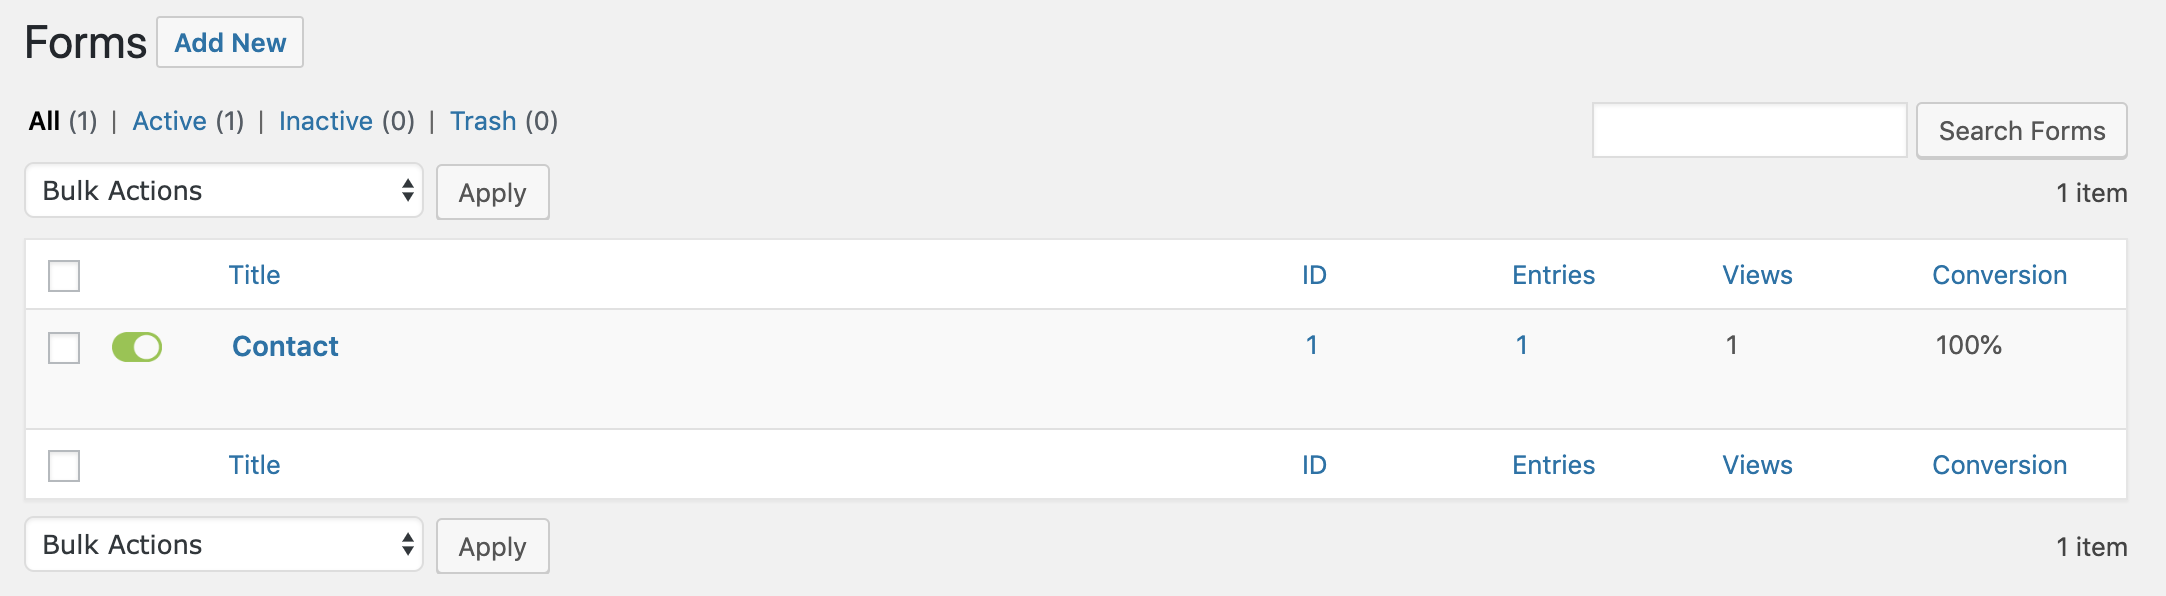
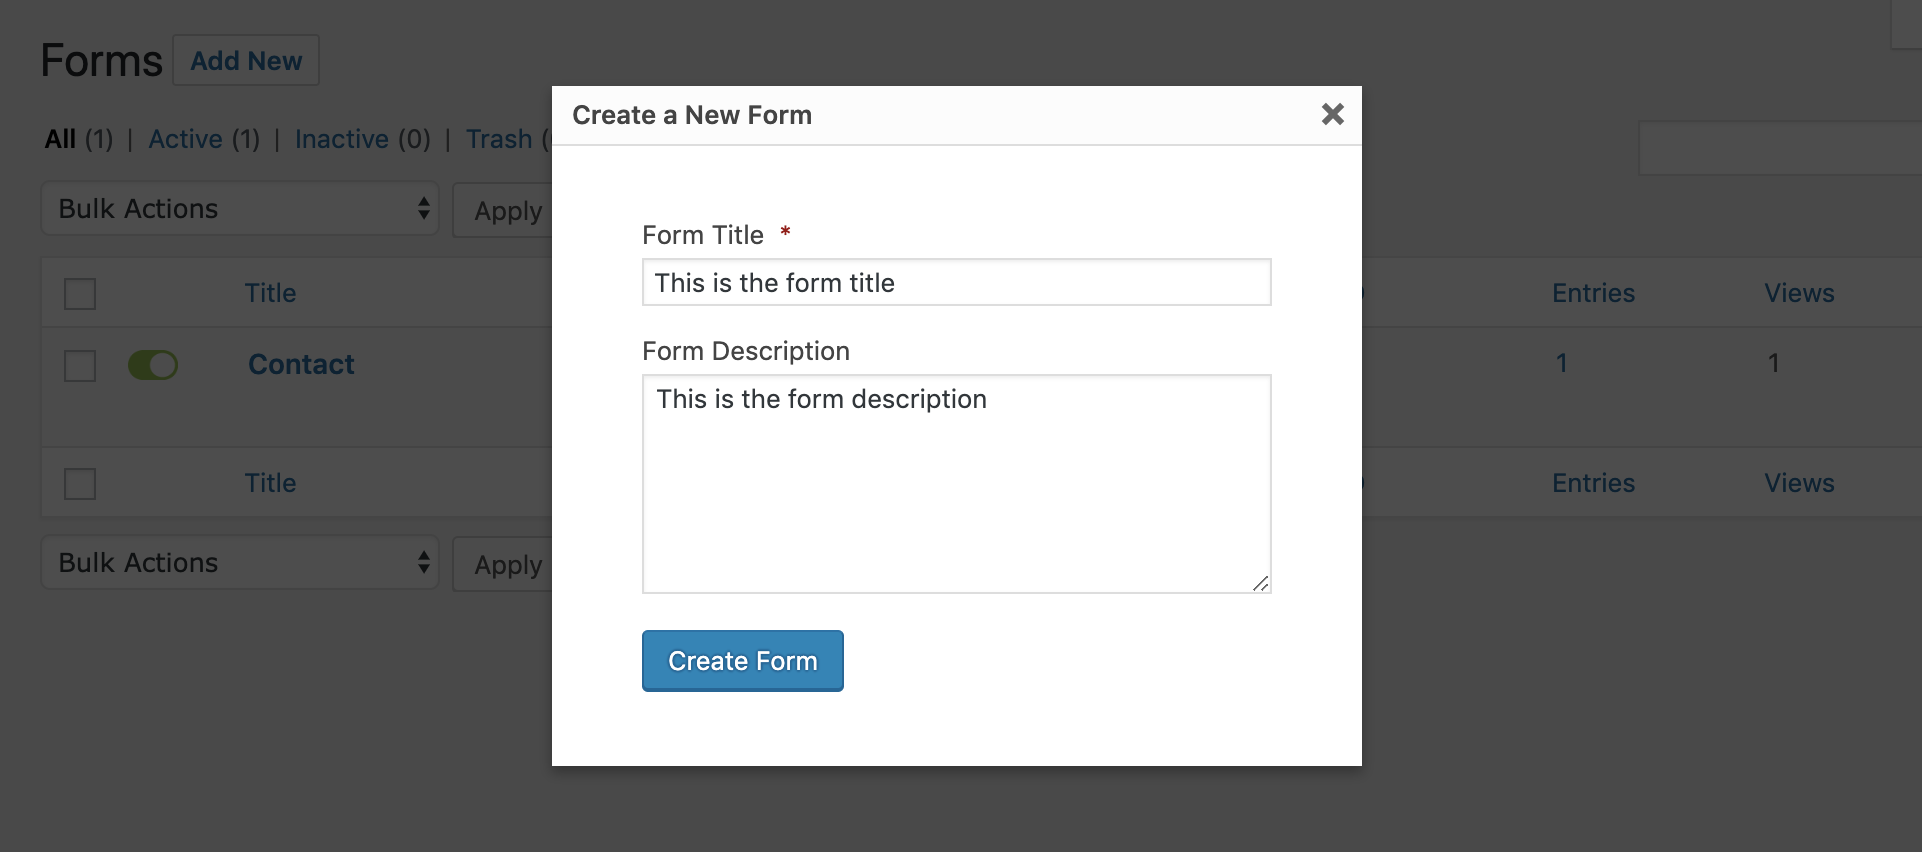
Click on Forms in the WordPress dashboard and you will see a list of all your created forms. If you have not yet created a form you can do so be clicking on the New Form sub navigation.
Adding and Editing Form Fields
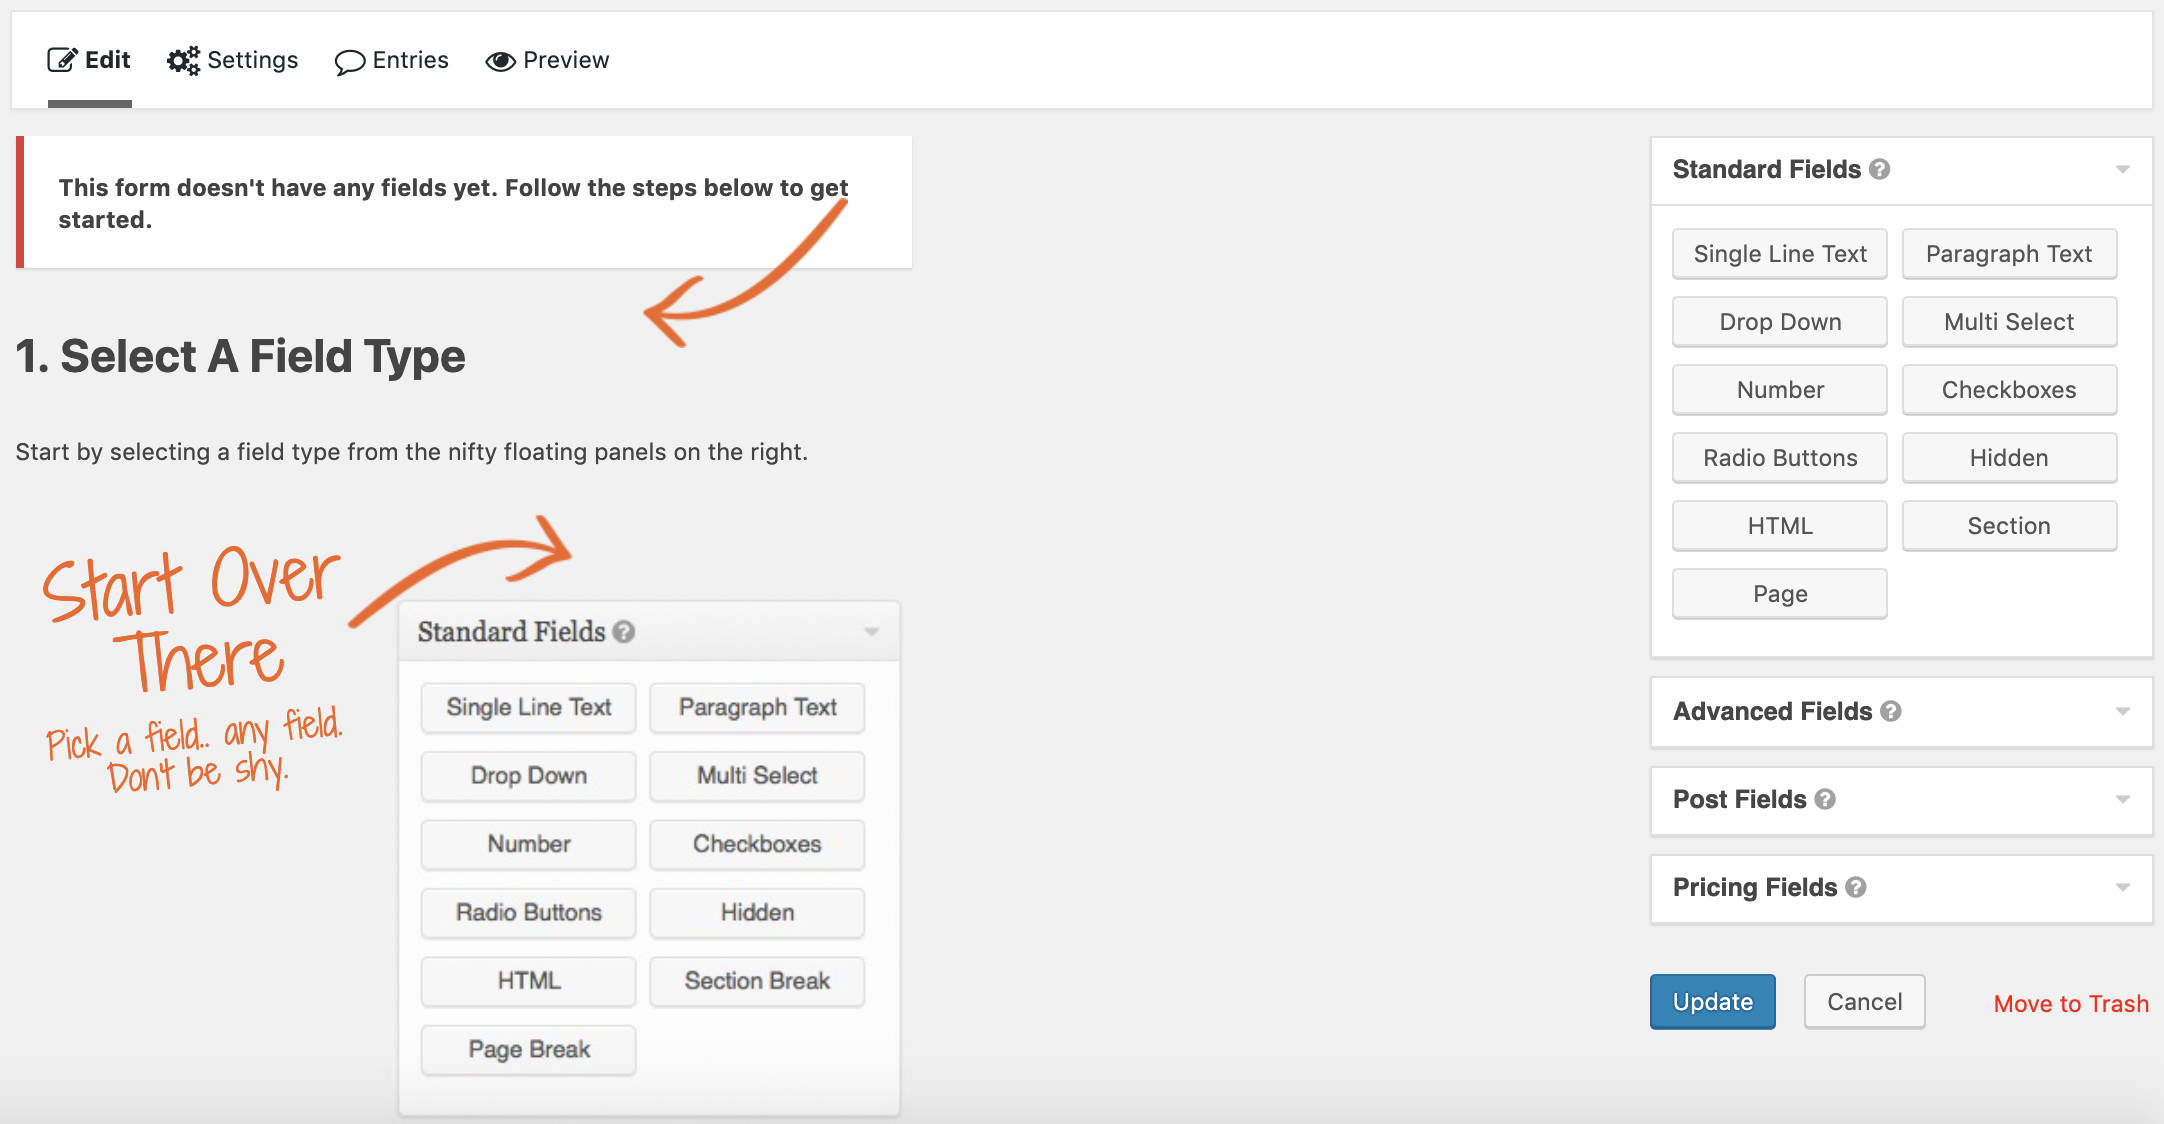
You can add or remove form fields by dragging the field type from the right sidebar into the field form. Editing individual form fields is possible by clicking the Edit link. This will display the field editor interface which gives you options to tweak and fine tune the specific field.
Settings
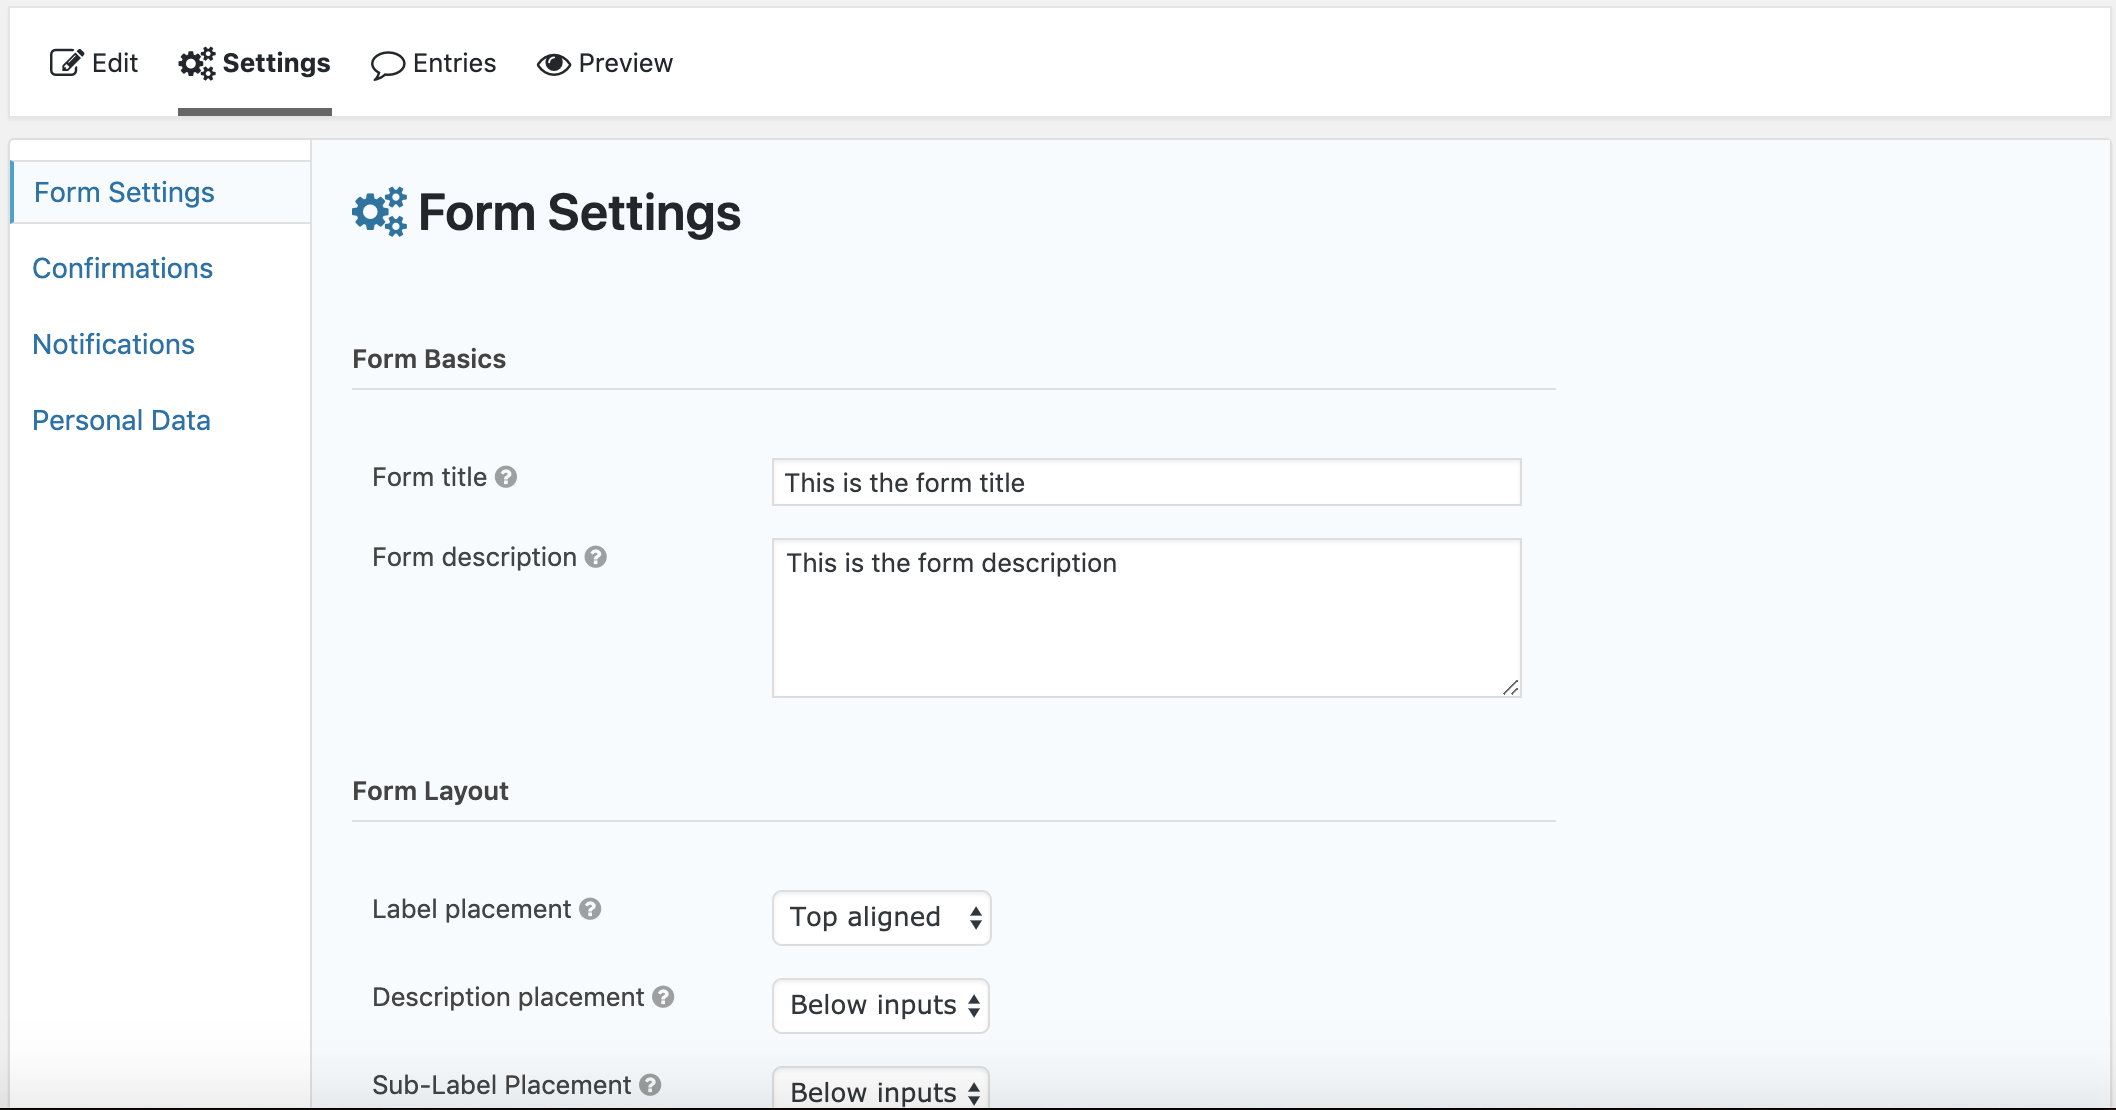
The Settings tab of your newly created form contains the following sections:
Form Settings: Here you can set global settings like the form title, form description and other useful things like the form layout and the form buttons.
Confirmations: This tab lets you create confirmation messages that are displayed after a user submits the form.
Notifications: You can enable notifications if you want to receive an email whenever a user submits a form, and set up the content of the notification emails.
Personal Data: This section is privacy related. It lets you set the retention policy for data and IP addresses.
Entries
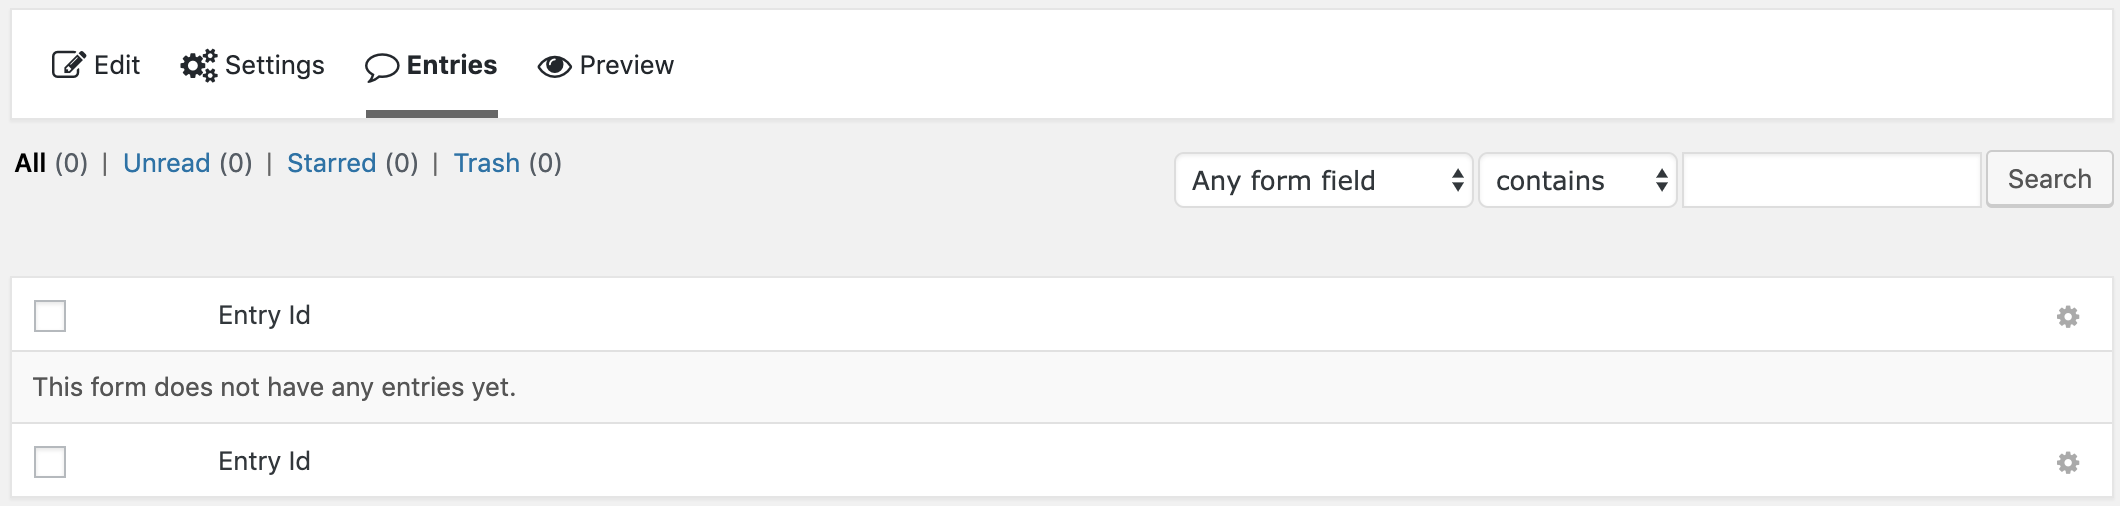
The Entries section displays details of all form submissions.
Preview
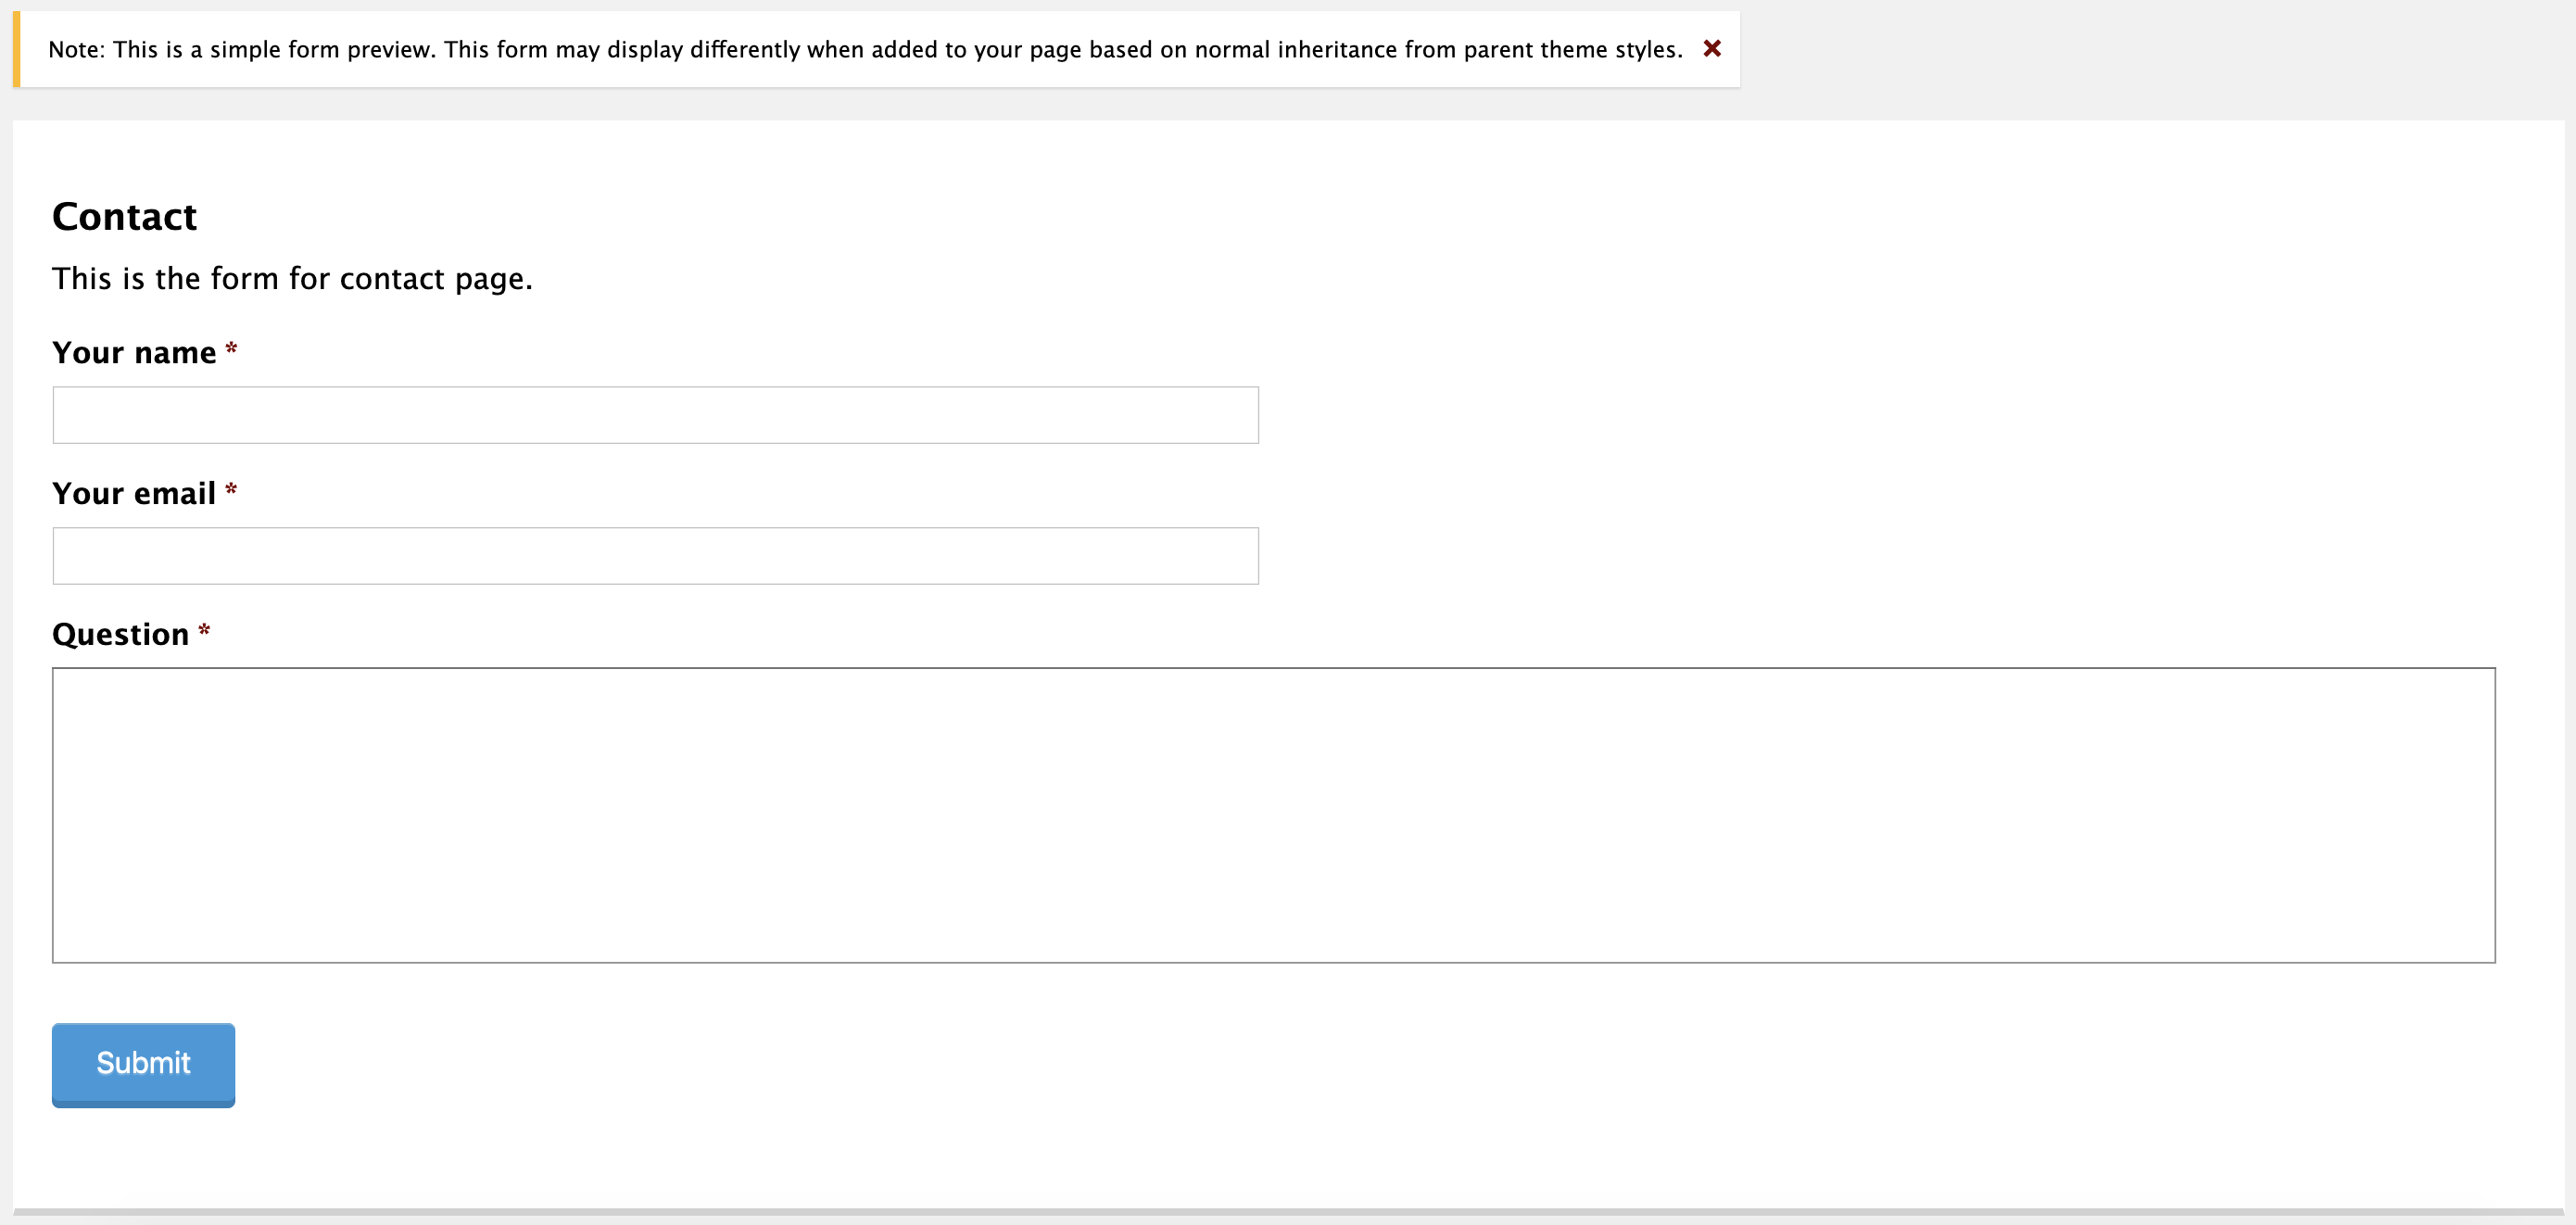
The Preview tab will allow you to preview your form while you are working on it. This is very similar to the WordPress native preview draft feature when writing posts and articles.
Embed Forms
The most intuitive way to embed Gravity Forms is via a Shortcode:
[gravityform id=1 title=false description=false ajax=true tabindex=49]
The following variables can be set within the shortcode:
- id - The id of the form to be embedded. (required)
- title - Whether or not do display the form title. Defaults to ‘true’. (optional)
- description - Whether or not do display the form description. Defaults to ‘true’. (optional)
- ajax - Specify whether or not to use AJAX to submit the form.
- tabindex - Specify the starting tab index for the fields of this form.
- field_values - Specify the default field values. Example: field_values=’check=First Choice,Second Choice’.
Shortcodes are only one way to display gravity forms. You can also use a function call
gravity_form( $id_or_title, $display_title = true, $display_description = true, $display_inactive = false, $field_values = null, $ajax = false, $tabindex, $echo = true )
- $id_or_title - (mixed) (required) The id or title of the form to be embedded.
- $display_title - (boolean) (optional) Whether or not to display the form title.
- $display_description - (boolean) (optional) Whether or not to display the form description. Defaults to true.
- $display_inactive - (boolean) (optional) Whether or not to display the form even if it is inactive. Defaults to false.
- $field_values -(array) (optional) Pass an array of dynamic population parameter keys with their corresponding values to be populated. Example, “array(‘parameter_name’ => ‘custom_value’)”. Defaults to false.
- $ajax - (boolean) (optional) Whether or not to use AJAX for form submission. Defaults to false.
- $tabindex - (integer) (optional) Specify the starting tab index for the fields of this form.
- $echo - (boolean) (optional) Whether to echo the form code or return it. Defaults to true.
Additional Information
If you want to learn more about Gravity Forms make sure to check out their official documentation here.
Summary
That covers the basic functionality of Gravity Forms and now you can start to create exciting forms to your hearts content.
See something inaccurate? Let us know