Products
In this article, we're going to introduce to you the Product Elements and how to use them.
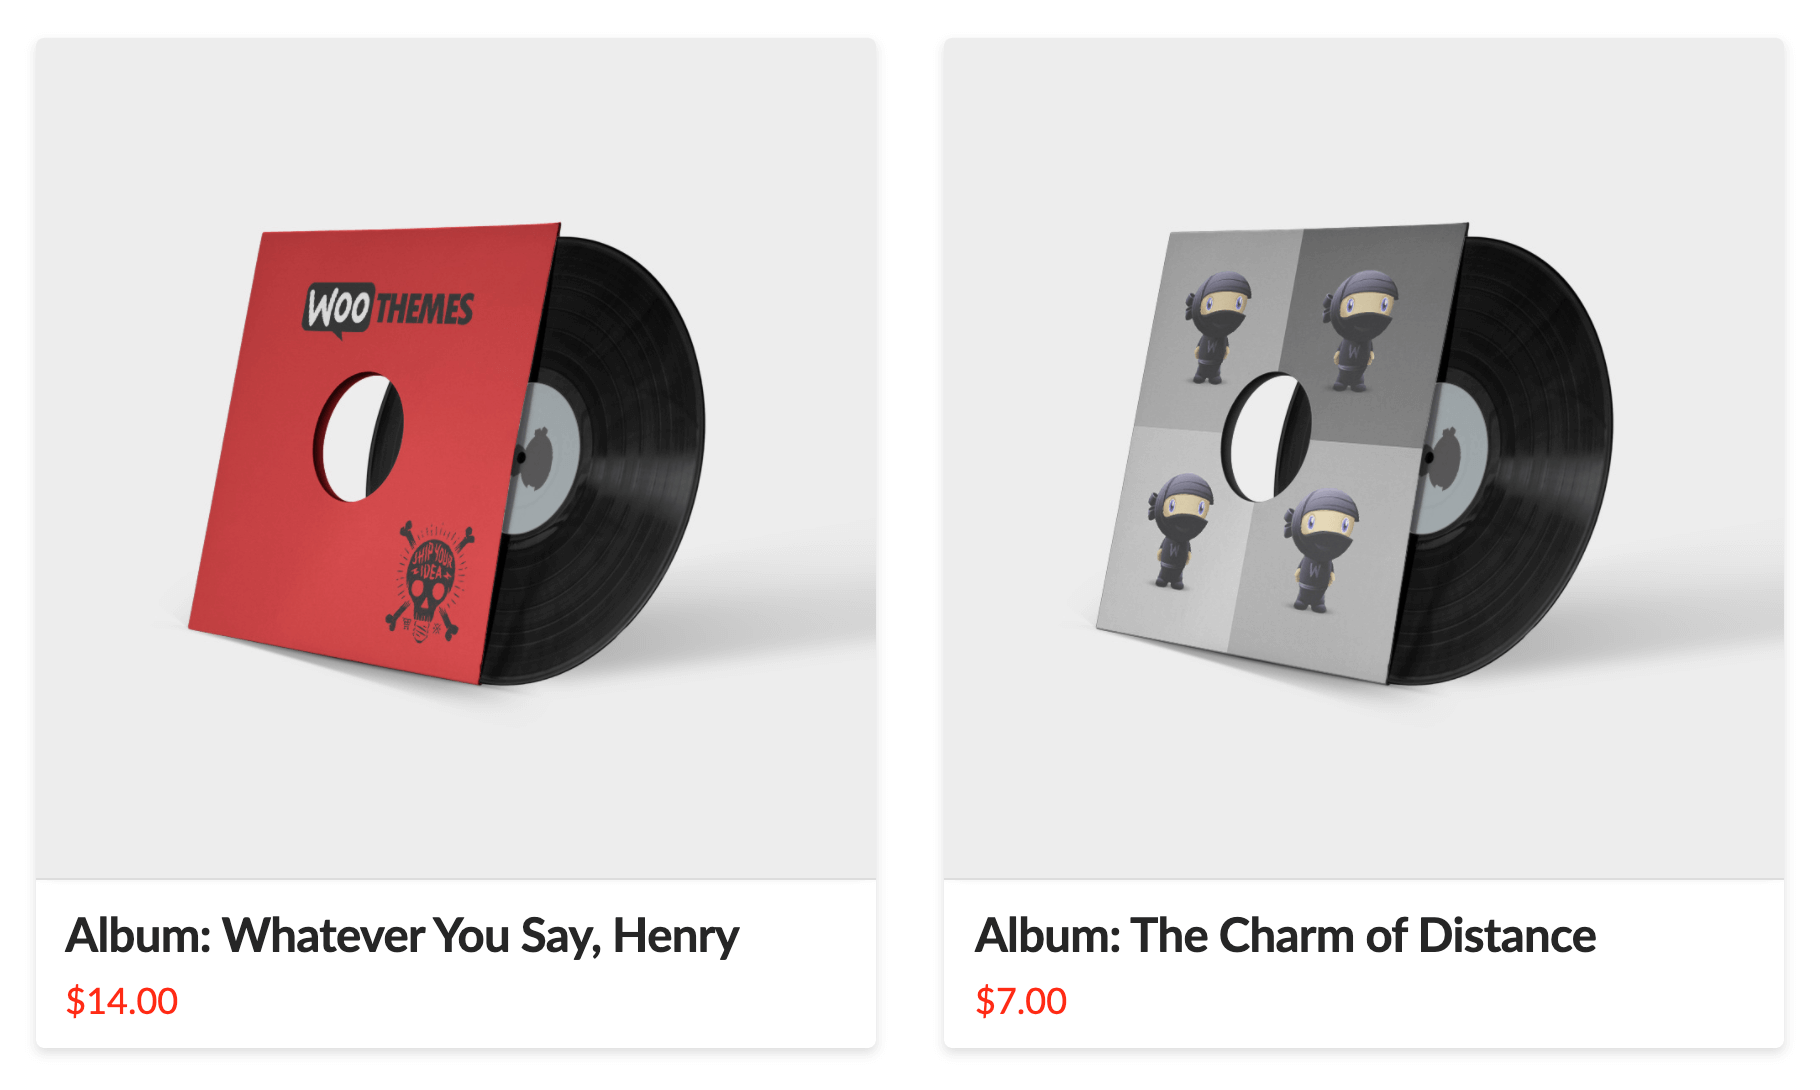
In the world of WooCommerce, the “products” loop is utilized in many different ways throughout your shop. The Products Element outputs this native WooCommerce markup for use wherever needed (although Pro users can design their own custom Product loops with complete control over the markup and styling). Below is an example screenshot of how this output might look depending on the Stack you've selected:

These product loops appear in the following ways:
- Shop Index – The primary loop of products shown for your shop.
- Related Products – Typically found on single product pages as a way to promote other items depending on what a user is looking at.
- Cross Sells – Typically found on single product pages as a way to promote other items depending on what a user is looking at.
- Upsells – Found on the checkout page as a final way to put product in front of a user.
Our builders feature an Element for each of these abstractions within WooCommerce. Below is a rundown of some of the more important settings to keep in mind while working with these Elements.
Setup
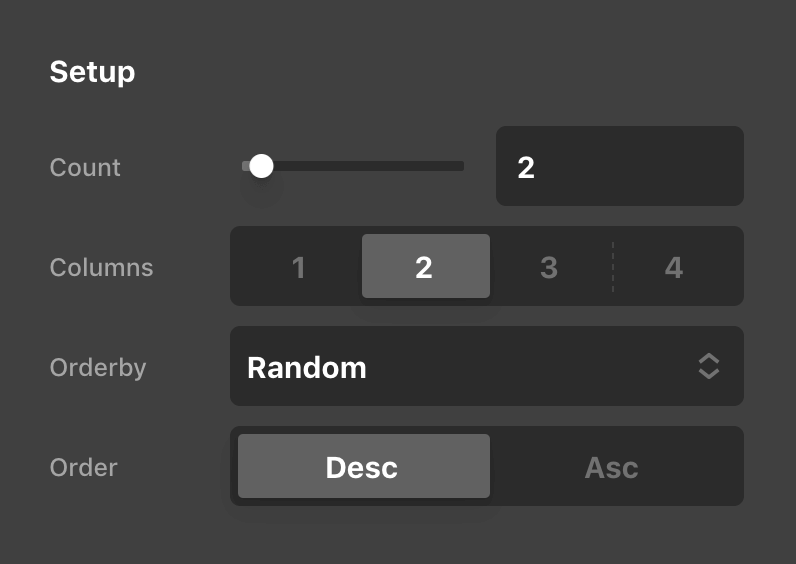
The Setup control group of the Product Element is where you will begin with some basic presentational aspects of your output:

- Count – Sets the number of posts that should be shown within the product loop.
- Columns – Specifies the maximum number of columns utilized on a desktop view (auto-responds as the viewport decreases).
- Orderby – Allows you to determine how the content should be sorted (e.g. Random, Title, ID, Date, et cetera).
- Order – Choose between an ascending or descending order for your products.
See something inaccurate? Let us know