WooCommerce
In this article, we're going to explain how to set up the WooCommerce plugin and talk about the integration with X and Pro.
Getting Started
WooCommerce is the most popular WordPress plugin for creating an online shop using your existing WordPress site, and both X and Pro are compatible with the plugin.
As a matter of fact, there are several custom features built specifically to extend the design and functionality of your WooCommerce site when you are using Cornerstone.
First, let's go through the installation process. Follow the steps below to get started with the WooCommerce Plugin:
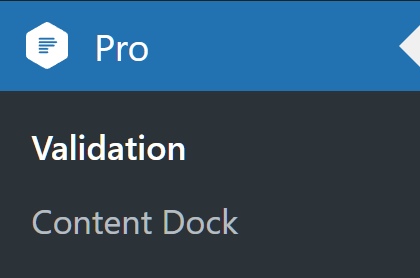

- Go to X/Pro > Validation.
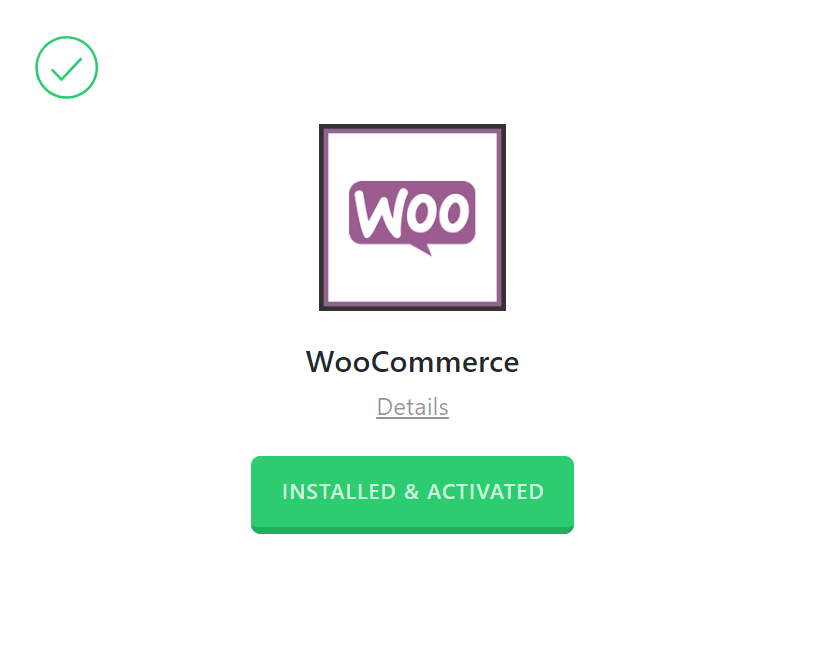
- Scroll down the page to find the WooCommerce, then click the Install button.
- Wait till the installation process is finished.
- After the installation is complete, click the Go Active button.
- You will be redirected to the plugins page which you can click the Activate link to activate the plugin.
- After the activation, you can go to X/Pro > Validation menu and scroll down to see the plugin is installed.

After that you activated the plugin, you will be prompted to follow with step by step setup of the shop which will ask you typical question as which country the shop should be in, which currency and so on.
Adding a Product
Follow the steps below to add a product using the WooCommerce plugin:
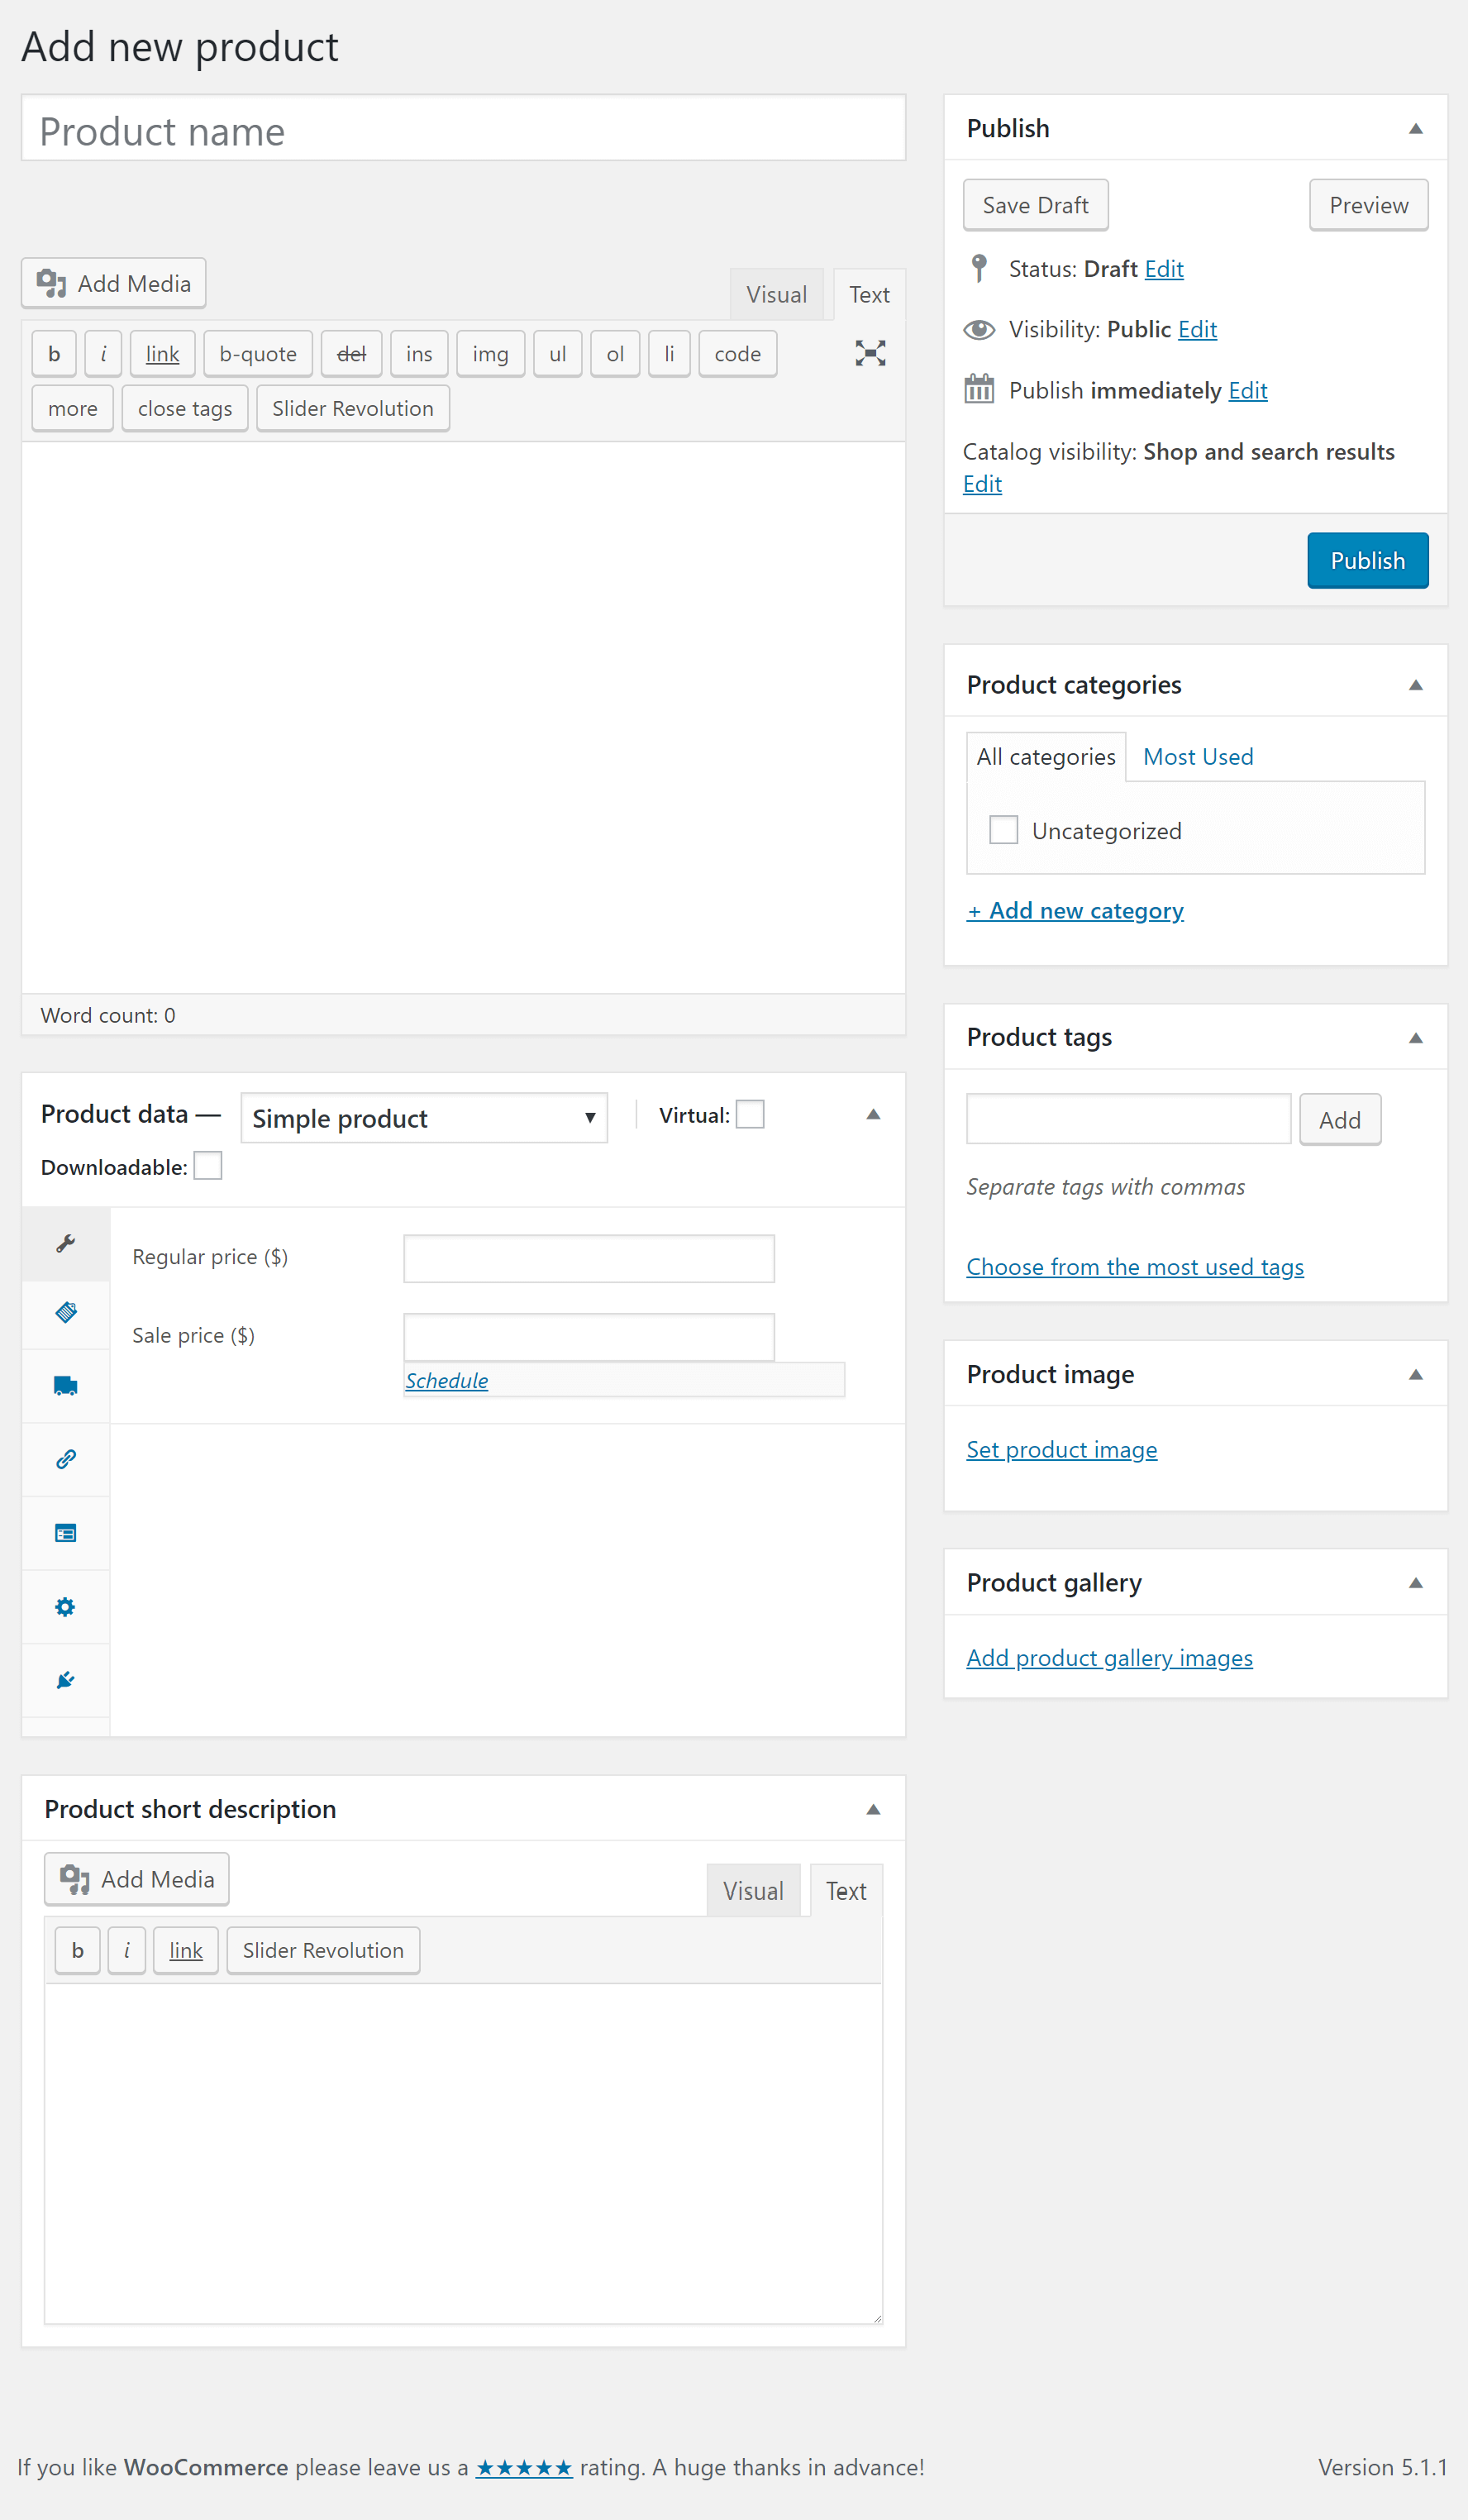
- Go to WordPress Dashboard > Products > Add New.
- Add the Name of the product.
- Use the Standard WordPress editor to add the description of the product.
- Add a Price of the product.
- Add the main image of the product. Clicking the Set Product Image link will show the standard WordPress media dialog to choose the image.
- Add a gallery to the product by clicking the Add Product Gallery Images link. The process is like the step 5 but you can select more than one image.
- Add Product Tags to make sure you have proper keywords regarding the product.
- Add the Category of the product.
- Publish the product.

Click here for more detailed information about the Woocommerce Products.
How to Use WooCommerce in Cornerstone
By default, the Cornerstone in the X theme and the Pro theme is not available while editing the product and you have access to the standard WordPress editor. But you can enable the builder following the steps below:

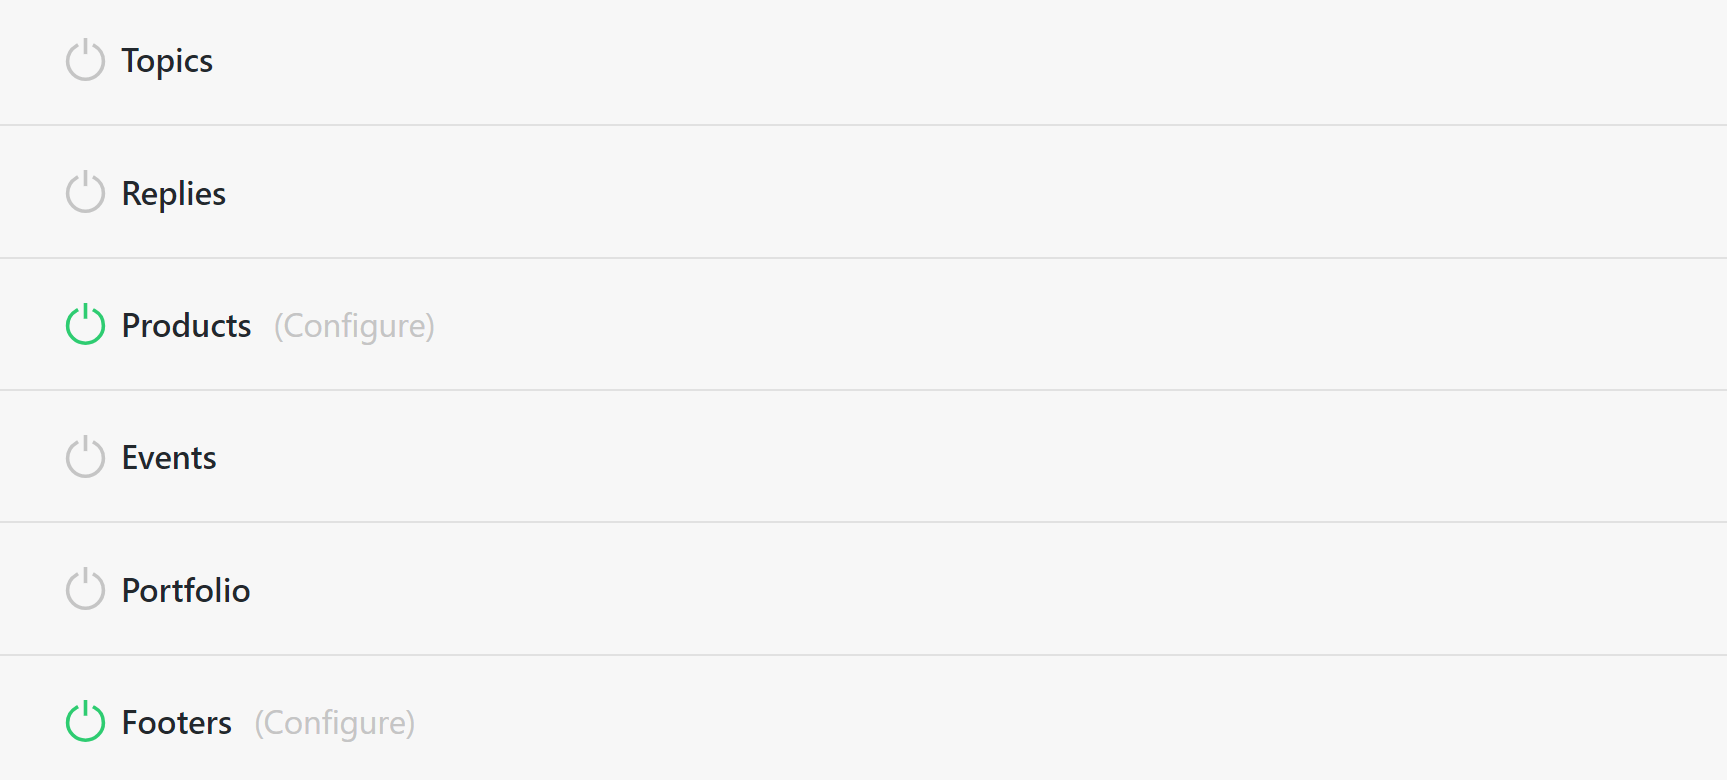
- Go to Cornerstone > Settings.
- Find the Permissions section and search for the Products, click the power icon before the Products item to enable the builder for the Product custom post type.
Now if you go to edit or add a product you will see a new tab available in the editor to edit the product using the Cornerstone in the X theme and in the Pro theme:

The builder will be available only to change the description section of the product. The layout of the single product page cannot be changed using the builder and instead you need to use the customization techniques in the WooCommerce PHP files.
WooCommerce Image Size Changes
X and Pro do not interfere with the default image settings of the WooCommerce plugin. So you can set the proper image sizes using the native controls of the plugin. Click here for more information.
WooCommerce Demos
X and Pro customers can access four different shop styles natively in the theme. These shop styles are based on the Stack you are using, and you can see previews of them below:
- Integrity Shop Demo
- Renew Shop Demo
- Icon Shop Demo
- Ethos Shop Demo
These styles will pull through automatically if you are using X/Pro, have selected a particular Stack, and have activated WooCommerce.
We have also released a dedicated shop demo called Crafty that can be installed from Design Cloud. The difference between Crafty and the Stack-specific demos listed above is that Crafty is a multi-page complete website whereas the Stack-specific demos are simply native styling.
Put another way, if you want to have a complete shop setup and ready to go you could use Crafty then customize as needed. If you want to build your own shop design from scratch, you simply select a Stack, activate WooCommerce, then customize the Stack-specific shop styling built into the theme.
Advanced
Keeping the WooCommerce stylesheets
In the X stacks we deregister the default WooCommerce layout CSS as our theme will style the WooCommerce pages. However if you want to keep these you can use the following filter.
add_filter('x_woocommerce_deregister_layout', '__return_false');Further Reading
This article barely scratched the surface of the WooCommerce capabilities. If you are interested in learning the plugin features in more depth we suggest that you check the official documentation.
Summary
We learned how to install the WooCommerce plugin and add a basic product as an example in this article. We also talked about the relationship of the X and Pro builders with the products and linked to proper resources to learn more about the plugin and how to setup the image sizes of the products.
See something inaccurate? Let us know