Product Validation
In this article, we're going to explain how to validate so you can get access to updates, support, and new features.
Benefits of Product Validation
Our products are validated by submitting the license code that comes with your purchase for verification. Validation unlocks:
- Automatic Updates
- Product Support
- Future Updates
- Extensions
- Design Cloud
- Max Products (if subscribed)
Third Party Purchase
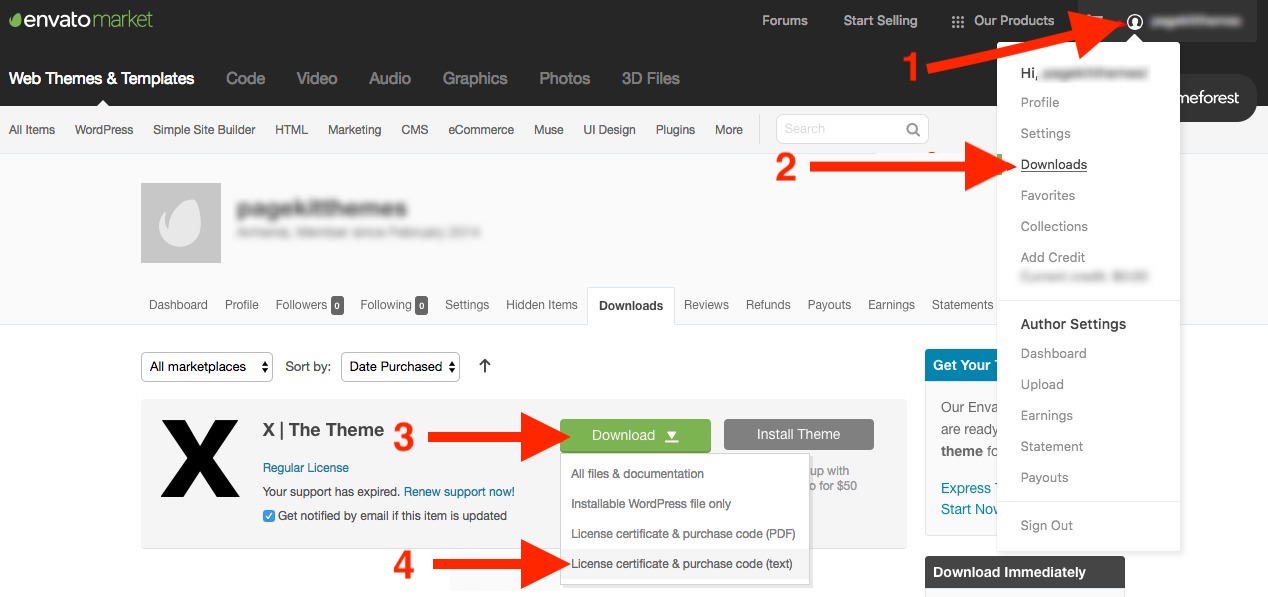
If you purchased X from ThemeForest or Cornerstone from CodeCanyon (both part of Envato Market) you can get the purchase code following the steps below:
- Click on your account name at the top right section of the screen.
- Click on the Downloads menu item in the dropdown.
- Find the product in question and click on the Download button.
- Click on License certificate & purchase code in the dropdown to download the product information text file.

Search for Item Purchase Code in the text file and you will find the purchase key to use in product validation.
Direct Purchase
If you have purchased directly from our website (theme.co), you will need to go to your account dashboard where you'll find your license keys. All license keys are generated at time of purchase.
Validating from the WordPress Dashboard
Now that you have the license ready, head over to your WordPress installation and access the product validation page as follows:
- For X, go to X.
- For Pro, go to Pro.
- For the standalone Cornerstone plugin, go to Cornerstone > Home.

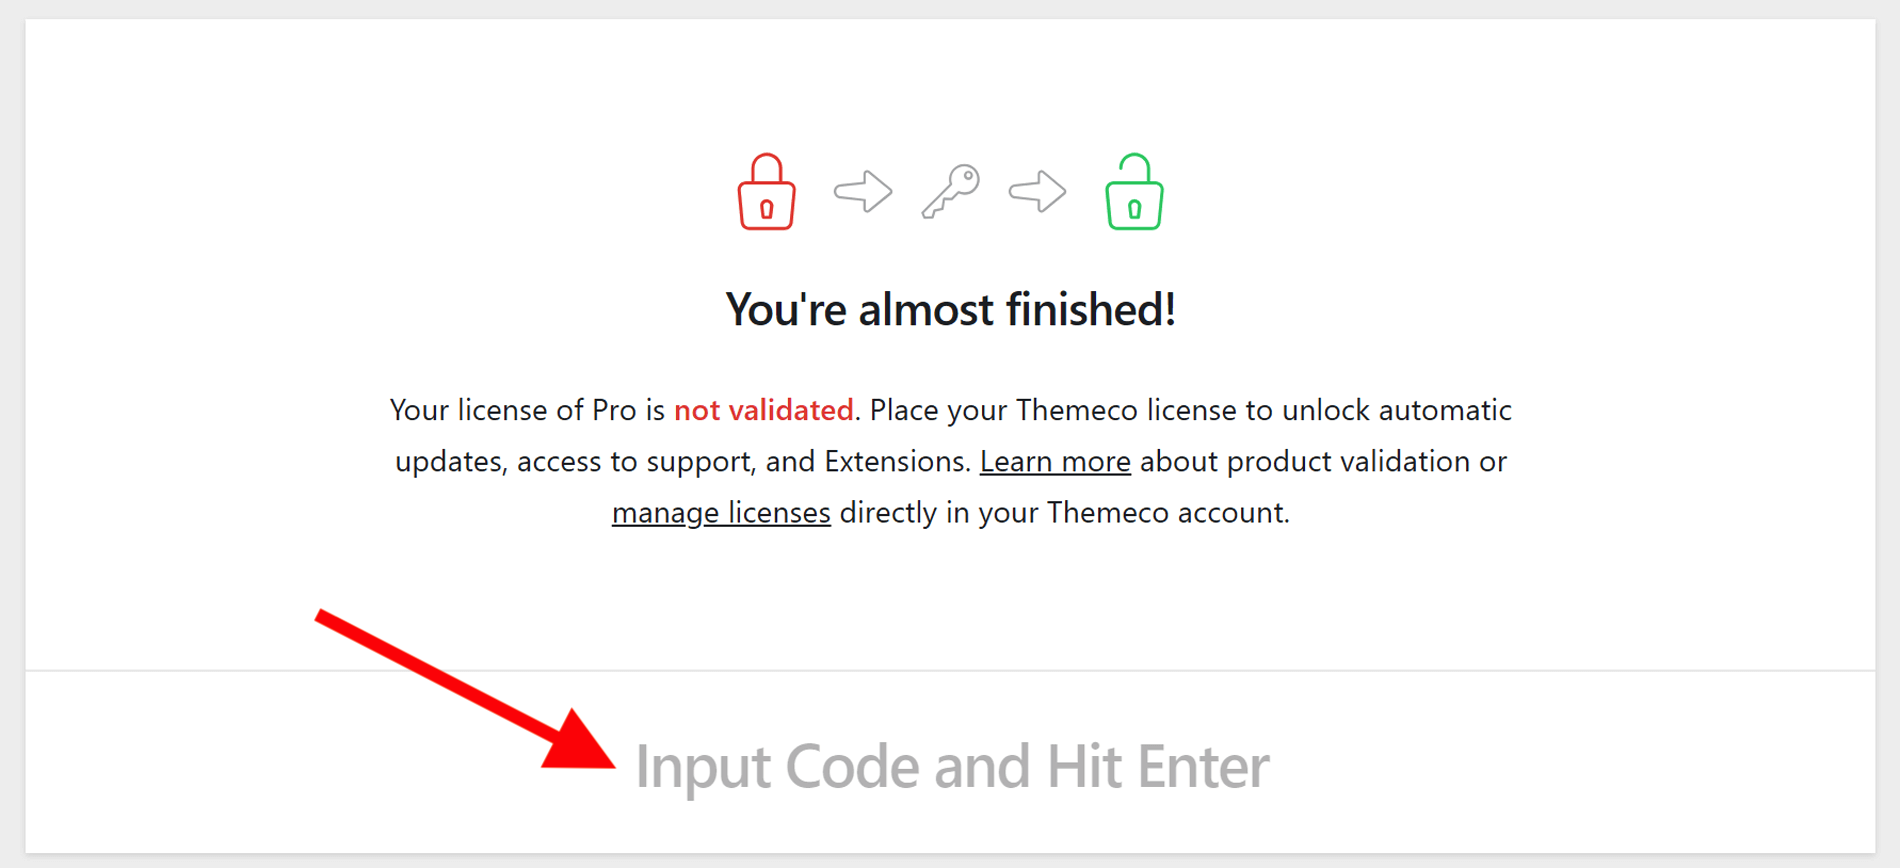
Then you will see a screen which shows that the product is not yet validated. Simply add the license number in the box and hit enter:

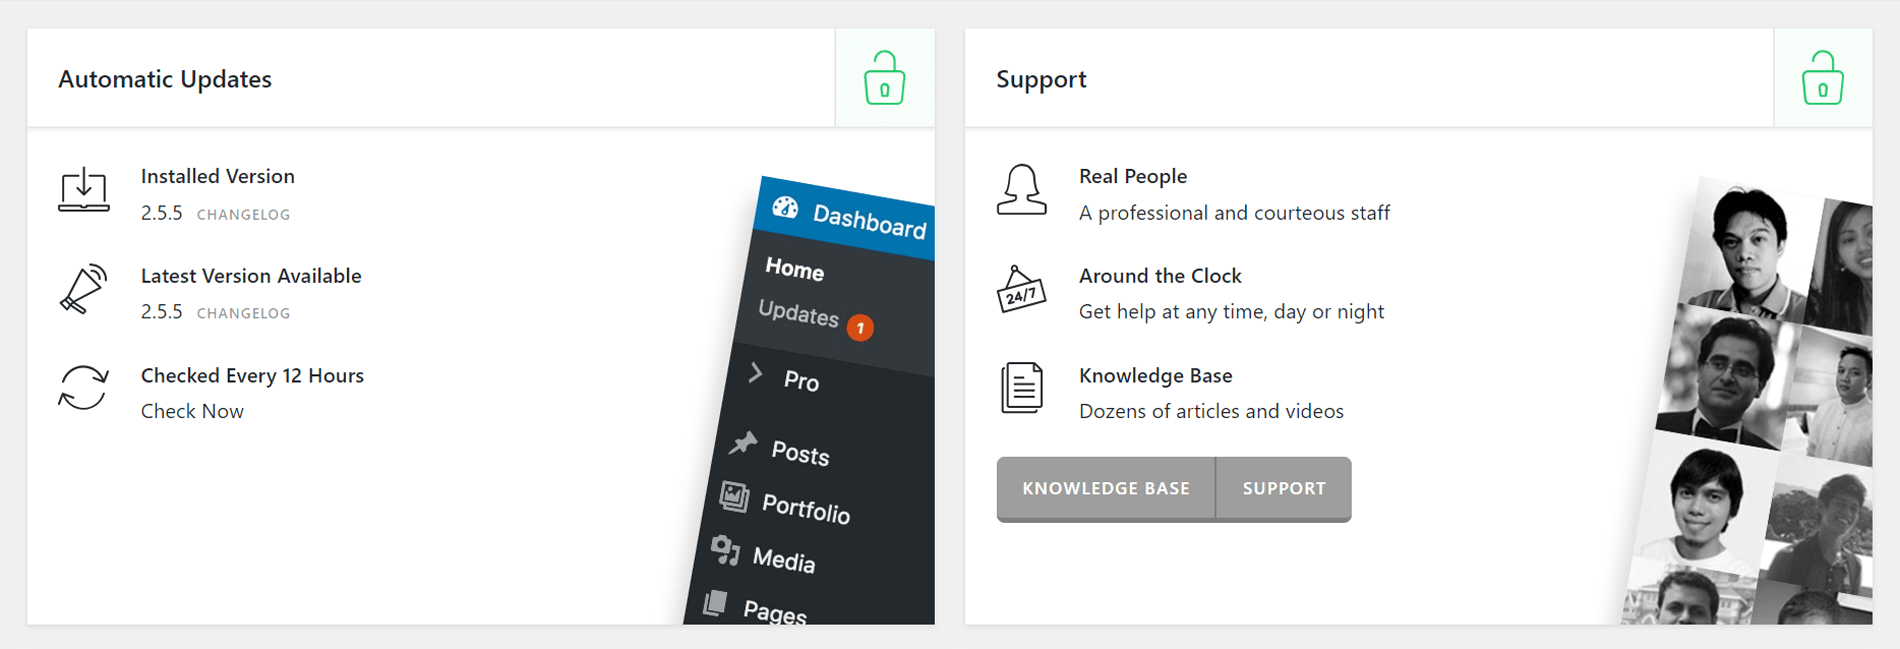
If everything is set properly you will see a success message and the validation screen will turn to this:

Congratulations! You managed to link your product installation with the Themeco account and validate the product. Now you can use all the goodies including the Automatic Updates and Bundles Plugins.
Adding a Single License to Your Themeco Account
To add a new single license go to this page in your account dashboard and click "Add New Product." Follow the prompts at the bottom of the page to add the license or you can purchase a new license as well.
Validating Development Areas
When you purchase a license, you can also use the same license to validate one additional domain for the purpose of site maintenance or development of the primary website. For example, if your primary website is johnsflowershop.com and you want to redesign or carry out maintenance for the same website, you can validate an additional domain, such as staging.johnsflowershop.com, under the same license. However, you may not use the license to validate a second unique or materially different website. This is a violation of our terms and can result in suspension of the license.
To validate your staging or development area, go to your account dashboard and find the license that you wish to add staging, then click the Add Staging button beneath the primary domain. Then simply enter the URL for your staging or development area and save. This staging domain will now be validated.
Revoking the License Key
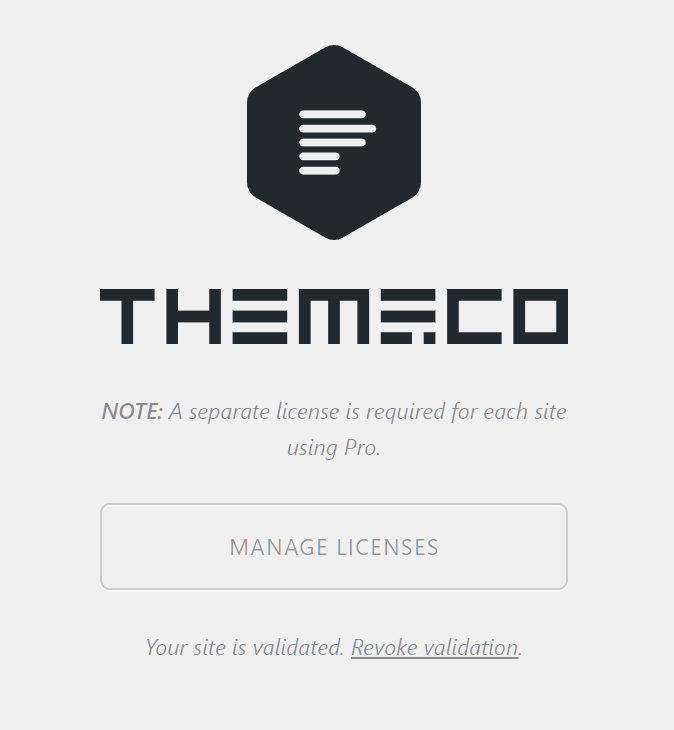
If you want to revoke a license from your WordPress installation, go to the validation page (as shown above) and click Revoke Validation link:

You can also change the url assigned to each license from within your Themeco account dashboard.
Summary
Validation is important so you can access updates, support, and new features. If validation has expired or you have lost access to the license, you can purchase a new license and follow the steps above. Now that you know how and why to validate, it's time to explore the WordPress dashboard options.
See something inaccurate? Let us know