Woo Checkout Editor
In this article, we're going to explain the Woo Checkout Editor extension which comes with your X and Pro licensed copy. You'll learn what it is used for, what settings are available to you, how to add new checkout fields and much more.
With Woo Checkout Editor you can easily alter your WooCommerce checkout page by adding and removing fields.
This article assumes that you have already installed the WooCommerce plugin.
How to Enable the Extension
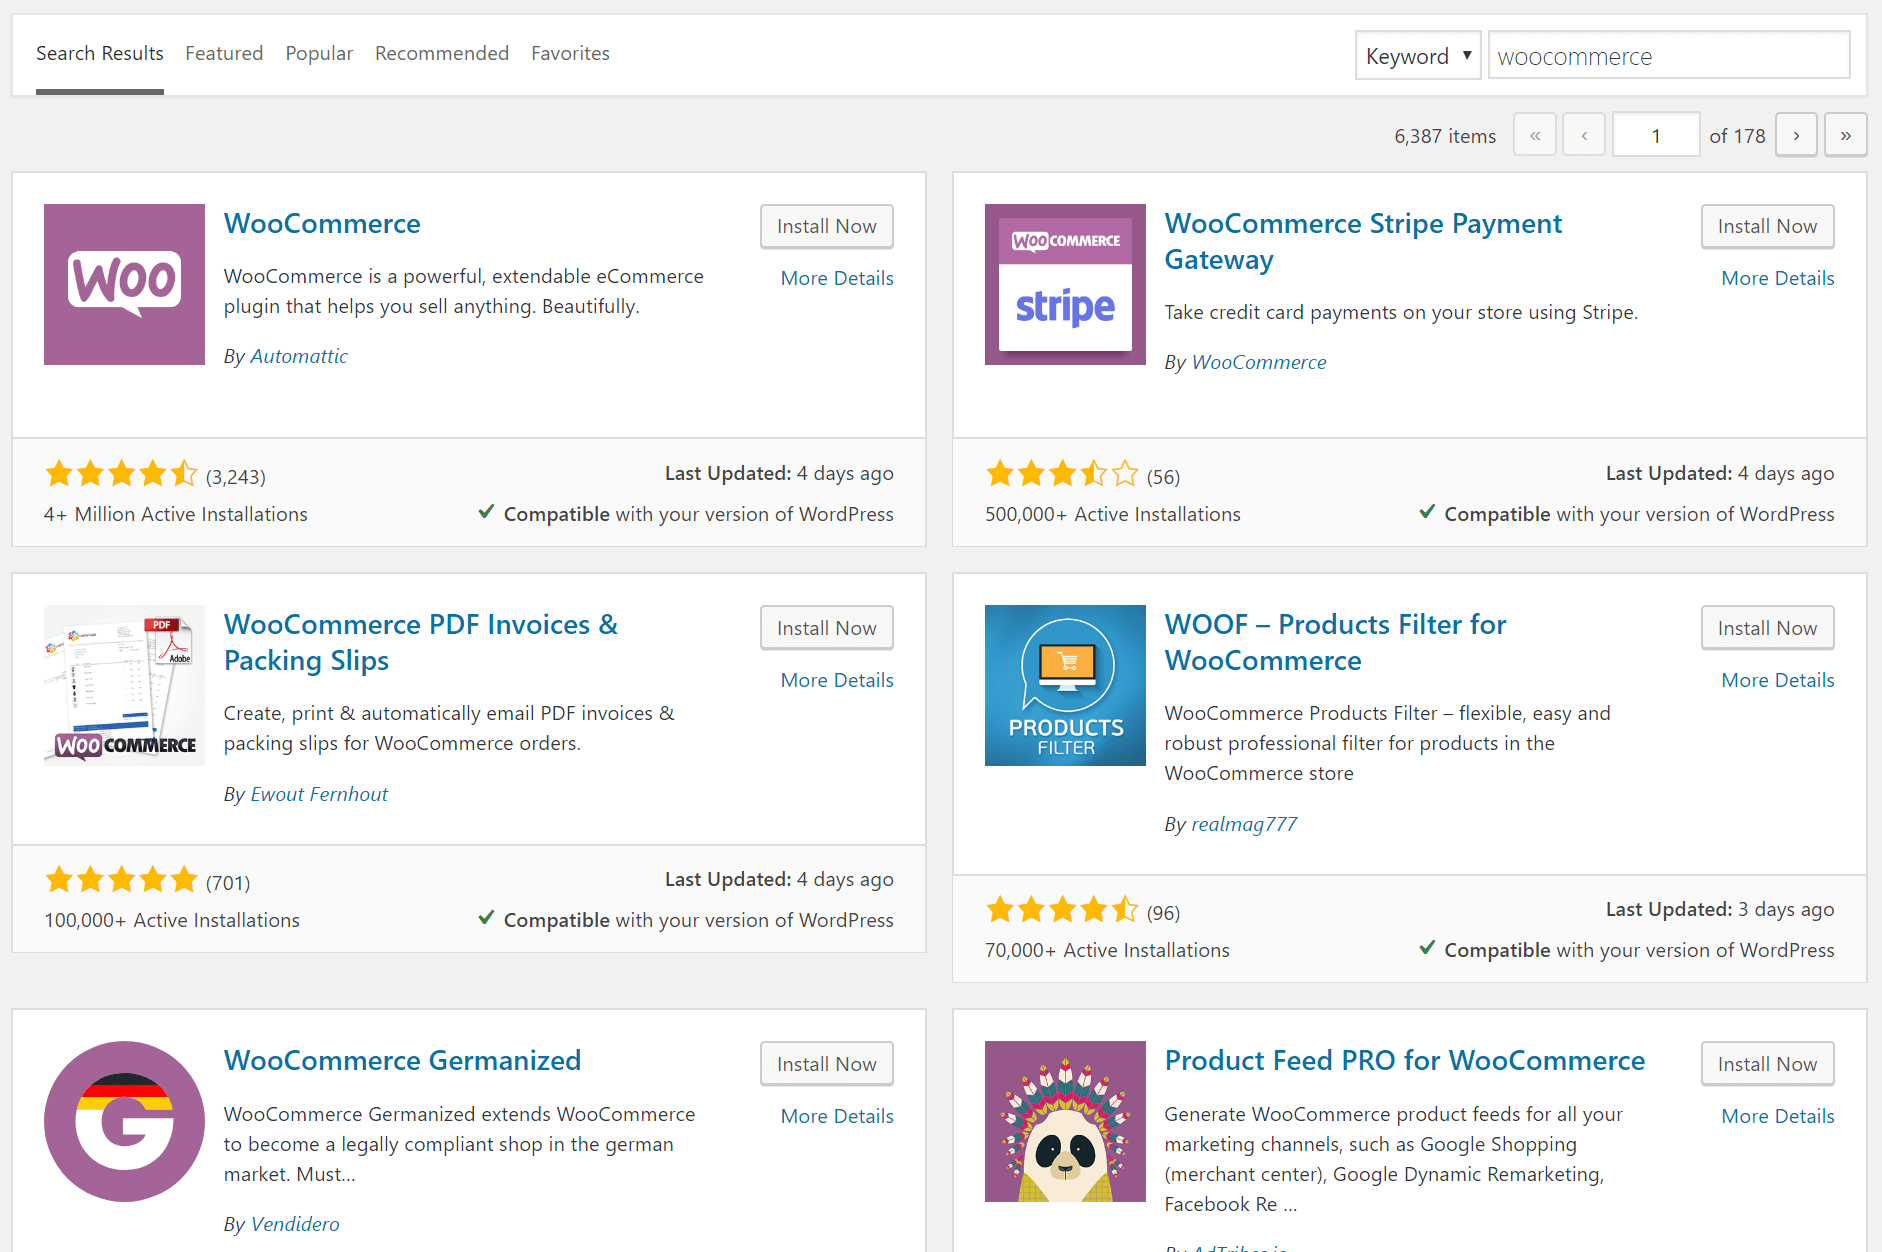
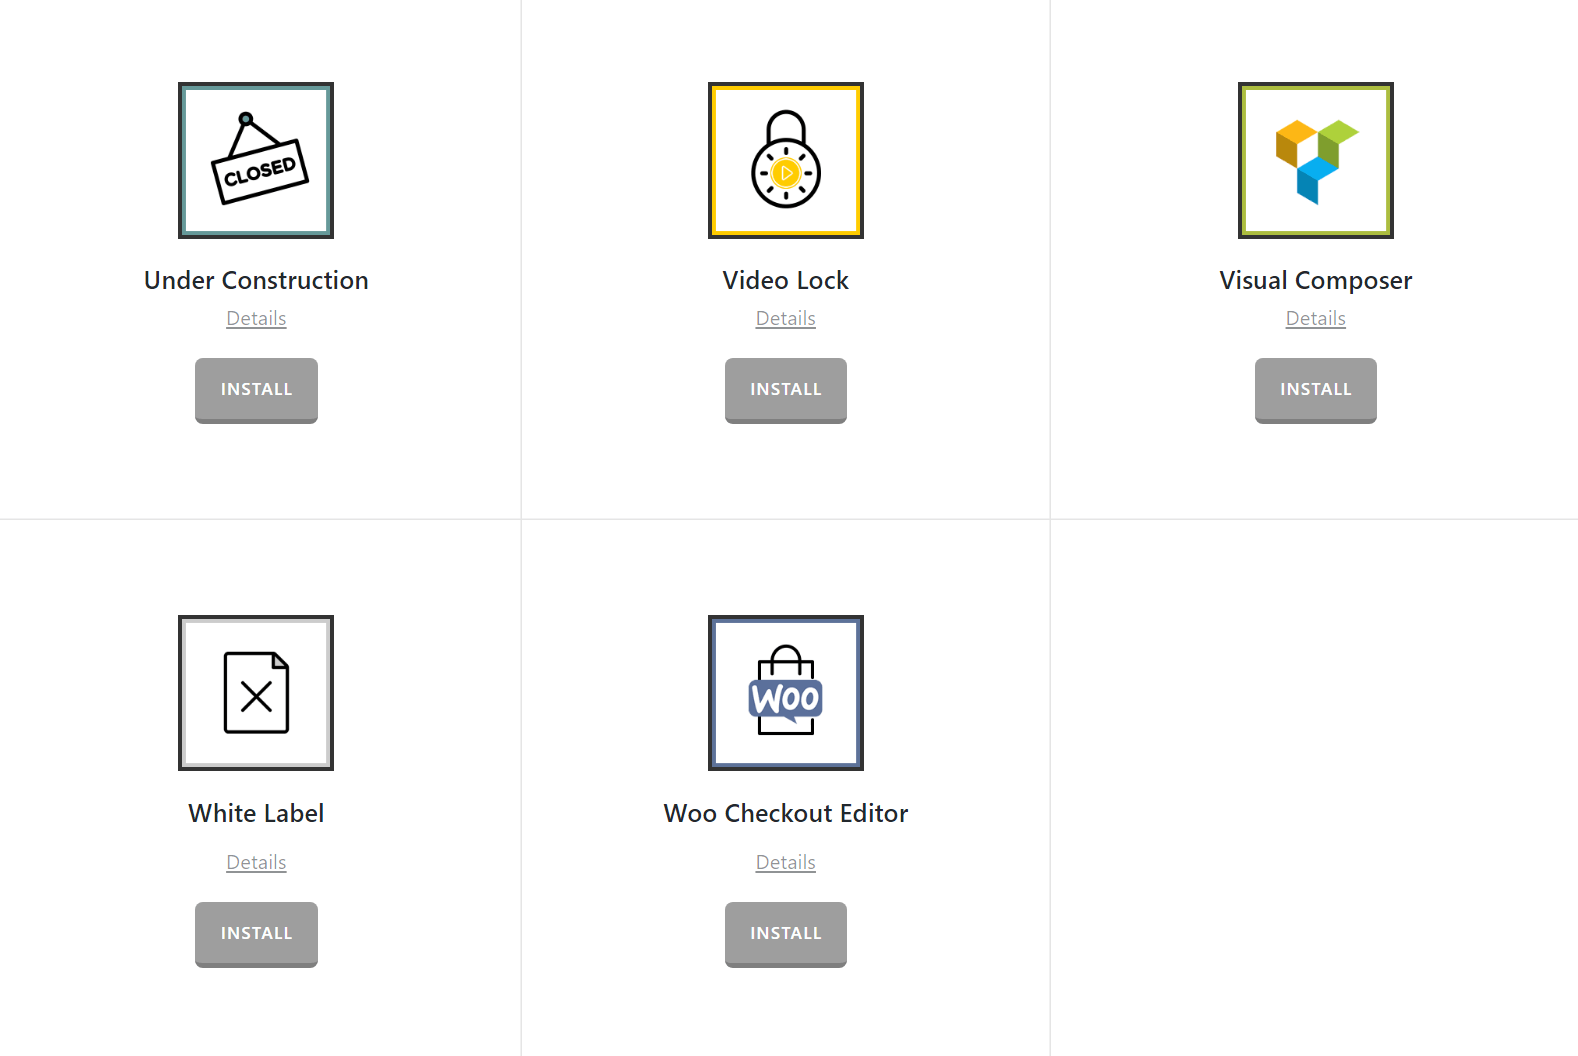
Go to Pro > Validation, or X > Validation, then look for Woo Checkout Editor. Click Install.
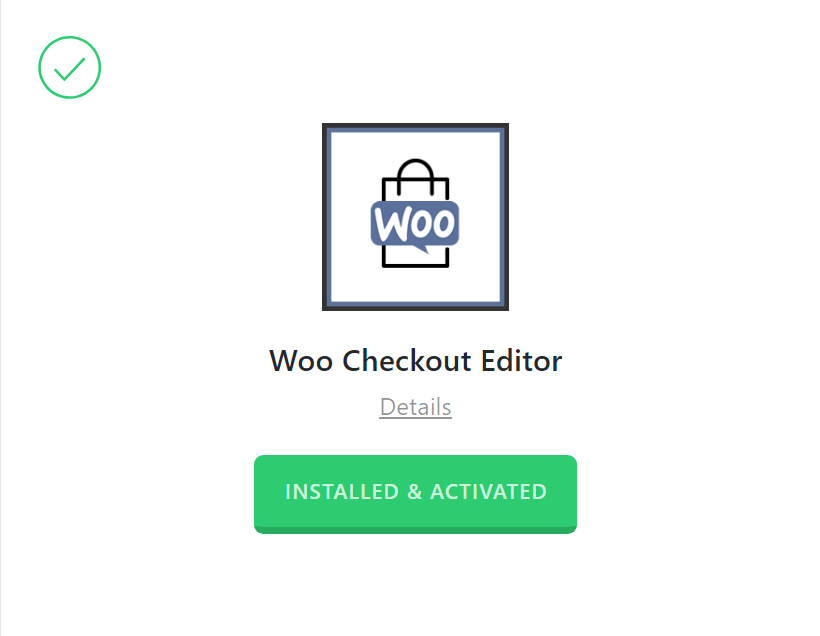
Once installed, the Install button will change and say Activate. Click that button and it will activate the plugin. You will then see the status change to Installed and Activated.
Overview
Woo Checkout Editor is a simple and easy to use WooCommerce Extension that allows you to modify, edit, and remove fields from the WooCommerce checkout process.
Sometimes the default WooCommerce checkout fields aren't perfectly applicable to your business. You might want to remove some of them or add new ones. Furthermore, you might want to change the order of the fields.
All these checkout page customizations can be done using PHP code via WooCommerce actions and filters. If you are comfortable working with code, then you'll have no problem doing these customizations without the use of plugins. However, if coding is not your strength, or even if it is and you don't want to reinvent the wheel, Woo Checkout Editor will make your life easier.
Setup
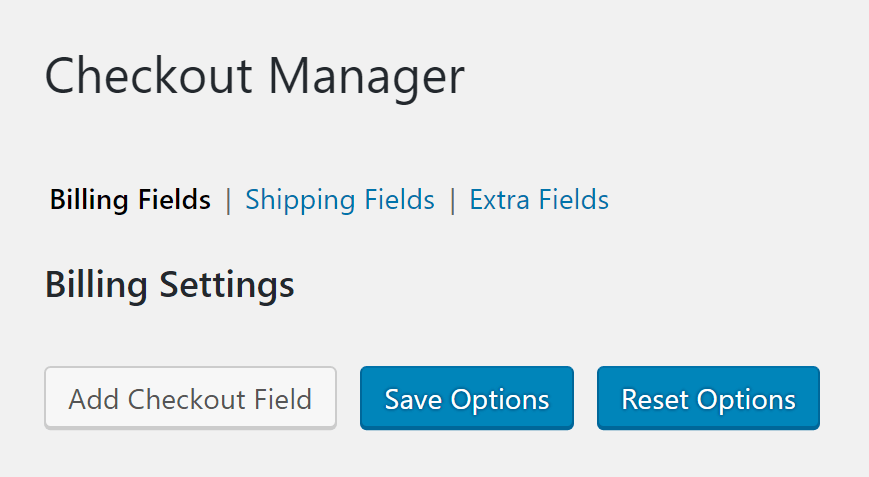
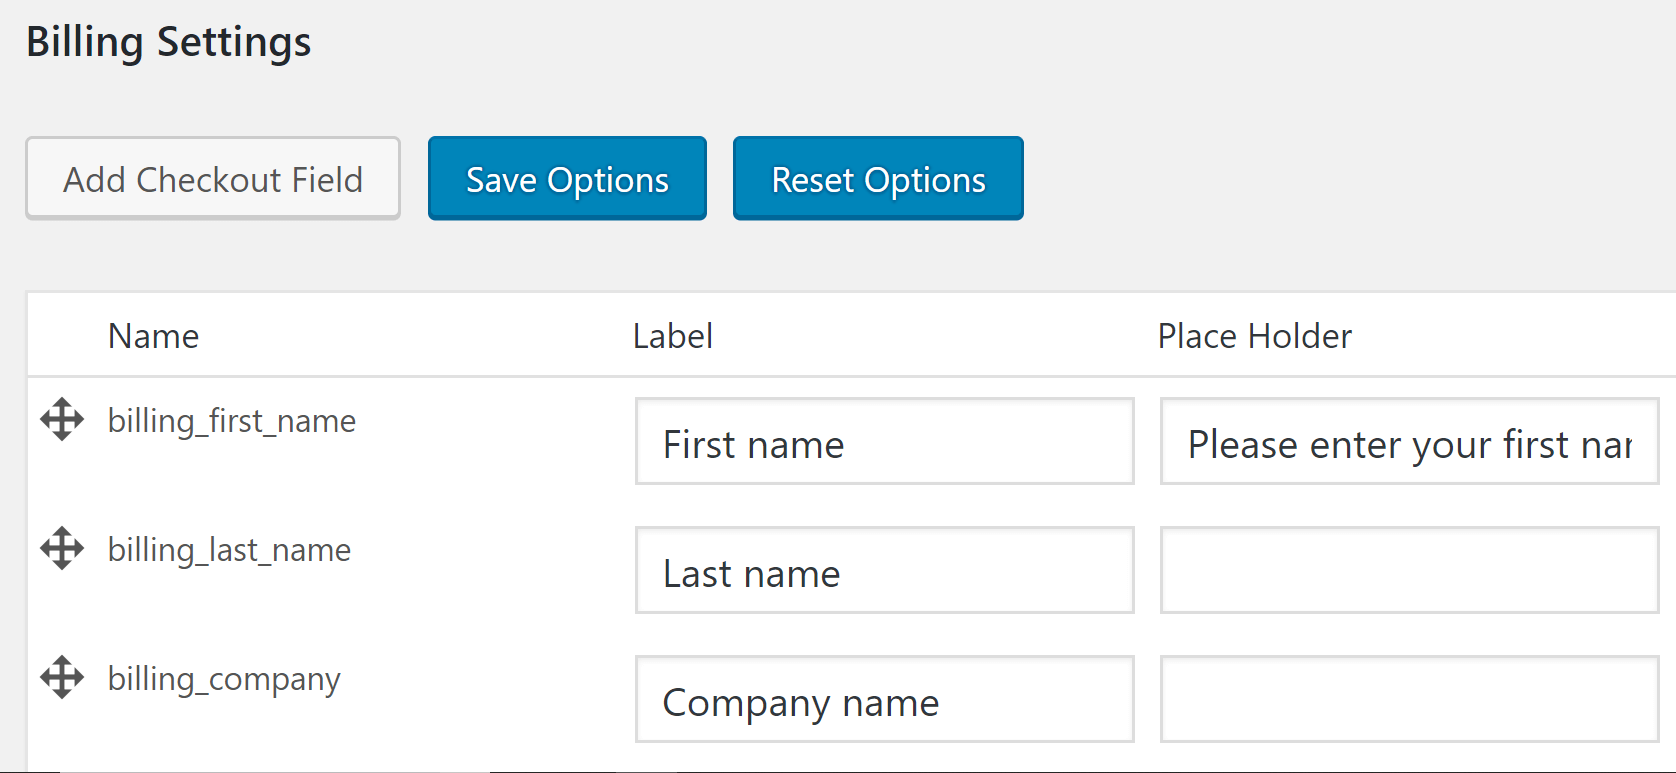
If you click on Checkout Manager under WooCommerce you should see the main checkout manager screen like this:
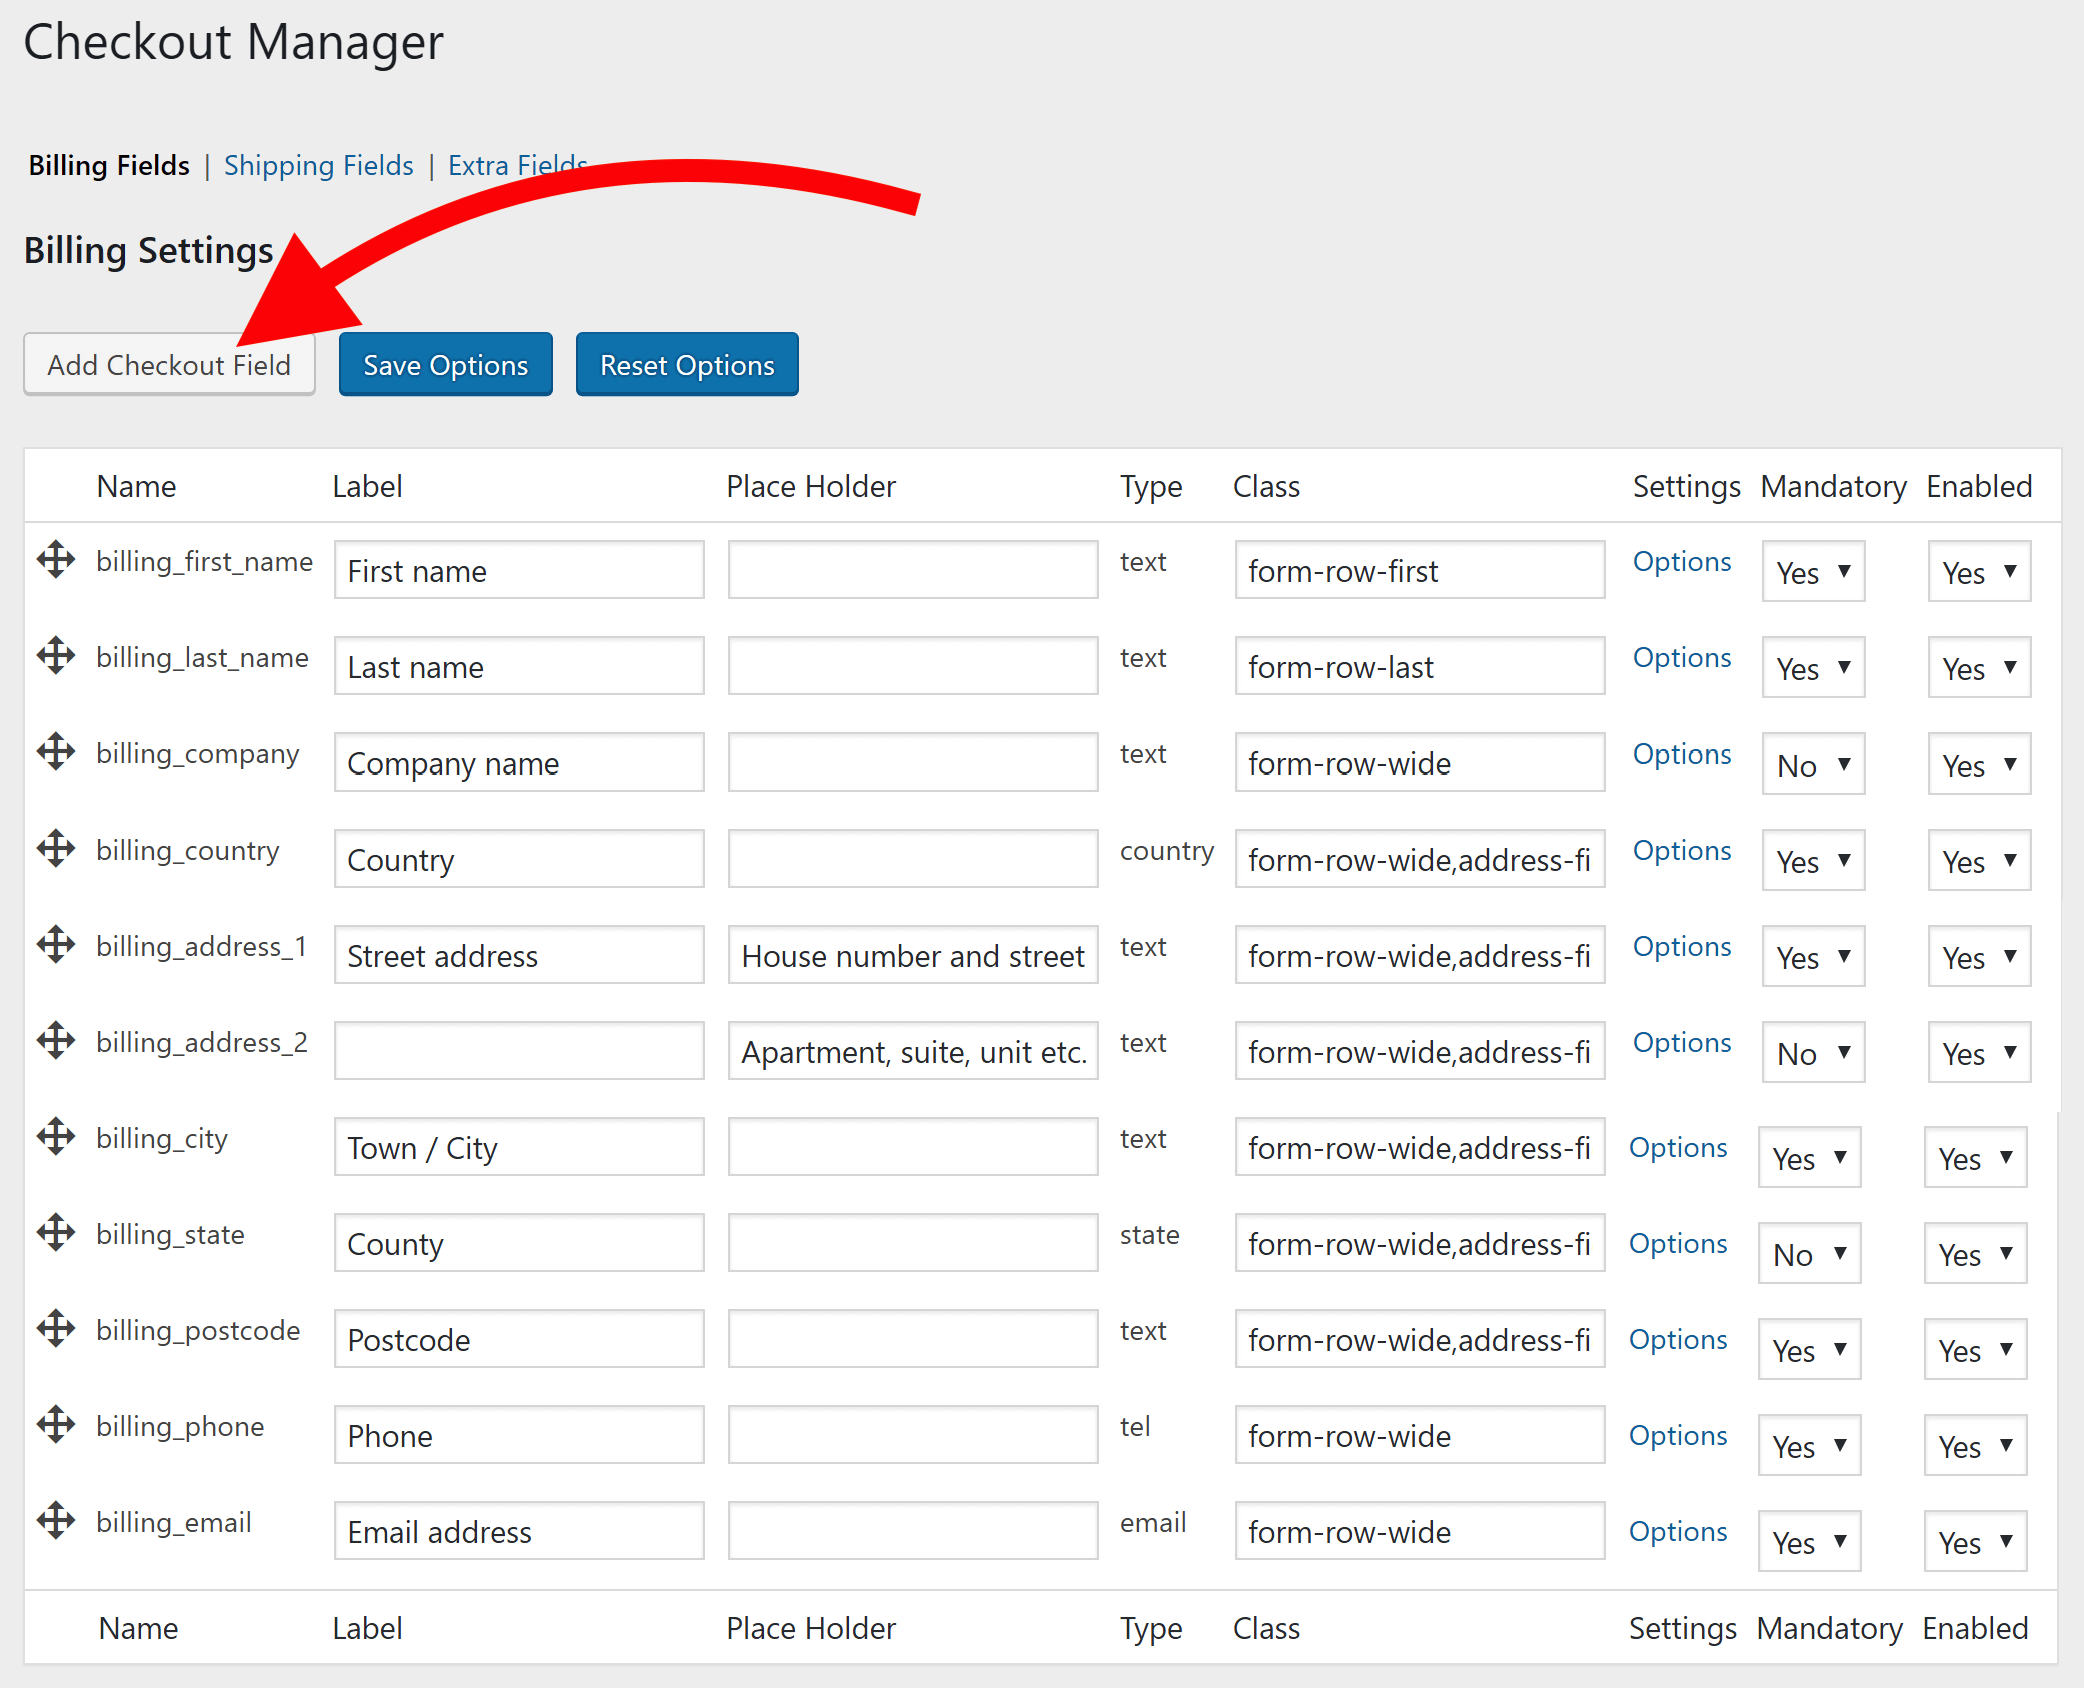
Now, let's briefly discuss what each column is used for.
Name
Unless you add a new checkout field using the Add Checkout Field button (which we'll discuss later), the name field cannot be changed. Names such as billing_first_name, billing_last_name, billing_country, etc are pre-defined names by WooCommerce and cannot be changed.
If you do add a new checkout field, you have the ability to set the checkout field. The name is saved in the WordPress database as an identifier for the field.
Label
This is the text that appears above input field.
It might be useful to know that you can leave the label field blank if you don't want the label to appear on the checkout page.
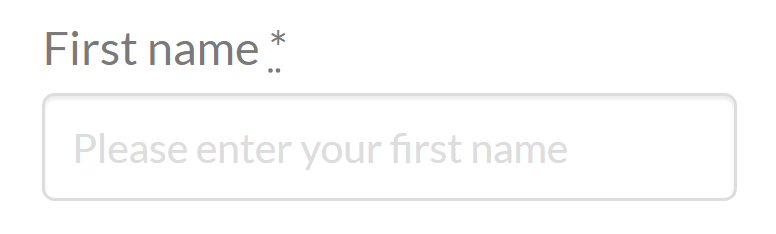
Placeholder
This is the text that appears inside the input field itself. Let's say you want that the first name input field should have a text inside it that says, "Please enter you first name." The placeholder field is where you put that text.
Type
The available field types are:
- Text
- Password
- Phone
- Textarea
- Checkbox
- File
- Radio
- Select
- Multi-Select
Just as in the Name column, you cannot change the Type for pre-defined WooCommerce checkout fields. But when you add a new checkout field, you have the ability to choose the field type.
Class
You will notice that there are 3 common values in all the fields. They are:
- form-row-first
- form-row-last
- form-row-wide
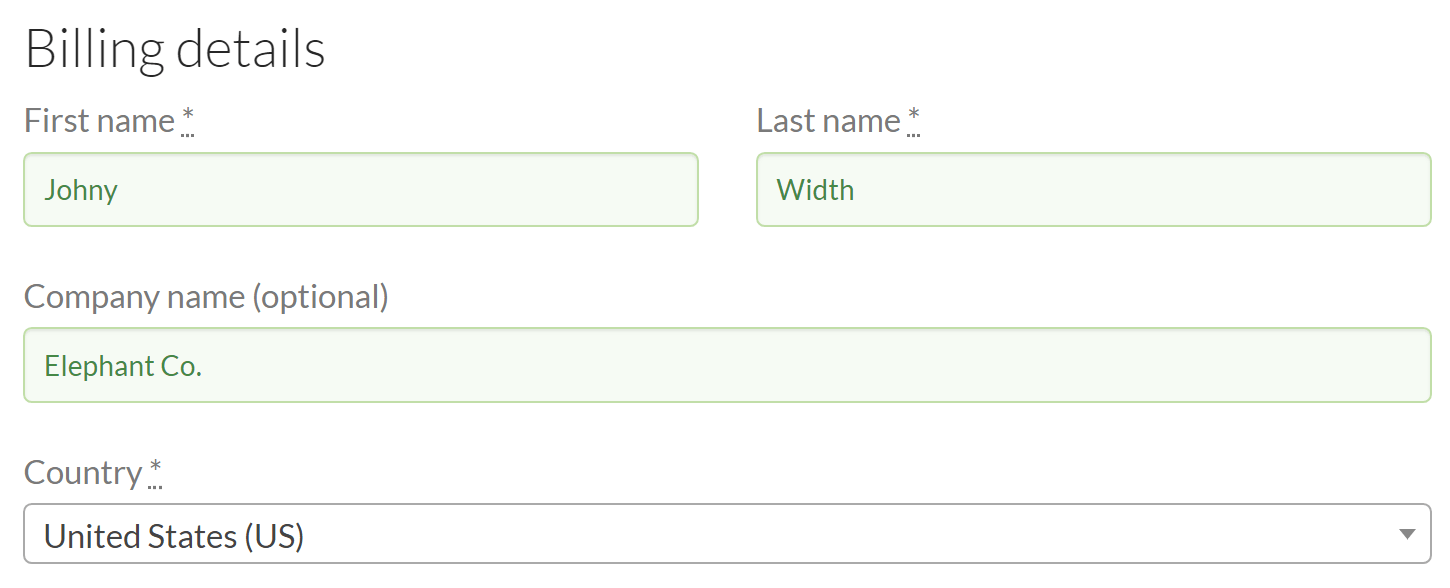
Those 3 are WooCommerce-defined CSS Classes. Notice the and Last Name fields. By default, they are beside each other.
On the Checkout Editor, the first name uses the form-row-first class and the last name uses form-row-last.

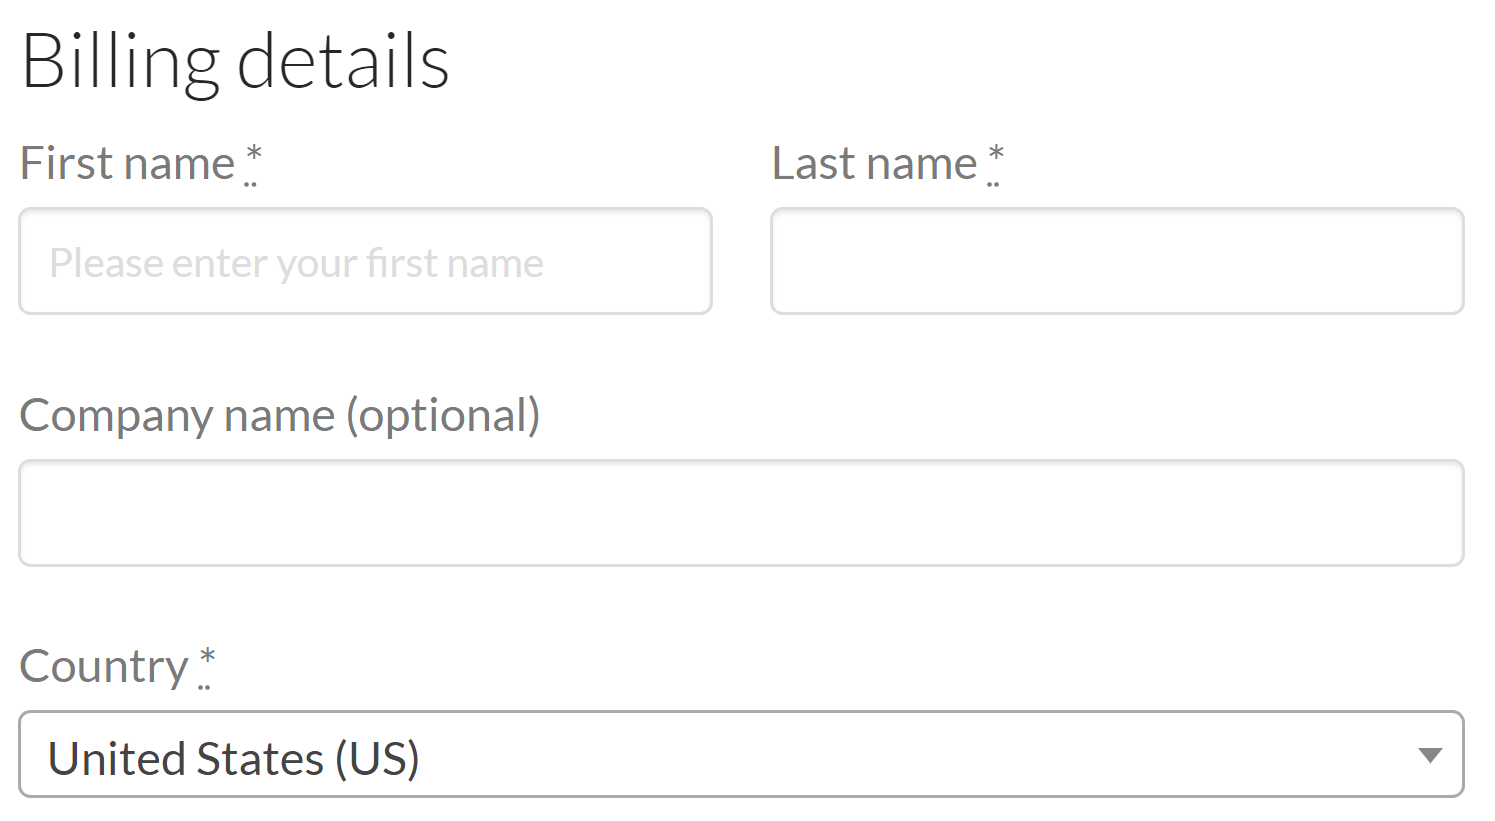
Now, let's say you want to make First name take one entire row and Last name to take another. To do that, we change the classes for both to form-row-wide.

Now, this is how it will look like on the Checkout Page:
Let's take one last example. Let's say you want the City and State fields to be beside each other in one row because by default they take one row each. To do that, we change the classes of both from form-row-wide to form-row-first and form-row-last respectively. Then click Save Options.

This will how they will look on the checkout page.

Settings
On the settings column, you'll see an Options link. When you click it, a modal popup will appear that contains two tabs: Validation and Conditionals.


Under Validation, you can set additional validation rules that the field should follow. Under Conditionals, you can set rules/conditions on when to display the field and when to hide it. Both of these are discussed in the sections that follow.
Mandatory
Yes makes the field required. It will add an * sign to show that it is required. If a field is required/mandatory, it will automatically be validated on the Checkout page.
Enabled
Selecting No hides the field from the checkout page and Yes displays it.
Validation Values
The default WooCommerce fields such as discussed earlier (billing_first_name, billing_email, billing_state, etc) all have validation rules in them. For example, if a customer enters an invalid email address format to the billing_email field, WooCommerce automatically prompts an error.
However, you may want to additional validation rules to these default fields. To do that, click on Options, and under the Validation Tab you'll see the Validation Settings dropdown. The dropdown has the following options:
- Post Code
- Phone
- State
- Custom
If you set the value to Custom you'll see additional options like this:
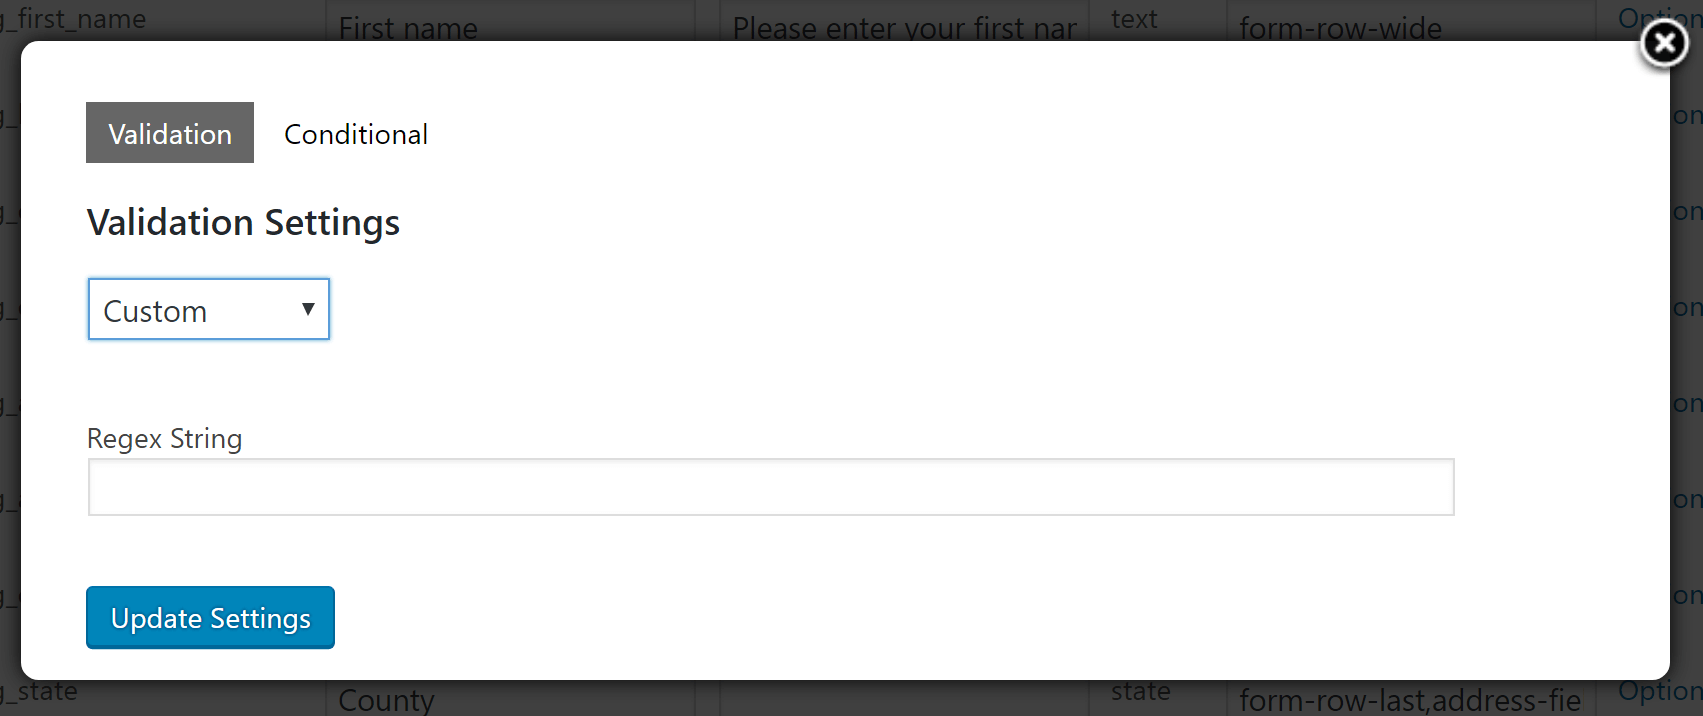
Enter your own custom Regex. Regex stands for regular expression. You can learn more about how to use Regex here.
Now, let's say you added a new field that saves the customer's Personal Phone Number (just as an example). You add that field (more on that later), then set up a validation rule. This time, you choose the Phone option from the Validation Settings dropdown.
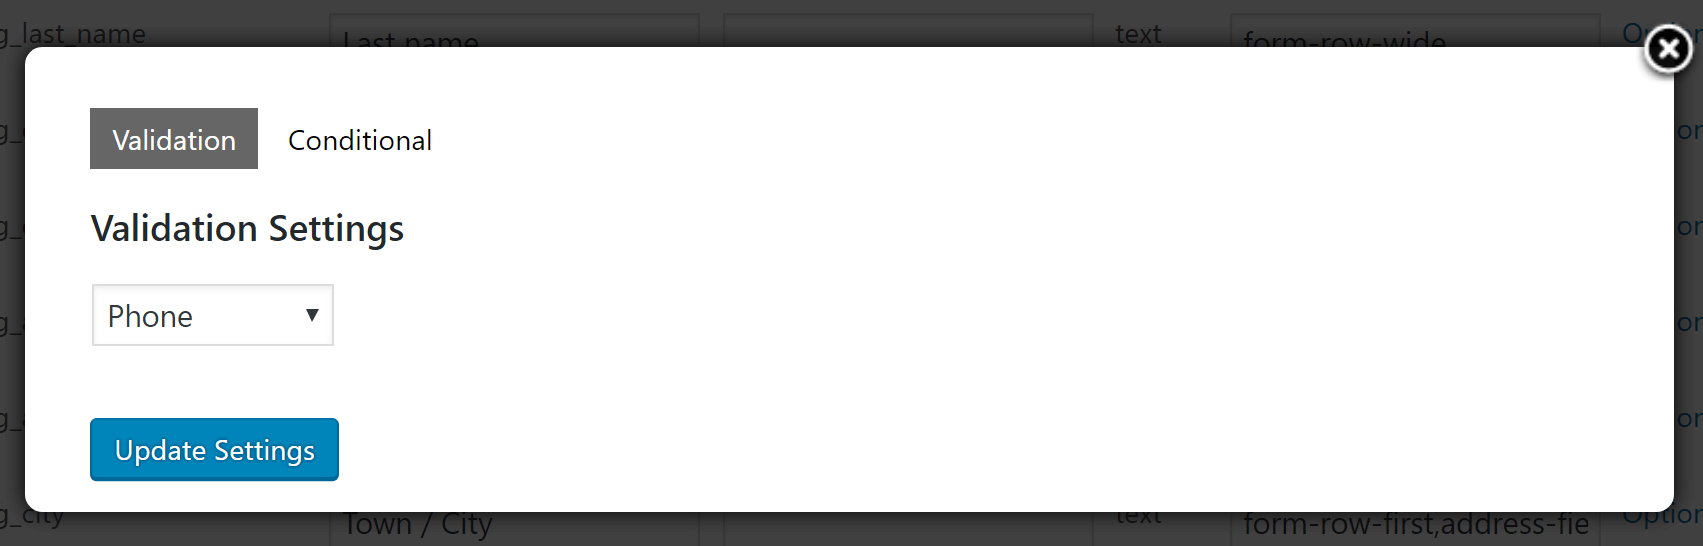
This is how you add validation to custom checkout fields. You can do the same if the new field is an email, a state and a zip code.
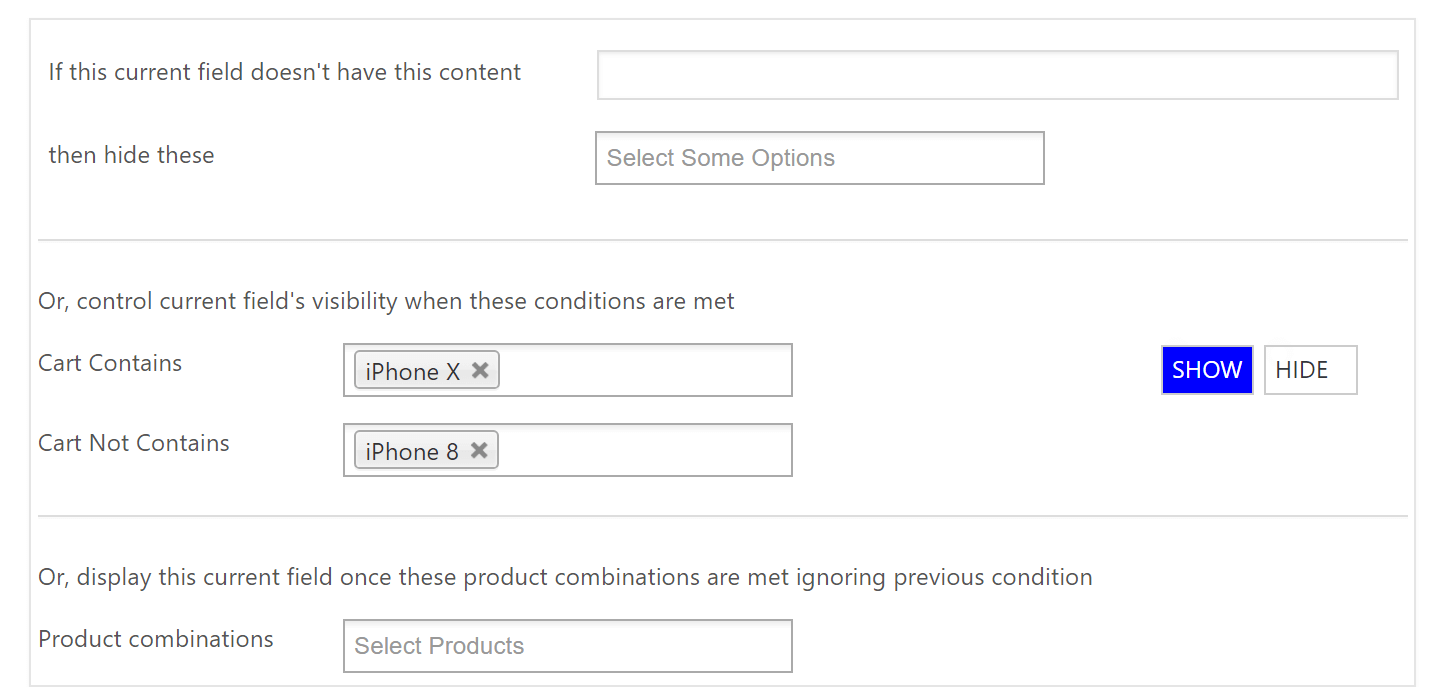
Conditional Values
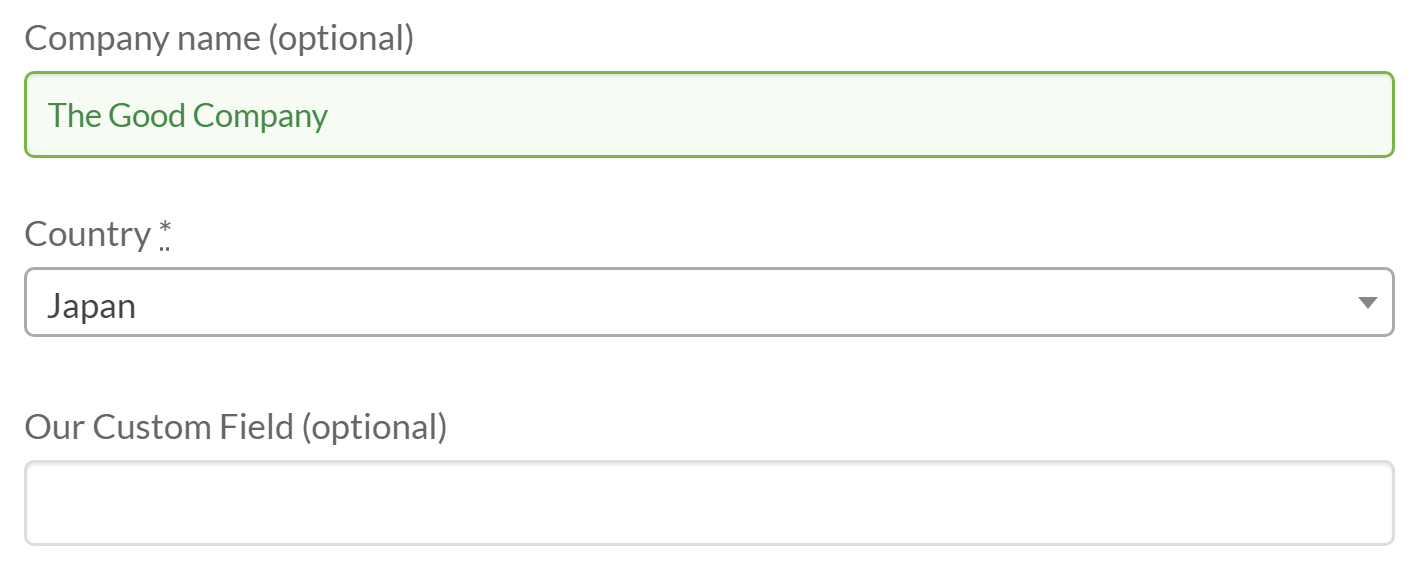
You can display or hide a field based on certain rules / conditions. Let's say you created an additional field with a label of "Our Custom Field" that will only be shown if the customer's country is Japan.
On the Woo Checkout Editor screen, click the Options link of the country field (or whatever field you want to conditionally hide / show) to display the popup.

On the popup, do the following:
- Click on the Conditional tab
- Select Enable on the Conditional Settings dropdown
- On the If this current field doesn't have this content field, enter Japan
- On the then hide this field, select Our Custom Field.
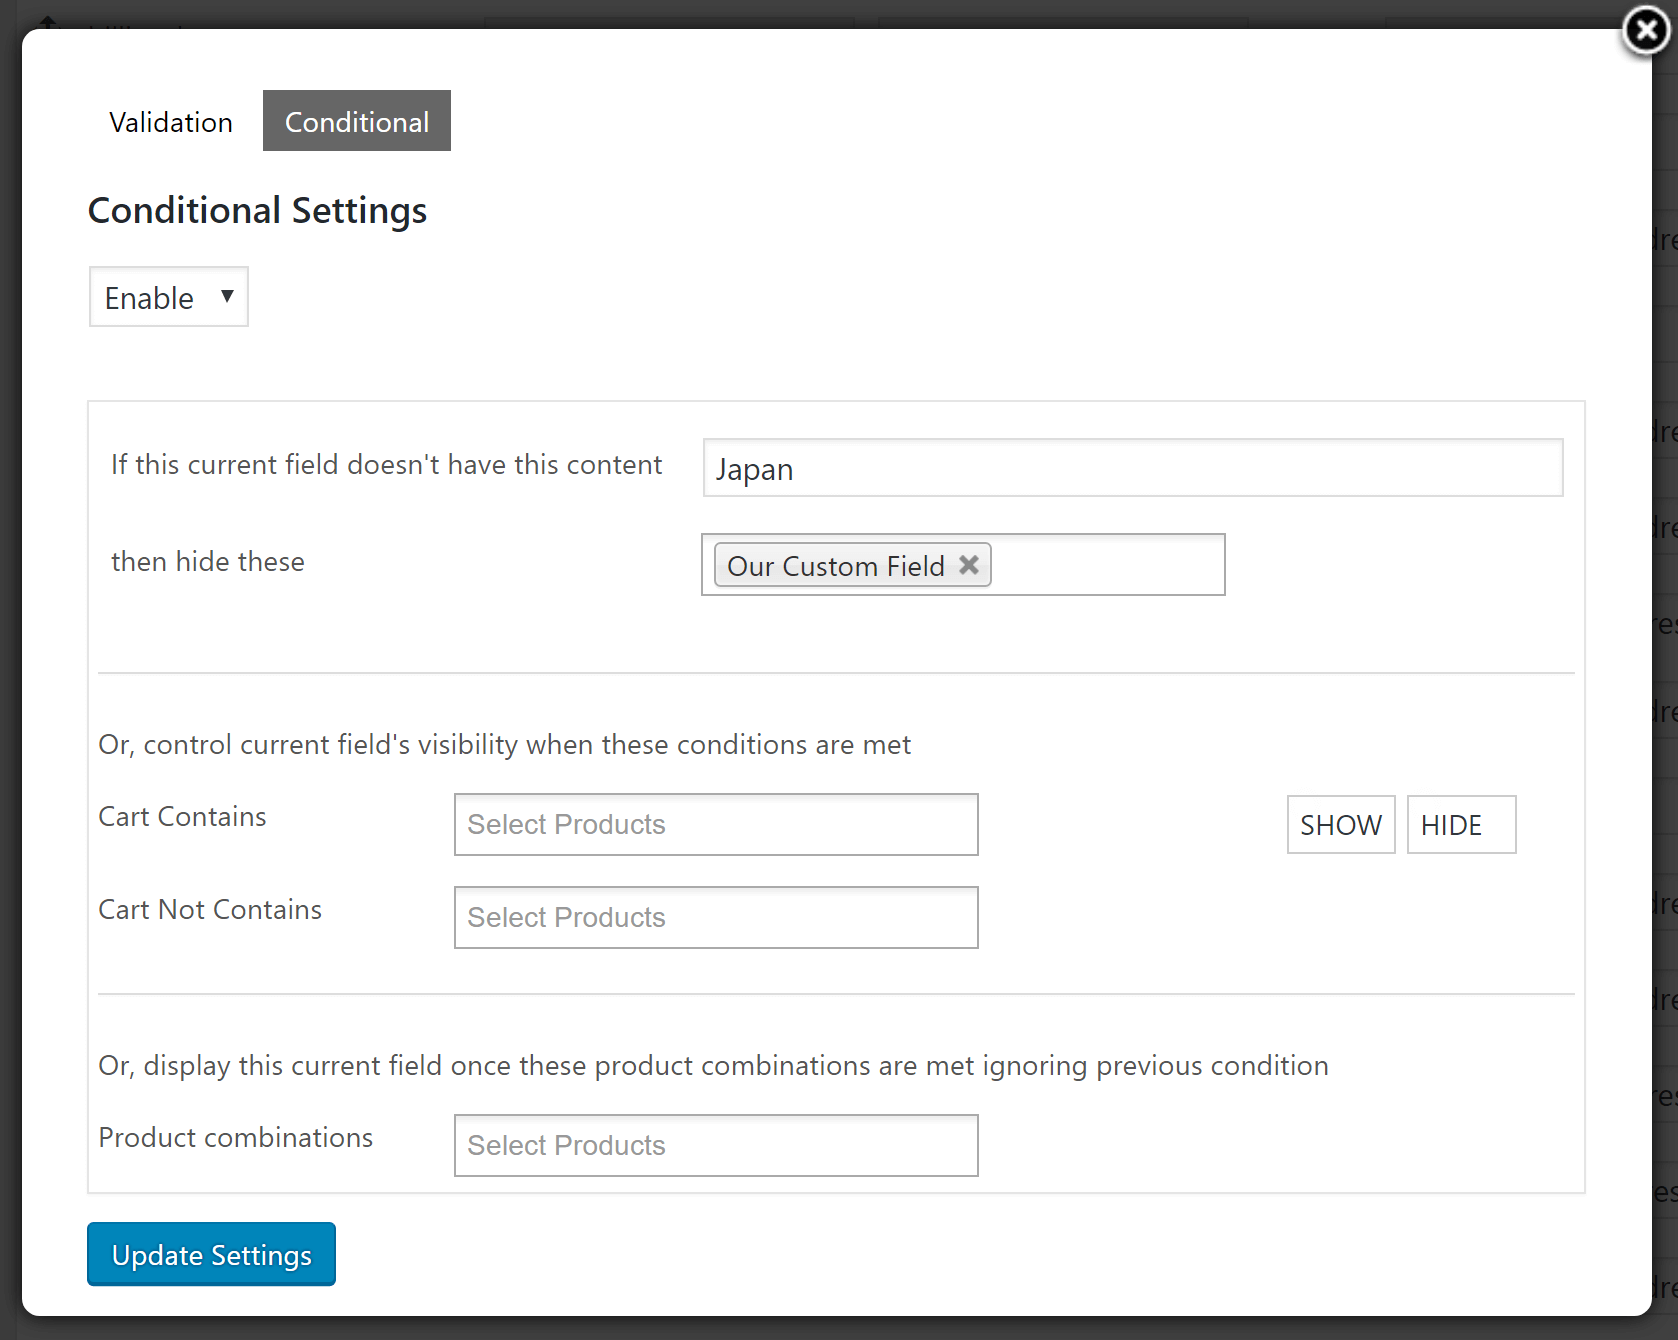
What #'s 3 and 4 mean, if we are to use plain human language, is something like this: "Display Our Custom Field only if Country field is set to Japan.
You also have the option to show the said field depending on whether it contains a product or not. Let's say you want to display Our Custom field only if the product iPhone X is in the cart. This time, click Options link opposite Our Custom field. Then you have to enter and select iPhone X beside the Cart Contains dropdown.

Now let's say you want to display Our Custom field if iPhone X is in the cart but not if iPhone 8 is in it. To achieve that, follow what is on the screenshot below:
Adding a Checkout Field
Click on Add Checkout Field and you'll see your new field added like this:
You'll need to enter the field name, the placeholder and of course select the field type. Also don't forget to enable the field. By default the value is No. You'll want to switch that to Yes.
The available field types are:
- Text
- Password
- Phone
- Textarea
- Checkbox
- File
- Radio
- Select
- Multi-Select
Depending on the field type selected you'll see different options. For example, if you chose either Select or Multi-Select you'll see additional Manage Options link like this:

Clicking on Manage Options you'll see a modal window to add your options to like this:

Let's say you've added a Select / Multi-select field and you wanted to add 3 options. The options are as follows:
- Search Engines
- PPC
- Friends
To add these options, you separate them by "|" as shown below:

Managing Other Fields
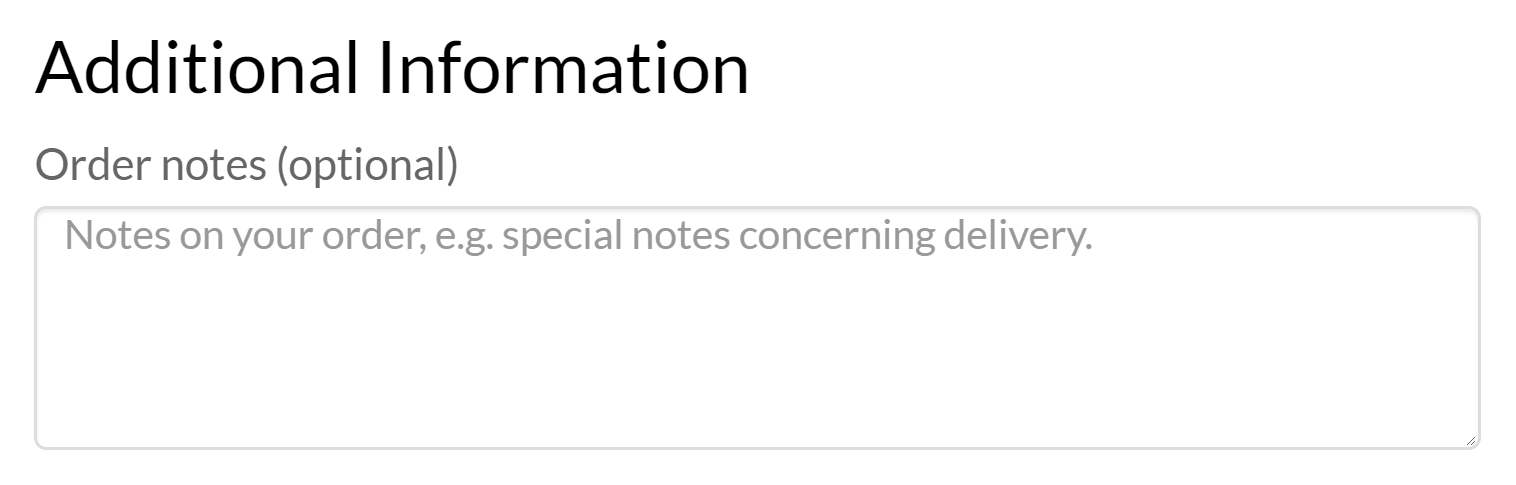
The WooCommerce Checkout Field Editor extension not only allows you to edit Billing Fields but also Shipping Fields and Extra Fields (such as the _Additional Information _field).
Ordering Fields
Simply drag and drop fields into the positions you want.
Once you're happy with everything click on Save Options and your new checkout will be ready!
Summary
Now you know how to customize your WooCommerce checkout fields using the WooCommerce Checkout Editor Extension that comes along with your licensed copy of X or Pro. You've learned how to enable the Extension, how to add new fields, how to setup existing fields, add validation, and to display or hide a field depending on certain rules/conditions. Lastly, you've learned how to change the order of the fields.
See something inaccurate? Let us know