White Label
In this article, you'll learn how to use the White Label Extension that comes with your licensed copy of X or Pro and how to customize your WordPress login page.
Our White Label extension lets you customize the WordPress login, Addons home and much more. Create an unique and custom tailored experience for your clients.
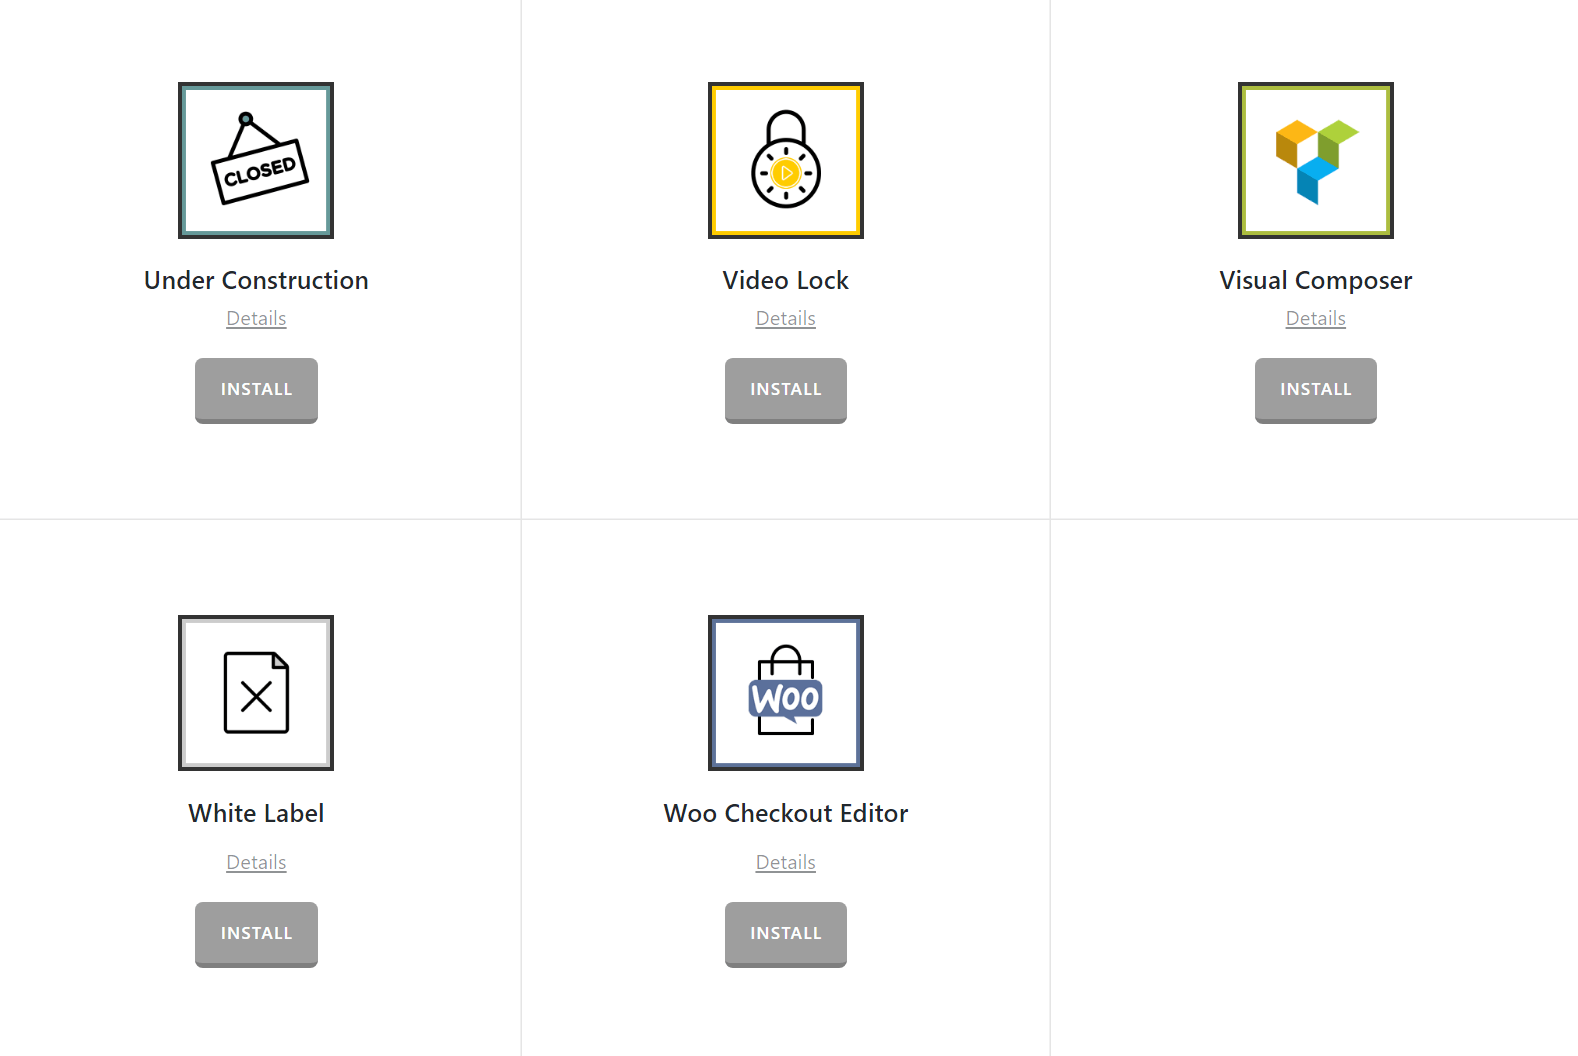
How to Enable the Extension
Go to Pro > Validation, or X > Validation for X, then look for White Label. Click Install.
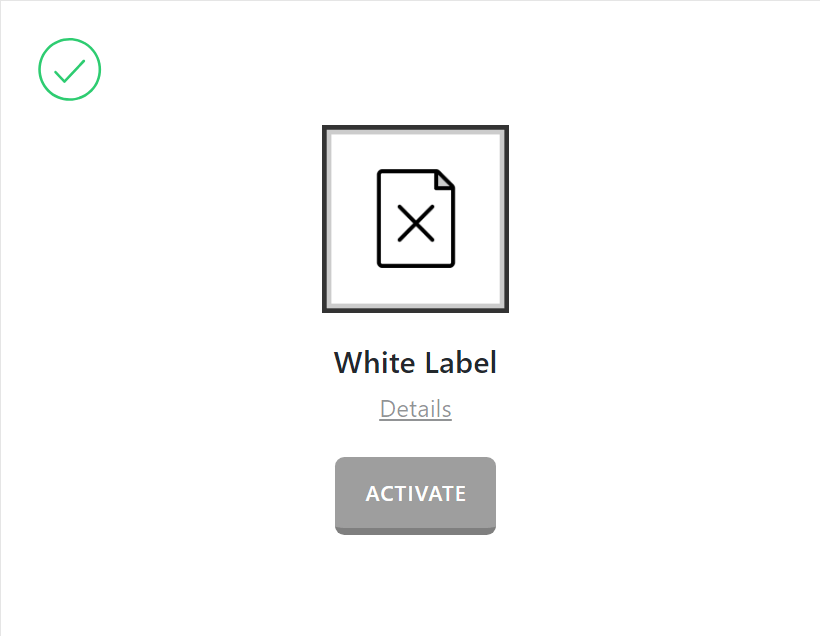
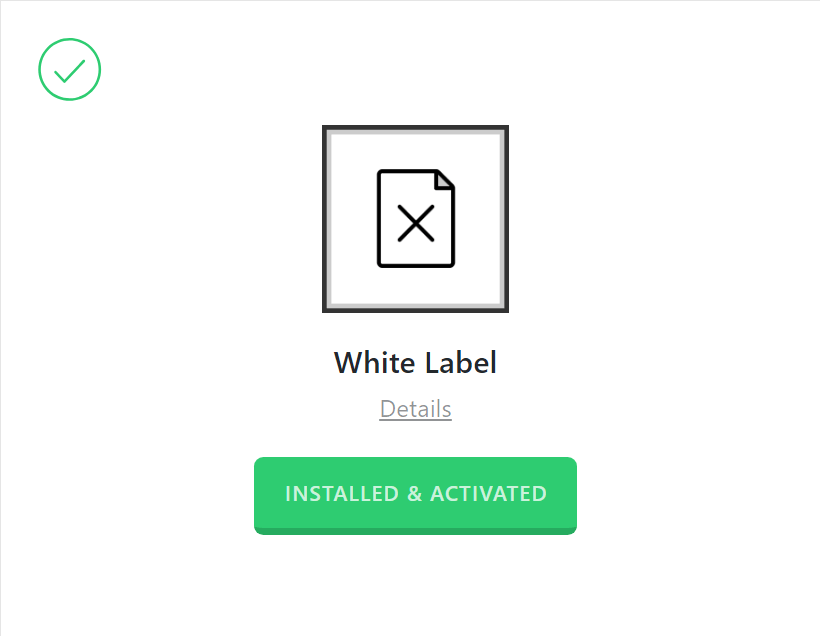
Once installed, the Install button will change and say Activate. Click that button and it will activate the plugin. You will then see the status change to Installed and Activated.
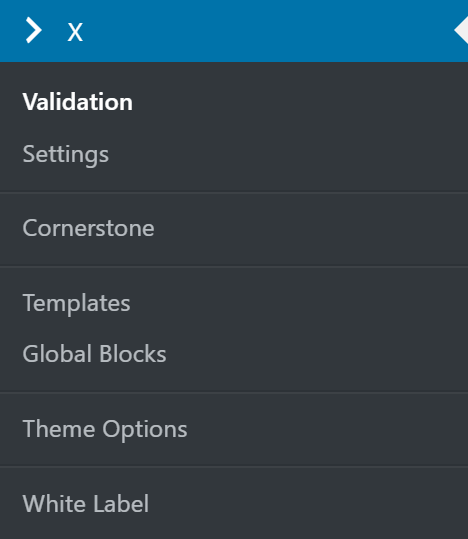
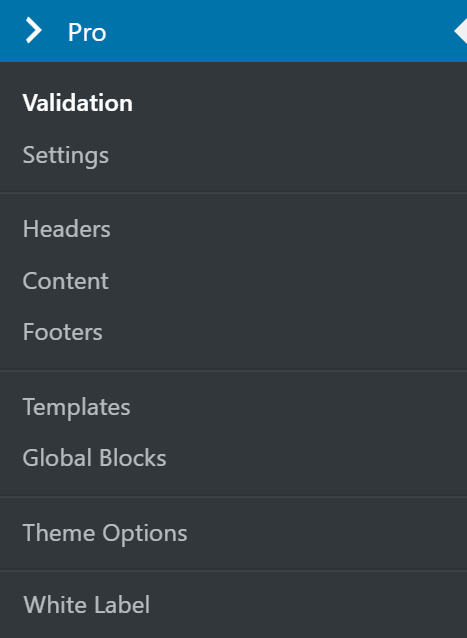
After installing and activating White Label, you'll find it's settings under the X menu item if X is installed and activated, or the Pro menu item if Pro is installed and activated.
From the main White Label settings screen you can choose to disable or enable the plugin as needed:
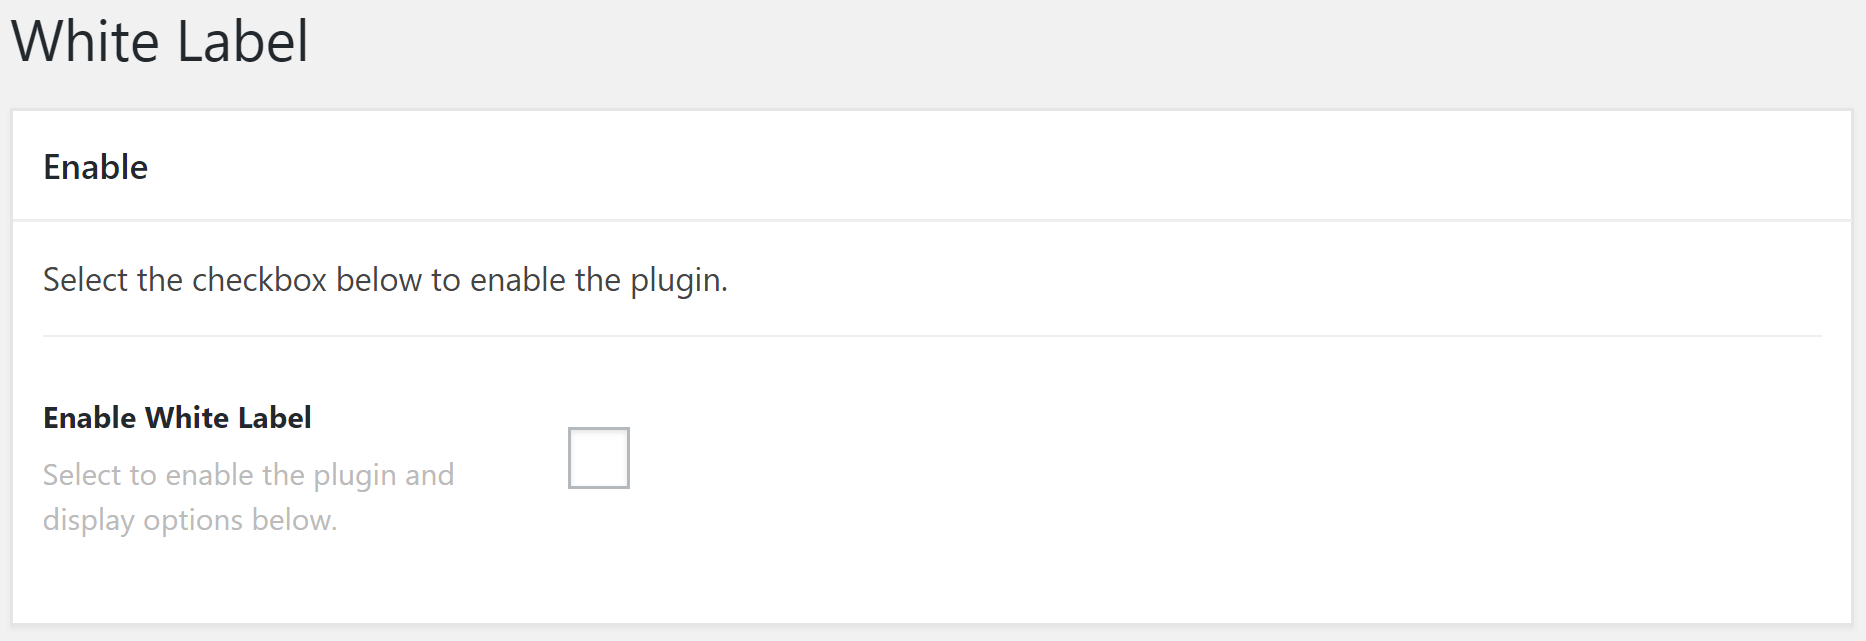
Disabling the plugin will effectively turn off all output from the plugin (e.g. HTML, CSS, JavaScript etc). This is useful as a quick way to toggle activity if you ever need without having to go through the Plugins menu and worry about activating/deactivating it completely.
Selecting the enable checkbox will bring up the Settings meta box below. This is where you will adjust any options for the plugin and input your data as needed.
What White Label Does
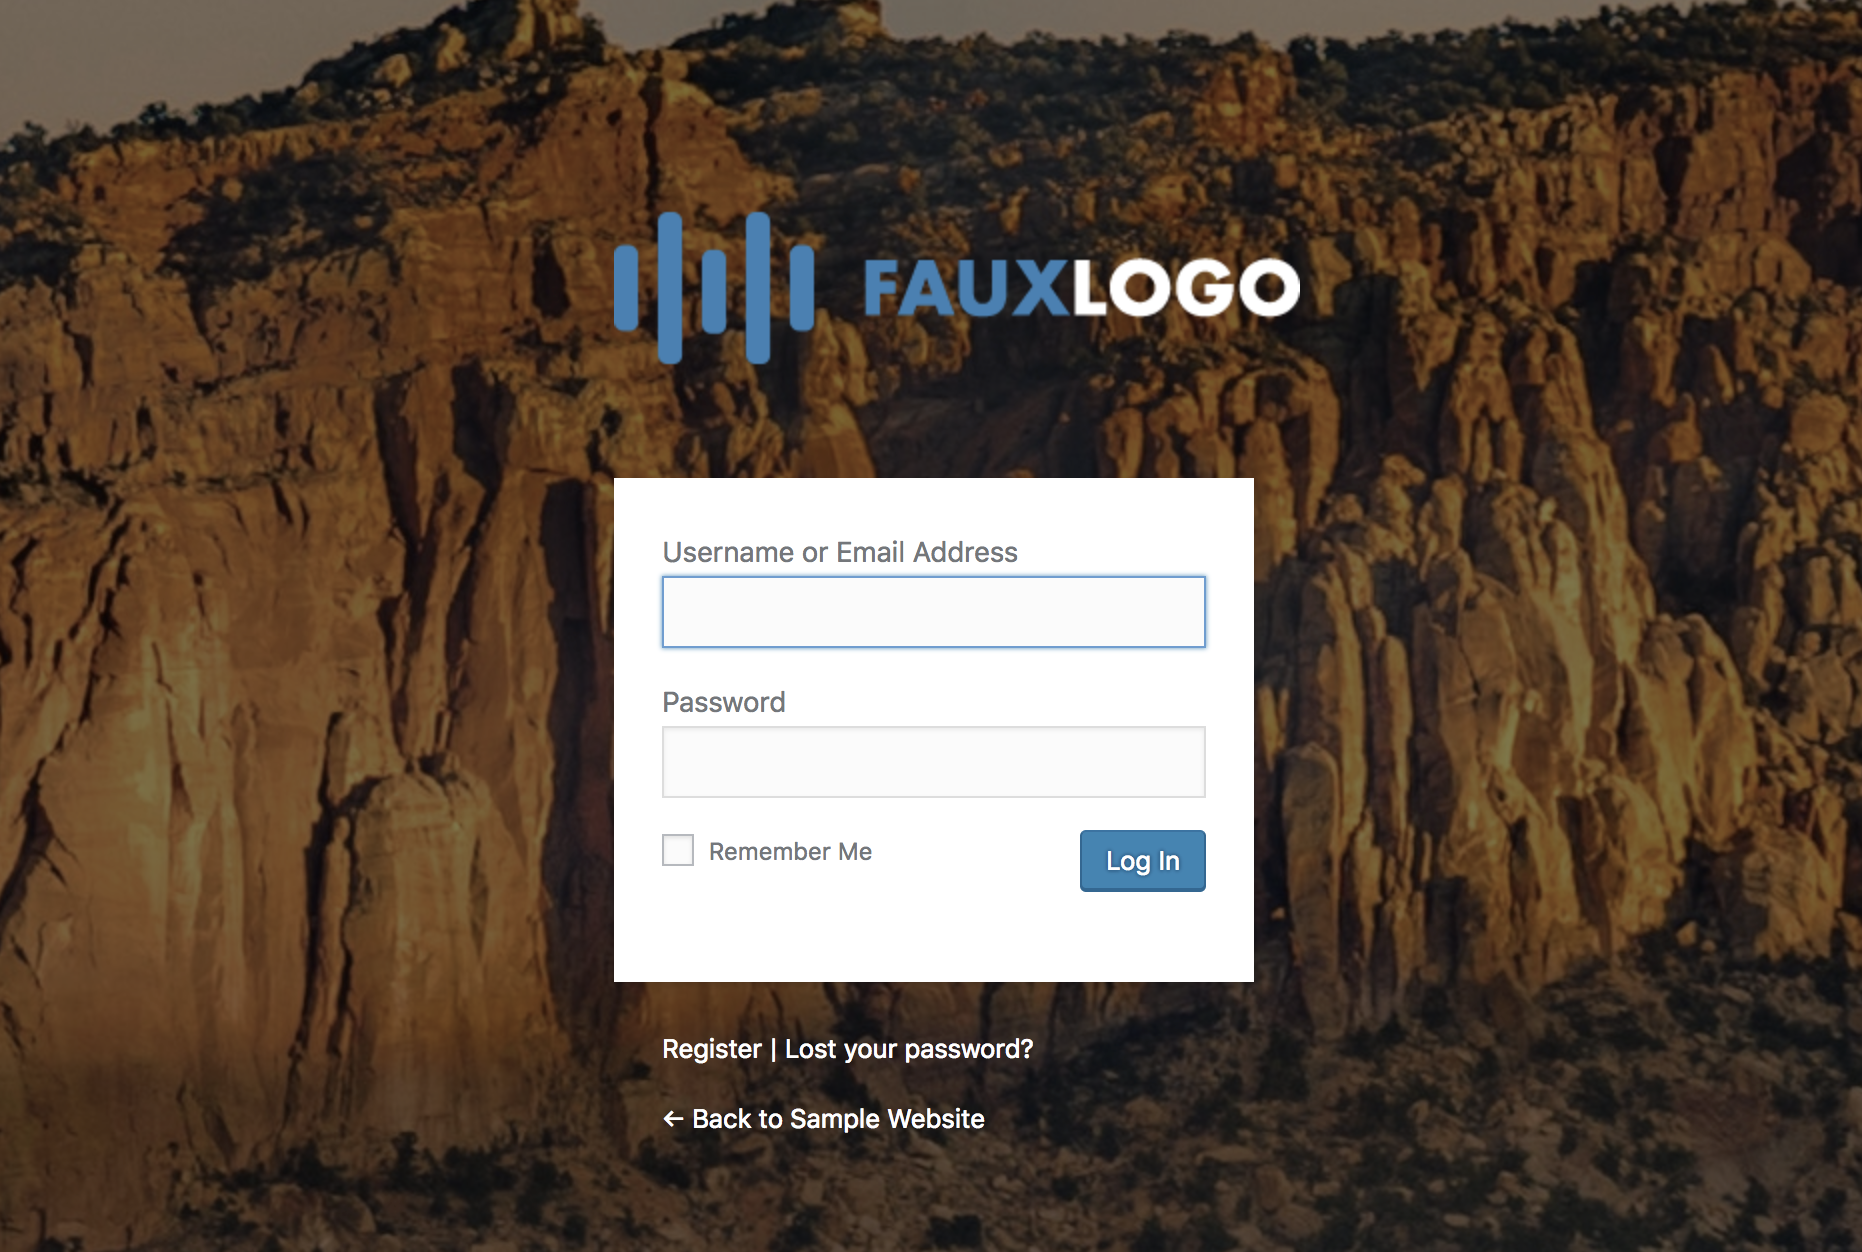
White Label allows you to brand your WordPress login screen. This is a great tool to use if handing off the site to a client or if you'd like to provide a customized login screen. Here's an example of an admin login logo changed:
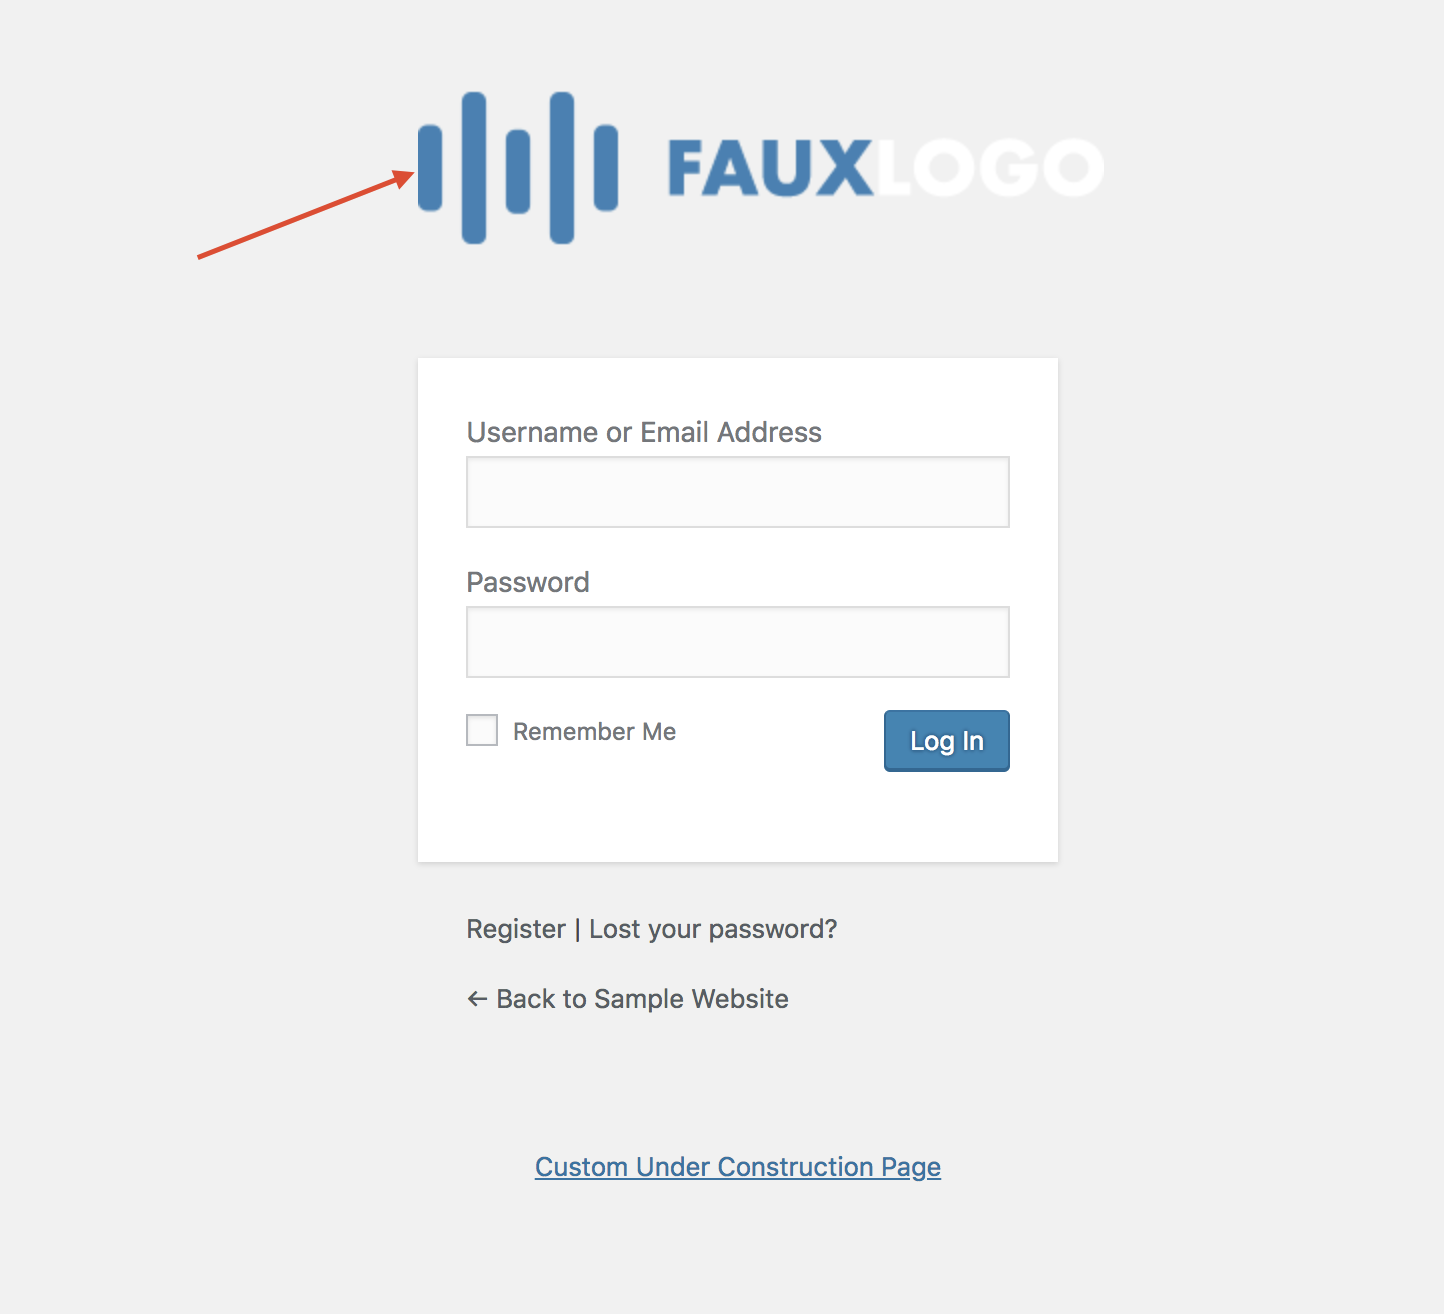
Not only can you change the logo but you can also add a background image on the login page like this one below:
Setting Up White Label
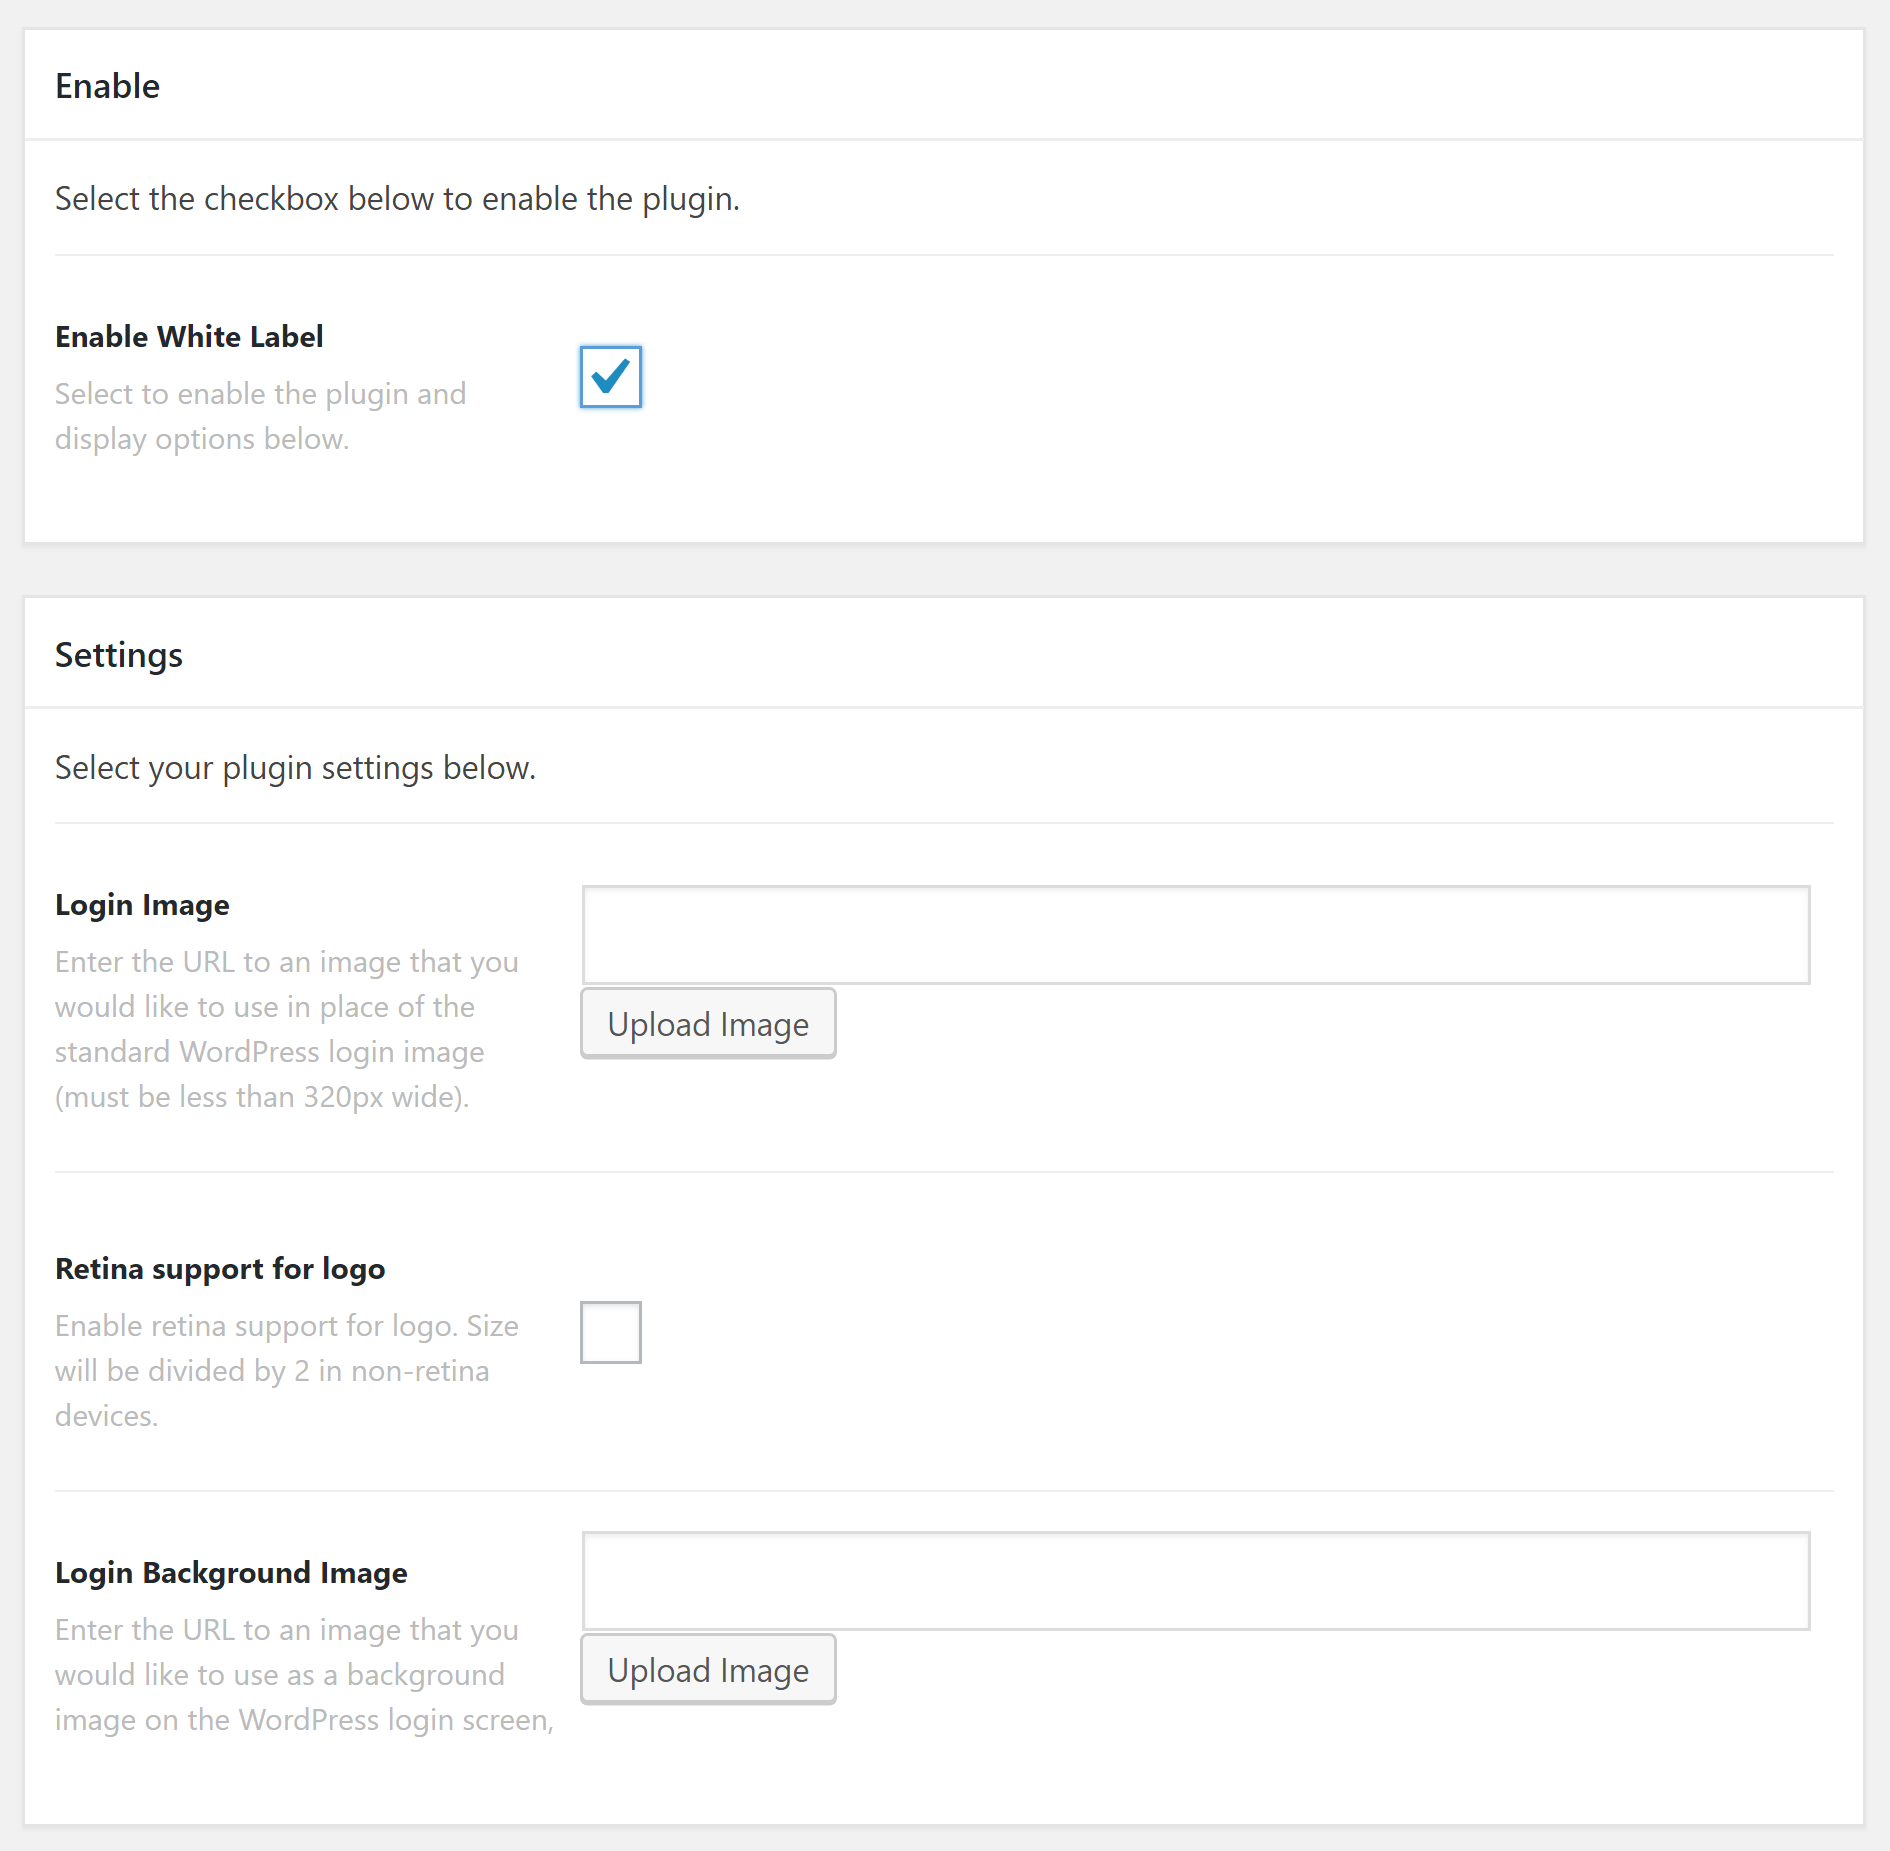
White Label has a range of different settings that are covered below.
- Login Image - Allows you to define a custom login image for your WordPress page, which will replace the standard WordPress logo with an image of your choice.
- Retina Support for the logo - Enable retina support for the custom login image logo, the size will be divided by 2 for non-retina devices.
- Login Background Image - Allows you to define a custom background image for your WordPress login page (wp-login.php).
Once you've set everything as you want to click on Update to save your settings. You can then log out of your website and visit your WordPress login page to see the new login logo.
Summary
There you have it! Now you know an easy way to change the logo and background image on your WordPress login page. The White Label Extension that comes with your licensed copy of X / Pro makes it super easy to achieve a customized look for your login page, and you can impress your clients as well!
See something inaccurate? Let us know