Snippet
In this article, we're going to explain about the Google Structured Data and how you can use the Snippet plugin to bring it to your website.
The Snippet extension is an easy tool to add structured data to WordPress. Swiftly add your business, organization or company details.
What is Structured Data?
Google uses structured data that it finds on the web to understand the content of the page, as well as to gather information about the web and the world in general. The Snippet plugin which is developed by Themeco is a tool which helps you add the structured data to your website without the need of details ins and outs of code. With the help of the Snippets plugin, you can introduce your website to Google in a more detailed way. Click here to read more about the structured data.
Getting Started
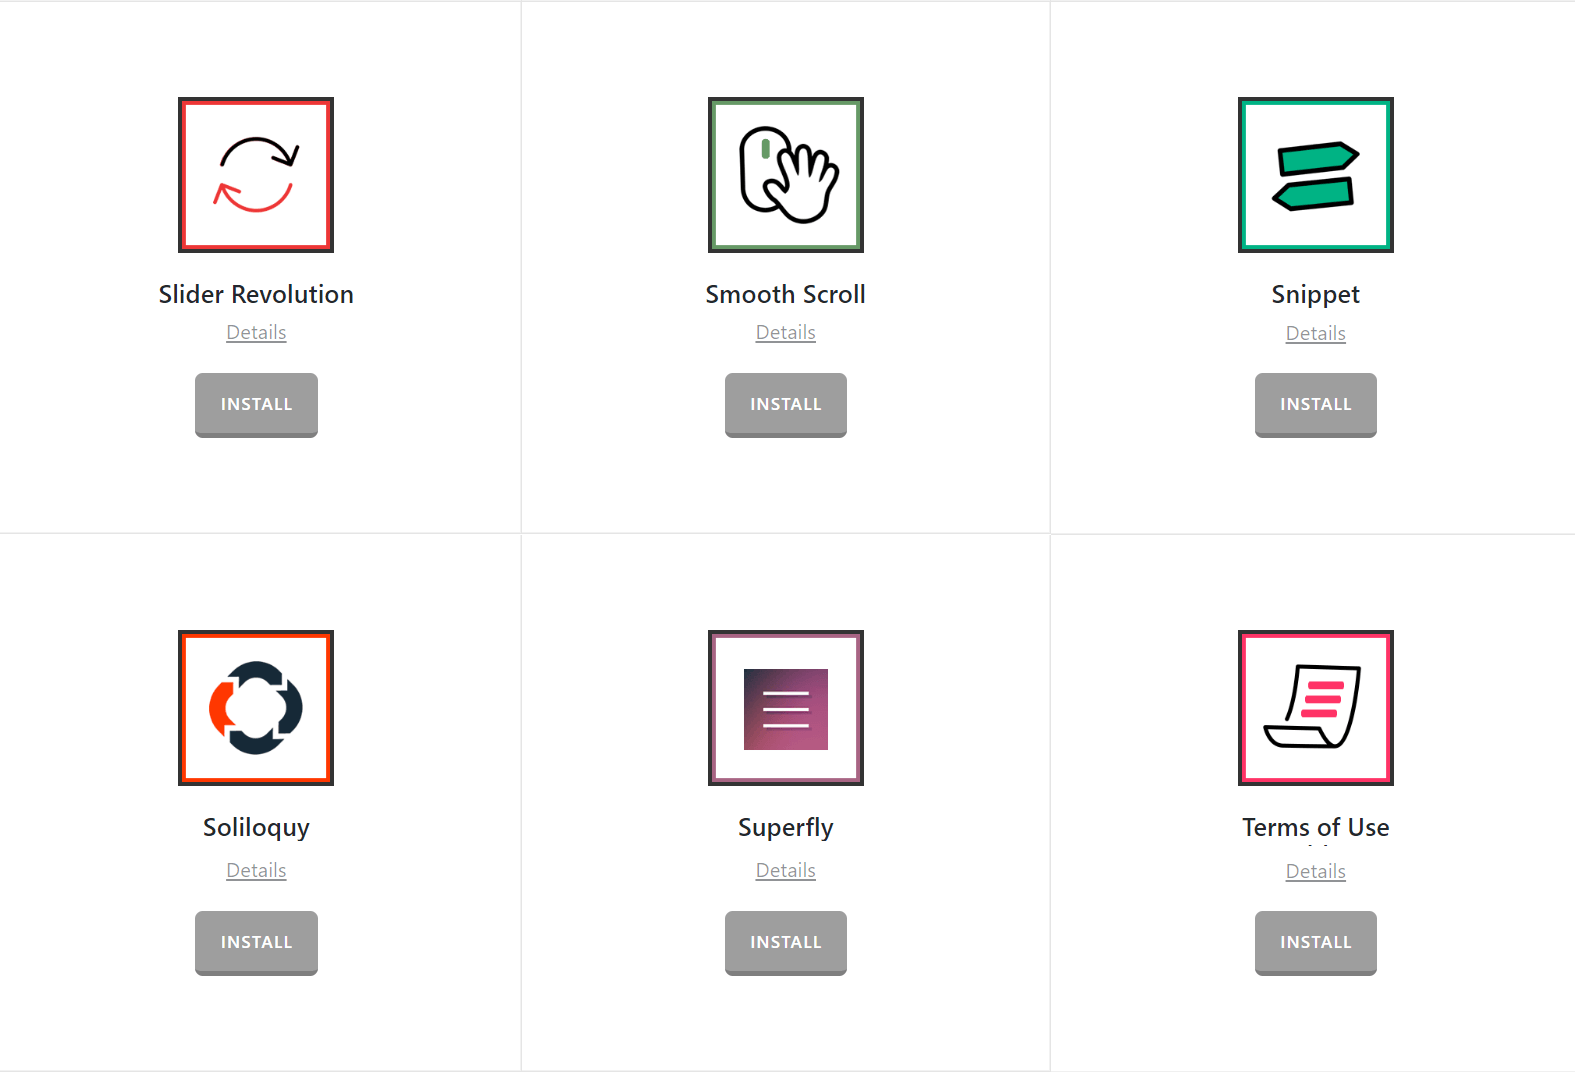
Go to Pro > Validation or X > Validation then look for Snippet. Click Install.
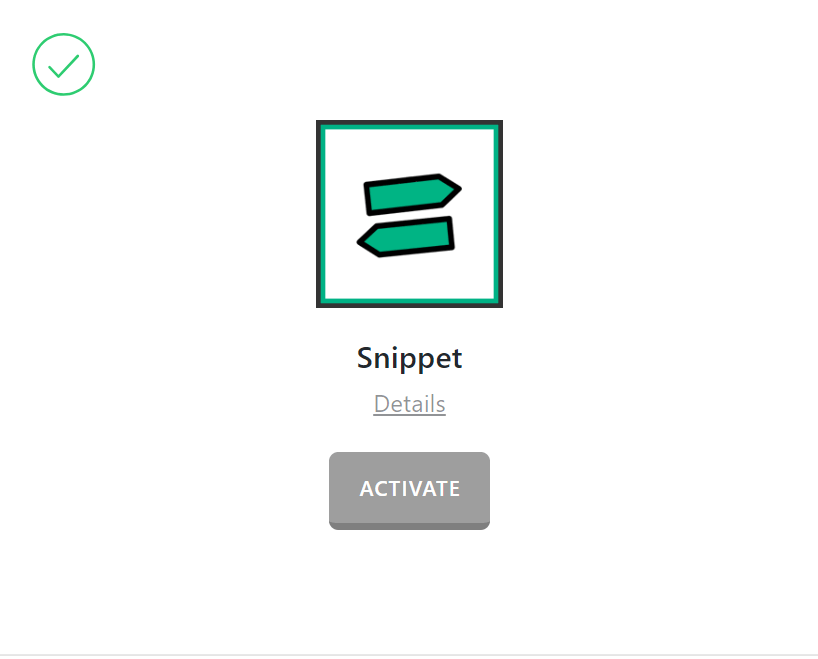
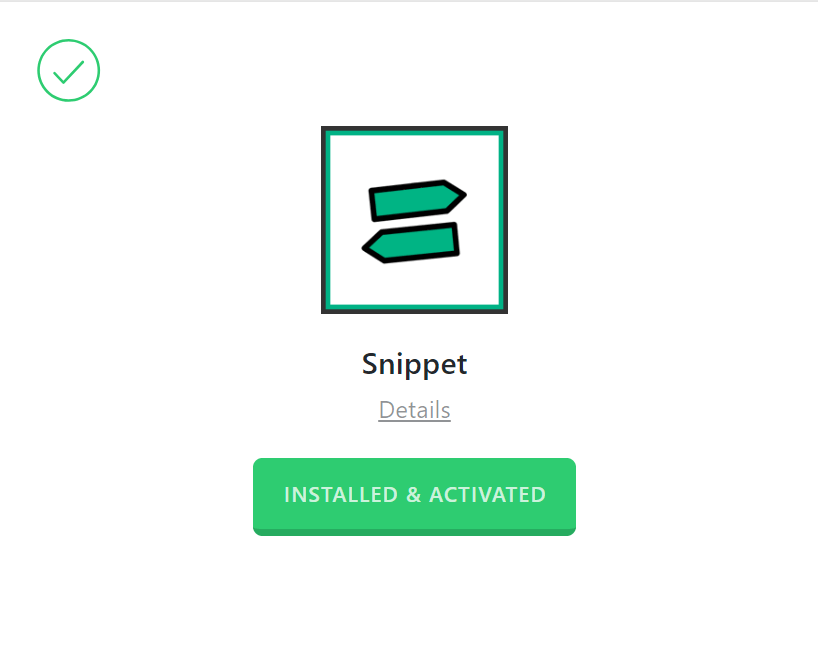
Once installed, the Install button will change and say Activate. Click that button and it will activate the plugin. You will then see the status change to Installed and Activated.
How to Access the Plugin Settings
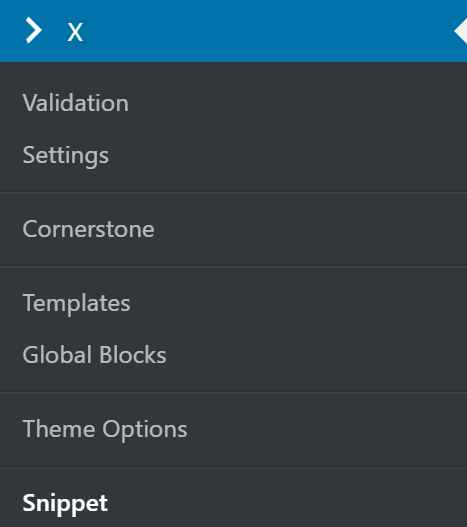
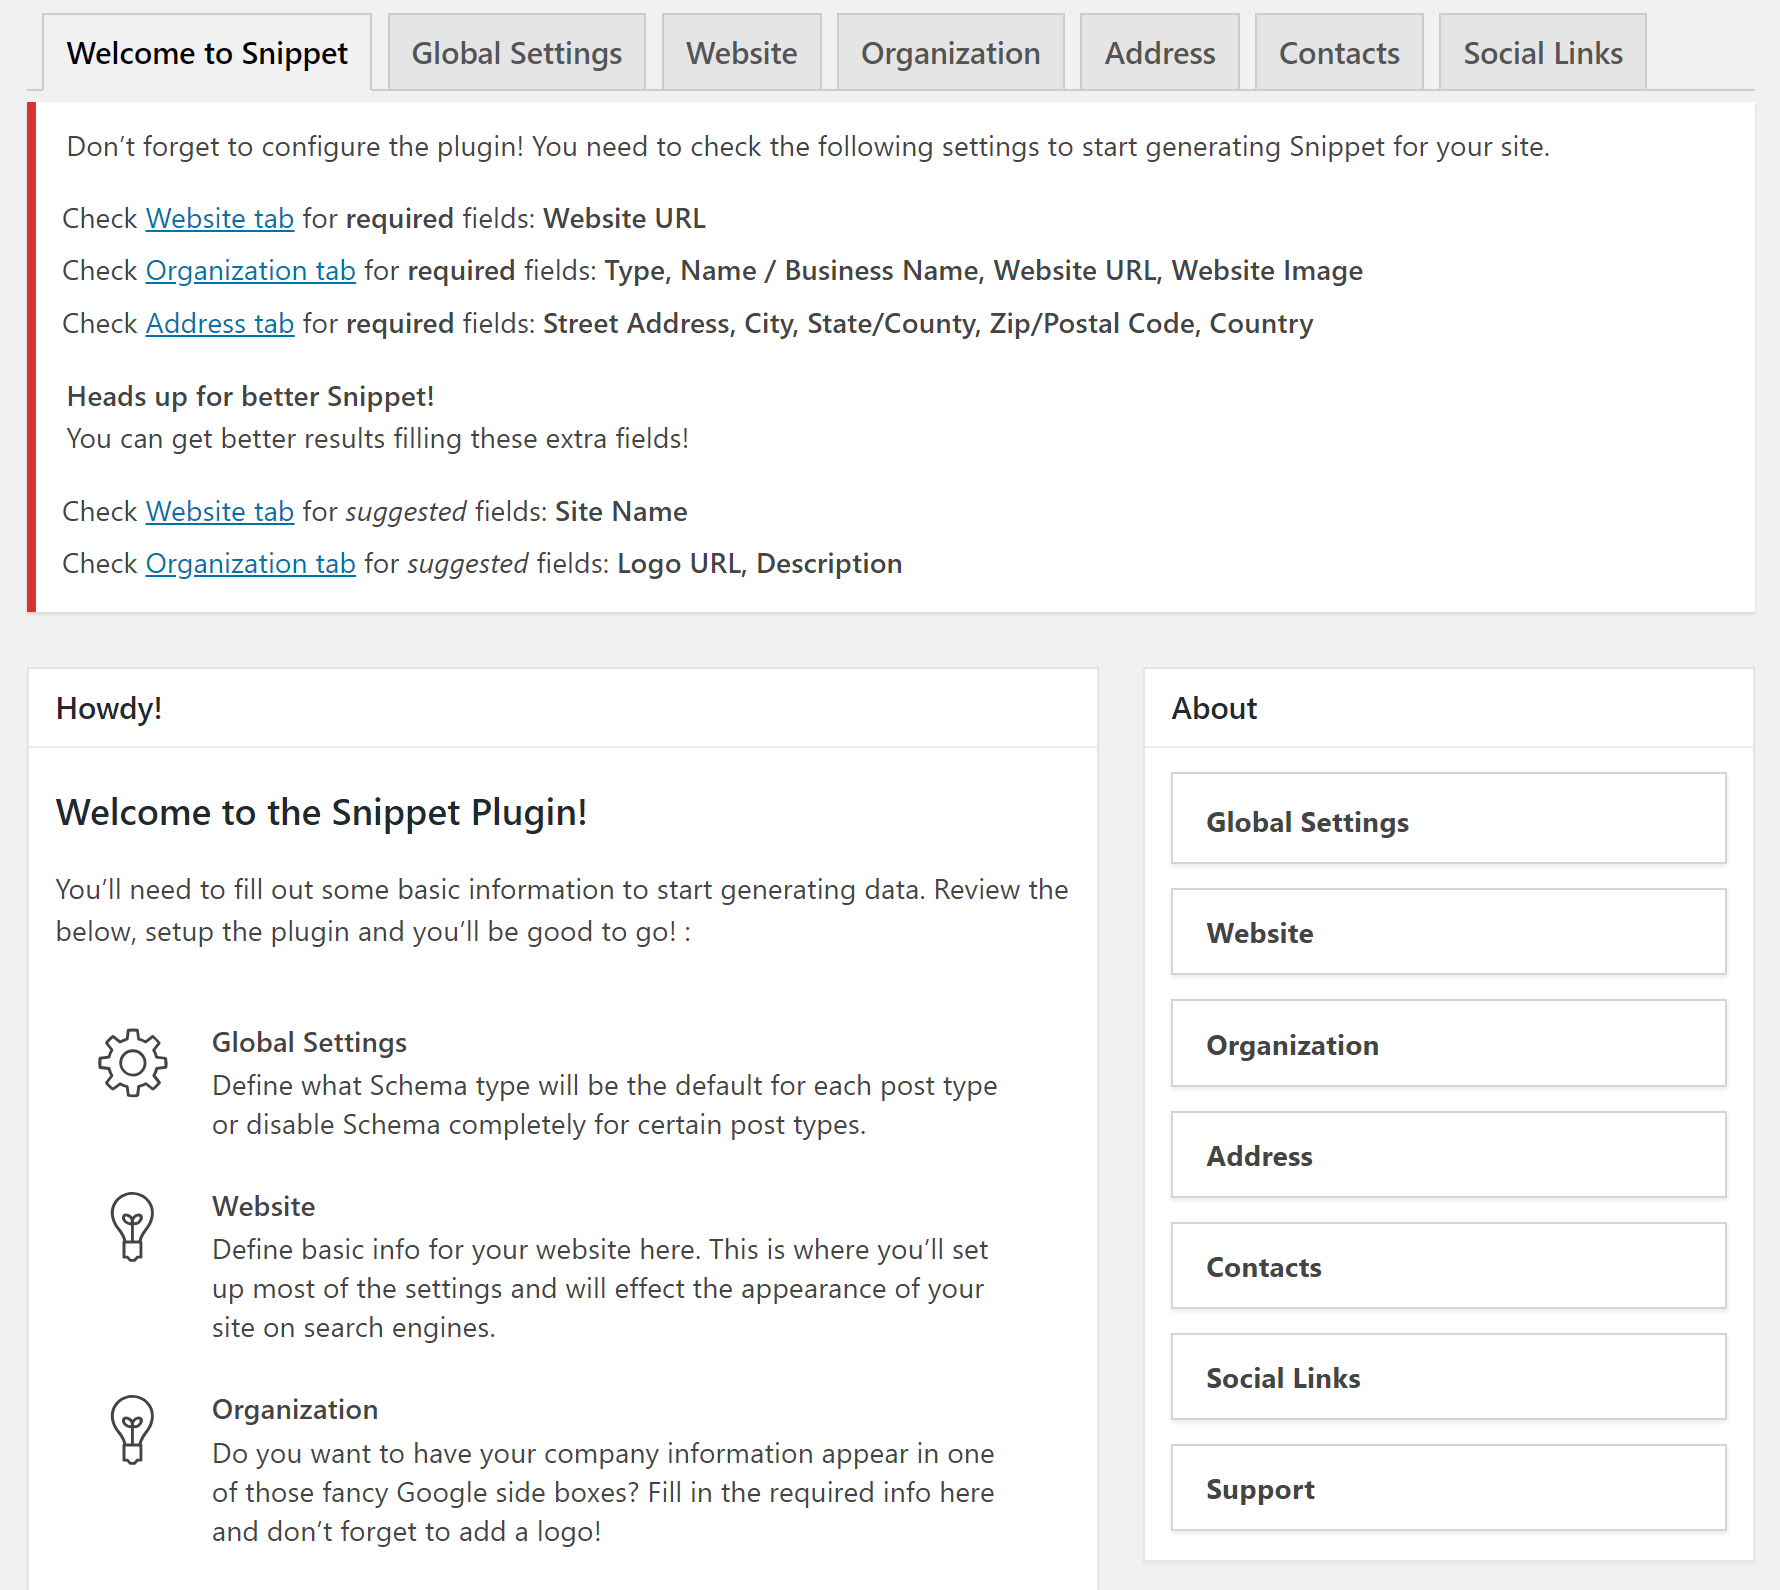
To access the Snippet plugin settings you need to go to X > Snippet in the X theme and Pro > Snippet in the Pro theme. After you access the settings of the plugin you will see the Welcome screen which you will get the warning messages to fill up the necessary settings to have a structured data on your website and valuable information about the plugin settings.
Global Settings Tab
When you first land on the Global Settings screen you'll see all the Schema settings like this:
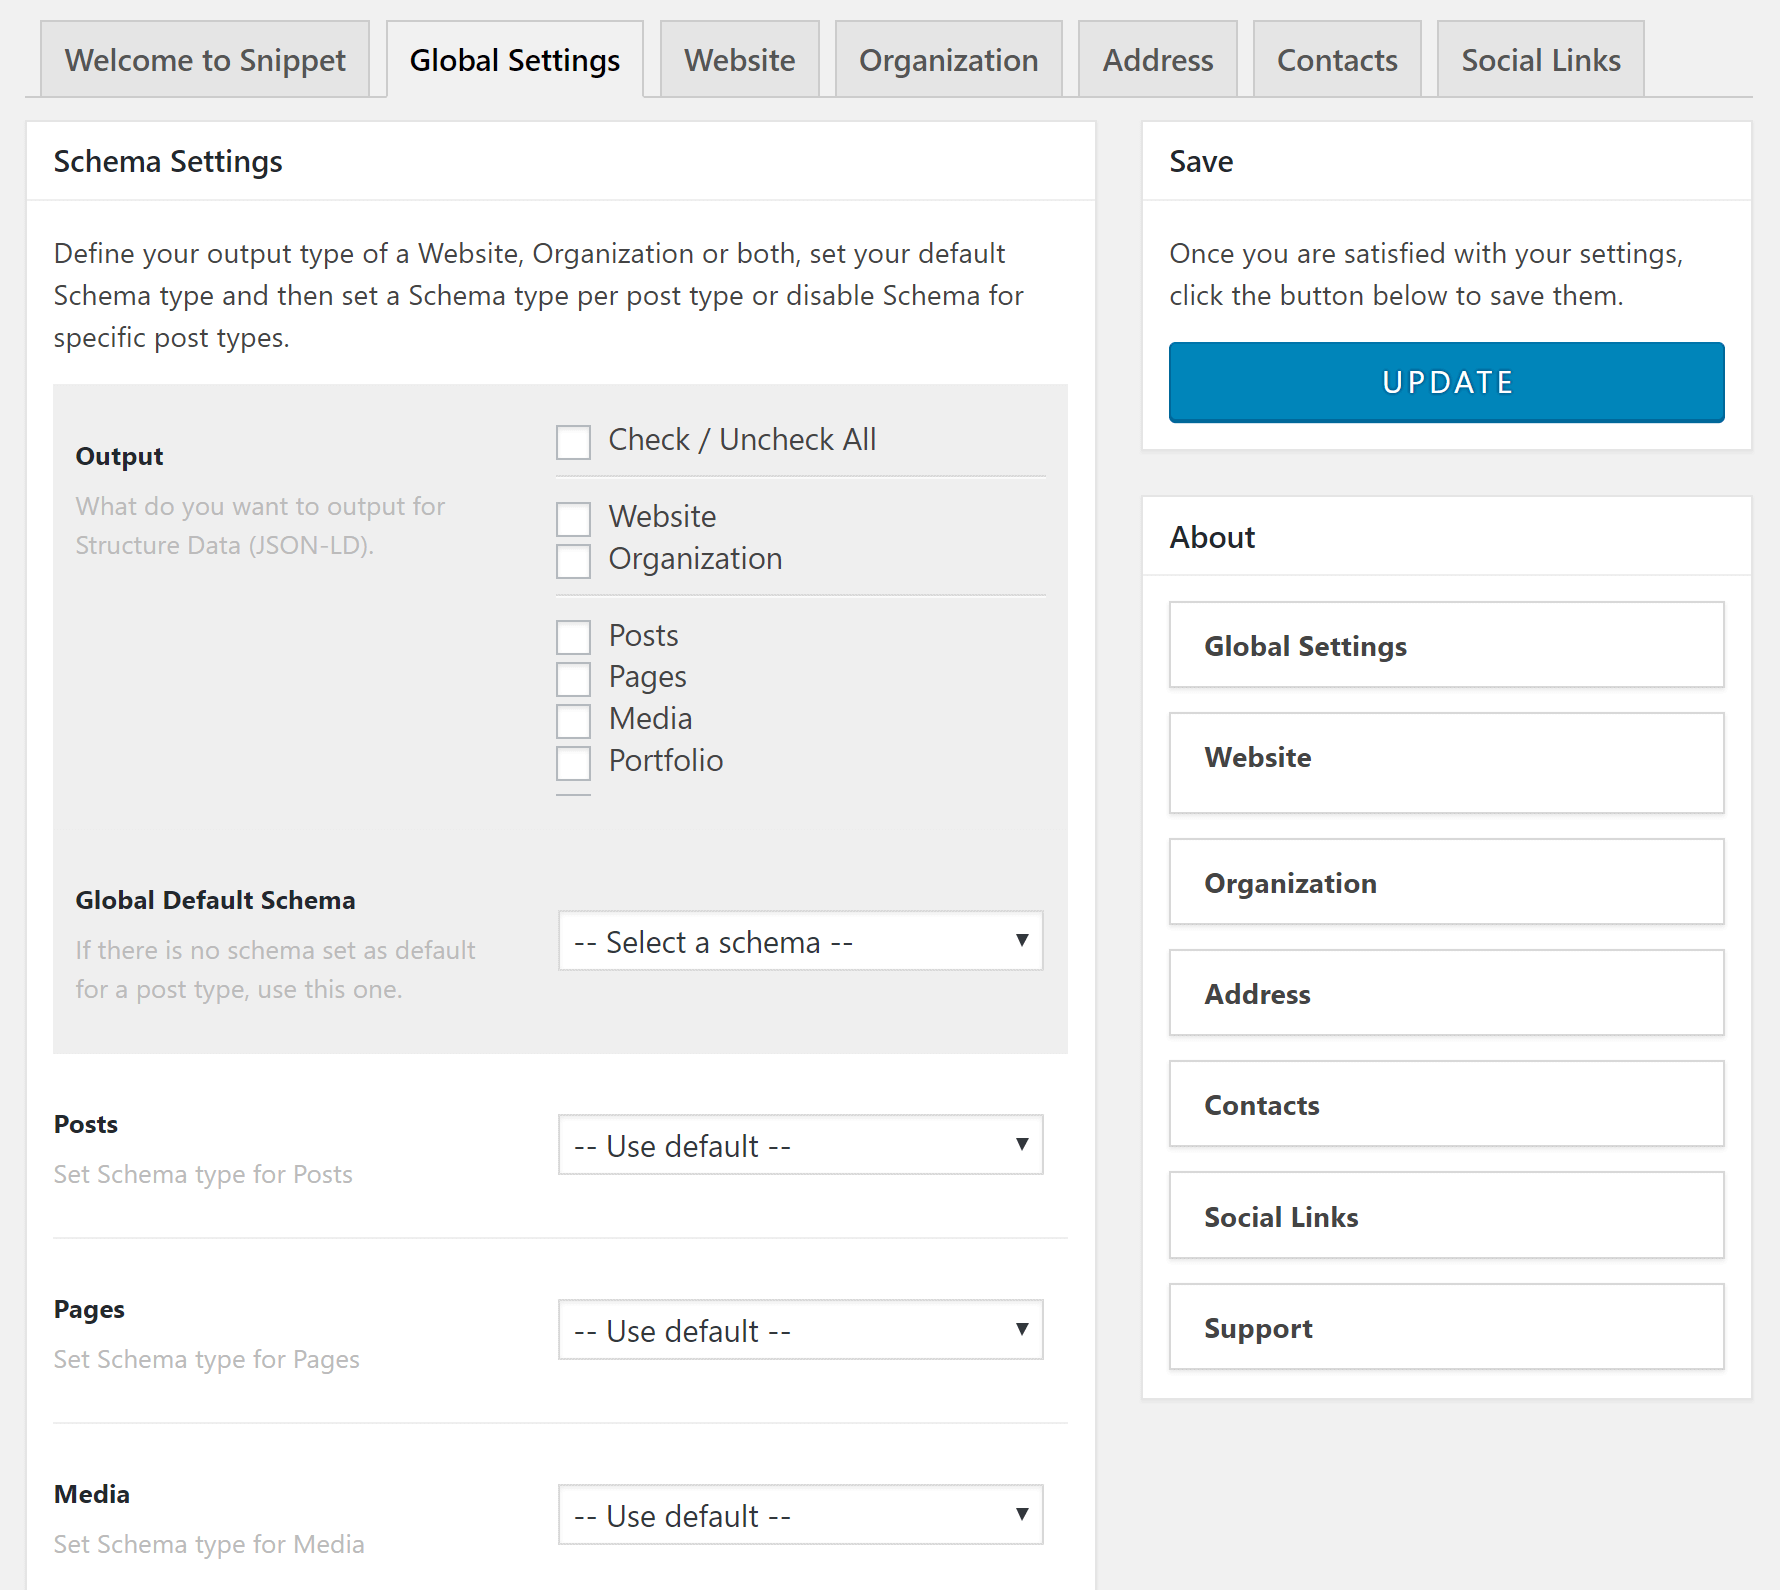
There are a lot of options on this page, so let's explore each one and what it means for your website. The first option is for the output, the first selection being either setting your Schema markup to a Website, Organization or both. This affects how your site displays in search results.
If you're a blogger, for example, you'd just check the option for Website However if you run a Club, a Business, or a School and want to enter in your Organizations details you'd check the Organization option. And of course, you can always check both if both settings apply to you, which if you run an Organization and have a website for that Organization you'll want to check both options.
The next checkboxes are all directly related to if you want to output Schema on those post types.
The Global Default Schema is a default Schema type that will be used if no specific Schema Type is set for that post type.
Under the Global Default Schema are options to set the Schema type per post type or disable it completely for those post types. You can enable and select the Schema type or disable it completely by clicking in the drop-down box.
Once you're happy with everything set on this tab, click on Update to save your changes.
Website Tab
The next tab is Website. These settings all relate directly to the display of your website within Search Engines. Once you click on the Website tab, you'll see all the available settings like this:
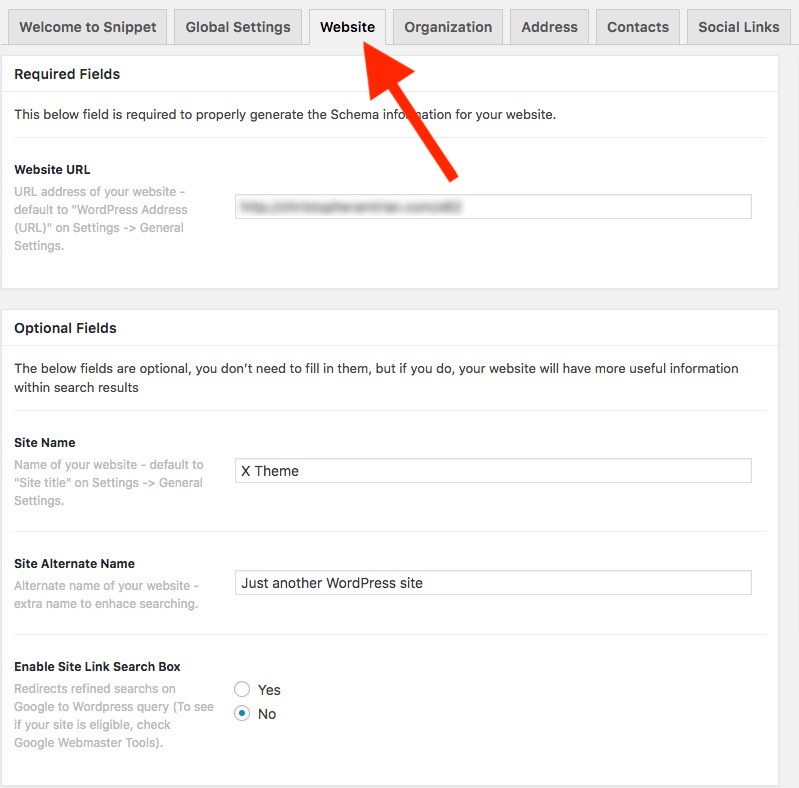
On this tab, settings are split up by Required settings and Optional settings.
The first settings are for the website URL which is required. This option is the URL you want to show in search results. It defaults to the WordPress address URL set in Settings > General.
The next settings are all optional and don't need to be filled in.
- Site Name: This is the name of your website. The setting defaults to the Site Title set in Settings > General.
- Site Alternate Name: This is the alternate name your website is known by and can enhance searching and search results if your website is commonly referred to by a name that isn't the actual website name.
- Enable Site Link Search Box: The site link search box allows your users to search on your website without actually leaving the original search results. To learn more about this option, Google has a great document here.
Once you're happy with everything set on this tab, click on Update to save your changes.
Organization Tab
The next tab is Organization. These settings all relate directly to how your Organization will display in search results for your website.
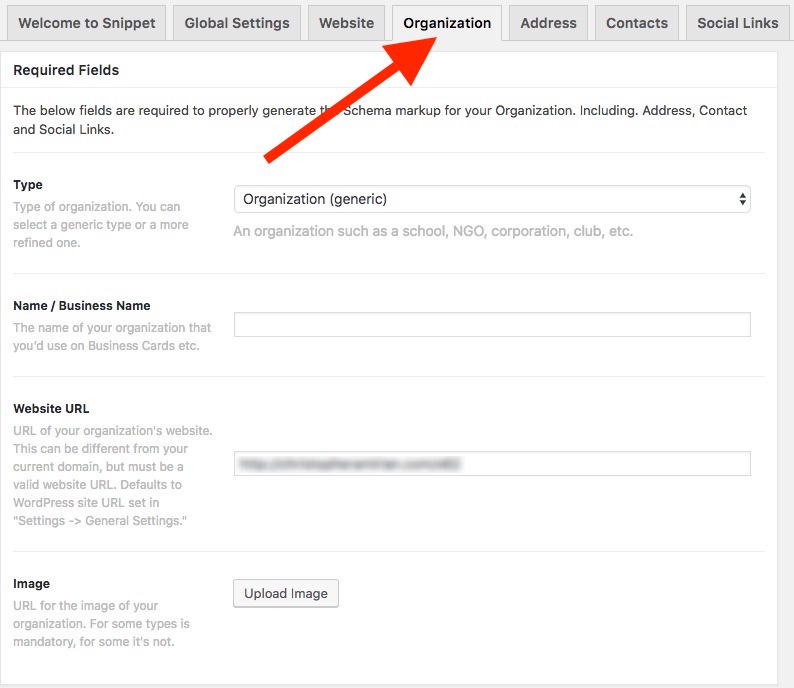
On this tab, settings are split up by Required settings and Optional settings.
The first batch of settings are required which are:
- Type: The organization type is what sort of organization you run, such as a bank, school, club etc. You can find out more here.
- Name/Business Name: The name of your business
- Website URL: This is the URL of your Organizations, this doesn't have to be the same URL/domain but must be a valid domain/URL for your Organization
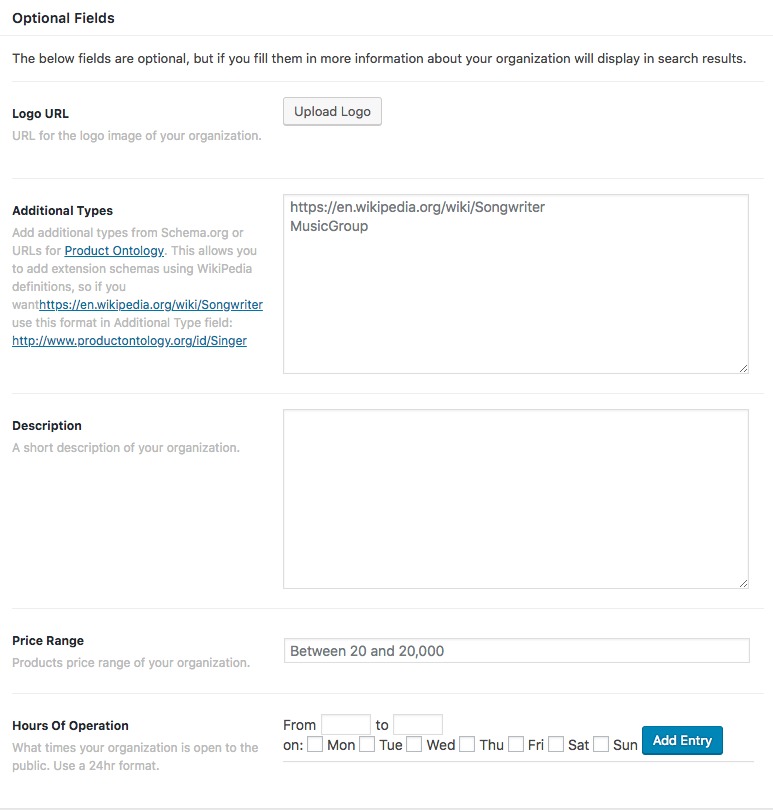
The next lot of fields are all entirely optional. If you fill them in more information about your Organization will be available in search results.
- Logo URL: This is the URL for an image/logo for your Organization that you want to display in search results.
- Additional Types: You can add additional types to your Schema markup as extensions using this option.
- Description: This is a description of your Organization/business.
- Hours Of Operation: These are the hours your Organization is open and available to the public.
Address Tab
The next tab is the Address tab. This is the address of your Organization and will be displayed in search results. You can also enter the Geographical Coordinates.
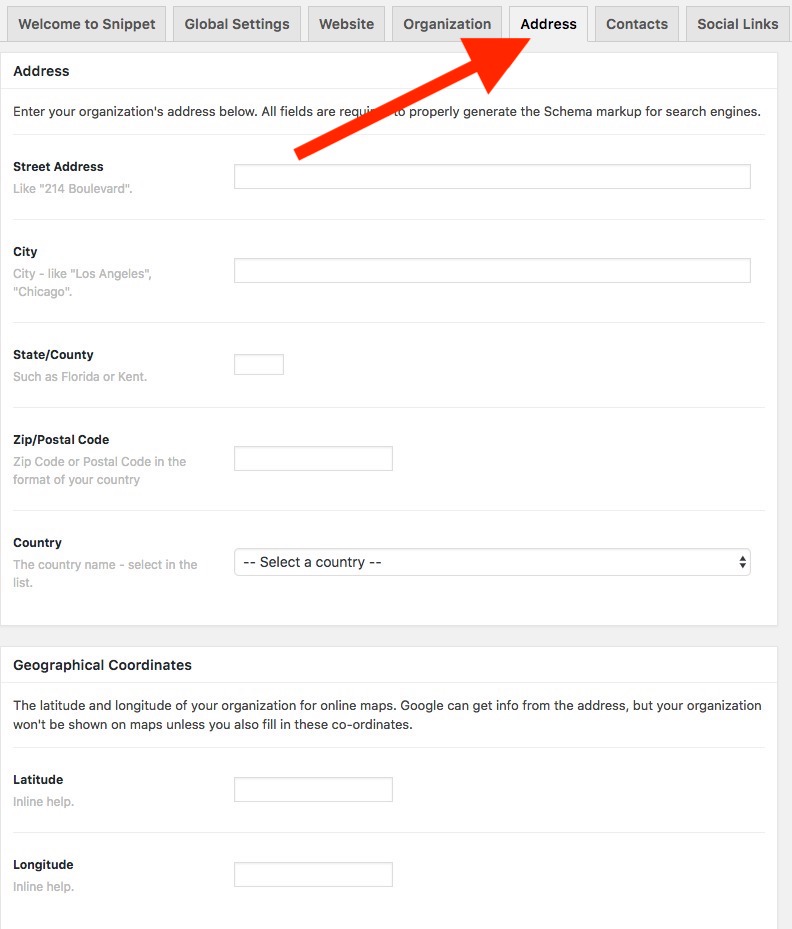
Make sure to fill in all Address information on this tab, or the Schema markup won't be properly generated for your website.
Contacts Tab
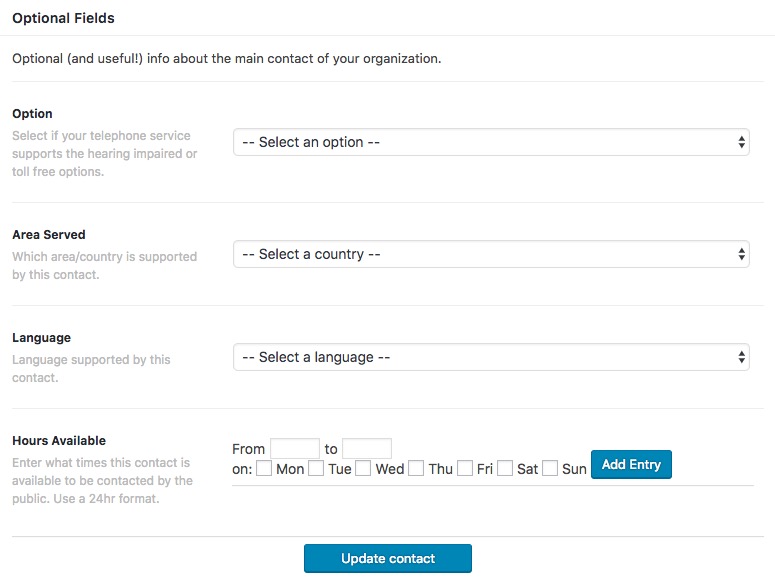
The next tab is for contacts. These are contact details of your Organization, and you can add multiple contacts for example for different departments such as Support, Sales, etc.
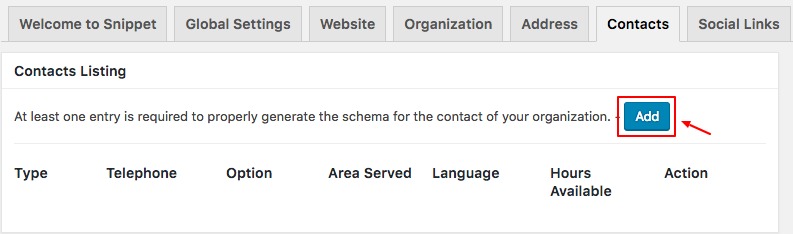
Click on Add and you'll then see the contact details like this:
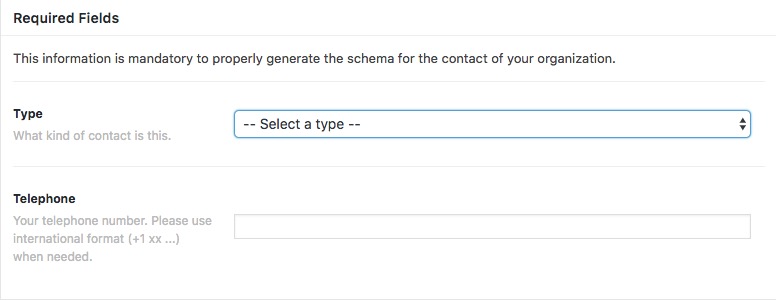
Once you've entered your contact information in, scroll to the bottom of the page and click on Update contact.
Social Links Tabs
The last tab is Social Links These social links will be used within your Google Search results.
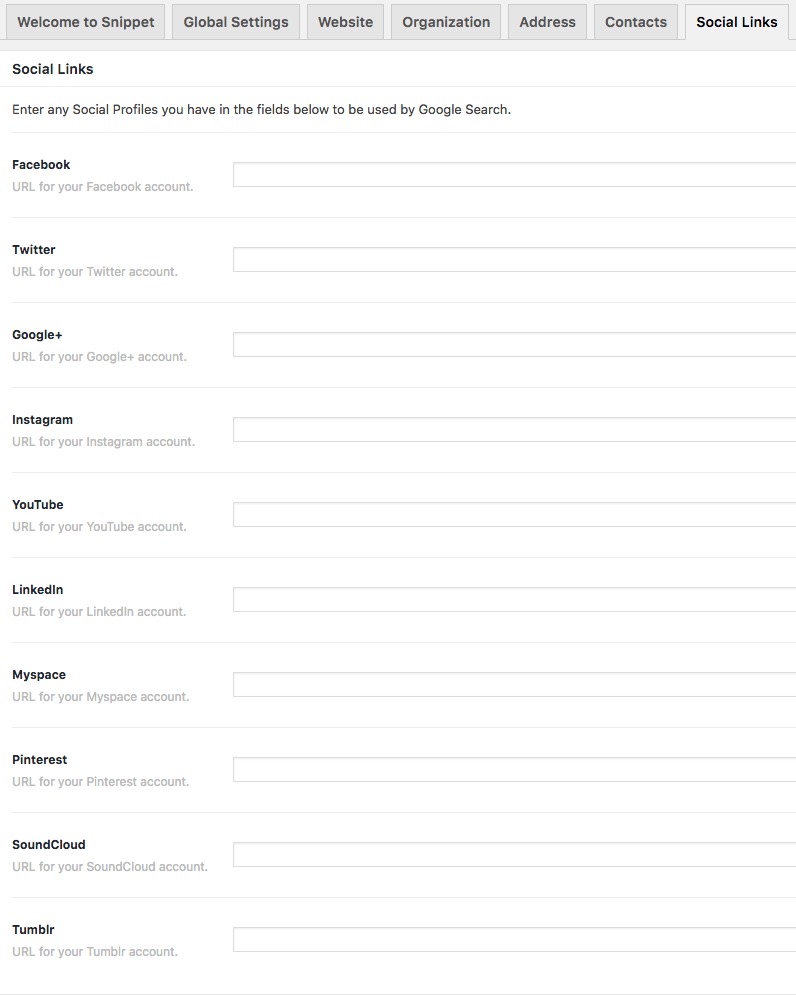
Once you're happy with everything click on Update and everything will be saved.
Summary
We've talked briefly about structured data and introduced the Themeco-developed Snippet Extension which can add structured data to your website. We've shown how to install and configure the plugin in addition to explaining each of the setting tabs in detail.
See something inaccurate? Let us know