Google Analytics
In this article, we're going to show you how to use our Google Analytics Extension to add Google Analytics tracking code to your website using only the tracking ID.
Google Analytics easily enables you to include your GA code snippet to your site and select where you would like to output it.
How to Enable the Extension
Go to Pro > Validation or X > Validation then look for Google Analytics. Click Install.

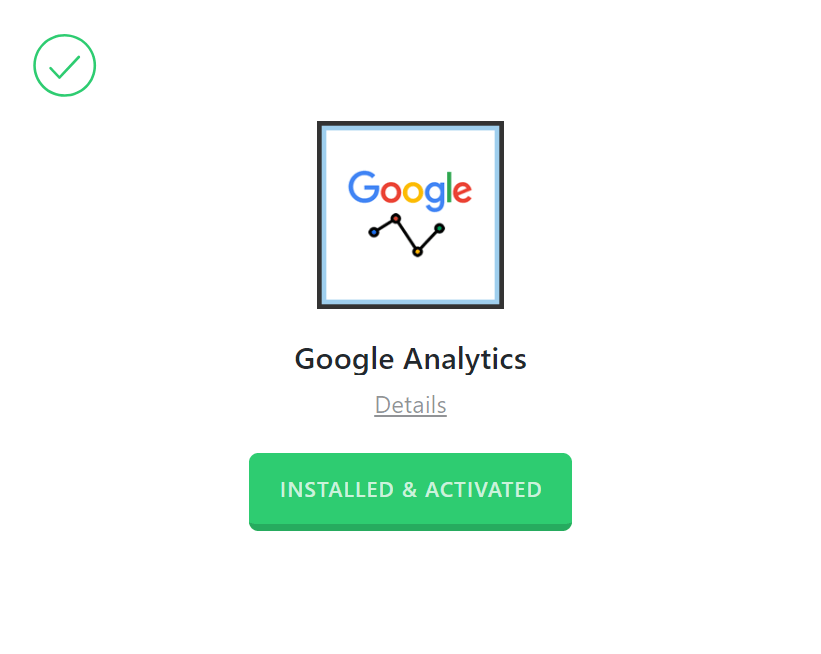
Once installed, the Install button will change and say Activate. Click that button and it will activate the plugin. You will then see the status change to Installed and Activated.
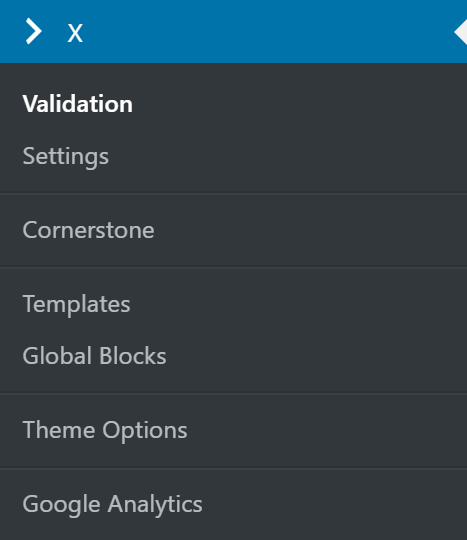
After installing and activate Google Analytics, you'll find it's settings under the X menu item if X is installed and activated, or the Pro menu item if Pro is installed and activated.

From the main Google Analytics settings screen you can choose to disable or enable the plugin as needed:
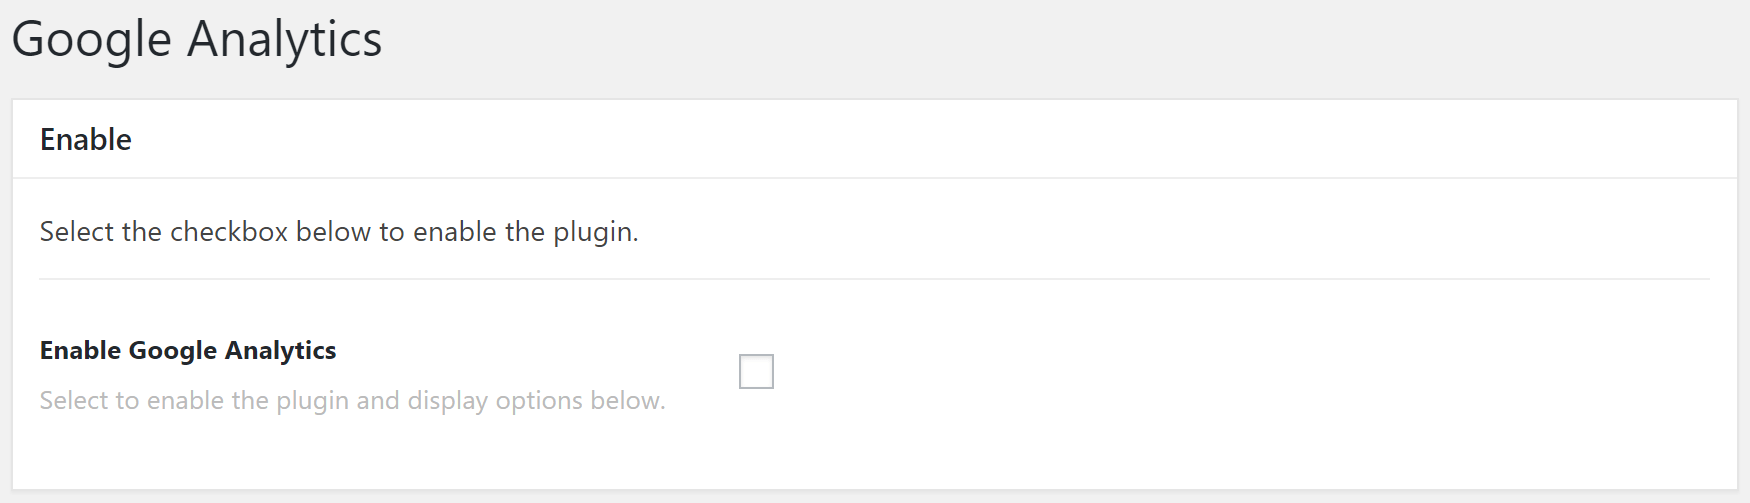
Disabling the plugin will effectively turn off all output from the plugin (e.g. HTML, CSS, JavaScript etc). This is useful as a quick way to toggle activity if you ever need without having to go through the Plugins menu and worry about activating/deactivating it completely.
Selecting the enable checkbox will bring up the Settings meta box below. This is where you will adjust any options for the plugin and input your data as needed.
What The Google Analytics Extension Does
The Google Analytics Extension allows you to easily add your Google Analytics tracking script to your website. Simply input your code snippet and select where you would like it to be output on your page (i.e. in your site's header or footer).
Setting Up Google Analytics Extension
While we won't cover how to setup Google Analytics itself, Google has some great documentation on how to get started with Google Analytics here.
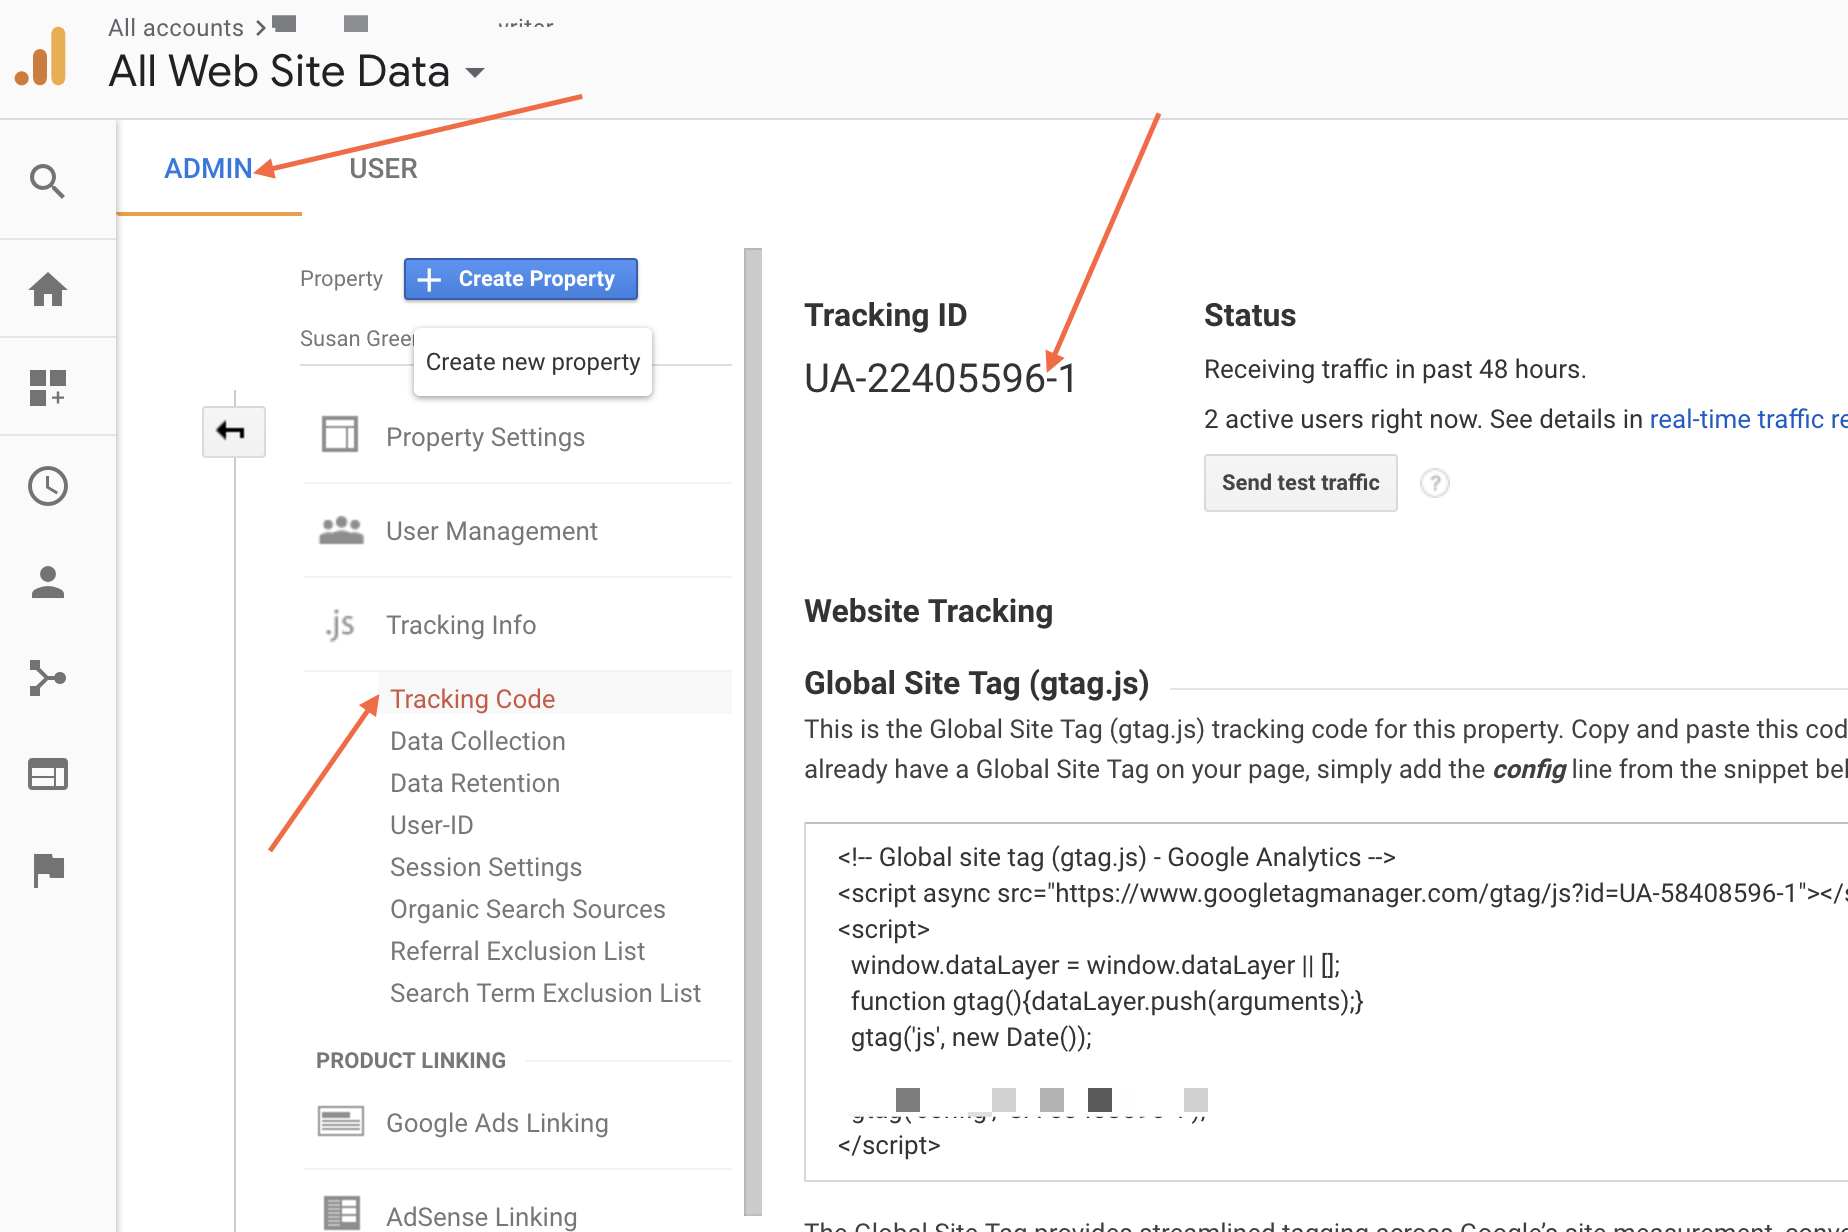
To set up the plugin, first of all, make sure you have a Google Analytics property already set up for your website if you don't. Create one before continuing this tutorial. When you have your Google Analytics property setup click on Admin then click on Tracking info then Tracking code and copy the Tracking ID.
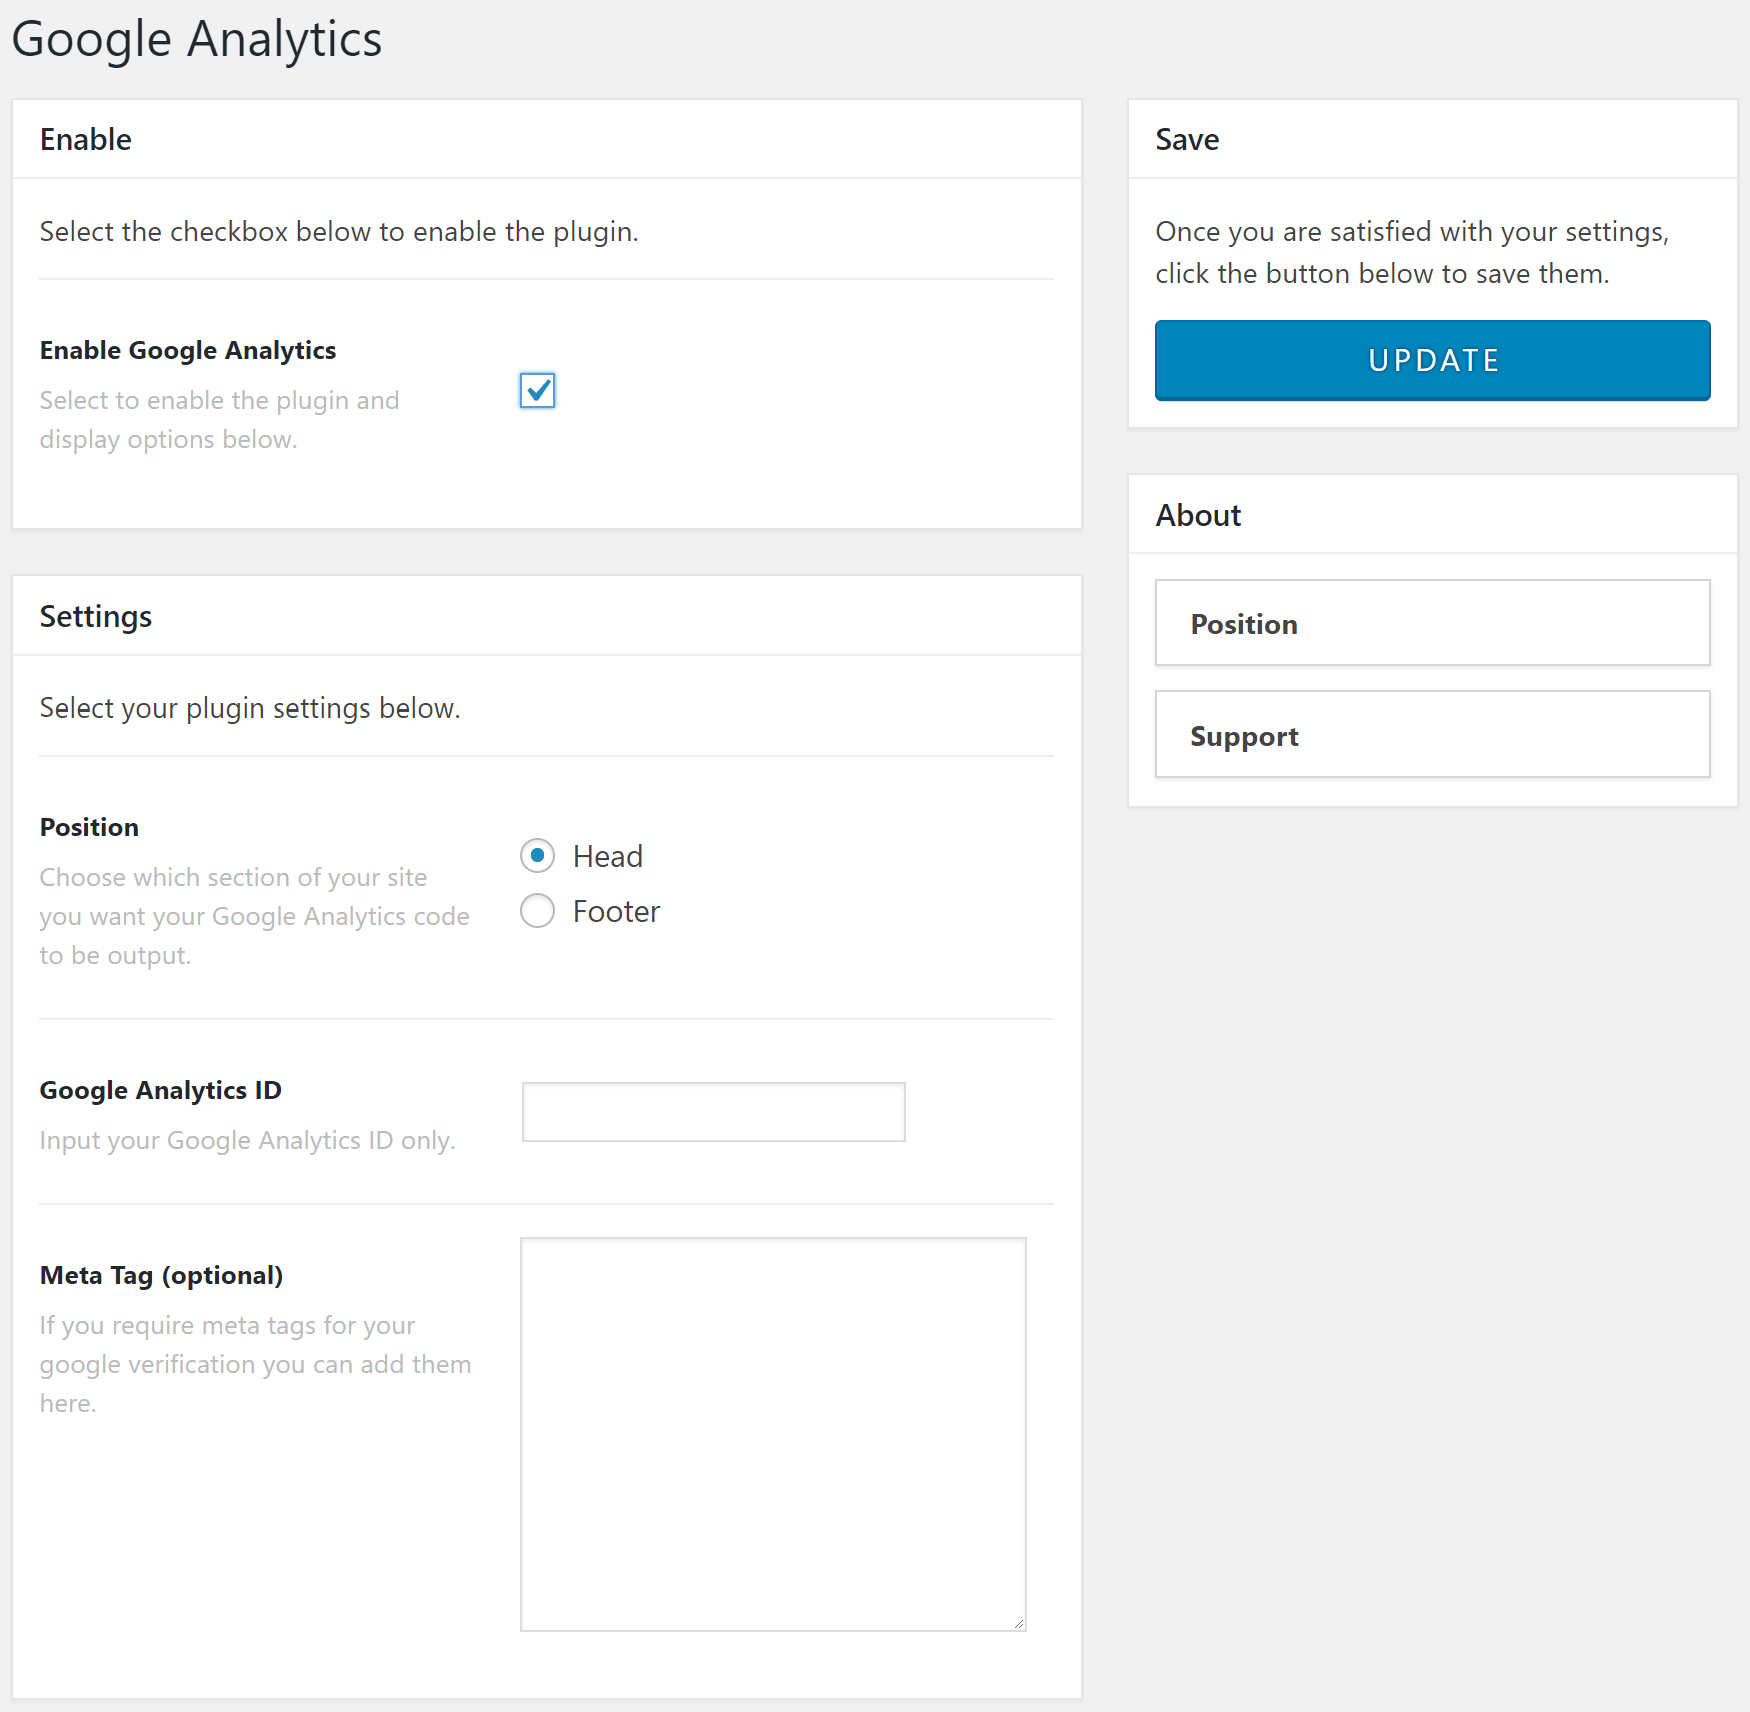
Once you have your tracking script go back to your WordPress Admin Dashboard > X/Pro > Google Analytics and paste your Tracking ID to the Google Analytics ID field. Once that's done you should have something that looks like this:
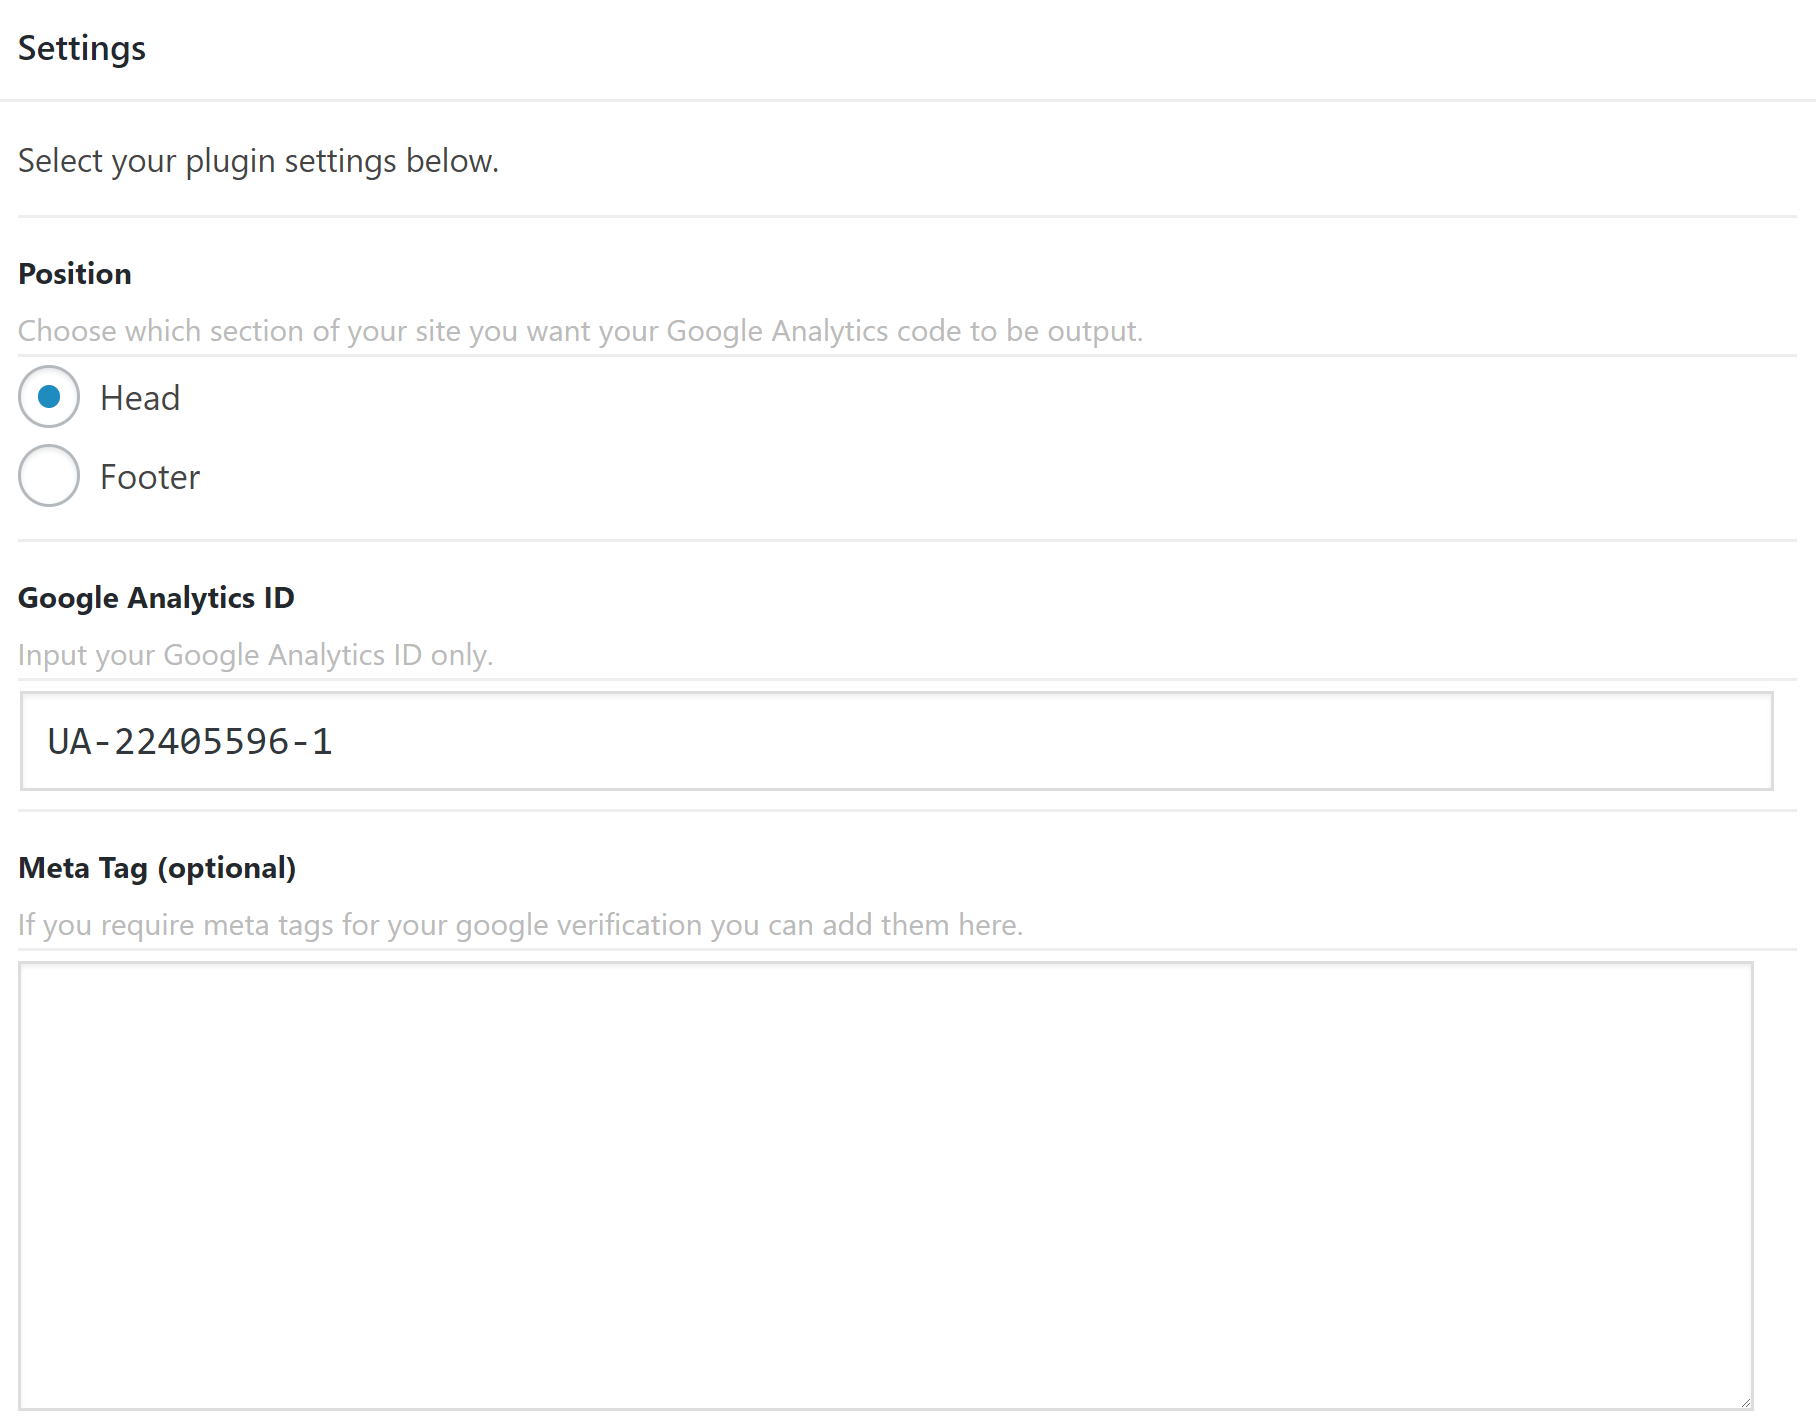
You have an option to select whether you want the generated tracking code to output in the header or footer of your website. Selecting Head will place the code in the head section of your website and is more likely to track all visitors to your site, even if they do not wait for your entire web page to load. Selecting Footer will place the near the closing body tag of your website and will track only users that have waited for your entire page to load.
Once you're happy with everything go ahead and click on Update to save your settings.
Congrats you've now successfully setup Google Analytics.
Summary
Now you know how to easily add Google Analytics tracking code to your site without having to enter the entire tracking code. You only need to enter the Tracking ID.
See something inaccurate? Let us know