Essential Grid
In this article, we'll be showing you how to create beautiful grids for your posts and products using Essential Grid.
Essential Grid is an all-purpose grid building solution for WordPress that enables you to implement highly customizable grids.
Getting Started
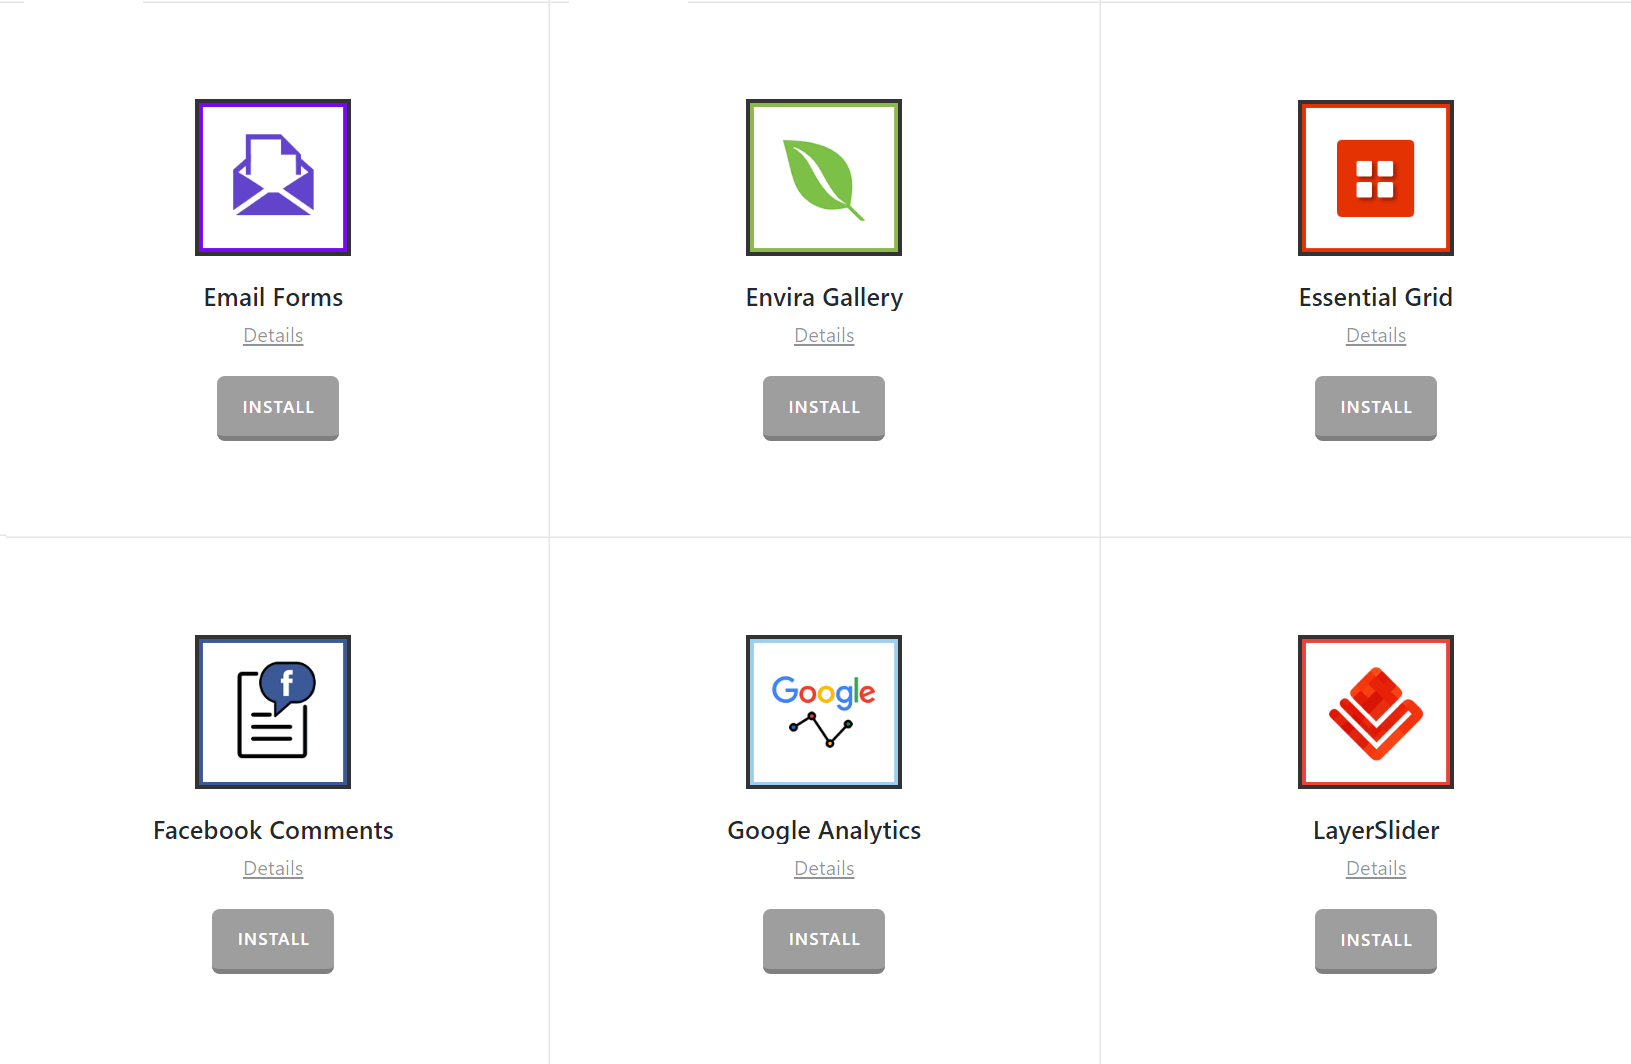
Go to Pro > Validation or X > Validation for X then look for Essential Grid Click Install.
Once installed, the Install button will change and say Activate. Click that button and it will activate the plugin. You will then see the status change to Installed and Activated.

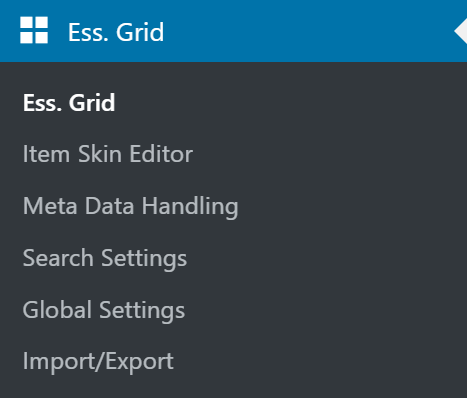
Once activated, you will see the Essential Grid menu item on the WordPress dashboard.
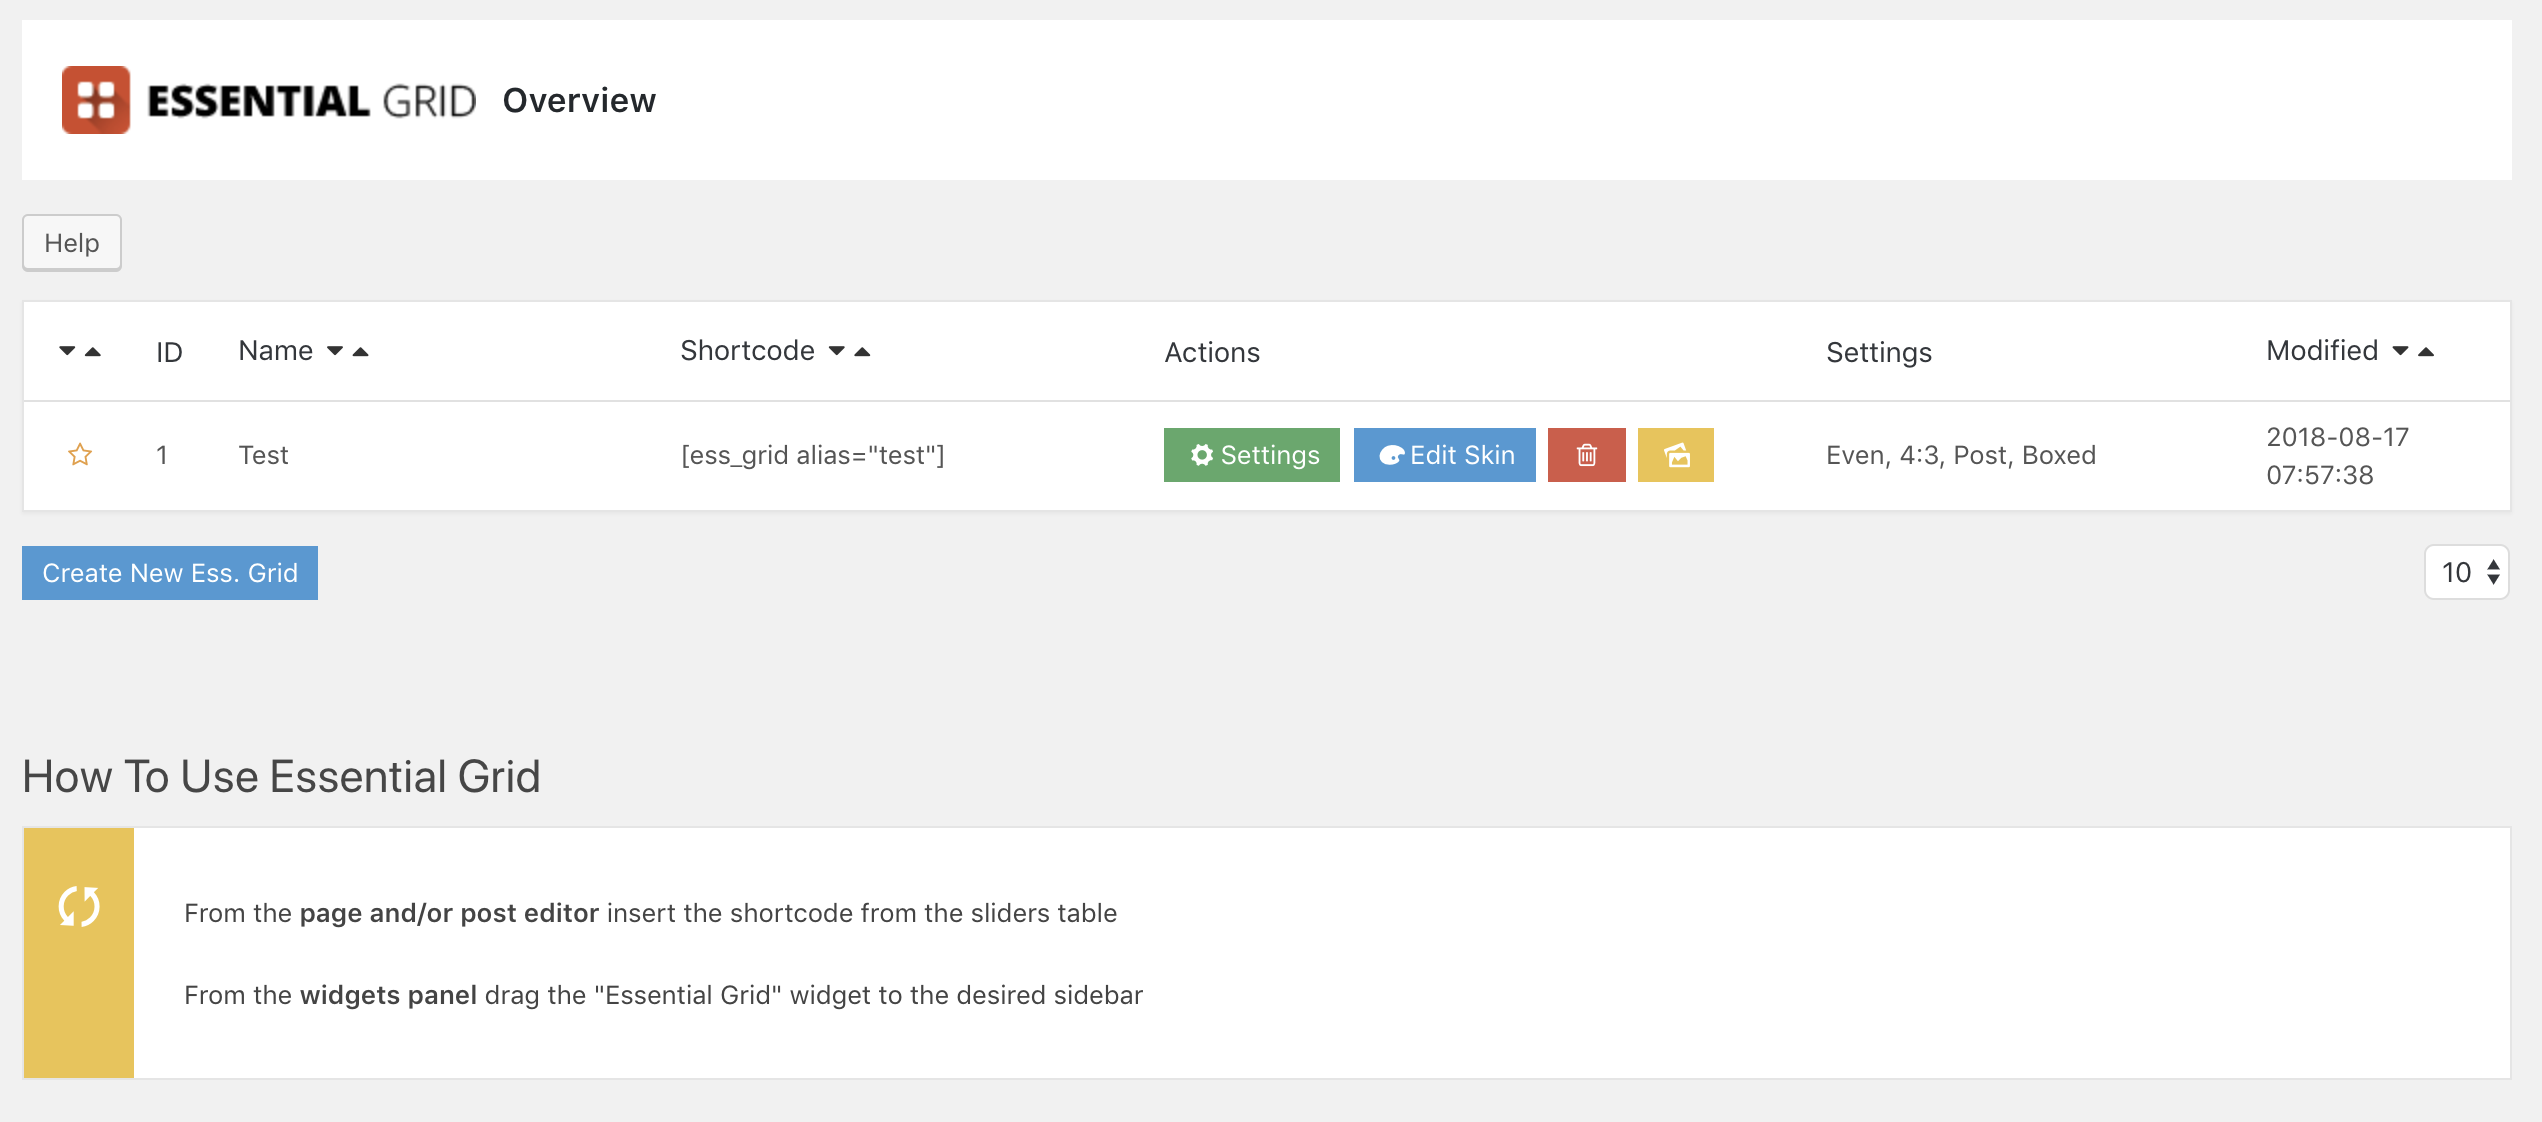
Go ahead and click on "Ess. Grid", once you've clicked that, you'll see the Essential Grid main admin screen like this:
Use Cases for Essential Grid
Essential Grid is a extremely versatile plugin, you can use custom post types, custom taxonomy, categories, tags, posts, pages, media etc. Making multiple use cases for it, including but not limited to:
- Custom Product showcases. Use Essential Grids custom post type feature to show off products from different categories on different pages, perfect to keep the focus on one set of products, rather than having a overall shop page.
- Custom post pages. Use Essential Grid custom post type feature to show posts from selected categories or with selected tags on different pages, perfect to have a page per category or per taxonomy (category/tag).
- Showcase your products or posts at the end of a product or post with a Essential Grid inserted. Perfect for an upsell or cross promotion.
In the first example, we're going to utilize WooCommerce to create a grid of our products, if you don't have WooCommerce installed, check out our helpful WooCommerce guide here. Make sure you also have a few products setup to enter into your grid.
Using Essential Grid in WooCommerce
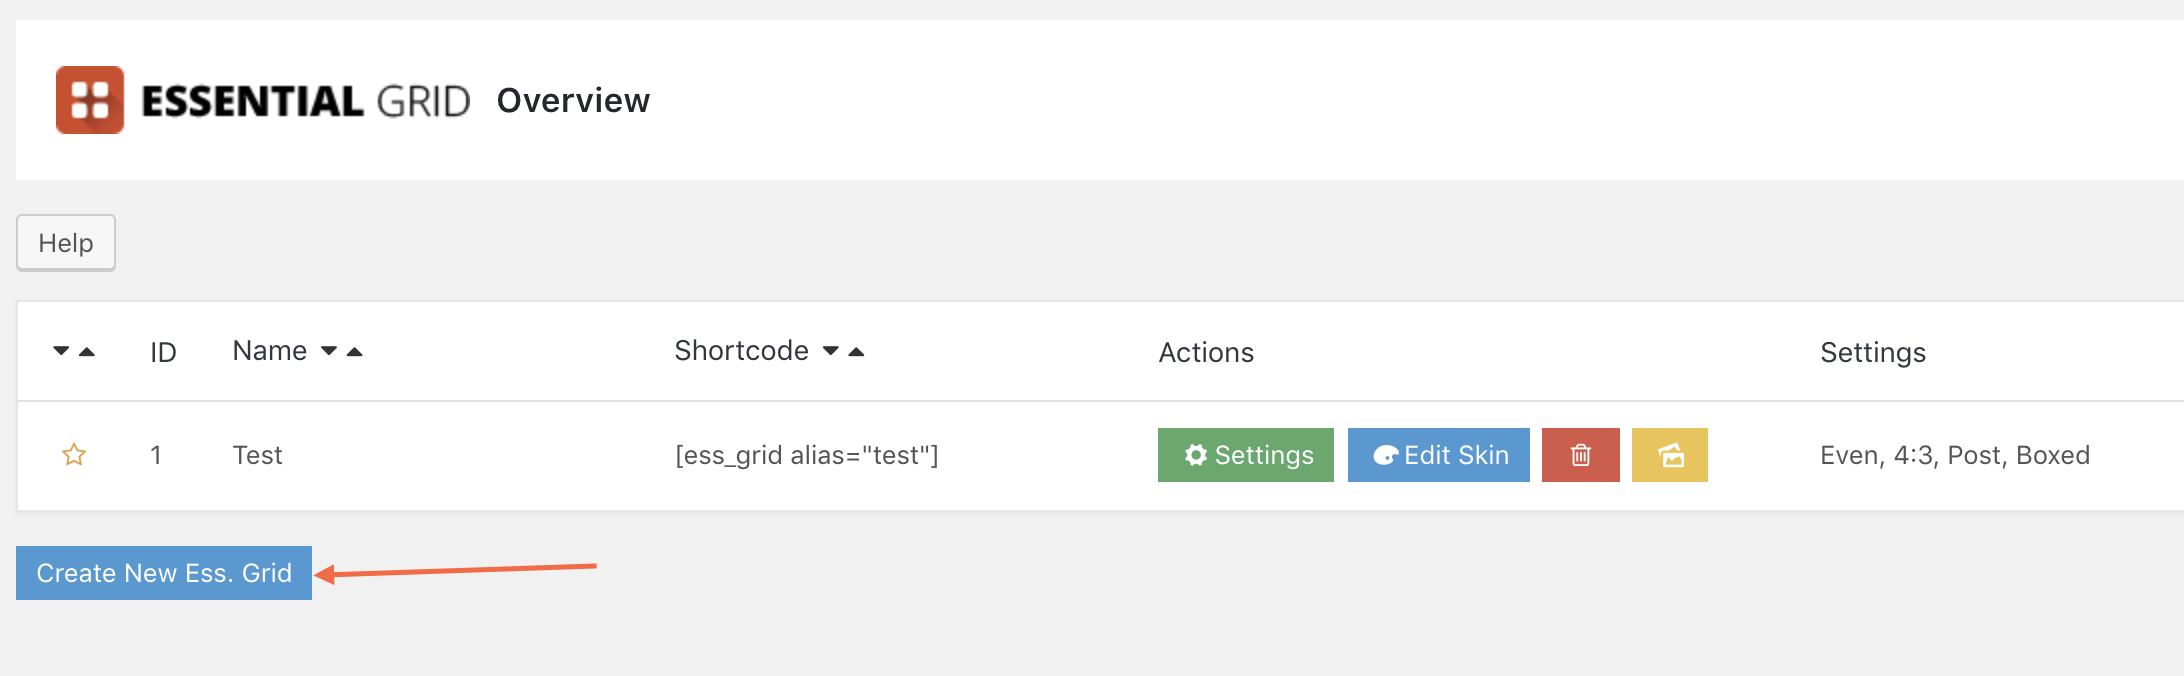
Now on the main Essential Grid admin screen go ahead and click on Create New Ess. Grid:
Once you've clicked that, you'll see the options provided by Essential Grid like this:
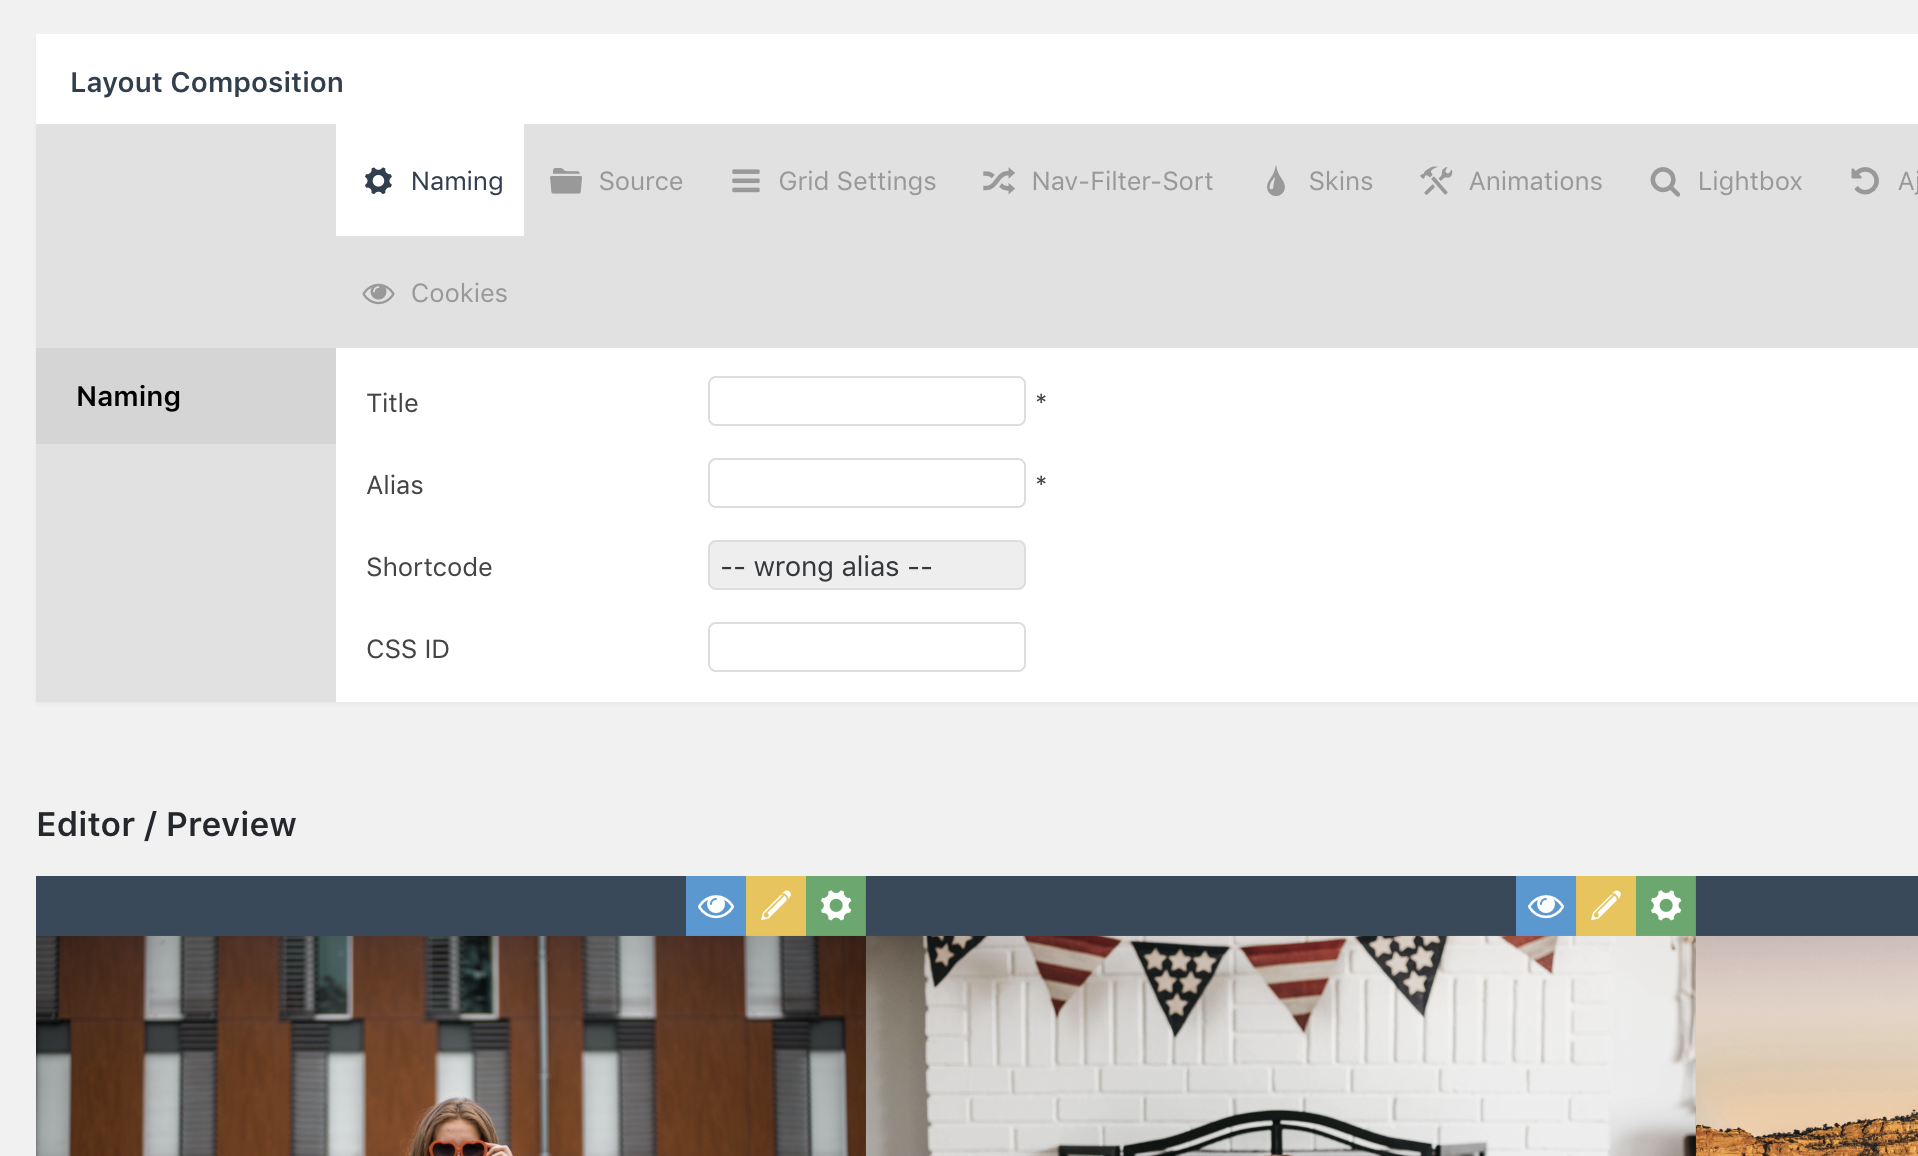
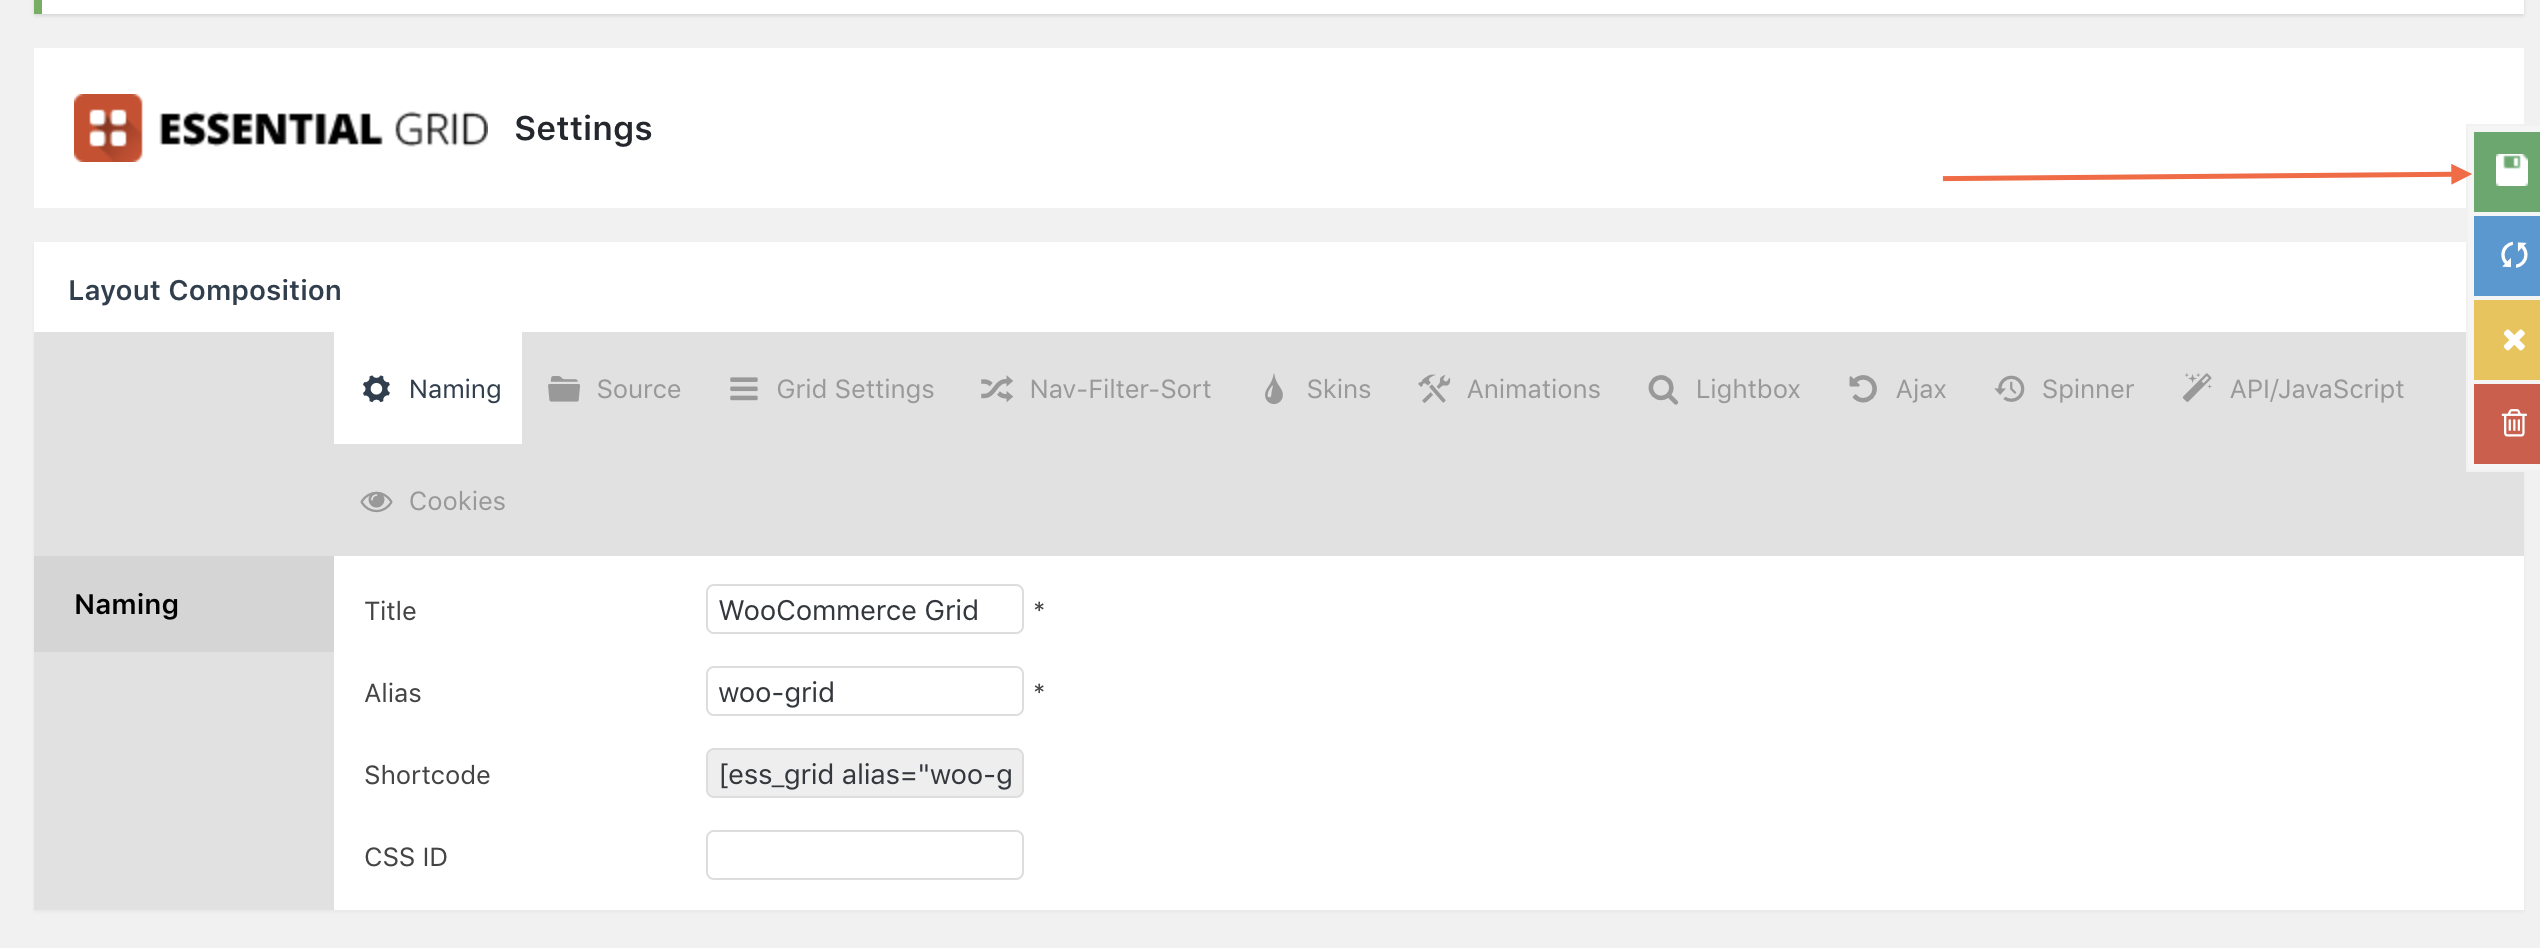
Let's go through the options and create a Essential grid for our WooCommerce products. First up, you'll be on the "naming section" with the following options.
- Title
- Alias
- Shortcode (this is automatically filled in when you enter your Alias)
- CSS ID
For the purpose of this, we'll leave the CSS ID one blank and fill in the rest like this:
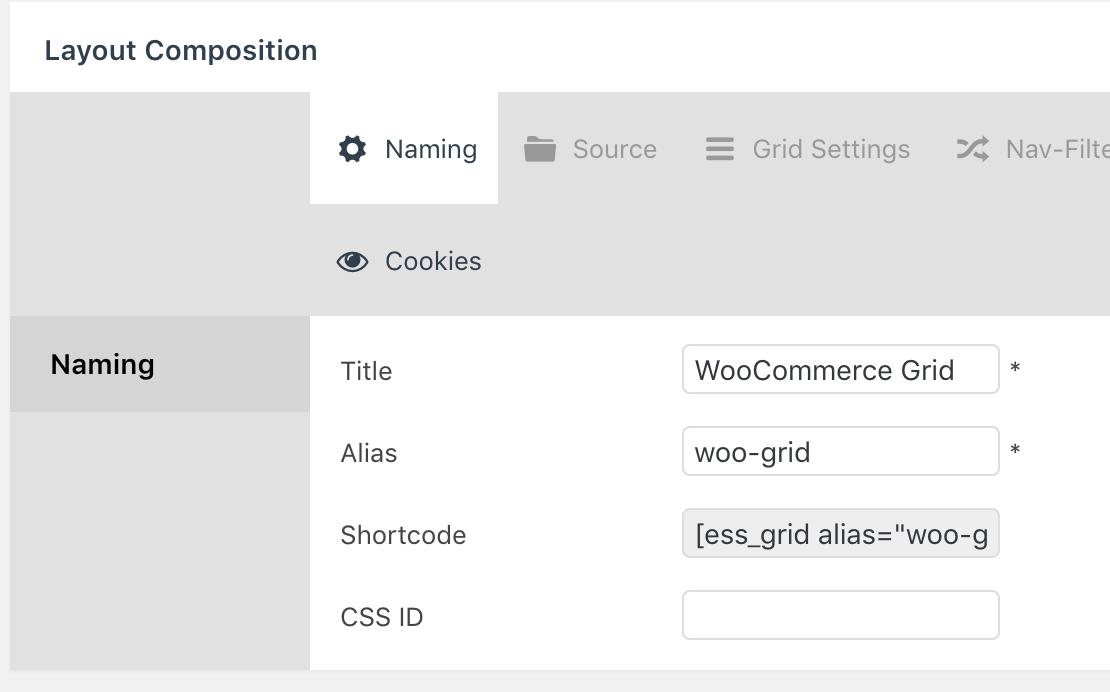
Once you've done that click on the Source tab.
On the source tab, you'll see various settings and configuration options. Where you see Type and Category, you'll see Post Types scroll down and select Product is the post type of WooCommerce. Once you've selected product, you'll see the Post Categories option, this allows you to select which products to include either by tag or category:
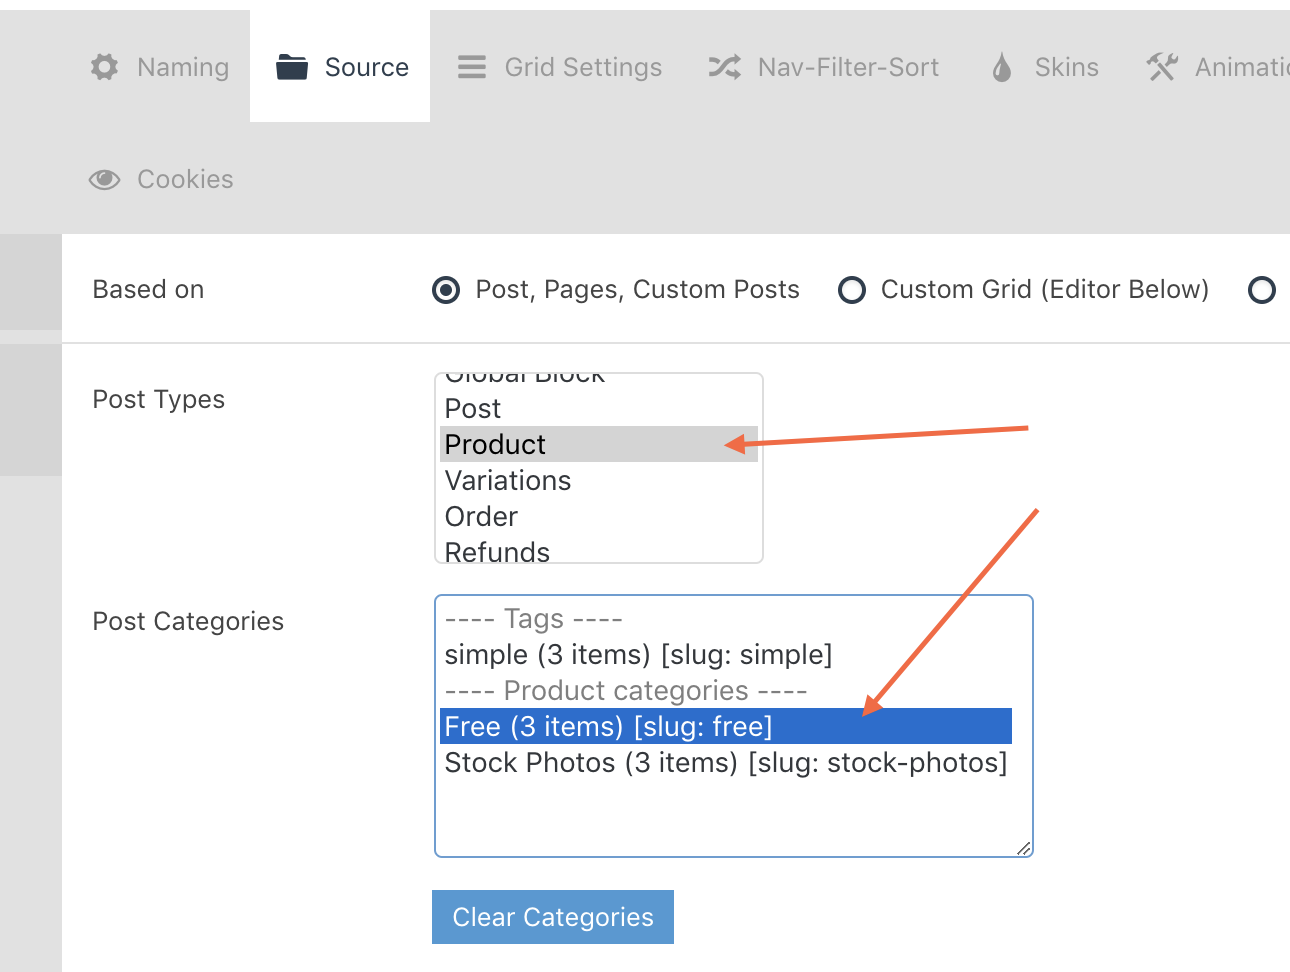
For the purpose of this tutorial, we're going to select our clothing category, which means that all products in the clothing category will show in the grid. It's also worth noting here you could select multiple categories if you wished.
Another option you'll see on the source tab is one called Maximum Entries setting this will define how many entries the grid can have, setting that option to -1 will disable that option all together, in theory allowing for unlimited products to be shown on our grid.
The next options you'll see is for the media source of the grid items like this:
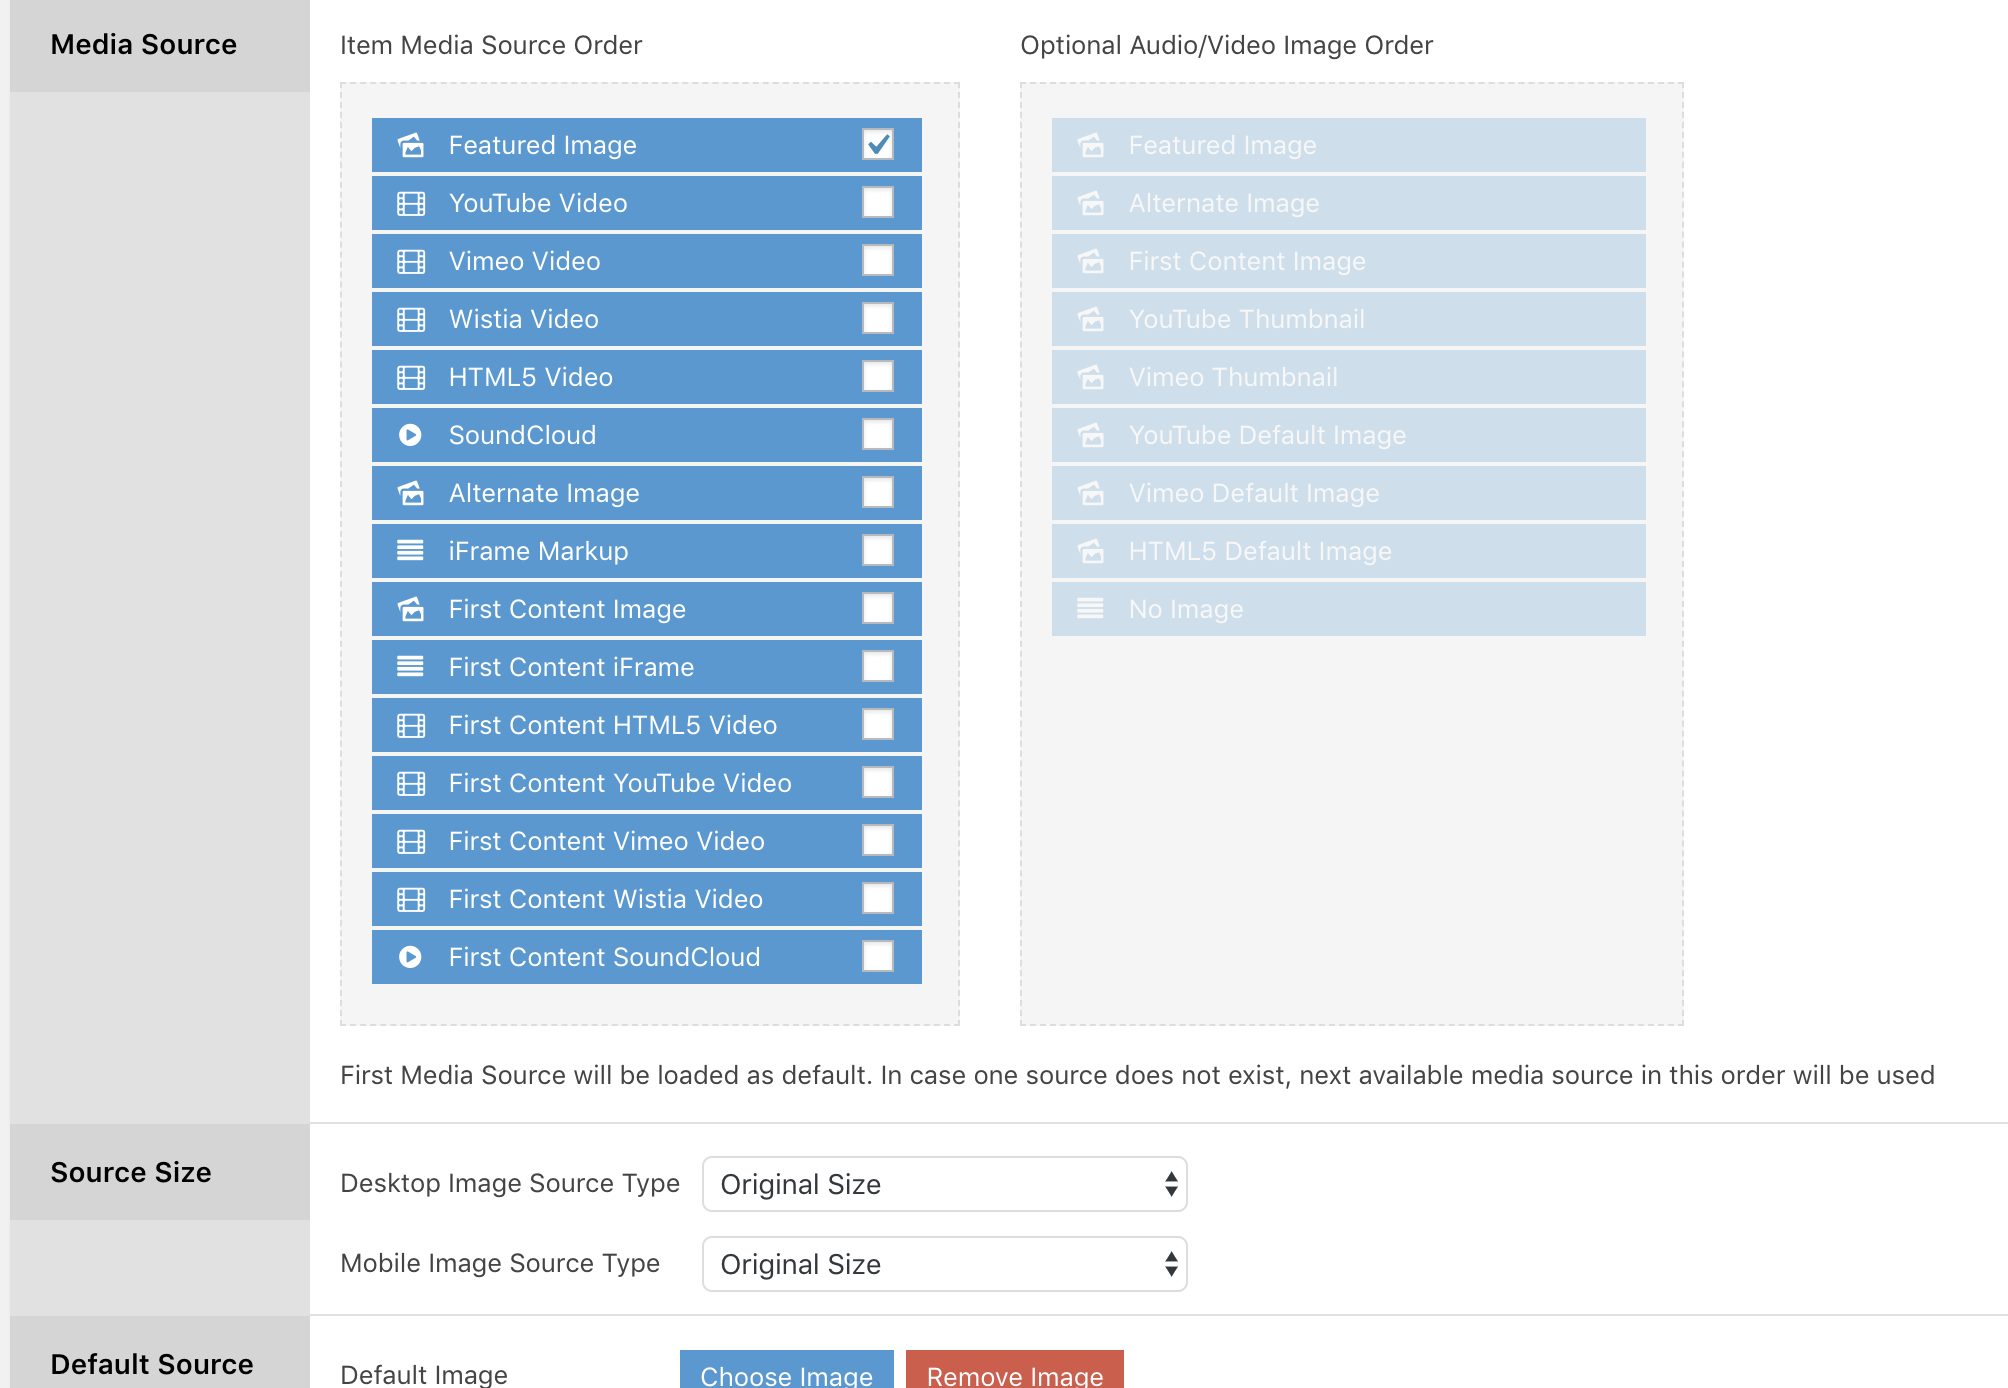
As you can see there's quite a few various media options, but as this is products, we're going to want to just select Featured Image this will mean that if we have set the featured image of our WooCommerce product, Essential Grid will take that image and output it in the grid for your product selection.
Under that option is a option to set the Default Image this is a useful option if you don't always set featured images for your products and still want a image to show on the grid, setting this will ensure a image always shows.
Next up, go ahead and click on the Grid Settings tab. On this page you'll see various options for the overall layout of your Essential Grid:
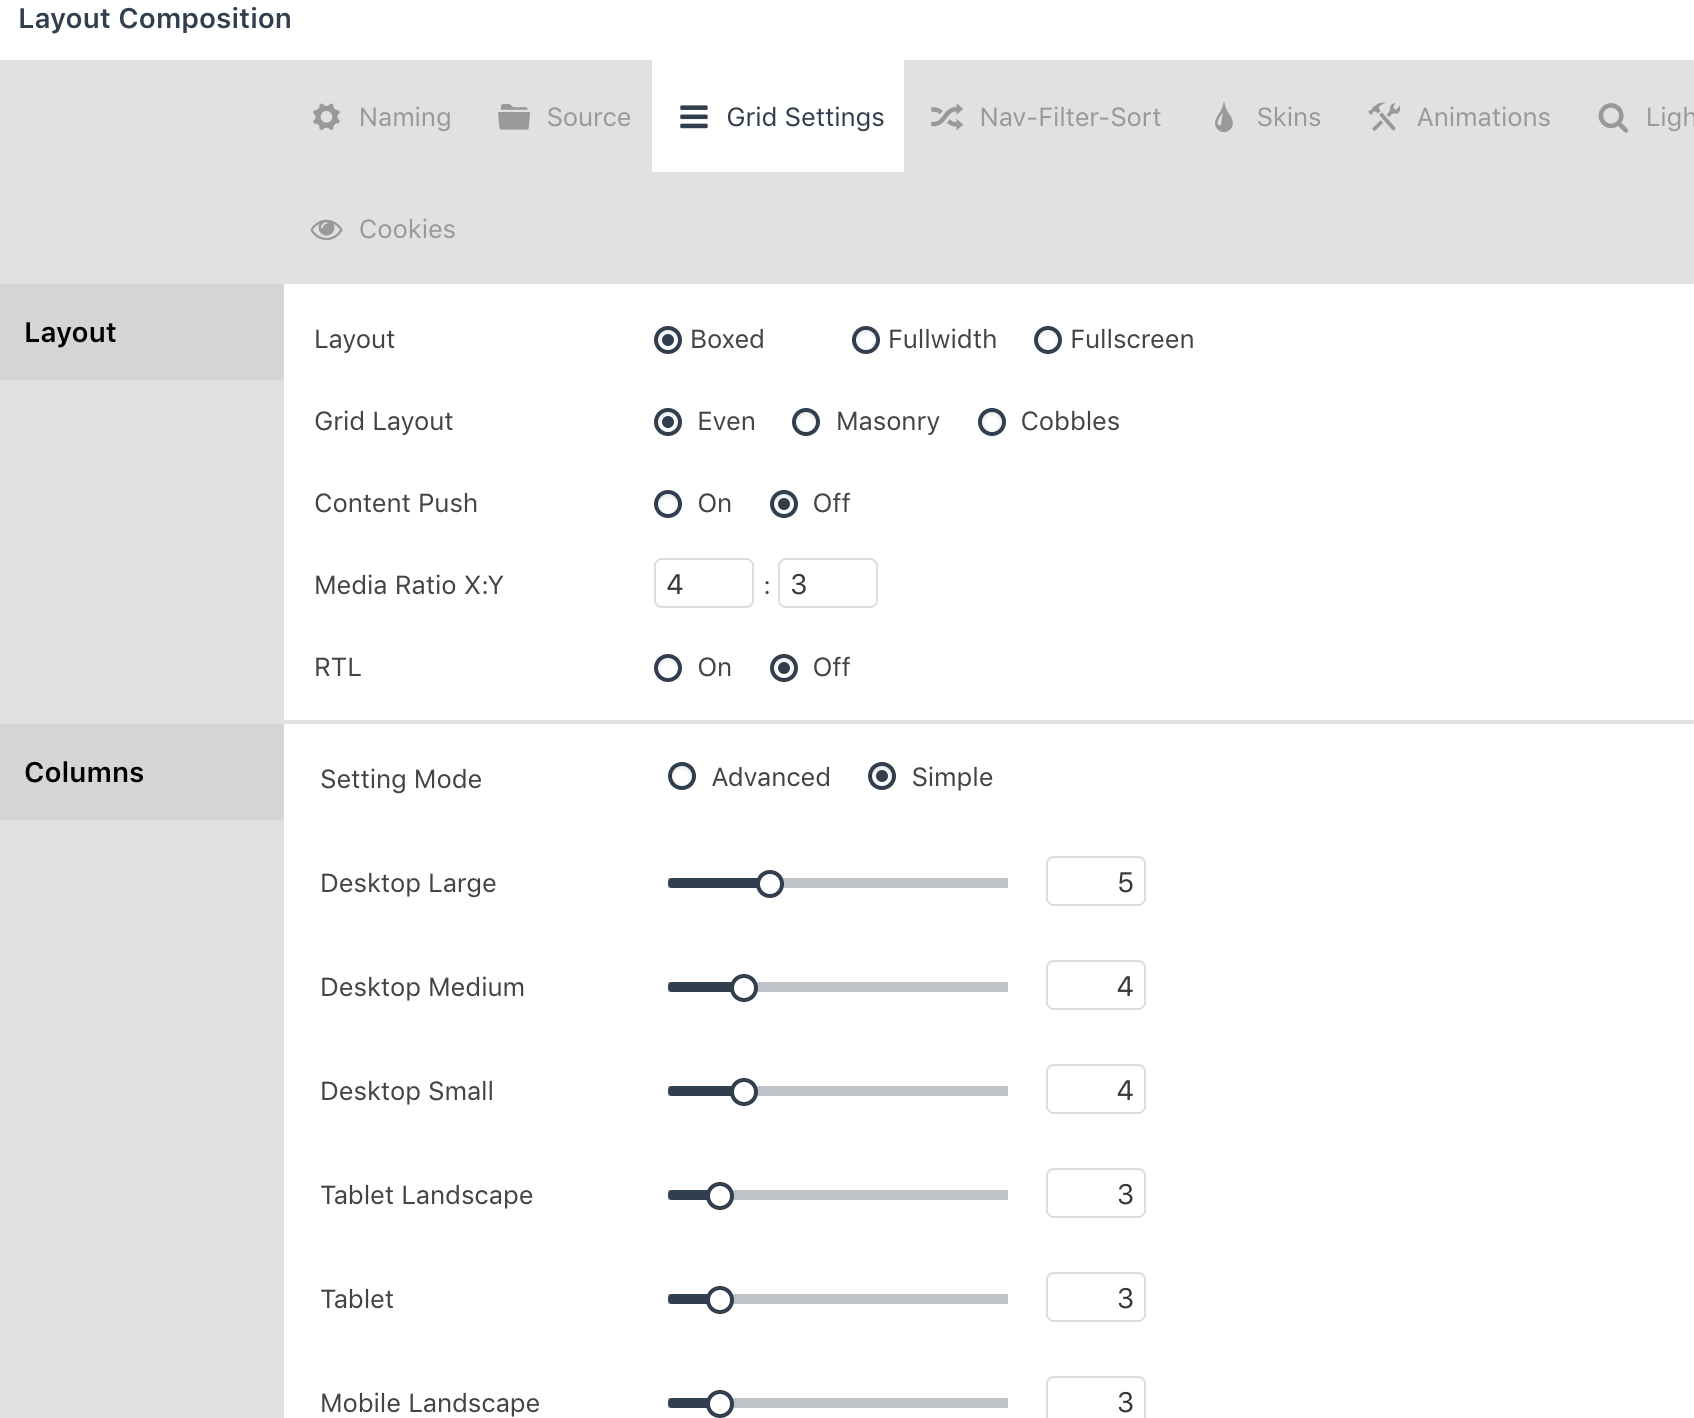
It's worth noting here that if under Layout, you select Fullscreen the Grid Layout, Content Push and Items Ratio options are no longer available to set. For the purpose of this article, we're going to stick with Boxed, but you can choose any option you'd like.
Note: If you choose to use Fullscreen or Fullwidth, you'll need to review the selector options provided by Essential Grid, as the grid will expand outside of the content area, potentially causing layout issues. You can review those docs here.
The next options are for how many columns displaying on different screen sizes, you'll notice that there's a Advanced mode option, this actually allows you to have greater setting over custom breakpoints etc, but we won't be covering that in this article and will just be leaving all those options as they are. Feel free to experiment though and find a way that's perfect for you.
All the following items on that page we'll leave as they are too. Which is Lazy Loading, Item Spacing and Whole Grid Padding. Again you don't have to leave these as they are, so feel free to play about with the options and find the perfect settings for you.
Now go ahead and click on the Nav-Filter-Sort tab, you'll see a lot of various options on this page, we'll just cover the ones we actually need for our grid.
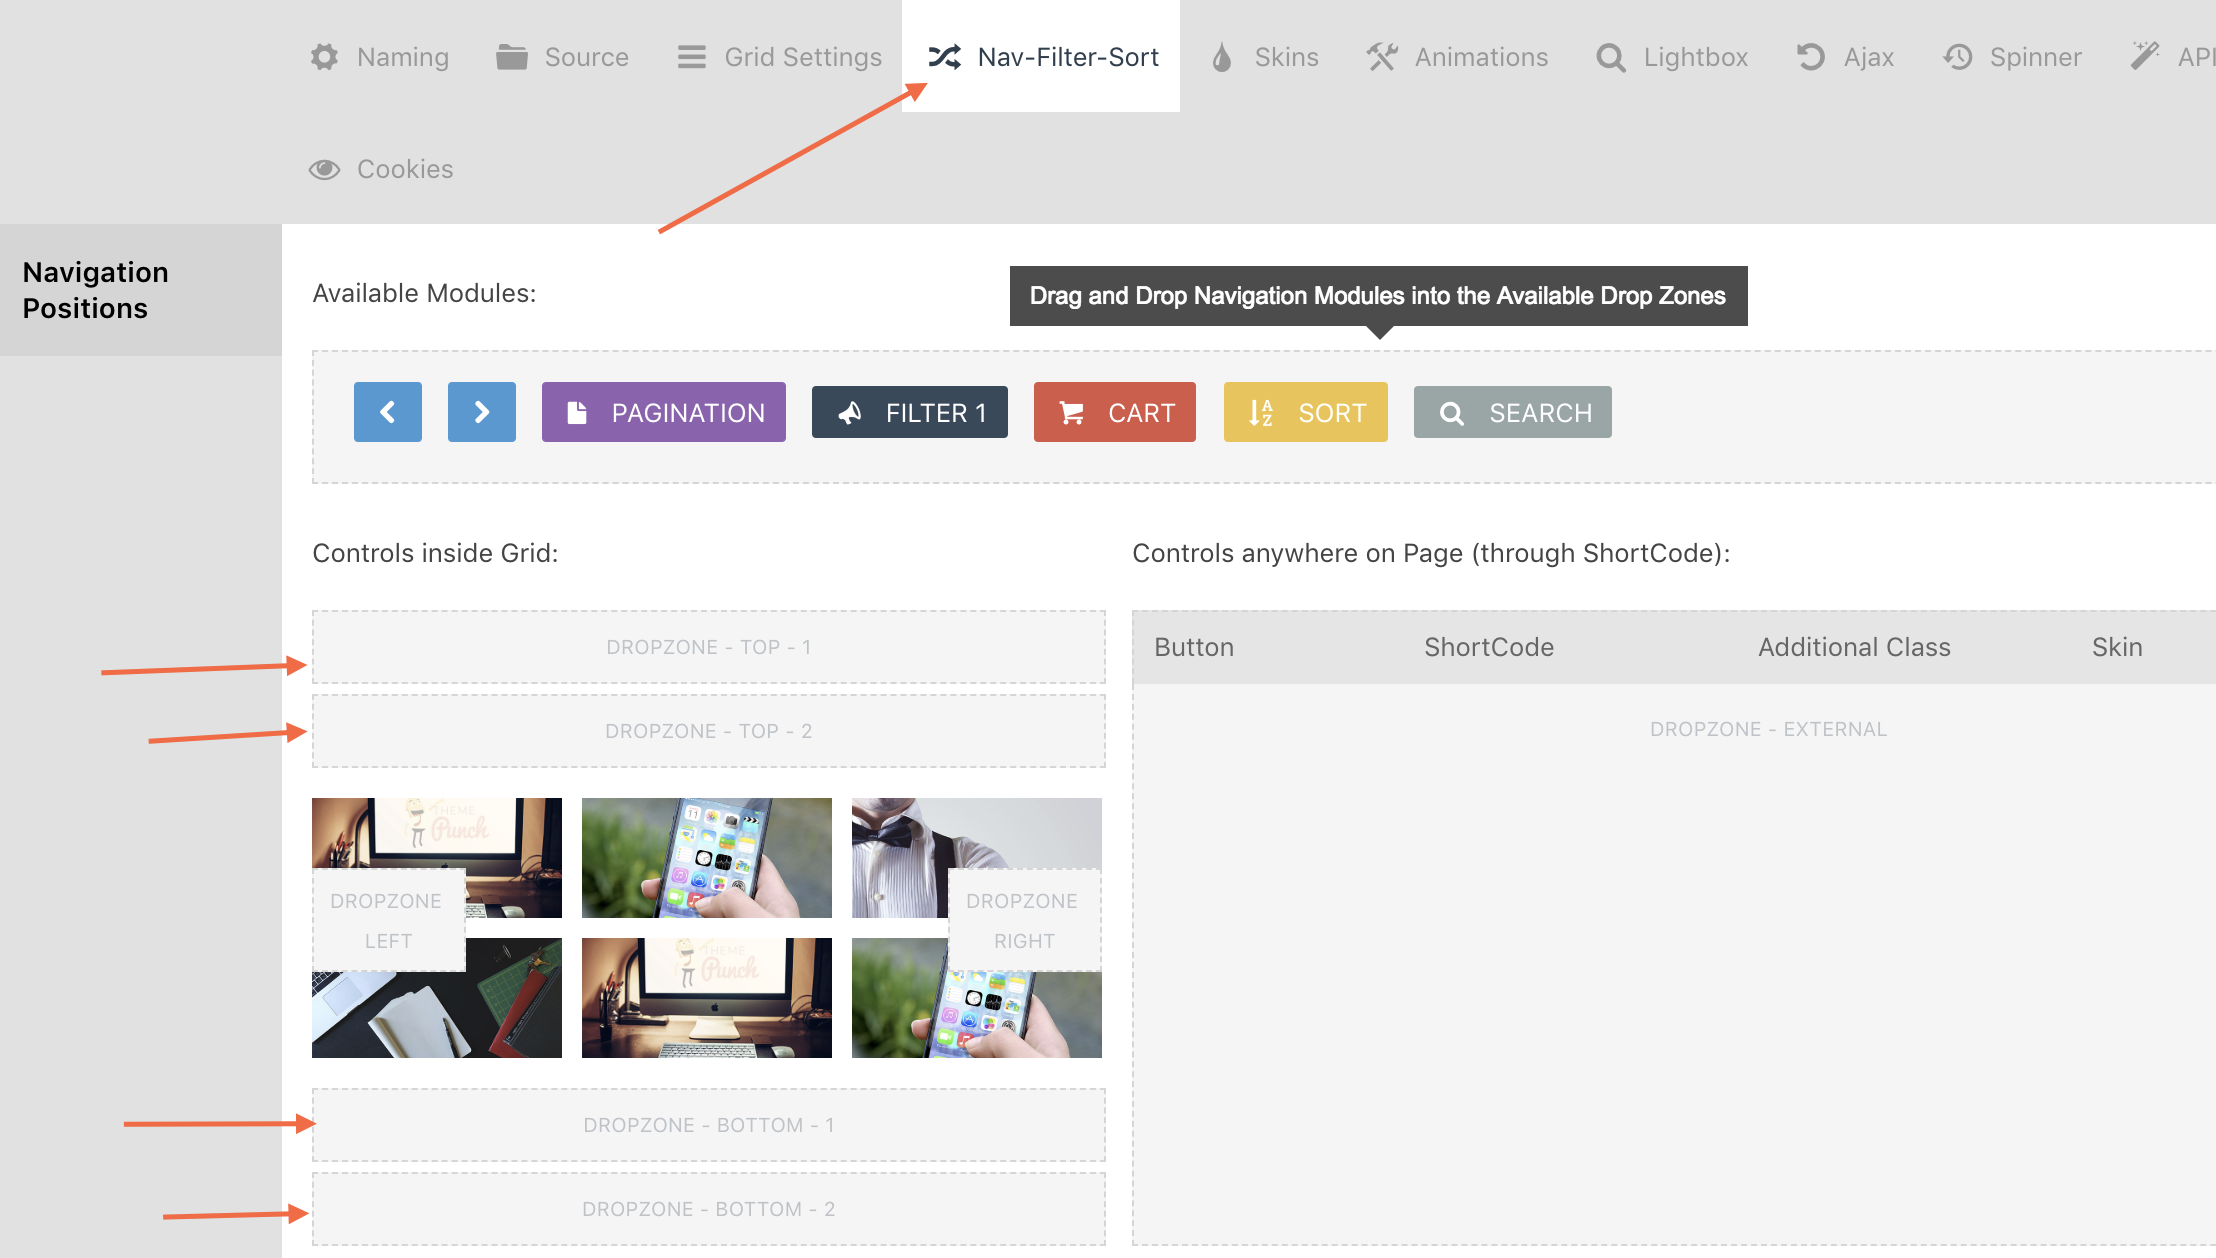
As you can see we have a bunch of different modules available to us, which we can have inside our grid, the modules are drag and drop, drag Pagination into Dropzone bottom 1 and drag the Cart module into Dropzone Bottom 2.
As you scroll further down that options page, you'll see various alignment options which you can set as required:
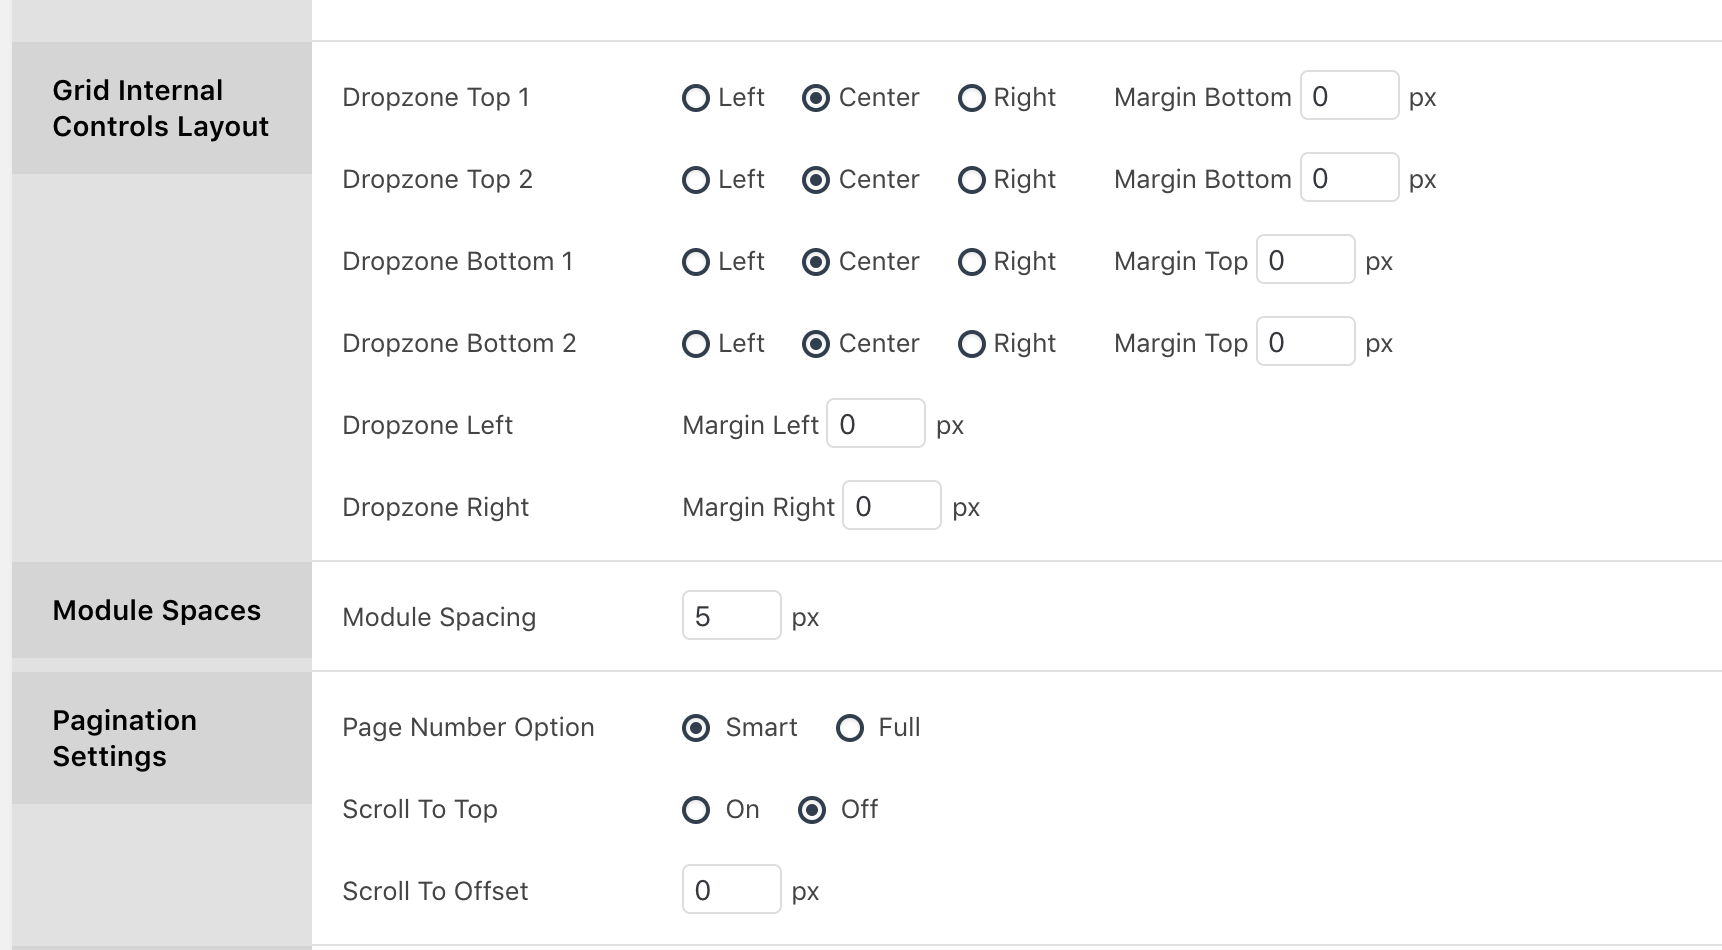
Further down that same options page, you'll see various other sorting options and filter options, which as explained we won't be covering them all, but there's some great info about these options in the official documentation of Essential Grid. For the purpose of this article, we're going to leave all those options set to default.
Next up click on Skins here you'll see various different options that allows you to change the skins/styling of your Essential Grid. For the purpose of this article, we're just going to leave it set to Minimal Light with the default background color. You can also check out the official documentation on Skins here.
The rest of the available tabs and settings/options don't really apply to the purpose of this article and for more information about the various settings/options you should refer to the official documentation as mentioned at the beginning of the article.
Now we have our grid created how we want it, click on the save icon to save your grid:
Once you've saved your Essential Grid for the first time it'll take you back to the main Essential Grid admin page, where you'll be able to see all your created grids, duplicated created grids and edit existing created grids:

How to Use Essential Grid in Cornerstone/Content Builder
Now we've created our grid, it's time to make use of it! We're going to add a new page for the purpose of this article, but you can of course use an existing page/post etc. Load up whichever page/post you'd like to place the grid on in Cornerstone.
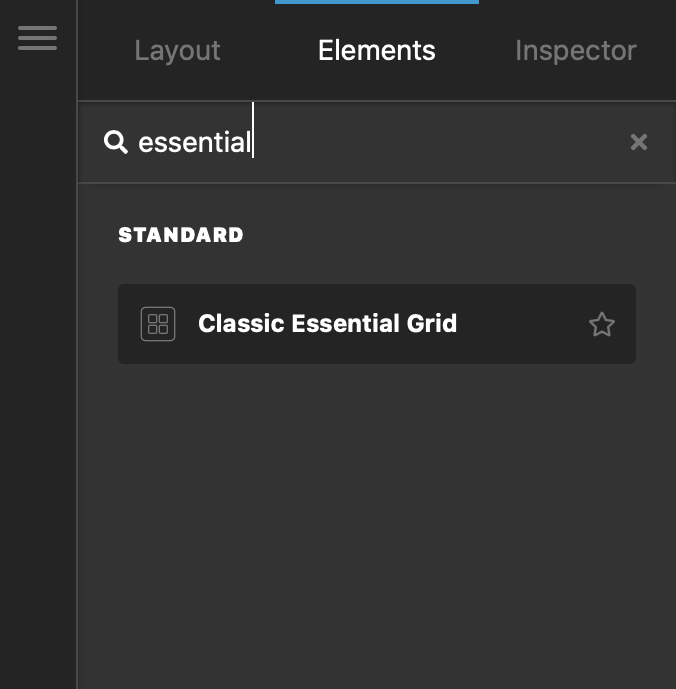
Once your page has loaded in Cornerstone, add one section, or add a new section to a existing page and then go to Elements. Search for Classic Essential Grid element to add the grid you created:
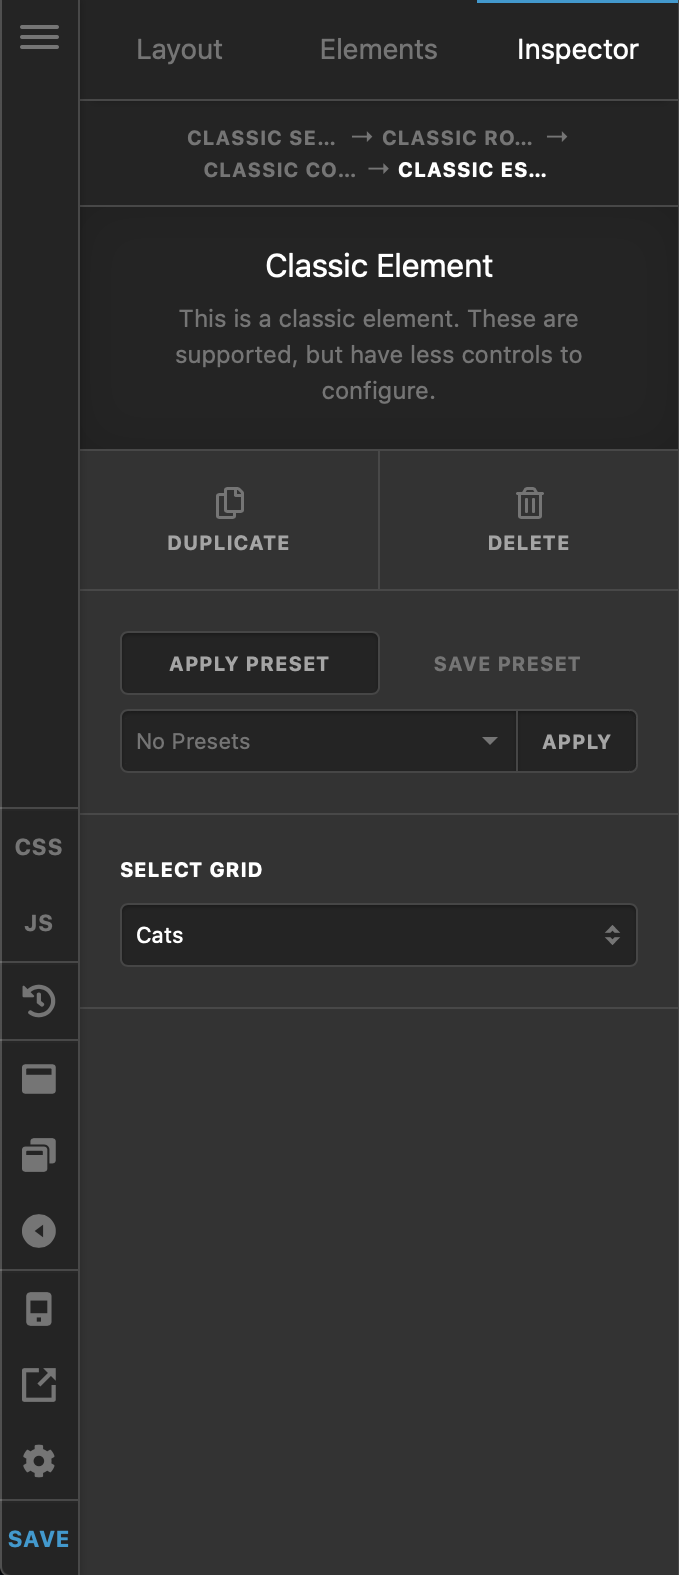
Go ahead and drag and drop that into your newly created section. By default it'll select the first grid you created, so if you only have one grid it will display fine, if you have created multiple grids, click on the grid in Cornerstone, then on the right hand side, you should see a dropdown select box, click that and then choose your grid from the dropdown:
Once you've selected your grid, add any other content you want to your page, such as text images etc and then save in Cornerstone.
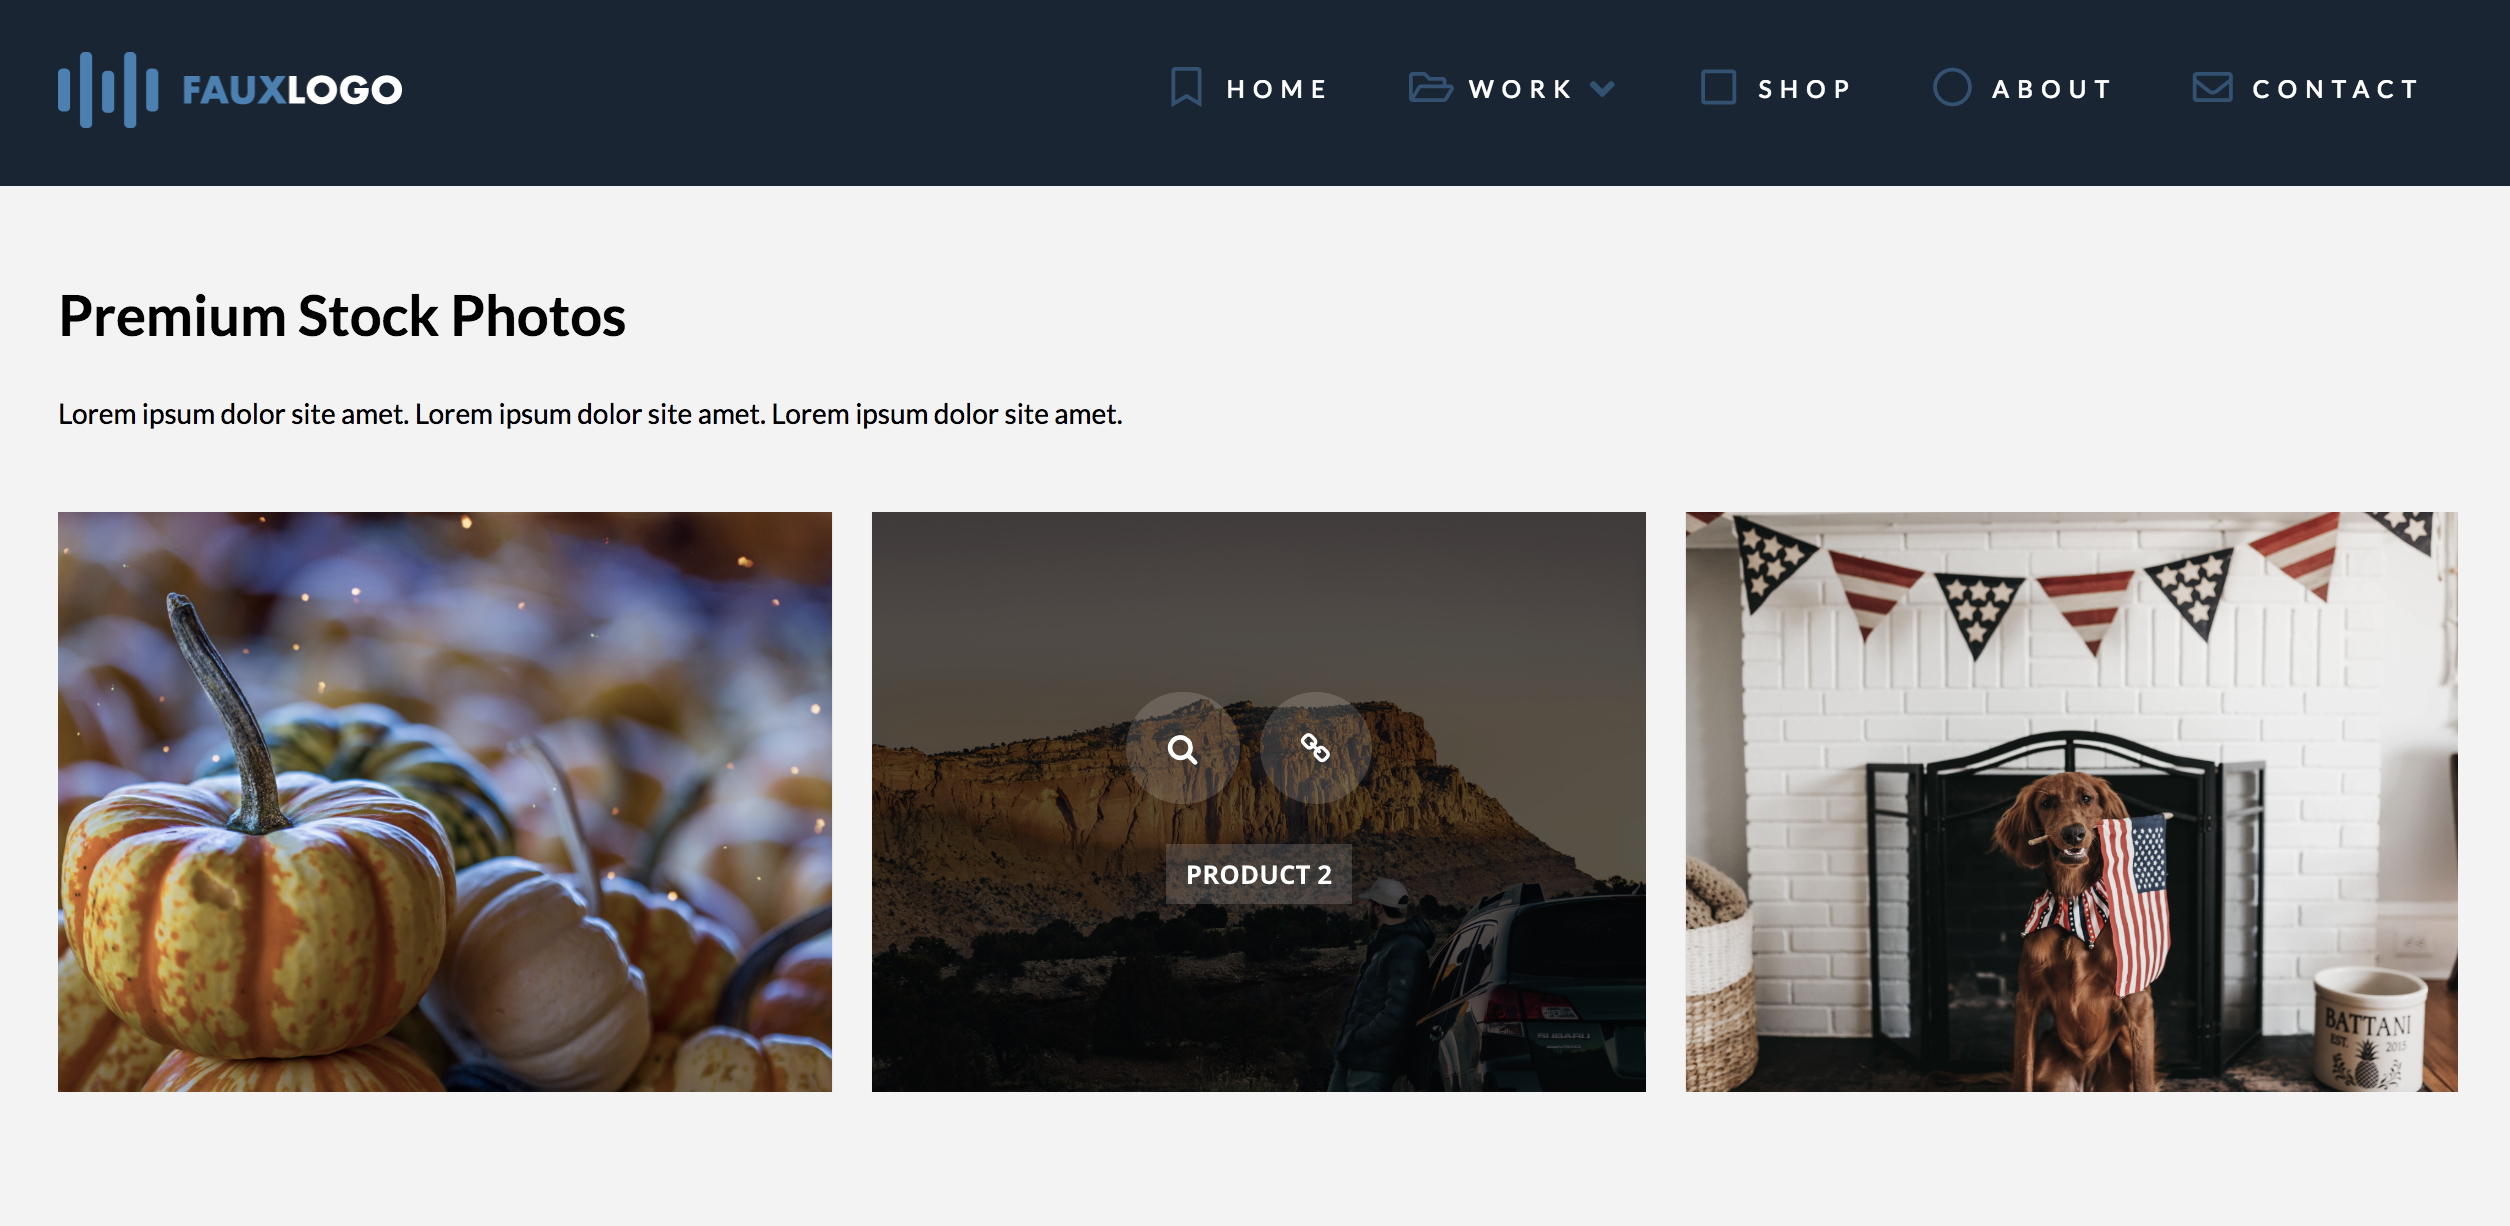
Now when you go page you just created, you'll see your Essential Grid like this:
Summary
Grids are aesthetically beautiful structures in web design. Creating grids used to be difficult. However, with a plugin like Essential Grid, which comes with your X and Pro licensed copy, you can effortlessly create grids for your posts and products.
This article taught you the basics of using Essential Grid and adding it within Cornerstone or the Content Builder.
Further Reading
For detailed discussions, you can view Essential Grid's official documentation here.
See something inaccurate? Let us know