Disqus Comments
In this article, we're going to show you how to easily integrate Disqus comments into your website using the Disqus Comments Extension.
Disqus Comments enables comments on your website instead of standard WordPress comments.
How to Enable the Extension
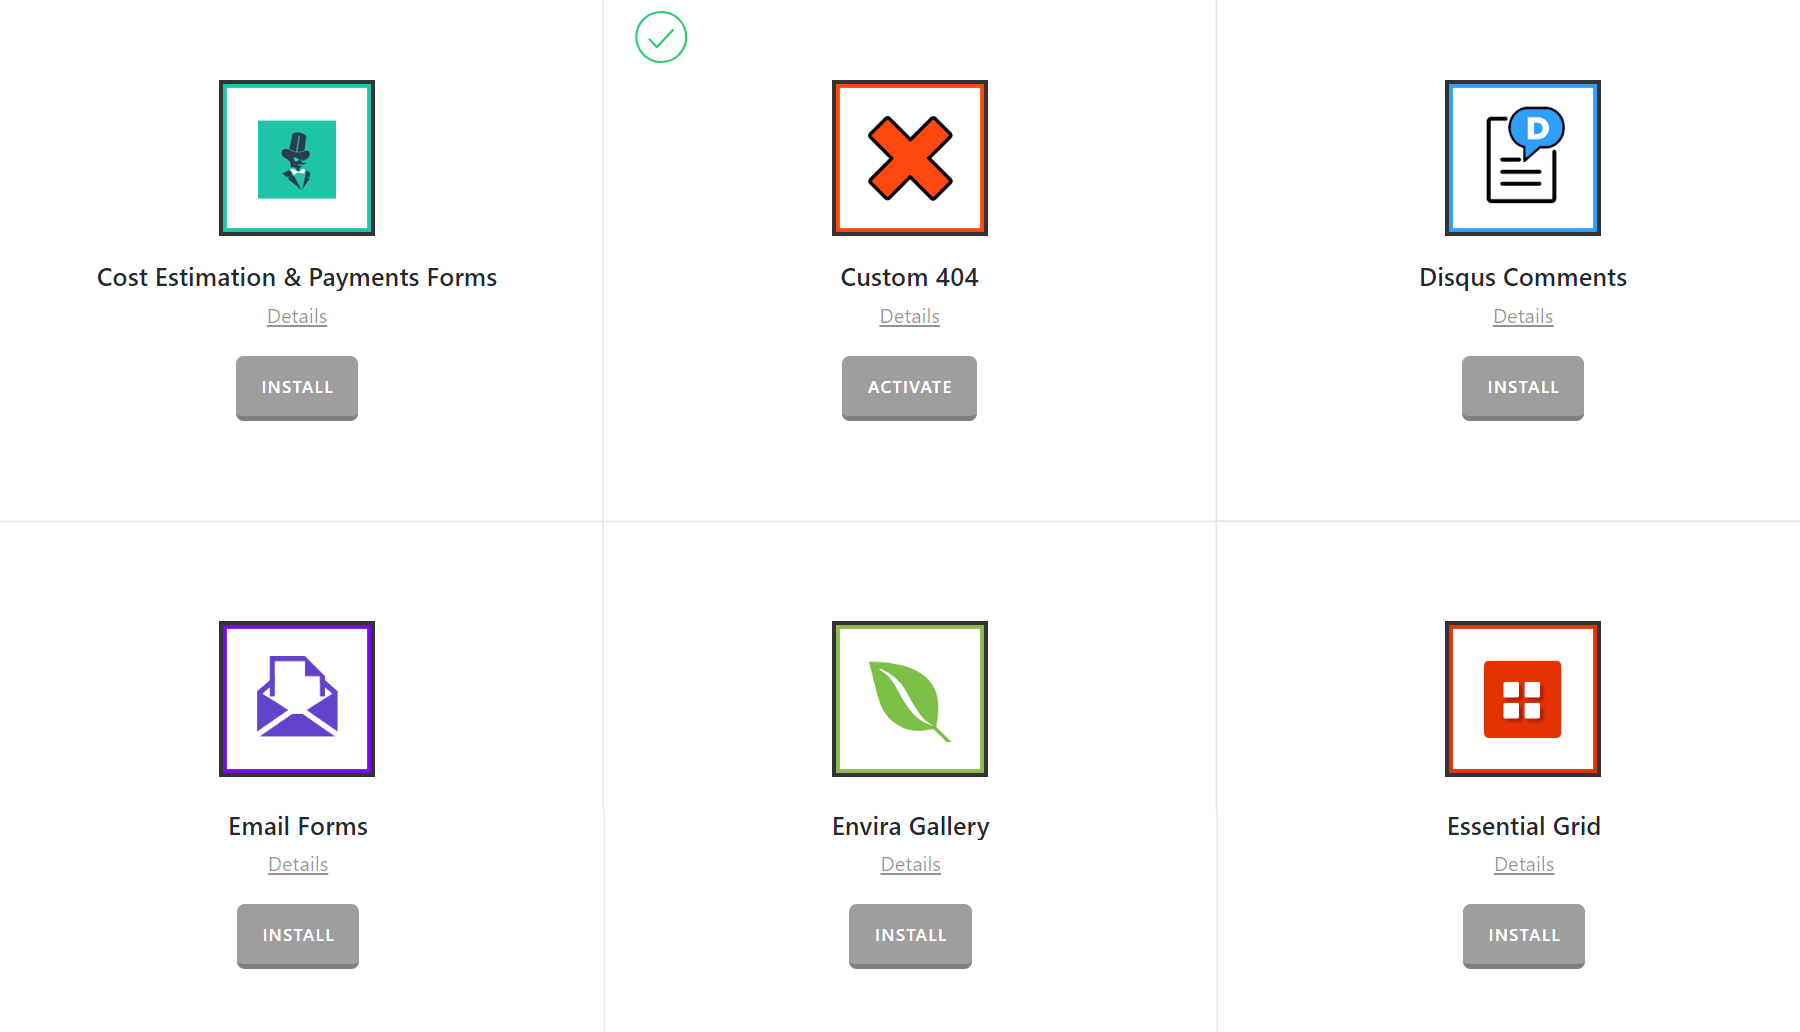
Go to Pro > Validation or X > Validation for X then look for Disqus Comments. Click Install.
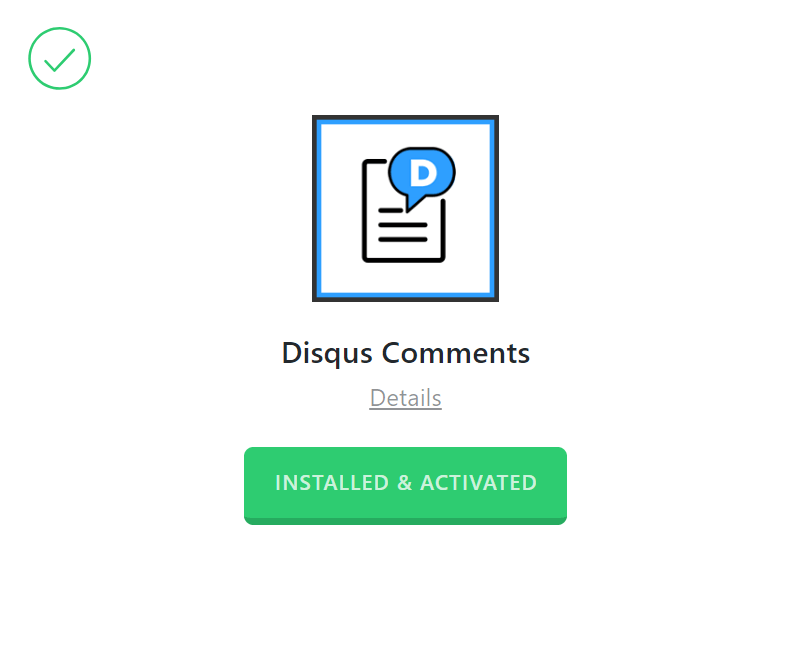
Once installed, the Install button will change and say Activate. Click that button and it will activate the plugin. You will then see the status change to Installed and Activated.
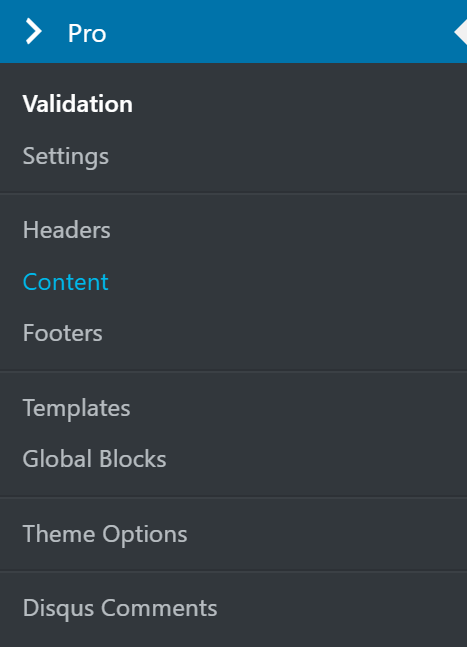
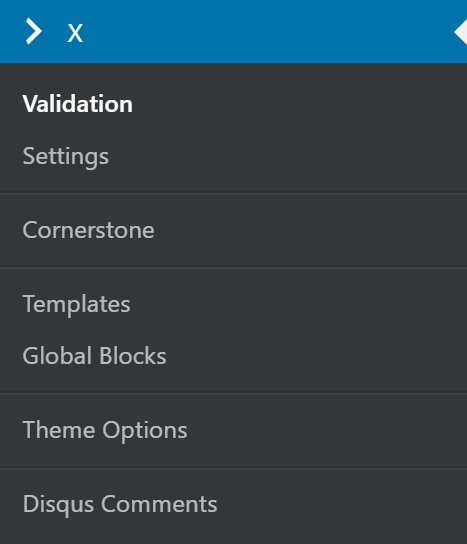
After installing and activating Disqus Comments, you'll find it's settings under the X menu item if X is installed and activated, or the Pro menu item if Pro is installed and activated.
From the main Disqus Comments settings screen you can choose to disable or enable the plugin as needed:
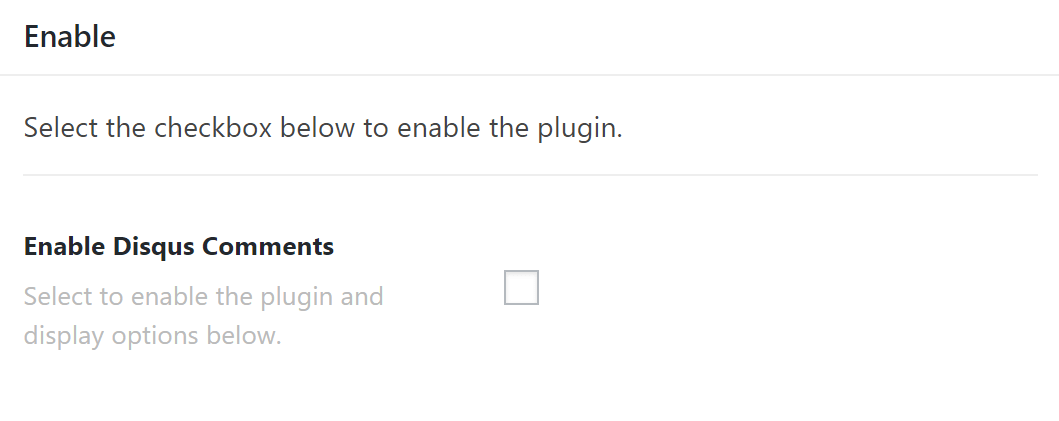
Disabling the plugin will effectively turn off all output from the plugin (e.g. HTML, CSS, JavaScript etc). This is useful as a quick way to toggle activity if you ever need without having to go through the Plugins menu and worry about activating/deactivating it completely.
Selecting the enable checkbox will bring up the Settings meta box below. This is where you will adjust any options for the plugin and input your data as needed.

What is Disqus Comments
Disqus Comments is an online commenting platform, our Disqus Comments plugin brings the power of Disqus Comments to your WordPress website, replacing the standard WordPress comments system with Disqus Comments! Find out more about the Disqus Comments platform here.
Configuring Disqus Comments
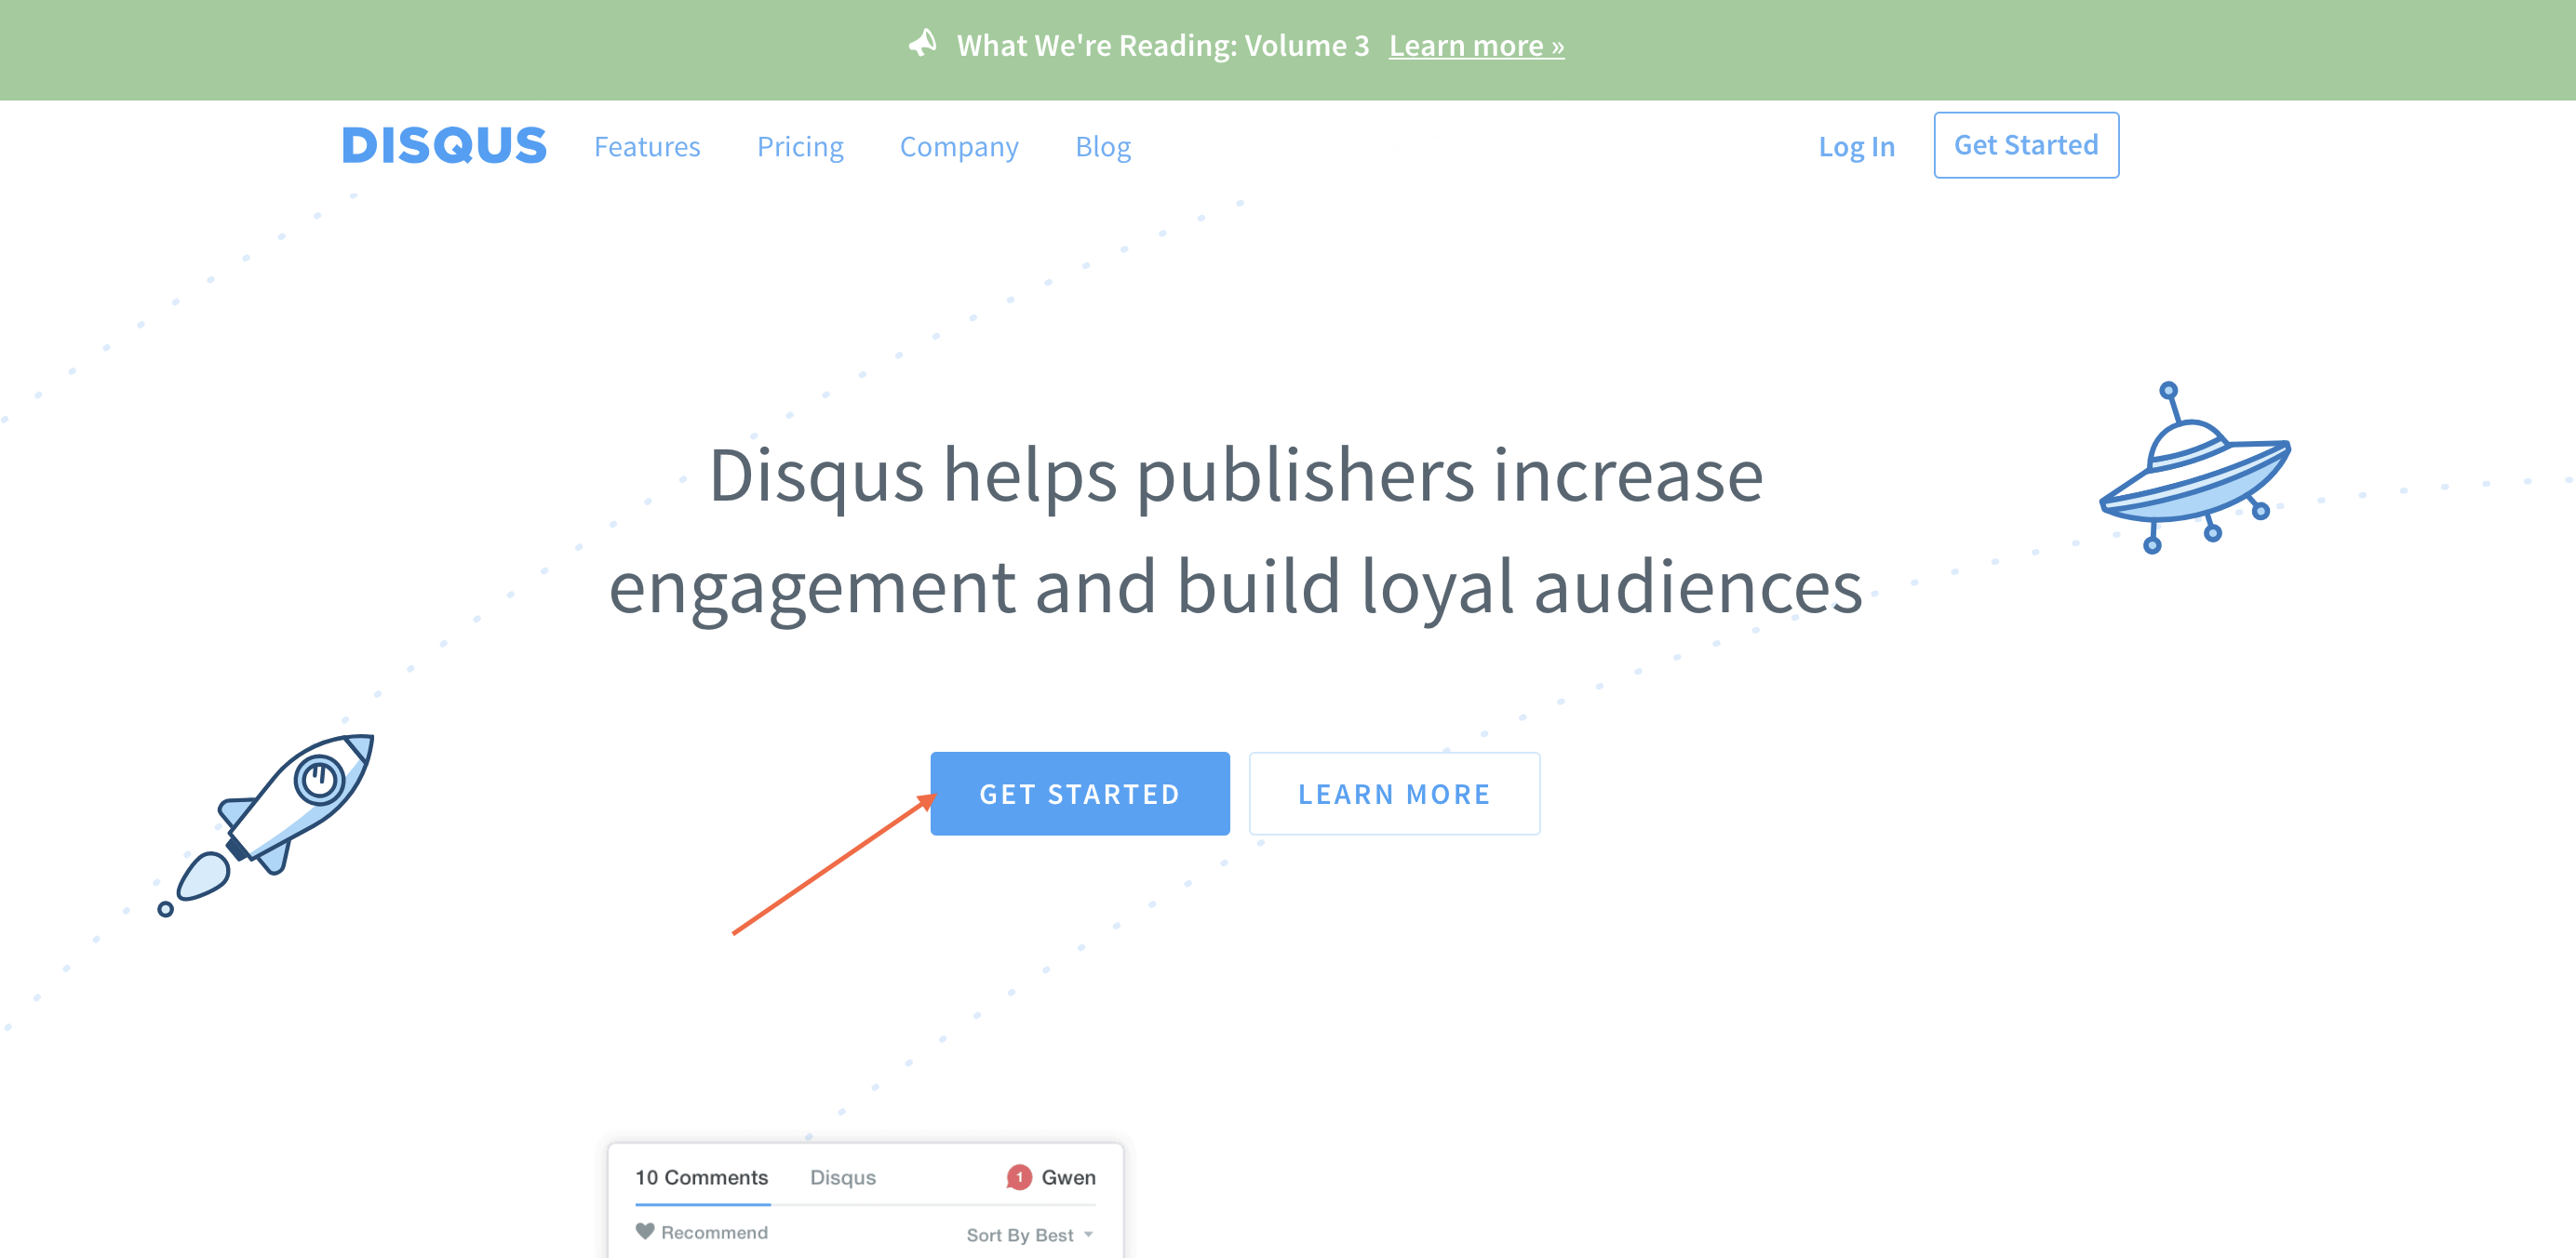
The first and most important setting you need to enter is the shortname, you set the shortname when connecting your website to Disqus Comments. Head on over to Disqus.com. Click on Get Started.
Follow the signup process and once you've created your account you'll be able to select from two options either I want to comment on sites or I want to install Disqus on my site.
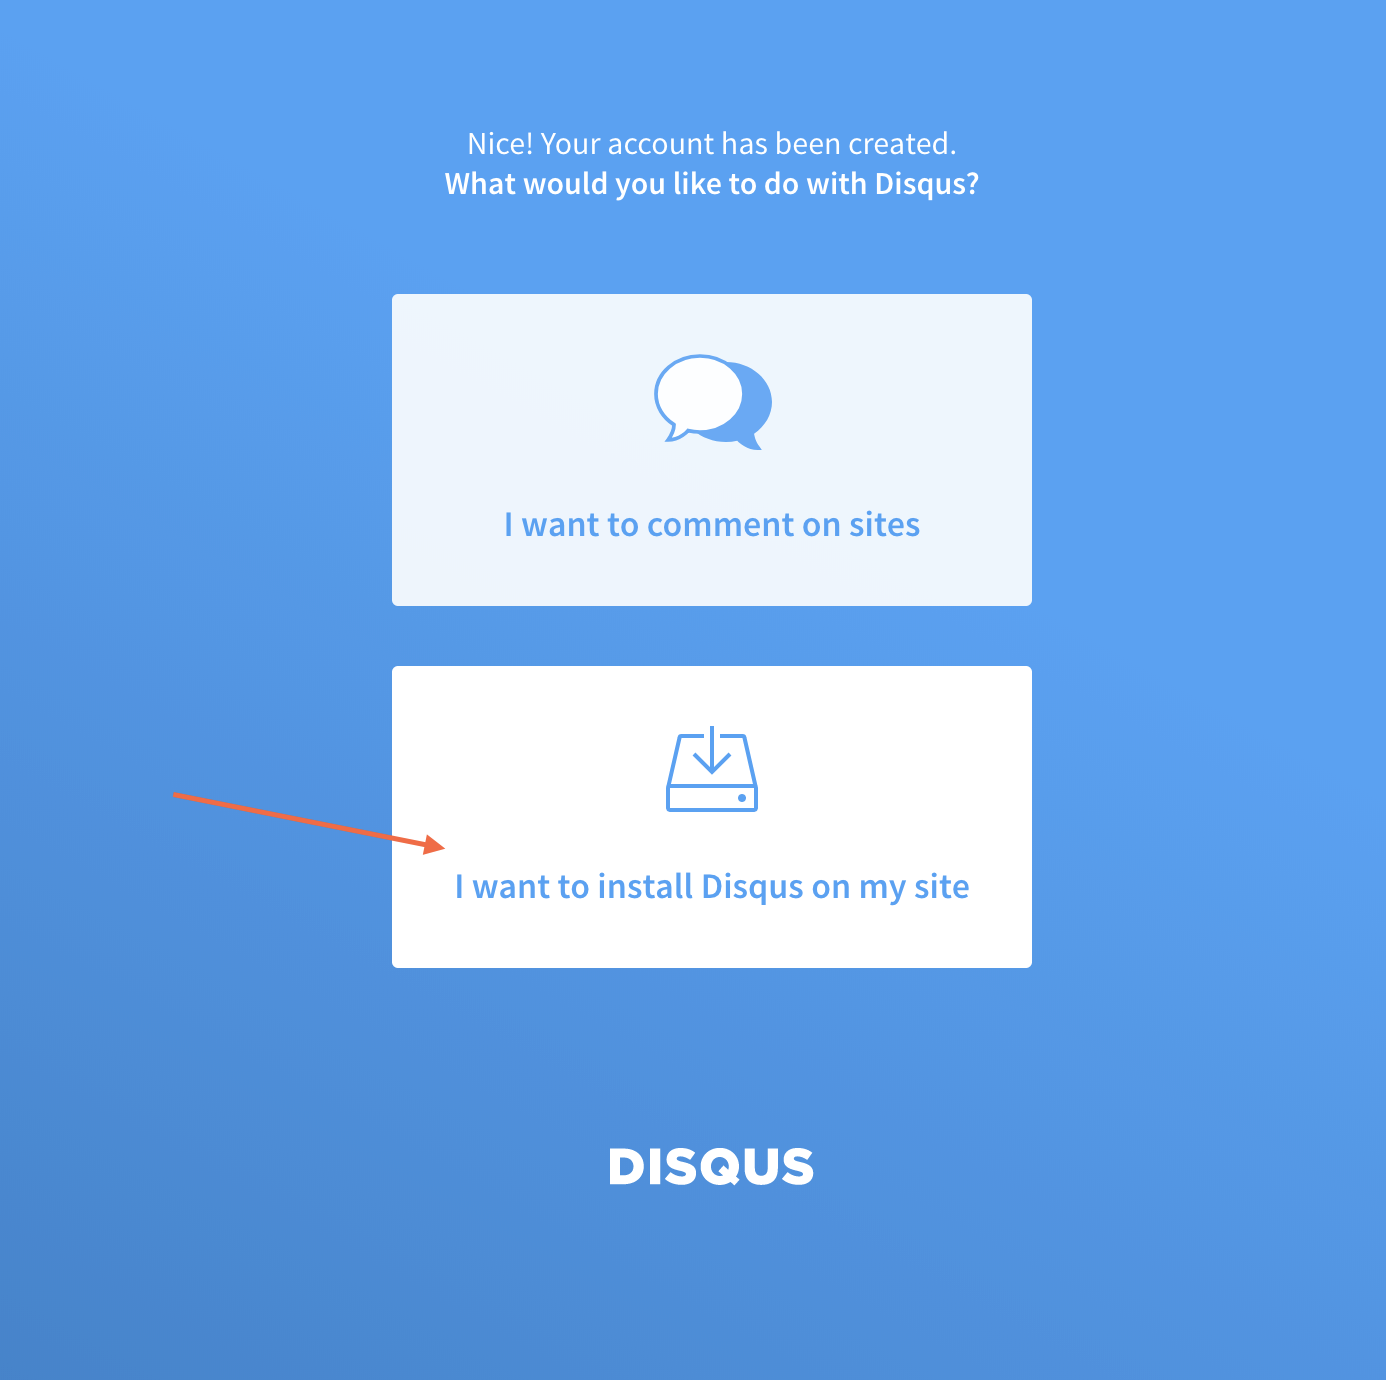
Go ahead and select I want to install Disqus on my site you'll then be taken to connect your site.
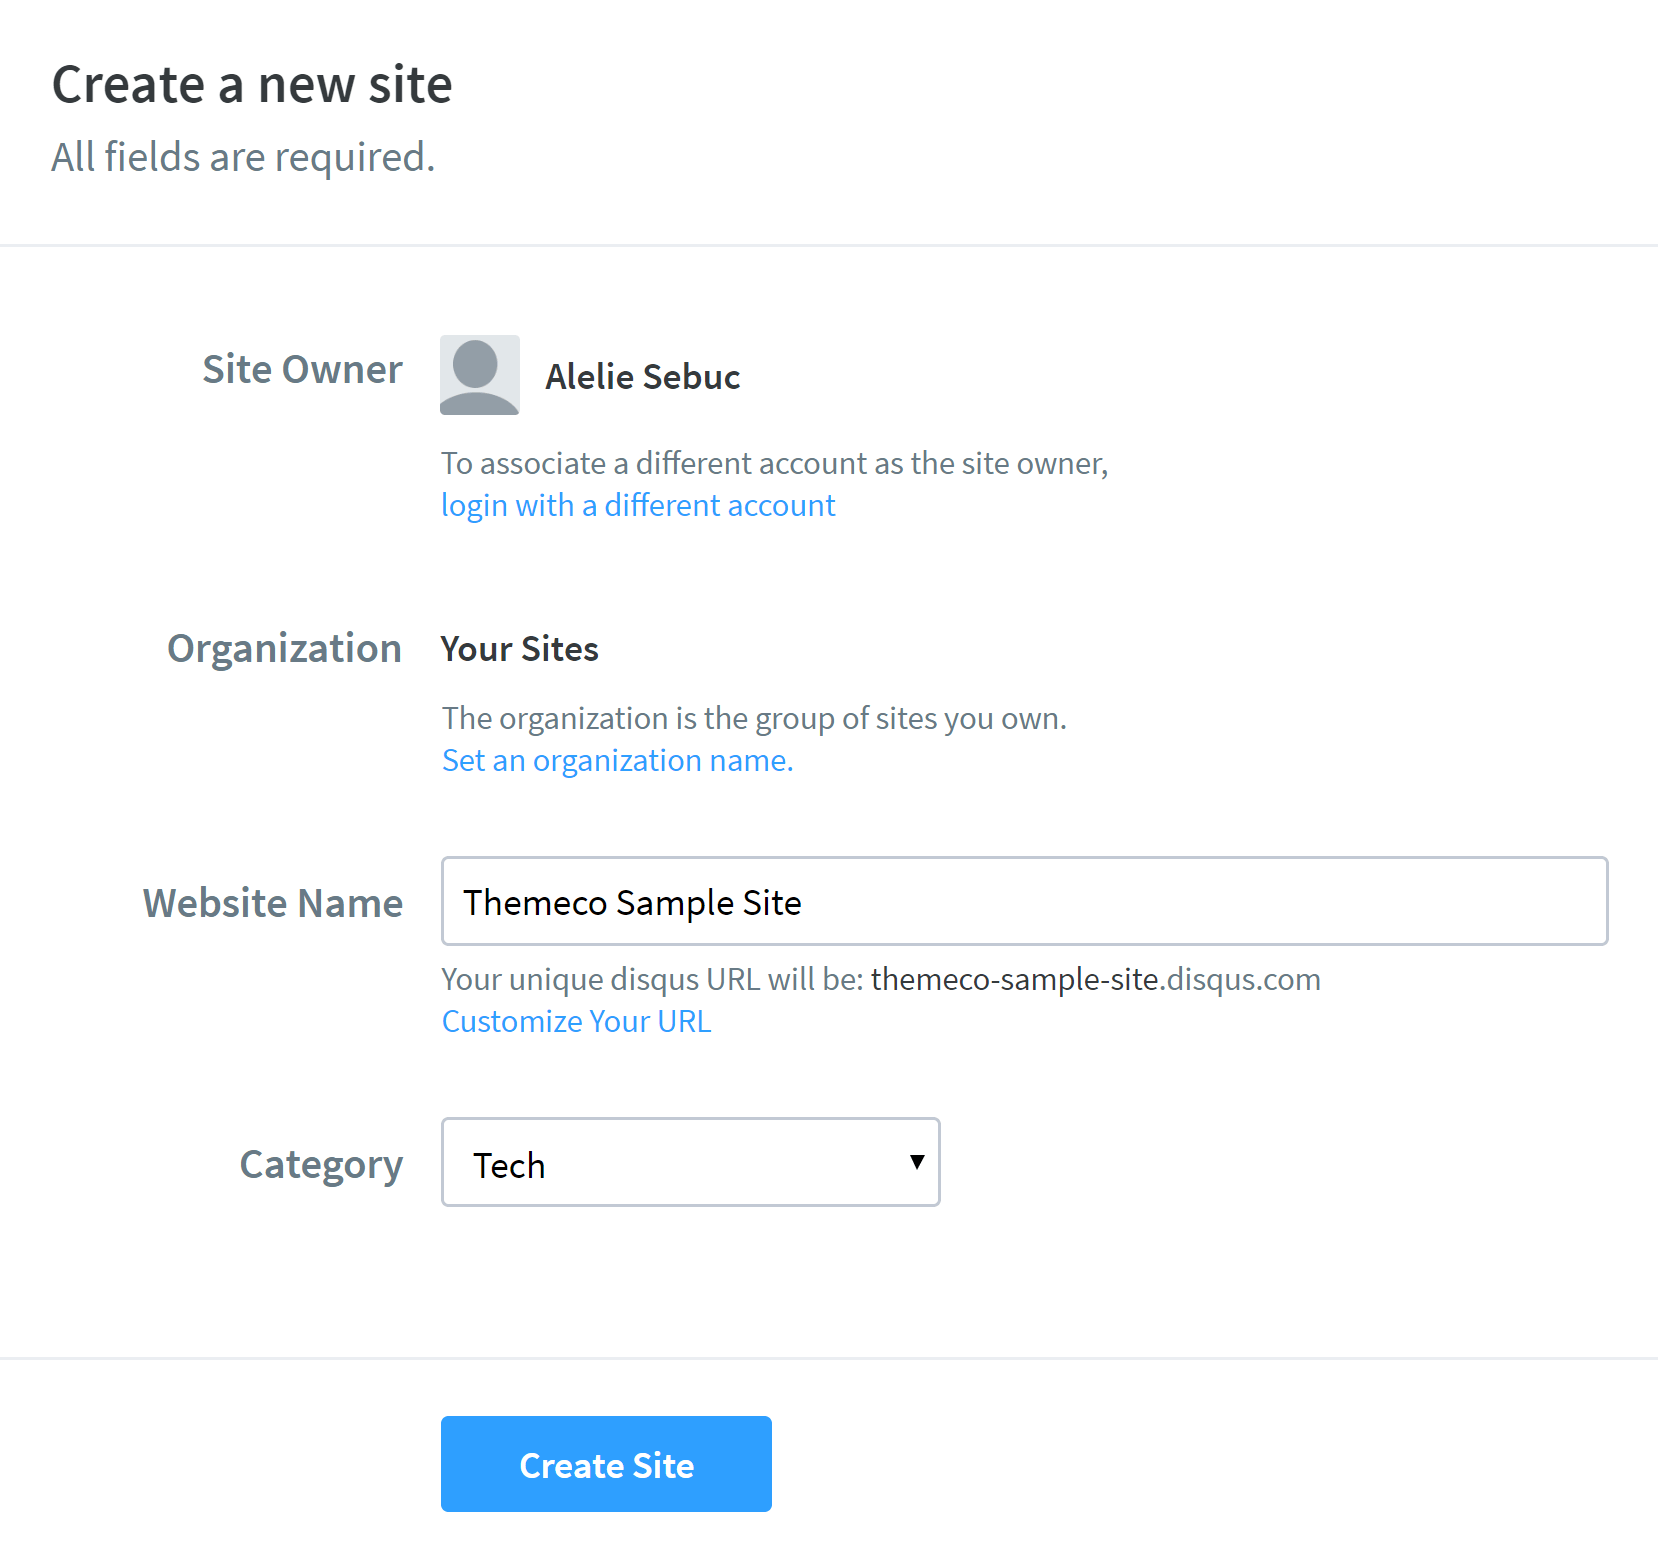
In the website, name box enter the display name of your website, not the URL. For example, we'd use Themeco Sample Site rather than https://theme.co as theme.co is our URL and not the business name.
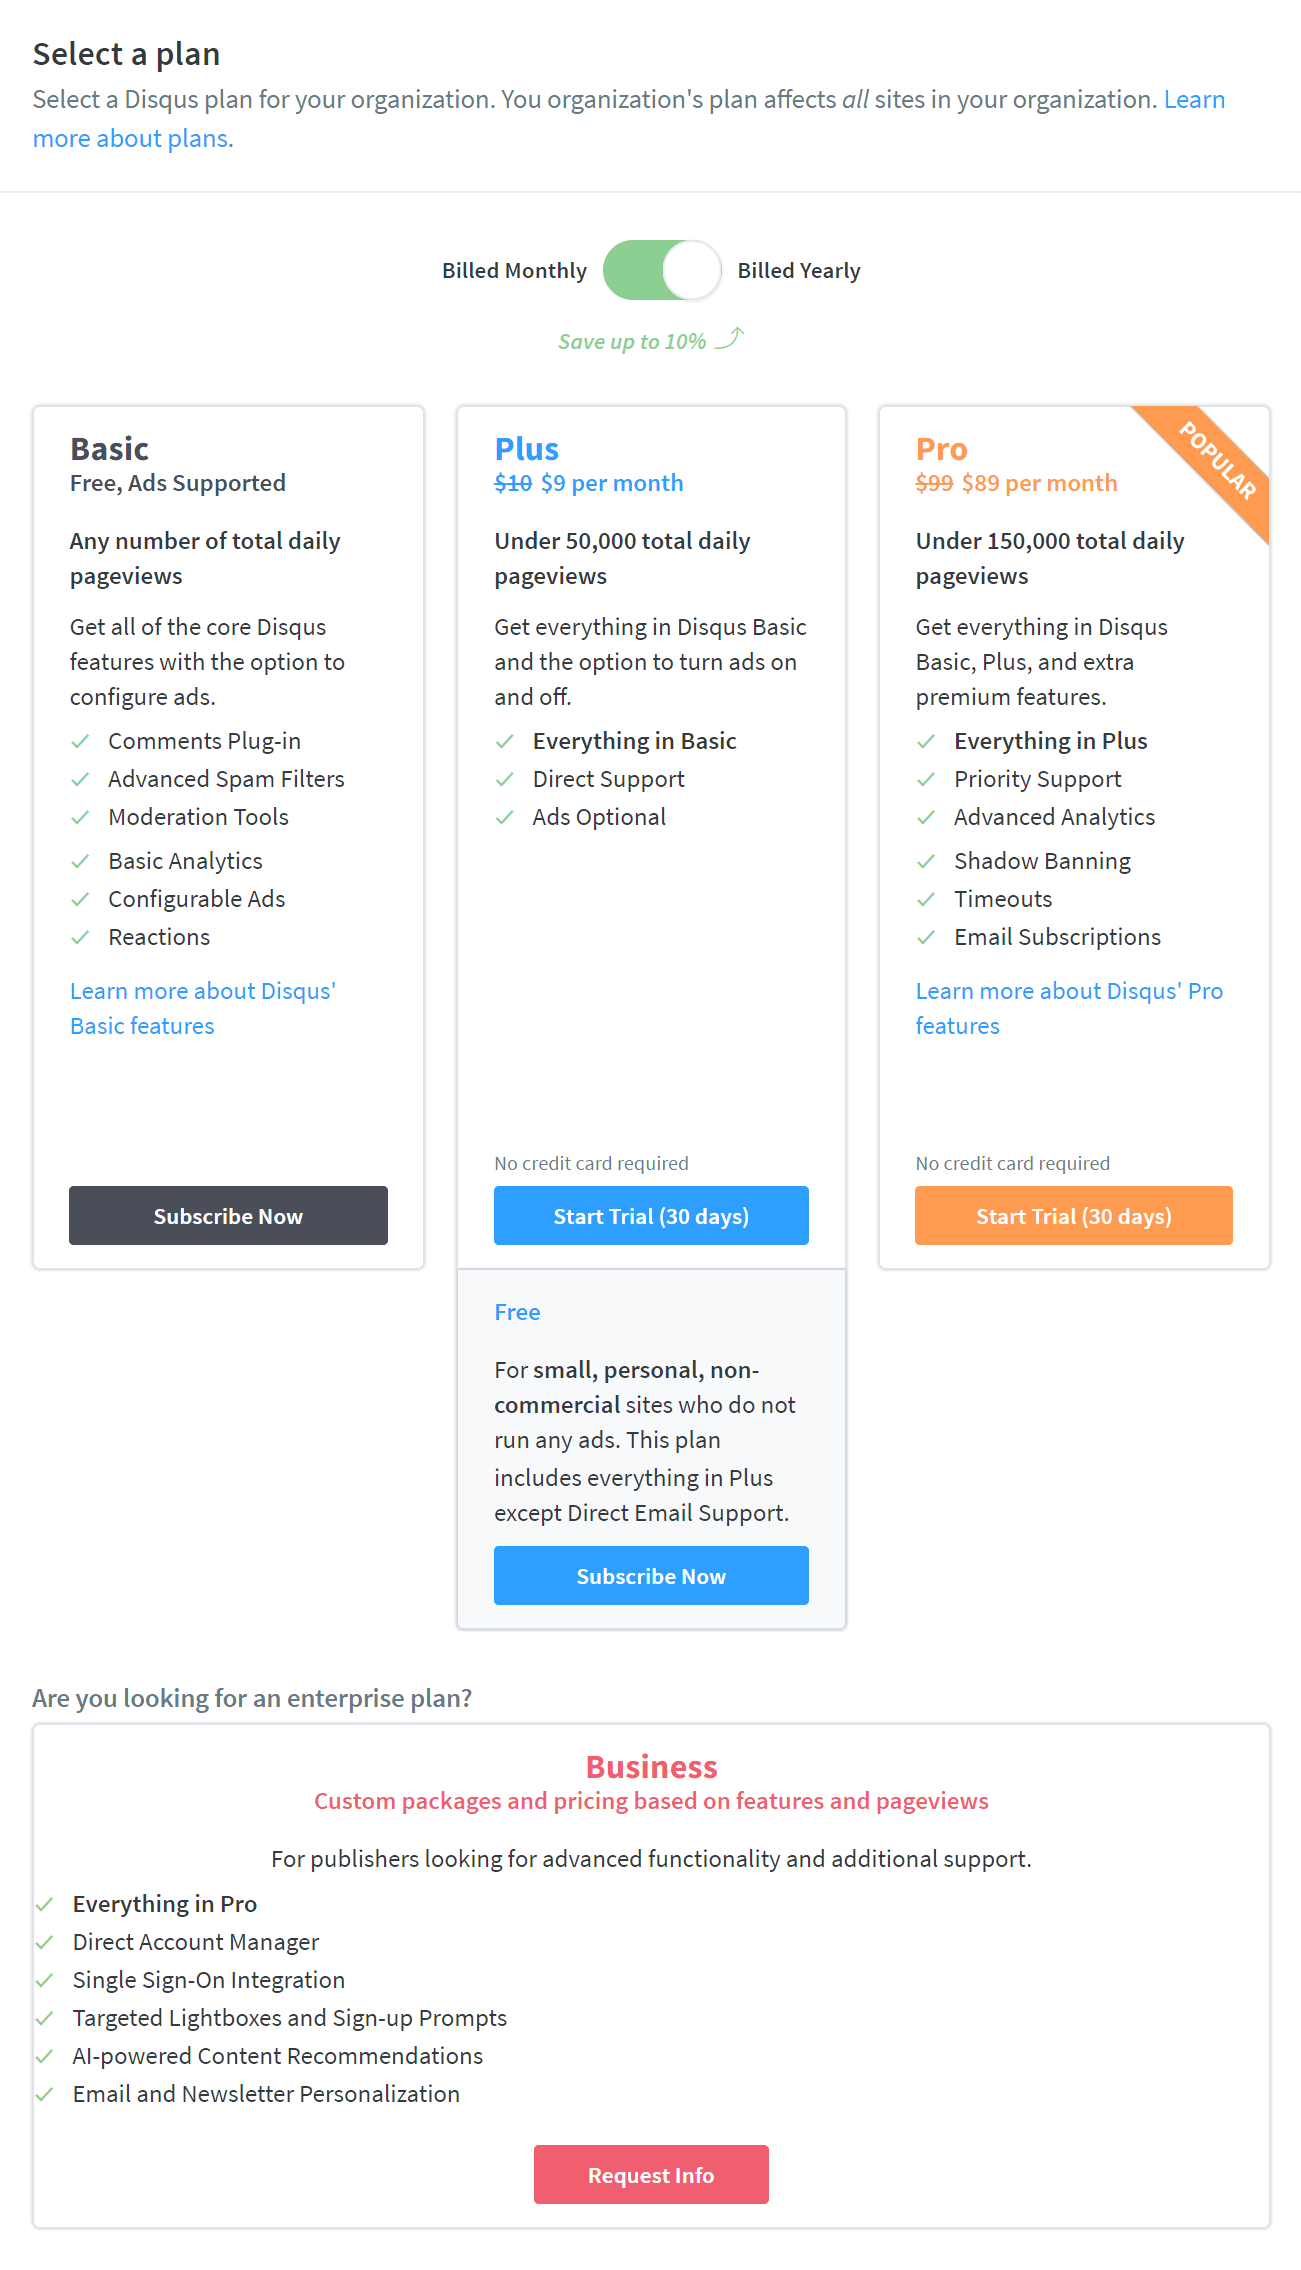
Next is that you'll choose a Plan.
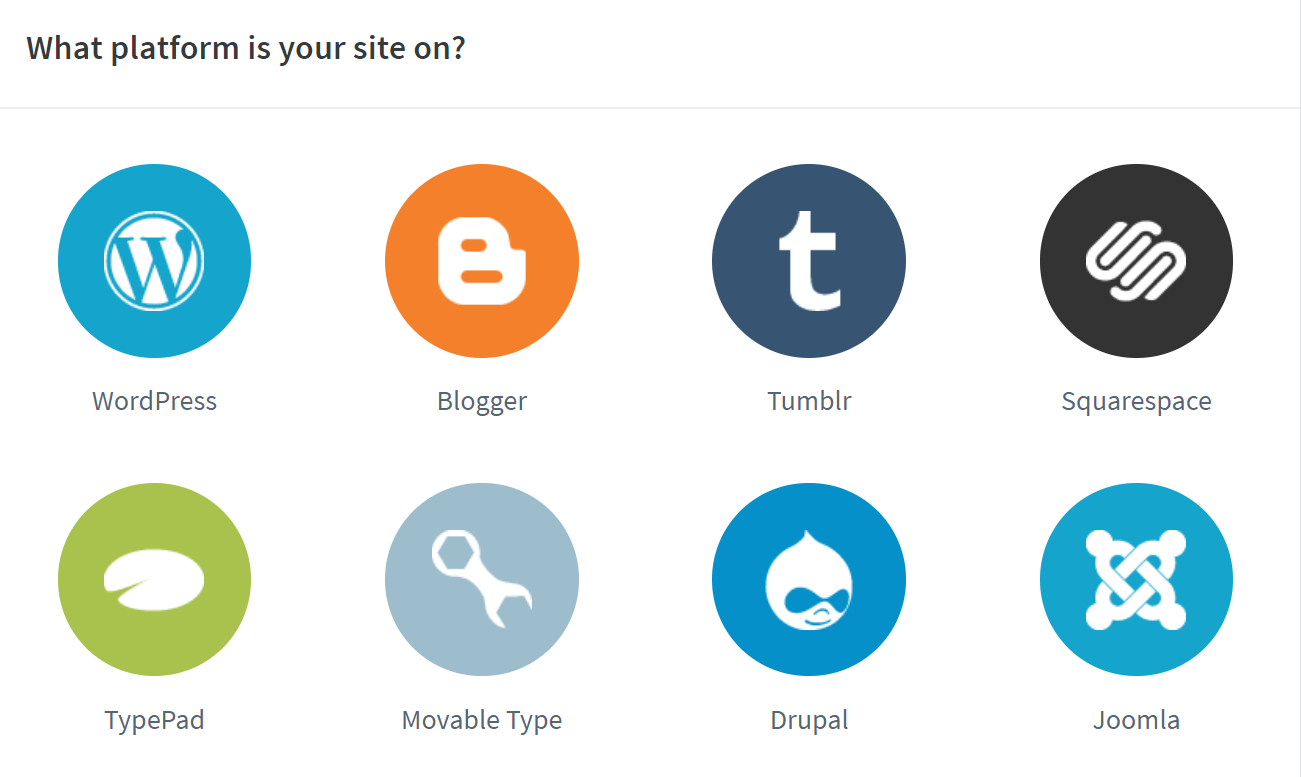
After this, you'll be taken to set up your site and choose the platform of your website. For example, WordPress, Wix, Squarespace etc. Select WordPress but ignore their instructions.
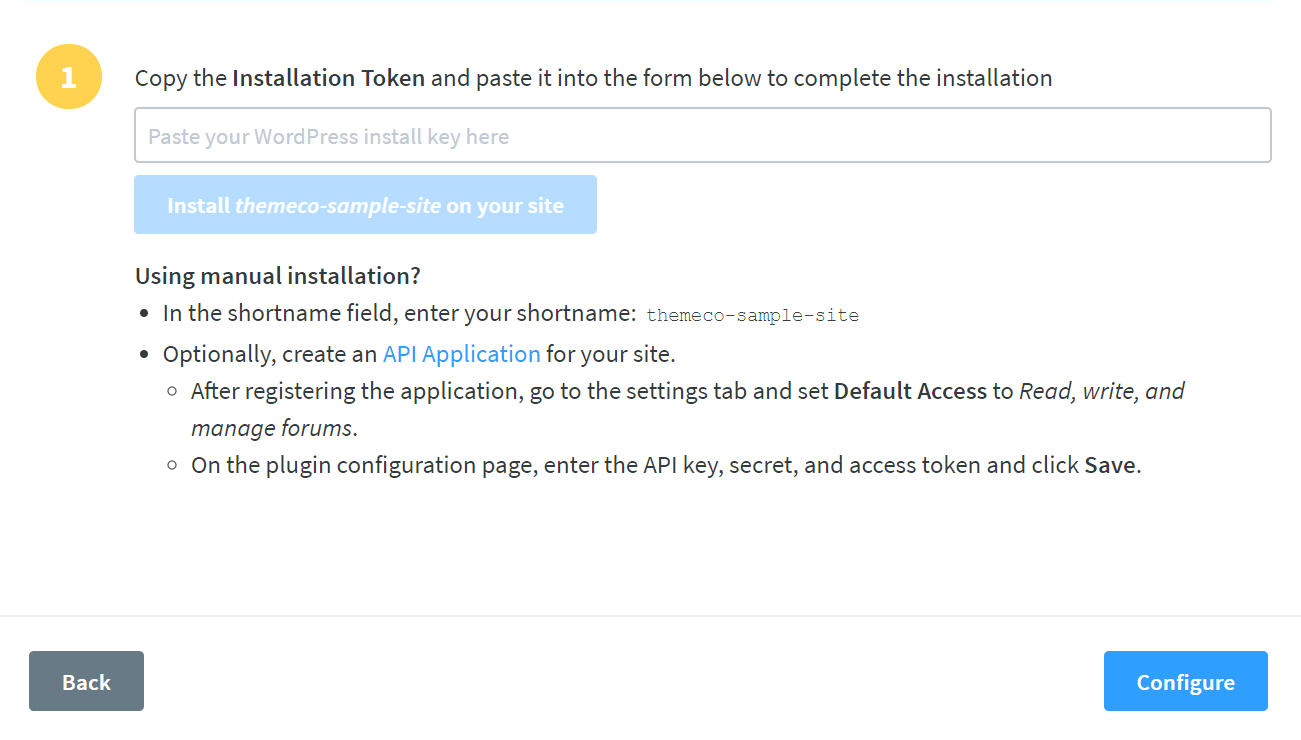
As you already have our plugin installed. All you need is the shortname which we created in the previous step, take your shortname and navigate back to your WordPress Dashboard > X/Pro > Disqus Comments and in the Shortname field enter the shortname you selected when signing up and connecting your website to Disqus. Once you've done that click on Update to save the settings.
Once that is done, visit any post or page on your website and you should see the Disqus Comments box like this:
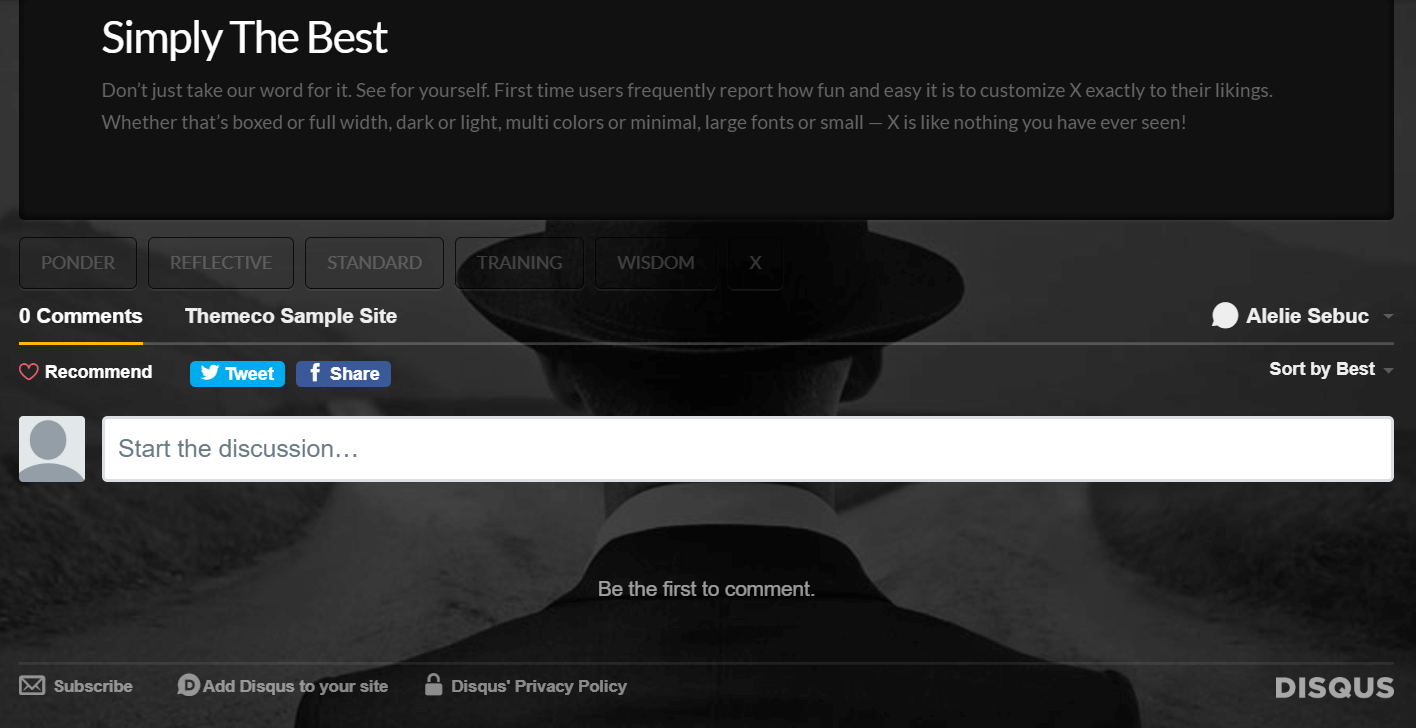
Congrats! Disqus Comments are now loading on your website. Head back on over to the Disqus website on the configuration for the WordPress platform and just click configure at the bottom of the page.

Once you've clicked that you'll be taken to the configuration screen to edit the appearance:
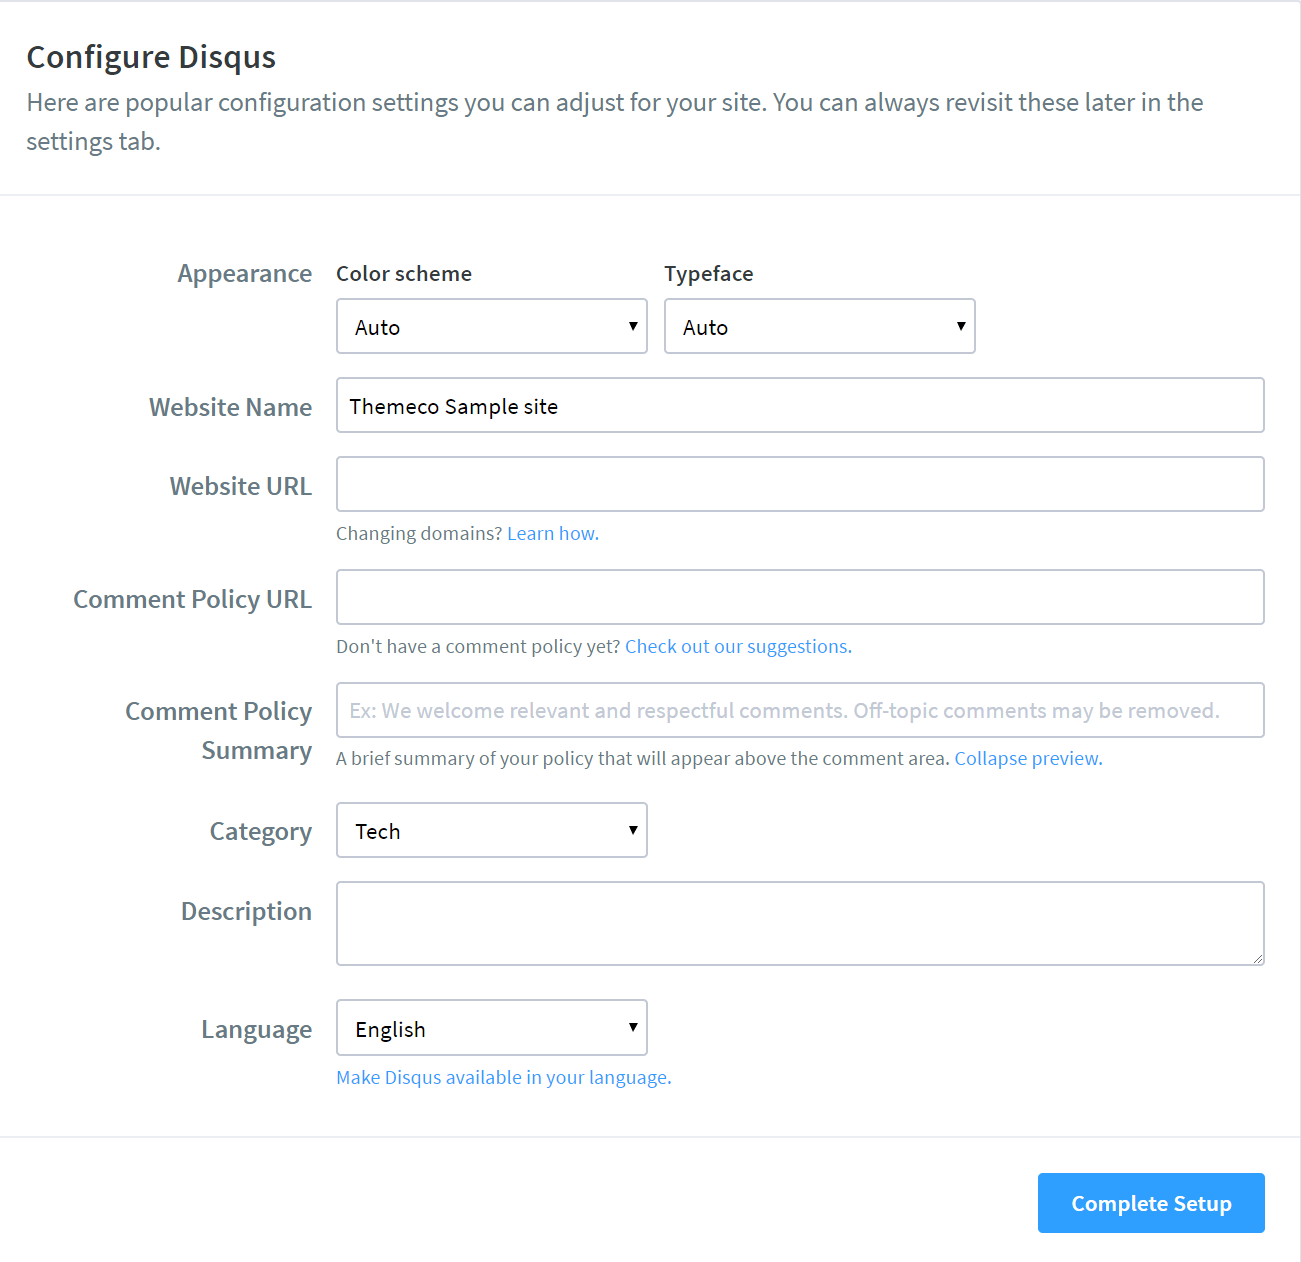
Here you can set the color scheme, dark, light or auto, typography and a few other settings. You don't need to modify any settings on this screen for Disqus to work so if you're happy with everything to go ahead and click on Complete Setup.
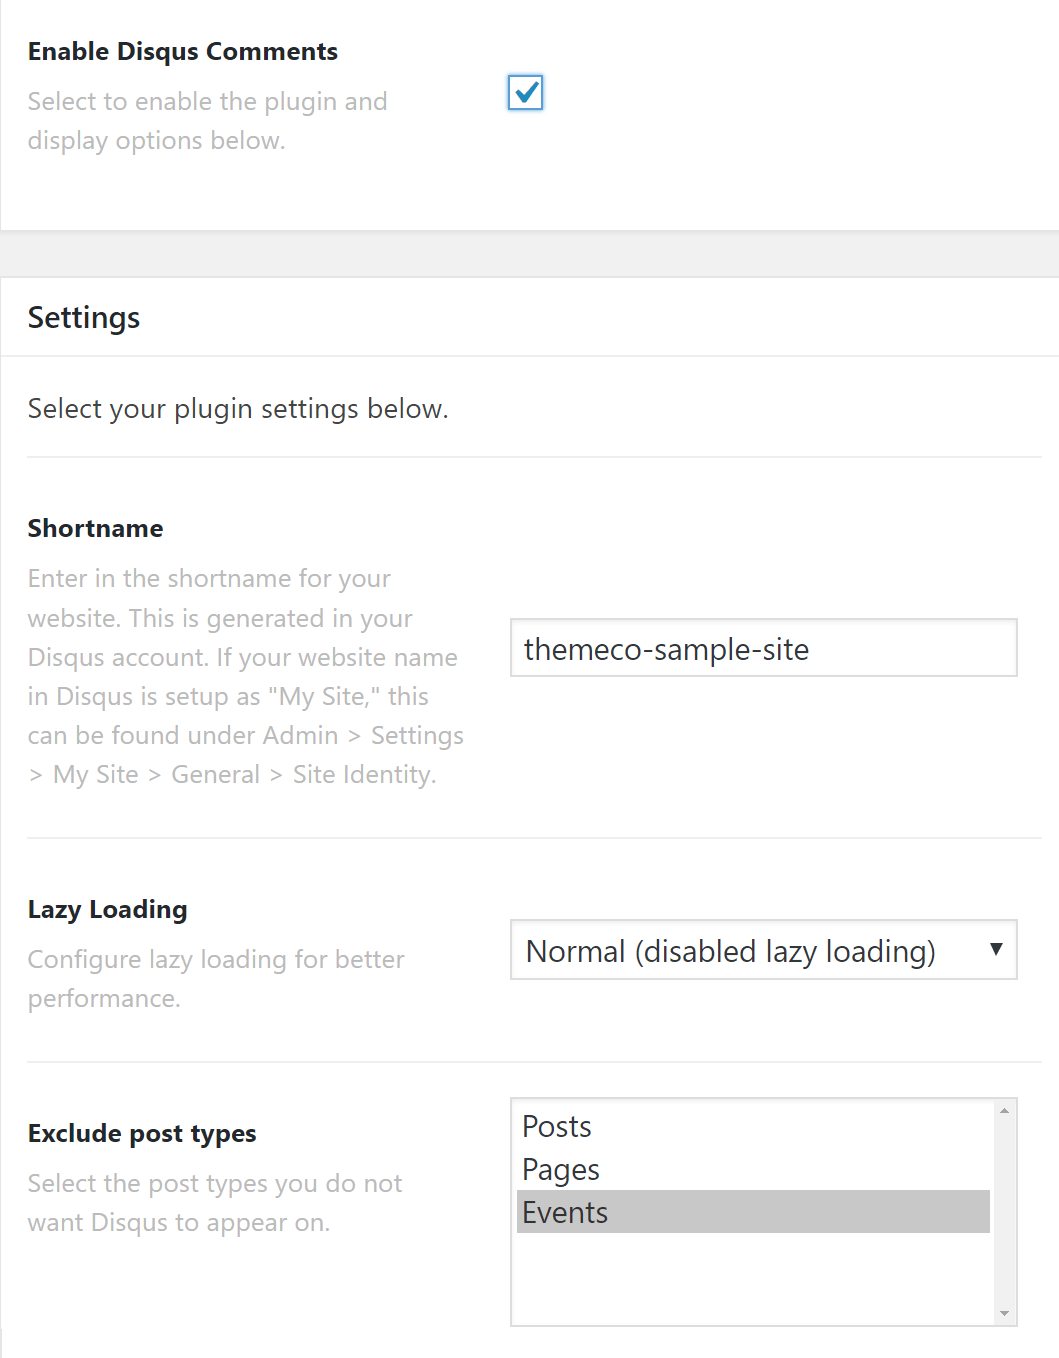
Now Disqus is installed and configured correctly. If you head back to your WordPress Dashboard > X/Pro > Disqus Comments. There are two other settings. The first one being for Lazy Loading. Lazy loading allows you to prevent Disqus Comments from starting to load until someone starts scrolling. And the last option is called Exclude Post Types. As the name implies it allows you to exclude Disqus Comments from appearing on specific post types. Useful if you want comments on posts, but perhaps don't want them on your products.
Disqus is now configured and ready to use on your site!
Considerations
The Disqus Comments Extension utilizes a native WordPress filter to swap out the standard comment template with Disqus' comment functionality. If you do not have comments enabled on your site or page, post, portfolio item, et cetera, you will not see the Disqus comments be output. Ensure that you have comments enabled on your site/entries so that you can see the Disqus comments.
Summary
In this article, we've shown you the steps you need to integrate Disqus to your website using the Disqus Comments Extension. You've learned how to setup a Disqus account and generate a shortname that will be used by the extension. You've also learned how to configure the extension.
See something inaccurate? Let us know