Custom 404
Don't like the default X and Pro default 404 page? Want to build one that will help your visitors? In this article, we're going to show you how to use the Custom 404 Extension to assign any page as your 404 page.
Custom 404 allows you to set any page on your WordPress website as your 404 page. Rather than your visitors seeing the default 404 page they'll see your completely custom 404 page which you can even create with Cornerstone!
How to Enable the Extension
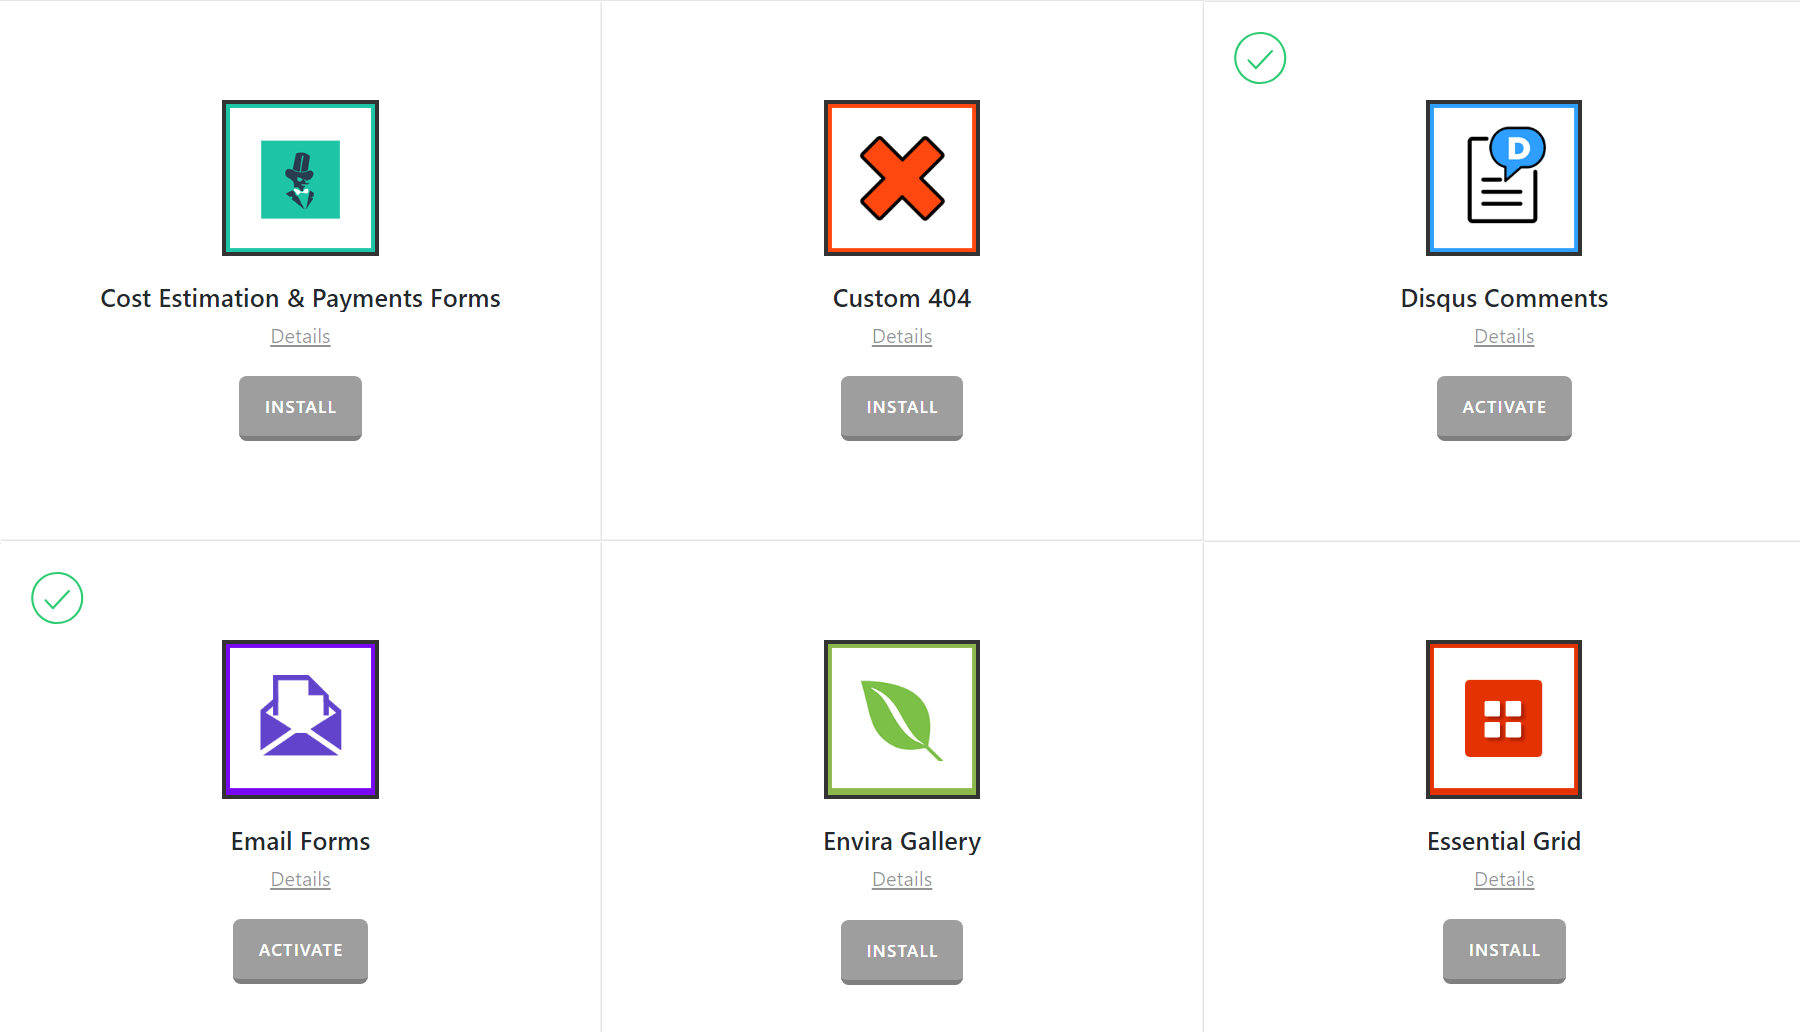
Go to Pro or X then look for Custom 404. Click Install.
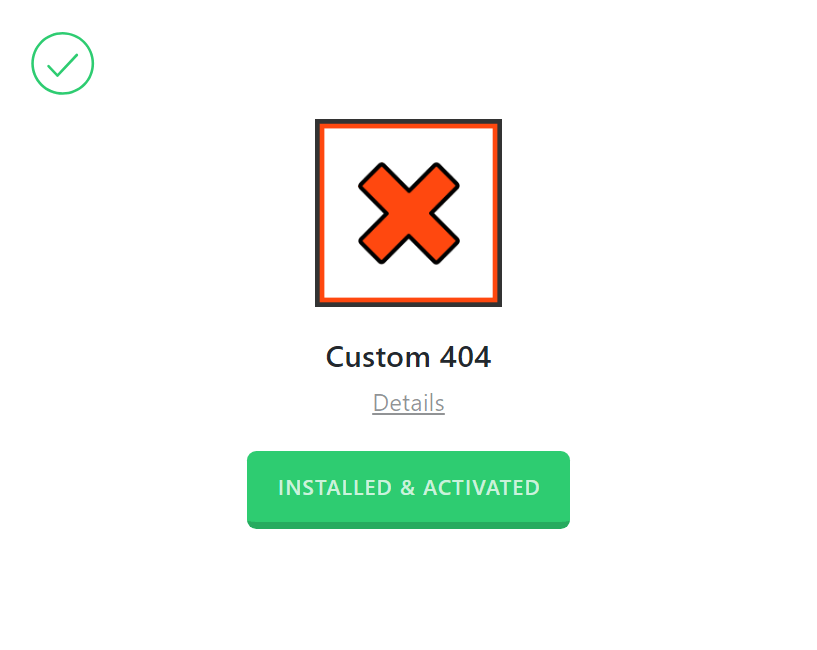
Once installed, the Install button will change and say Activate. Click that button and it will activate the plugin. You will then see the status change to Installed and Activated.
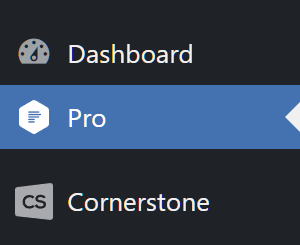
After installing and activating Custom 404, you'll find the settings under the X menu item if X is installed and activated, or the Pro menu item if Pro is installed and activated.
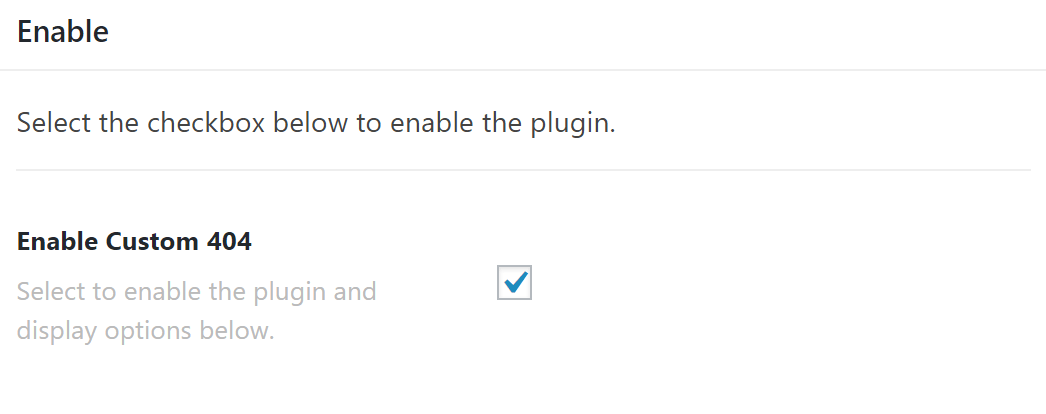
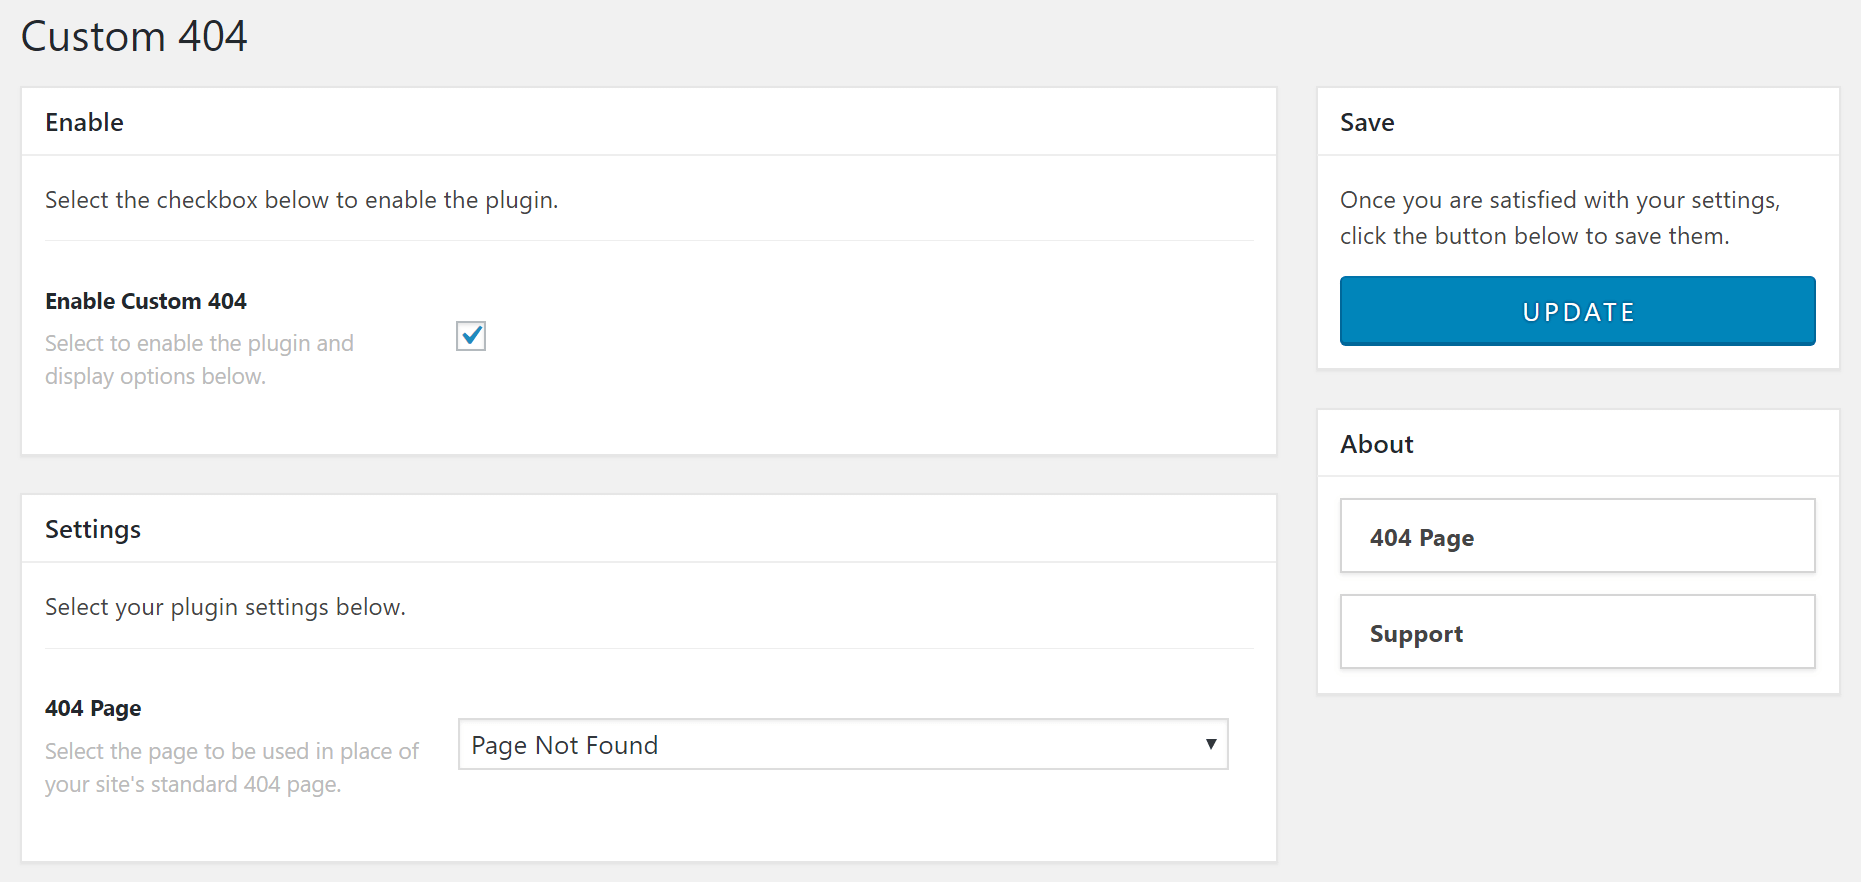
From the main Custom 404 settings screen you can choose to disable or enable the plugin as needed:
Disabling the plugin will effectively turn off all output from the plugin (e.g. HTML, CSS, JavaScript etc). This is useful as a quick way to toggle activity if you ever need without having to go through the Plugins menu and worry about activating/deactivating it completely.
Selecting the enable checkbox will bring up the Settings meta box below. This is where you will adjust any options for the plugin and input your data as needed.
Configuring Custom 404
The settings for Custom 404 couldn't be simpler, pick your page from the drop-down, click on the update button to save your selection and you've successfully configured Custom 404!
Custom 404 and WPML
If you have a multilingual website using the WPML plugin, you will need to assign a custom 404 page for each language. To do so, change the language from the top toolbar of the WordPress dashboard and go to Pro/X > Custom 404 menu and assign a custom 404 page. Repeat the same steps for the other languages.
Summary
Congratulations! Now you know an easy way to create and assign customized 404 pages using the Custom 404 extension that comes with X and Pro.
See something inaccurate? Let us know