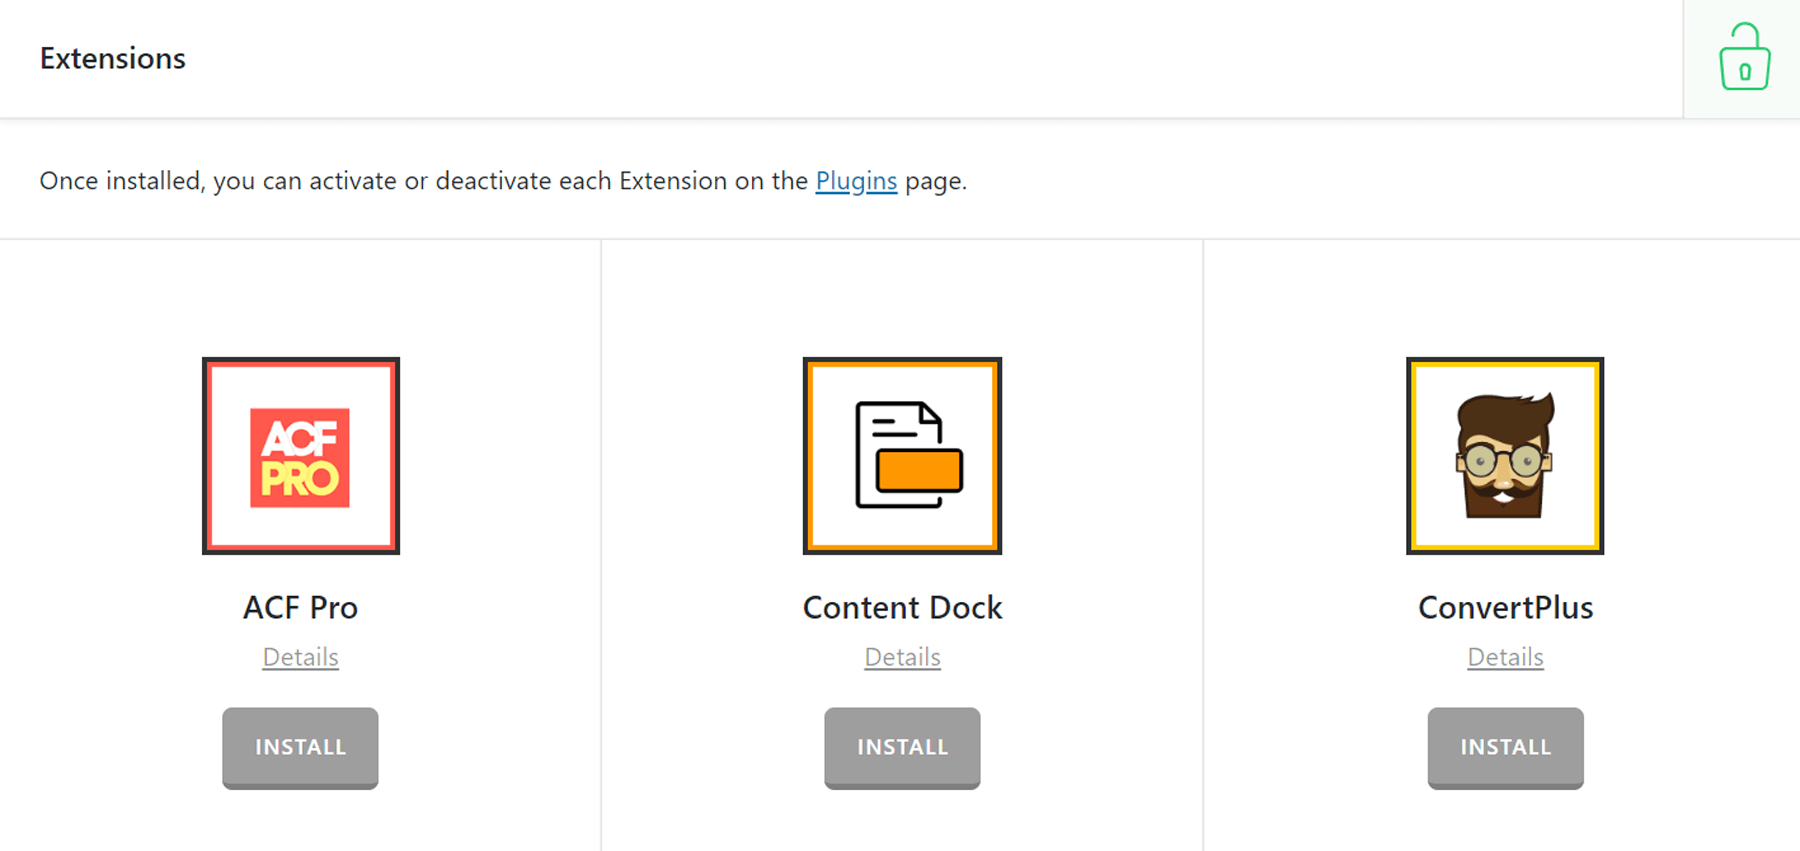
Content Dock
In this article, you'll learn how to add non-obtrusive marketing offers using X and Pro's Content Dock Extension.
Content Dock is an incredibly simple and effective tool that allows you to place content or marketing offers in front of your users in an elegant, non-intrusive manner. It does this by showing a widget while scrolling or after a set period of time.
Since Content Dock is a widget this means you can use it at any widget enabled location!
Note: Javascript powered content like sliders may not work inside the Content Dock.
How to Enable the Extension
Go to Pro or X then look for Content Dock. Then click Install.
Once installed, the Install button will change and say Activate. Click that button and it will activate the plugin. You will then see the status change to Installed and Activated.

After installing and activating Content Dock, you'll find the settings under the X or Pro menu item, depending on which theme you are using.

From the main Content Dock settings screen you can choose to disable or enable the plugin as needed:
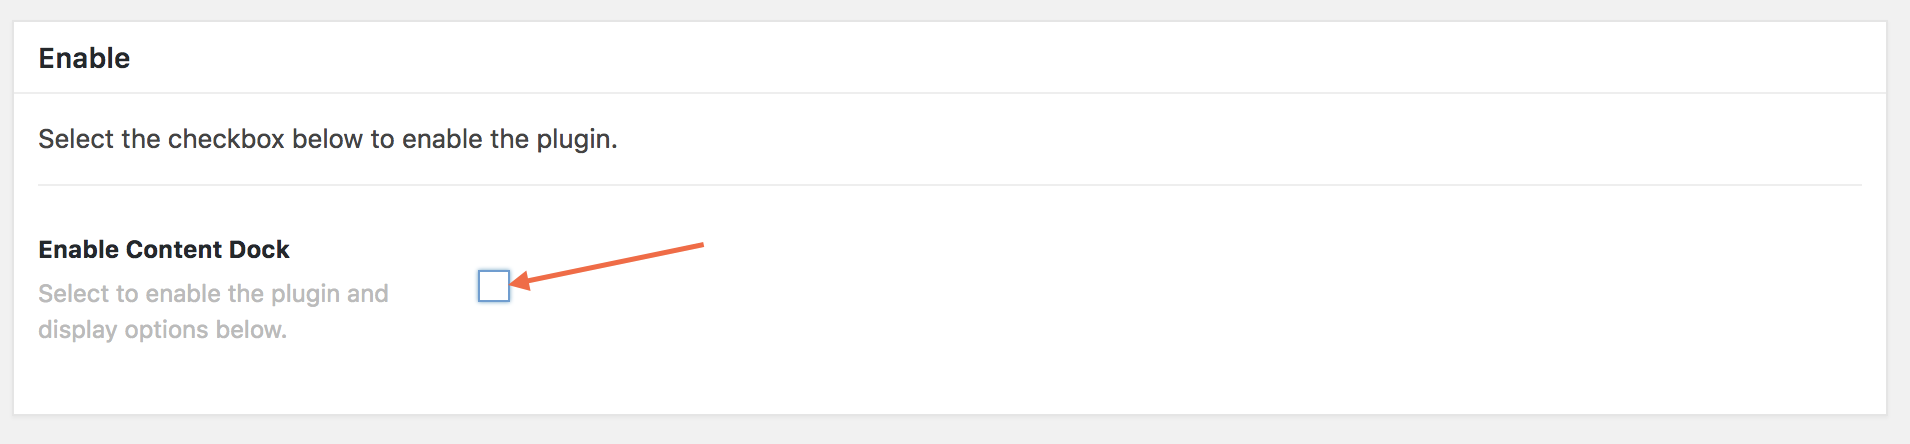
Disabling the plugin will effectively turn off all output from the plugin (e.g. HTML, CSS, JavaScript etc). This is useful and a quick way to toggle activity if you ever need without having to go through the Plugins menu and worry about activating/deactivating it completely.
Selecting the enable checkbox will bring up the Settings meta box below. This is where you will adjust any options for the plugin and input your data as needed.
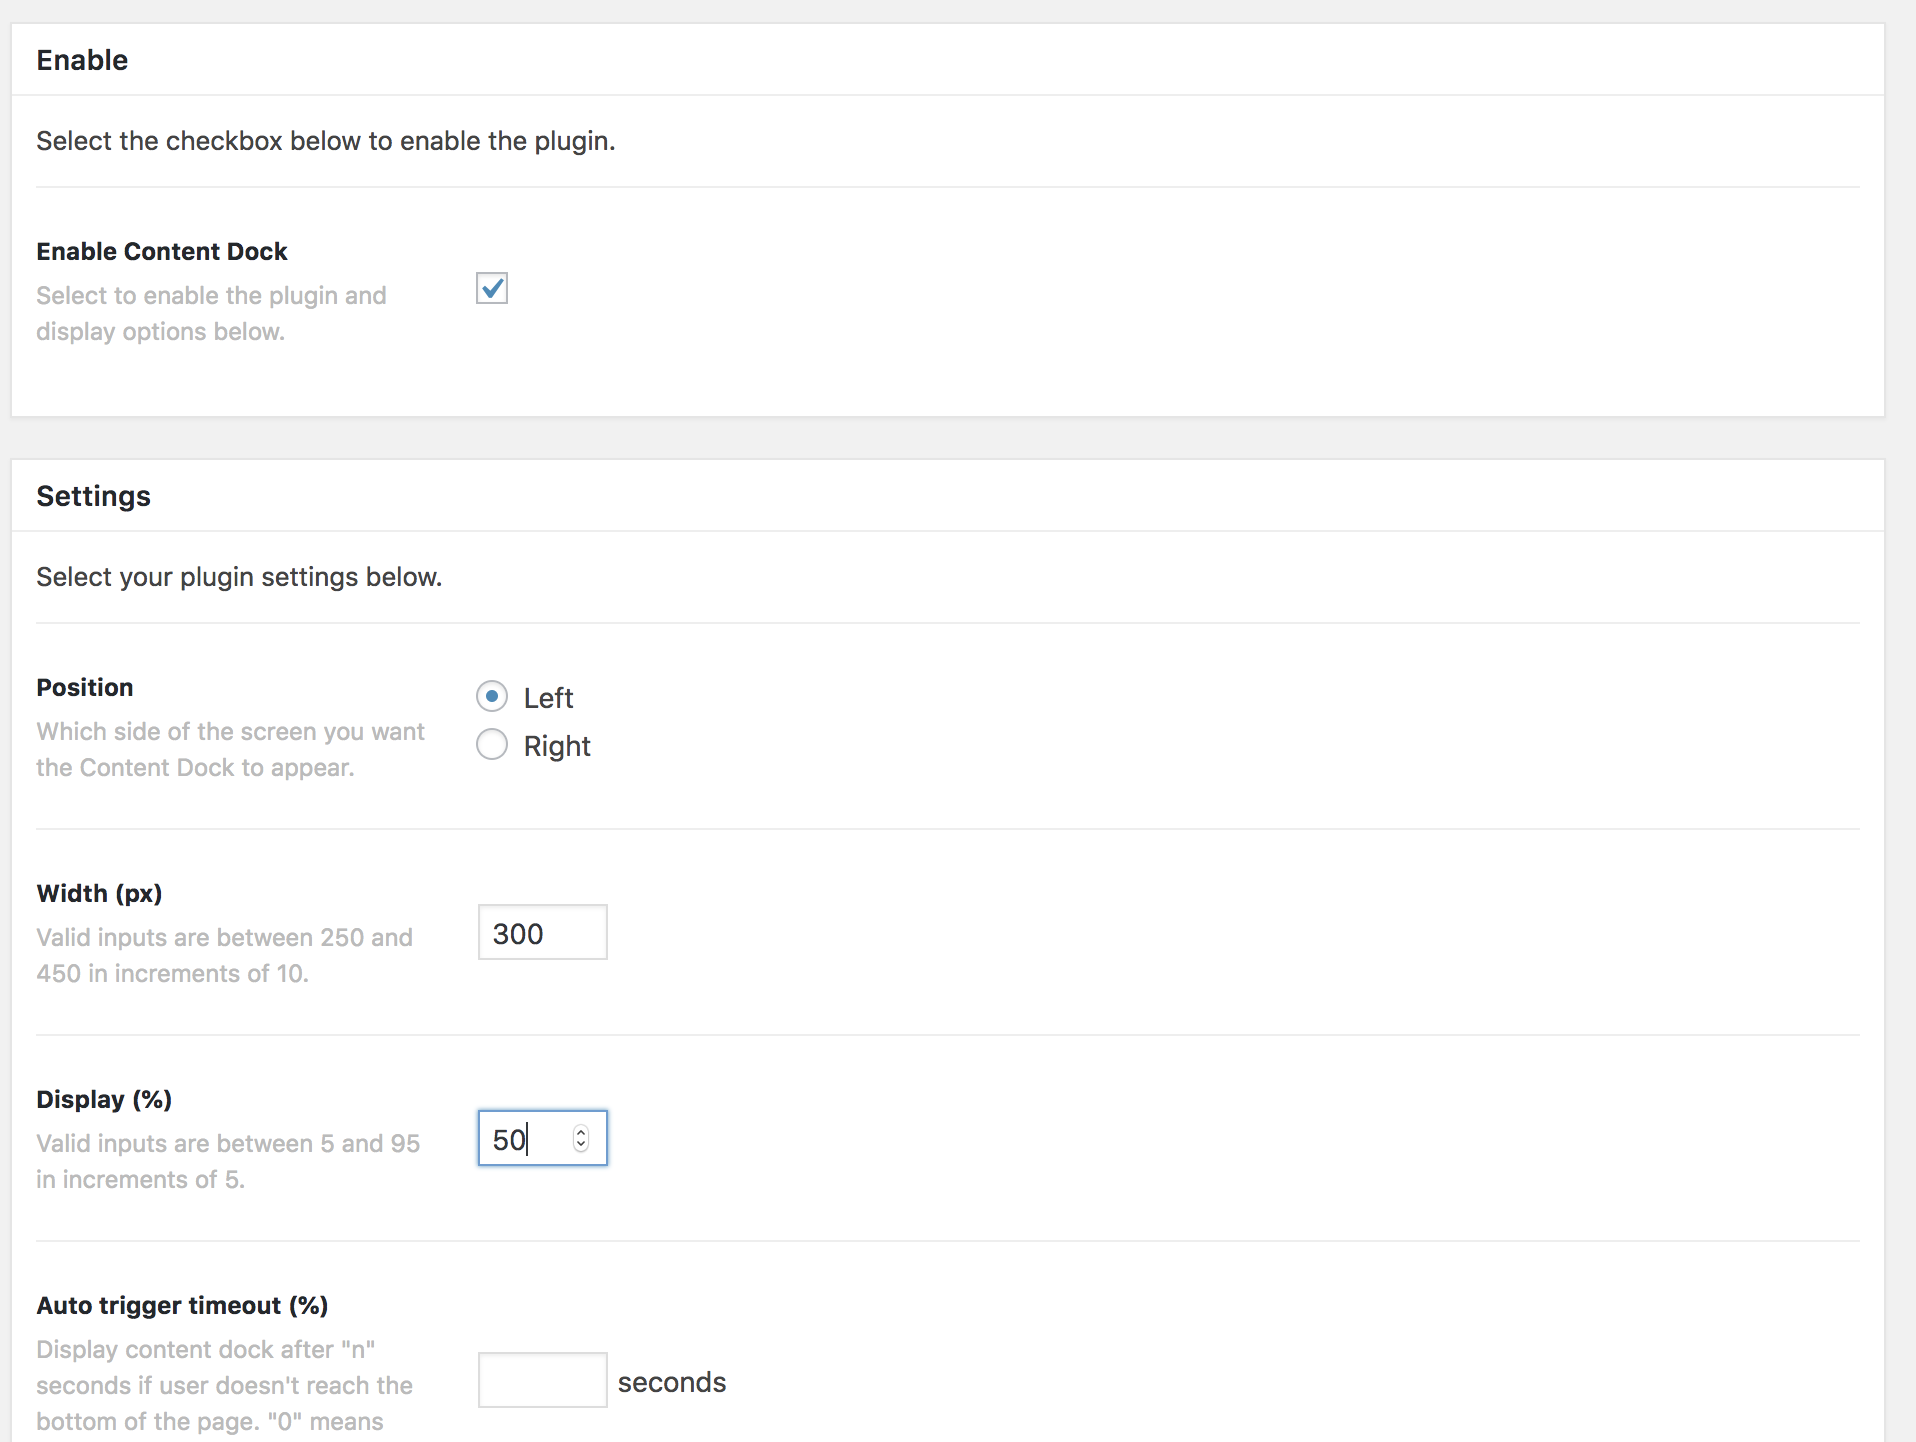
Content Dock Settings
The batch of settings for Content Dock are:
- Position - Left or Right. This simply allows you to select whether you want Content Dock to display on the left-hand side or right-hand side of your website.
- *Width - Pixels. This allows you to set how many pixels the Content Dock should take up. The default value is 350 pixels wide.
- Display - Percentage. This option allows you to set when the Content Dock should display. The default value is 50, if you keep the default value, the Content Dock will display after the user has scrolled down 50% of your page.
- Auto Trigger Timeout - Percentage. This allows you to automatically set the Content Dock to display after a period of time (seconds) if a user hasn't already reached the display percentage set in the previous option. Setting 0 for this option disables it completely.
- Do Not Show Again - Cookie timeout percentage. This option allows you to disable the output of the Content Dock if someone has already seen it by setting a cookie. Do note though if the user has cleared their cookies the Content Dock will once again show.
The next settings all pertain to where Content Dock will show.
- *Active for all pages - checking this will make Content Dock display on all your pages on your website. Keep this un-checked if you only wish to display Content Dock on specific pages.
- *Include Pages - This option lists all the pages on your website for you to select which ones you want Content Dock to display on.
- Active for all posts - checking this will make Content Dock display on all your posts on your website. Keep this un-checked if you only wish to display Content Dock on specific posts.
- Include Posts - This option lists all the posts on your website for you to select which ones you want Content Dock to display on.
The next option is for overriding the Content Dock with an image and URL:

Checking that will display the overriding image and override URL options like this:
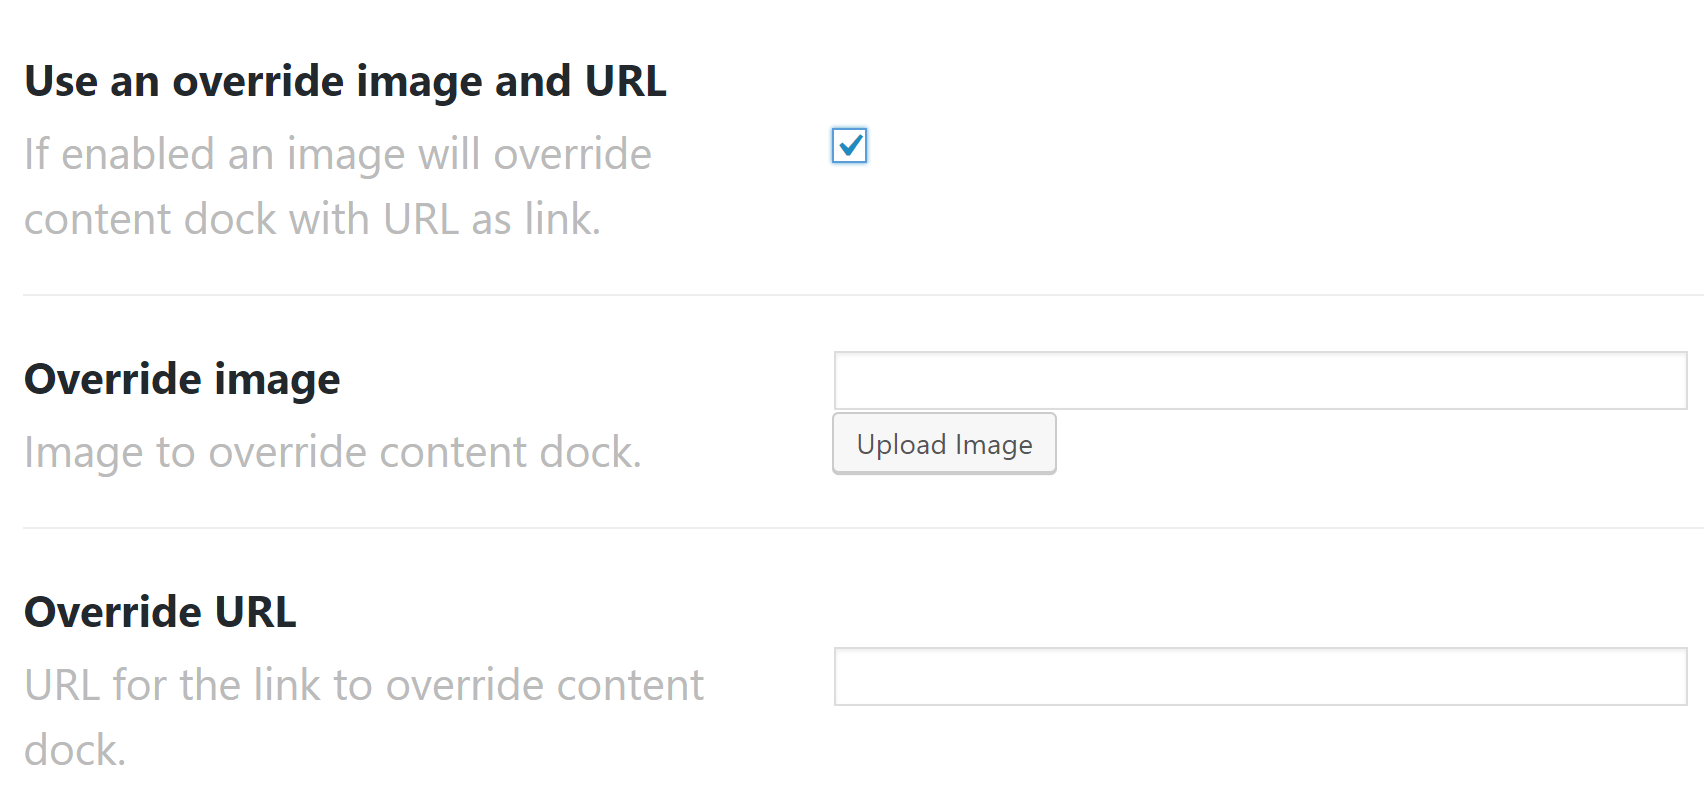
The image will override what is set to show in the Content Dock. Only set this if you just want an image that links out to a different page/website. Otherwise, leave this unset.
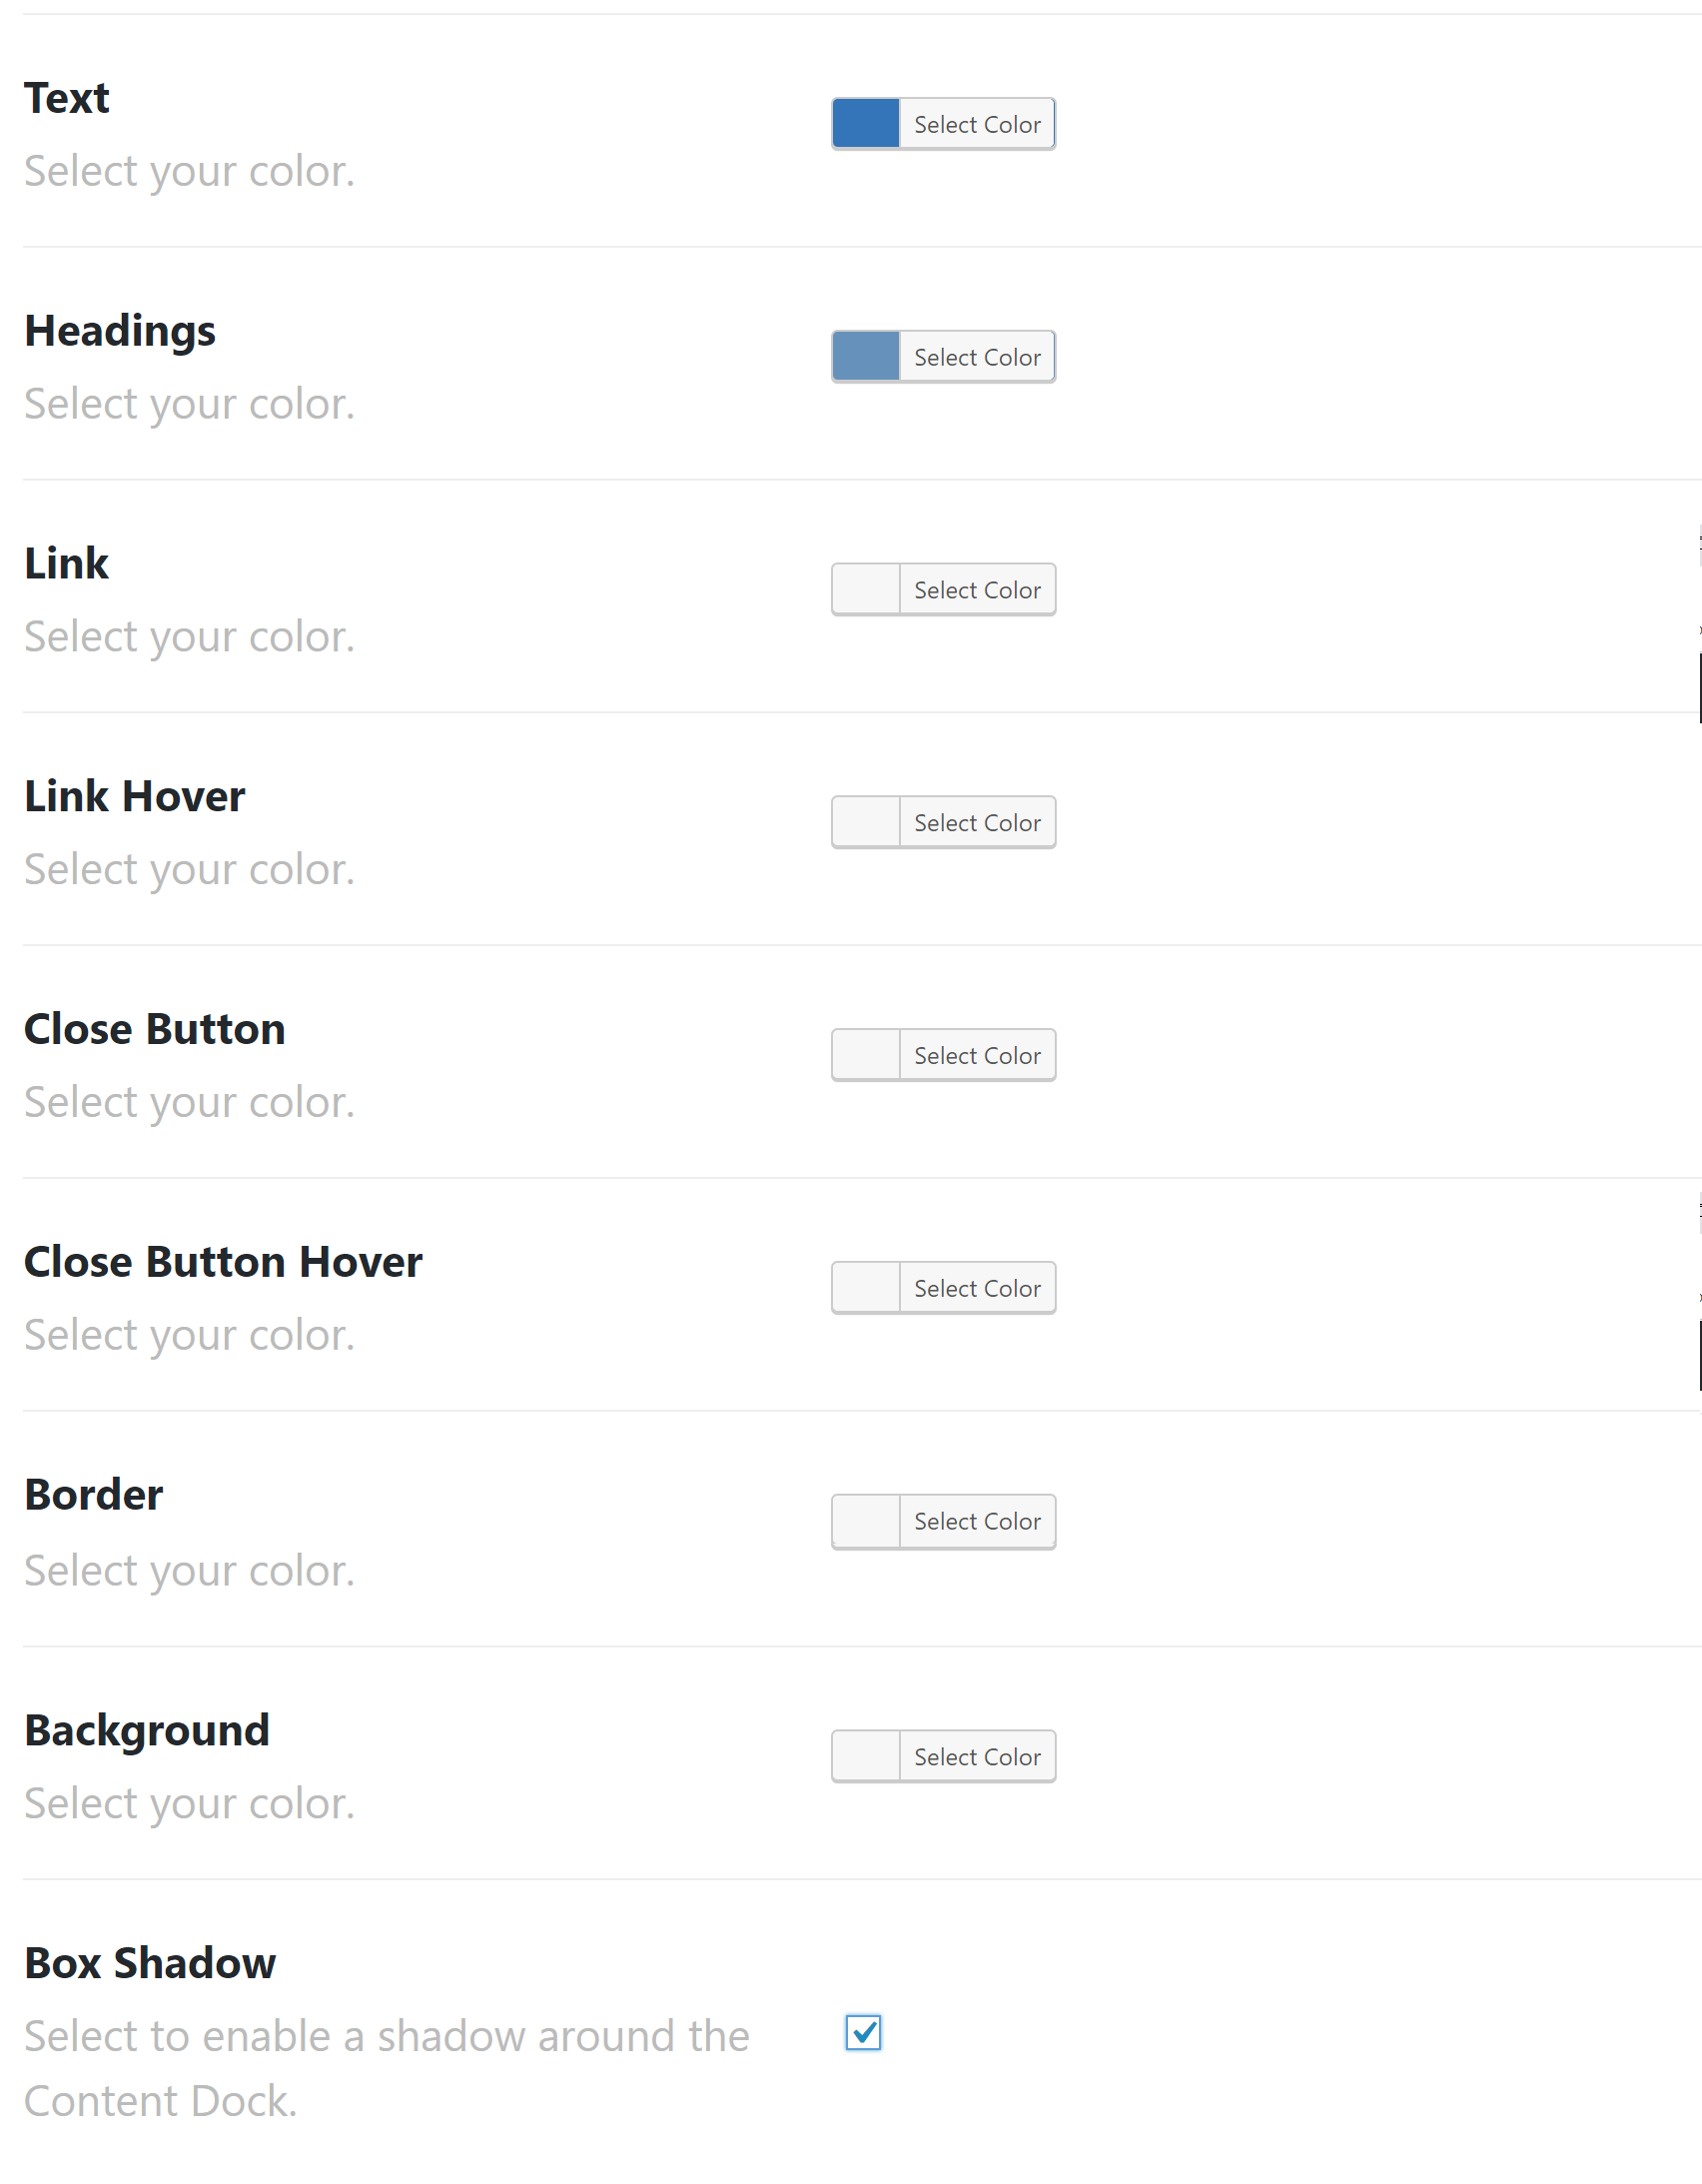
The remaining options all pertain to colors, including the button and headings color and all are color selectors.
Once you're happy with everything, scroll back to the top of the page and click on Update to save your Content Dock Settings.
Adding Content to a Content Dock
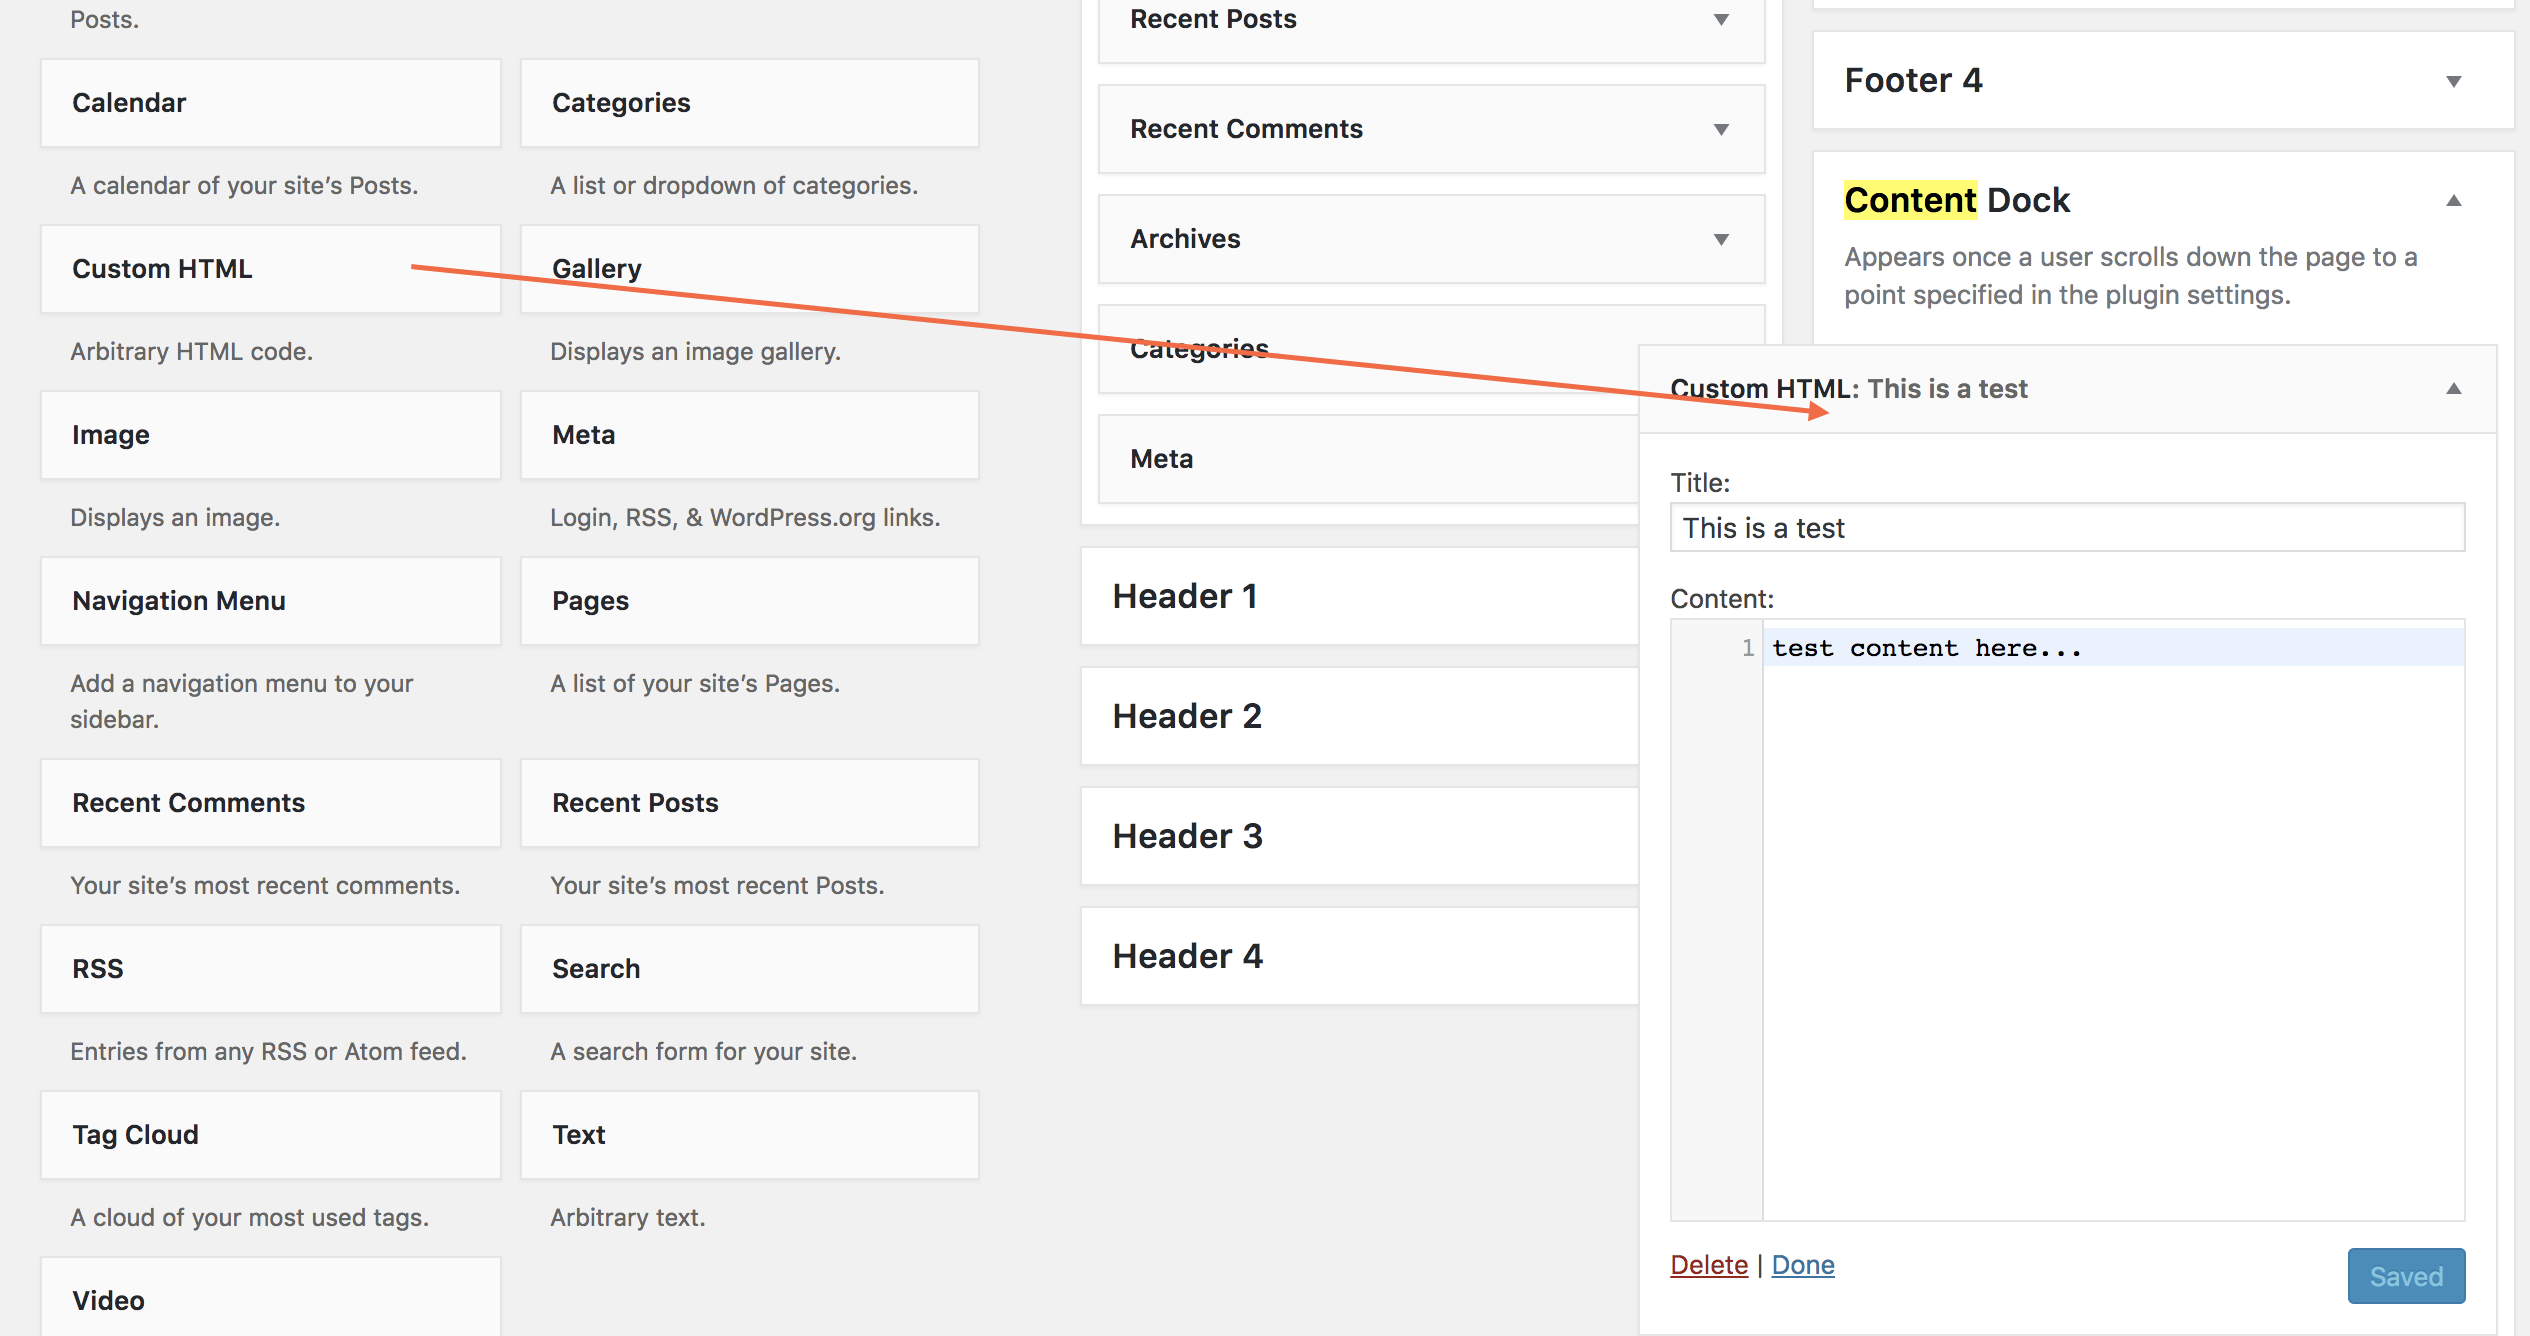
In your WordPress admin navigate to Appearance > Widgets and you should see your main widgets screen like this:

On the left-hand side you have all available Widgets and on the right-hand side all available Widget areas including Content Dock. Drag any widget you'd like to the Content Dock widget area on the right-hand side.
Once you've done the above, you have successfully configured Content Dock, congrats!
Content Display Considerations
The Content Dock is visible on displays larger than 767px and will be hidden on any displays smaller than this. This is for numerous usability reasons, which mostly have to do with ensuring that your site’s primary content is always accessible and not completely hidden by the Extension and that the close button is not inaccessible.
Summary
Well, good job! Now you know how to easily add marketing offers anywhere on your website using Content Dock.
See something inaccurate? Let us know