Email Forms
In this article, we'll show you how to add email opt-in forms on any part of your website using our Email Forms Extension. While Email Forms allows you connect to ConvertKit and GetResponse email marketing software, this article will only be showing you how to connect MailChimp.
Email Forms makes it simple to create stunning opt-in forms on your website, simply connect your chosen provider and configure.
How to Enable the Extension
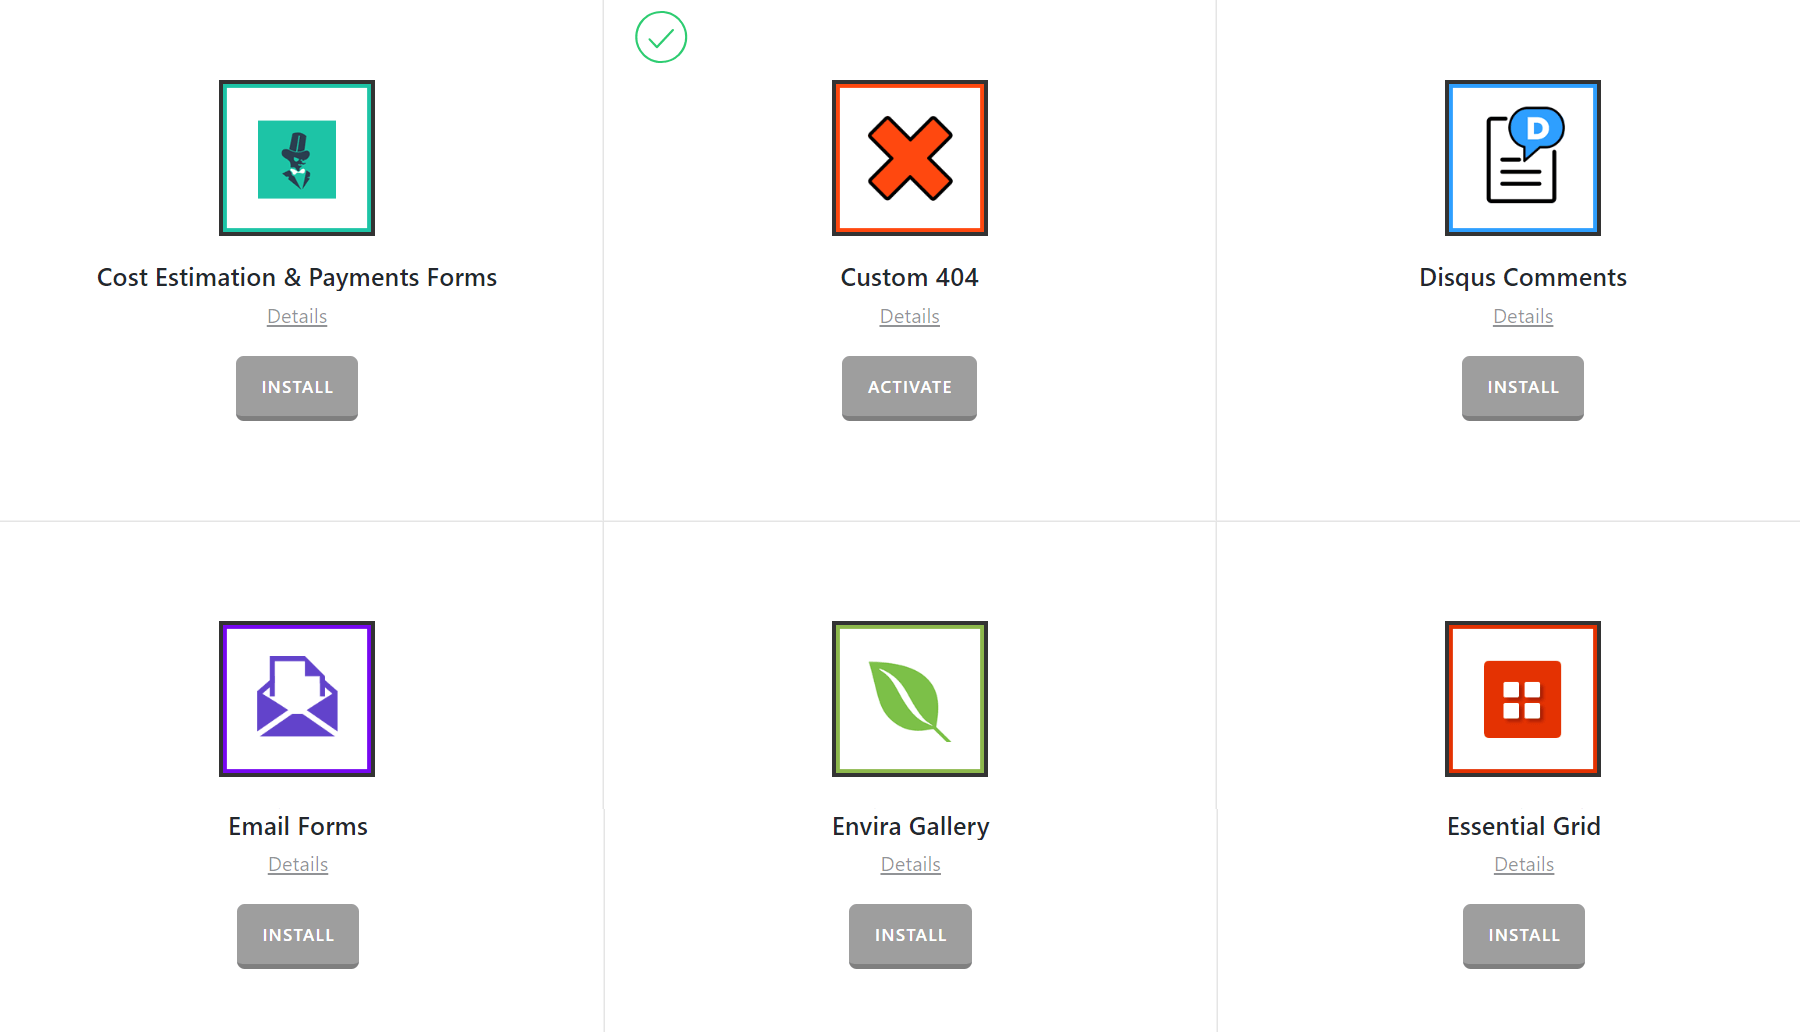
Go to Pro > Validation or X > Validation for X then look for Email Forms. Click Install.
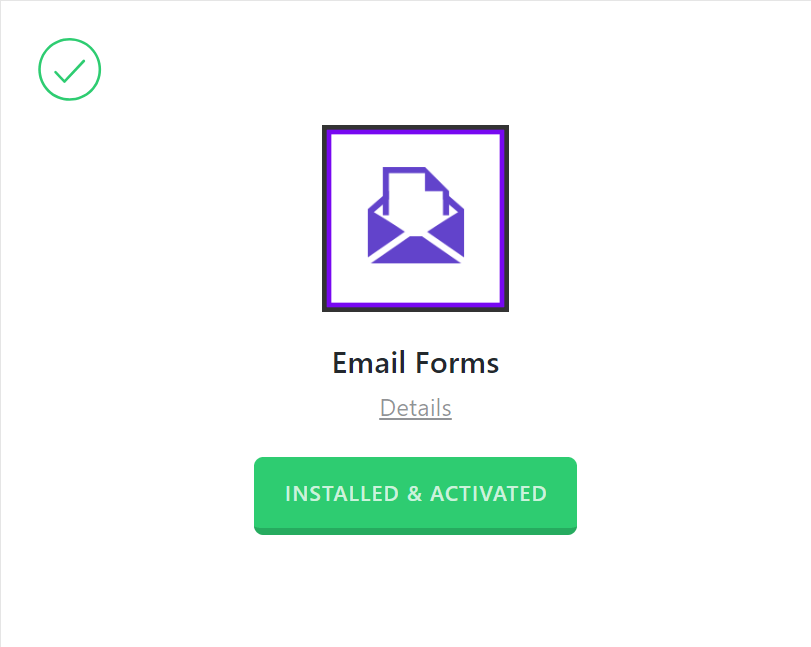
Once installed, the Install button will change and say Activate. Click that button and it will activate the plugin. You will then see the status change to Installed and Activated.
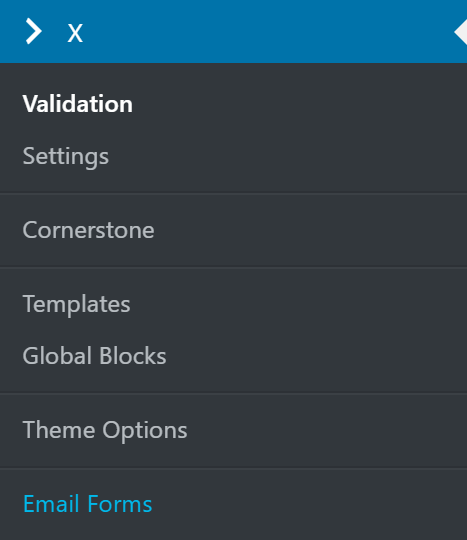
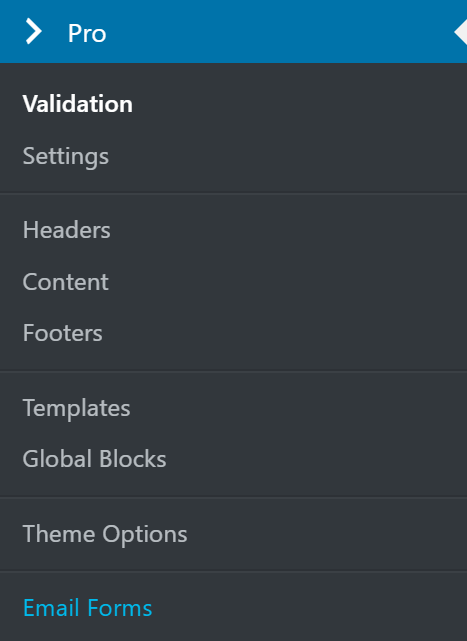
After installing and activating Email Forms, you'll find it's settings under the X menu item if X is installed and activated, or the Pro menu item if Pro is installed and activated.
What Email Forms does
Email Forms allows you to connect your MailChimp account to your WordPress website and display email signup forms on the front-end of your website.
Setting Up Email Forms
When you go to the Email Forms settings, you'll notice all the settings are split into five tabs, specifically:
- Email Forms - allows you to set up different email forms for your website. This allows you to select a different email list and other settings which we'll cover below. As the plugin can utilize multiple lists from one MailChimp account it's perfect for Membership type sites where you can have a general list for all subscribers and then a
members onlylist for paid members to sign up to your newsletter from a restricted page. - General settings - Configuration options for opt-ins and default forms.
- MailChimp - Adding your MailChimp API key to connect to your WordPress website.
- ConvertKit - Adding your ConvertKit API key to connect to WordPress
- GetResponse - Adding your GetResponse API key to connect to WordPress
While Email Forms supports ConvertKit and GetResponse, in this document we will be discussing only MailChimp. The concept and steps are virtually the same except that you set them up on their respective email marketing software (Mailchimp, ConvertKit and GetResponse).
Connecting MailChimp
You will need a MailChimp account, if you don't already have one you can signup here. Once you're logged into a MailChimp account you will need to handle all the usual stuff such as creating lists, importing subscribers (if you've just signed up) and setting all your details. We won't go into detail on configuring those parts as that's beyond the scope of this tutorial. However, MailChimp has some great information in their knowledge base for this such as Creating a List and Importing Subscribers along with other useful information throughout their Knowledge Base.
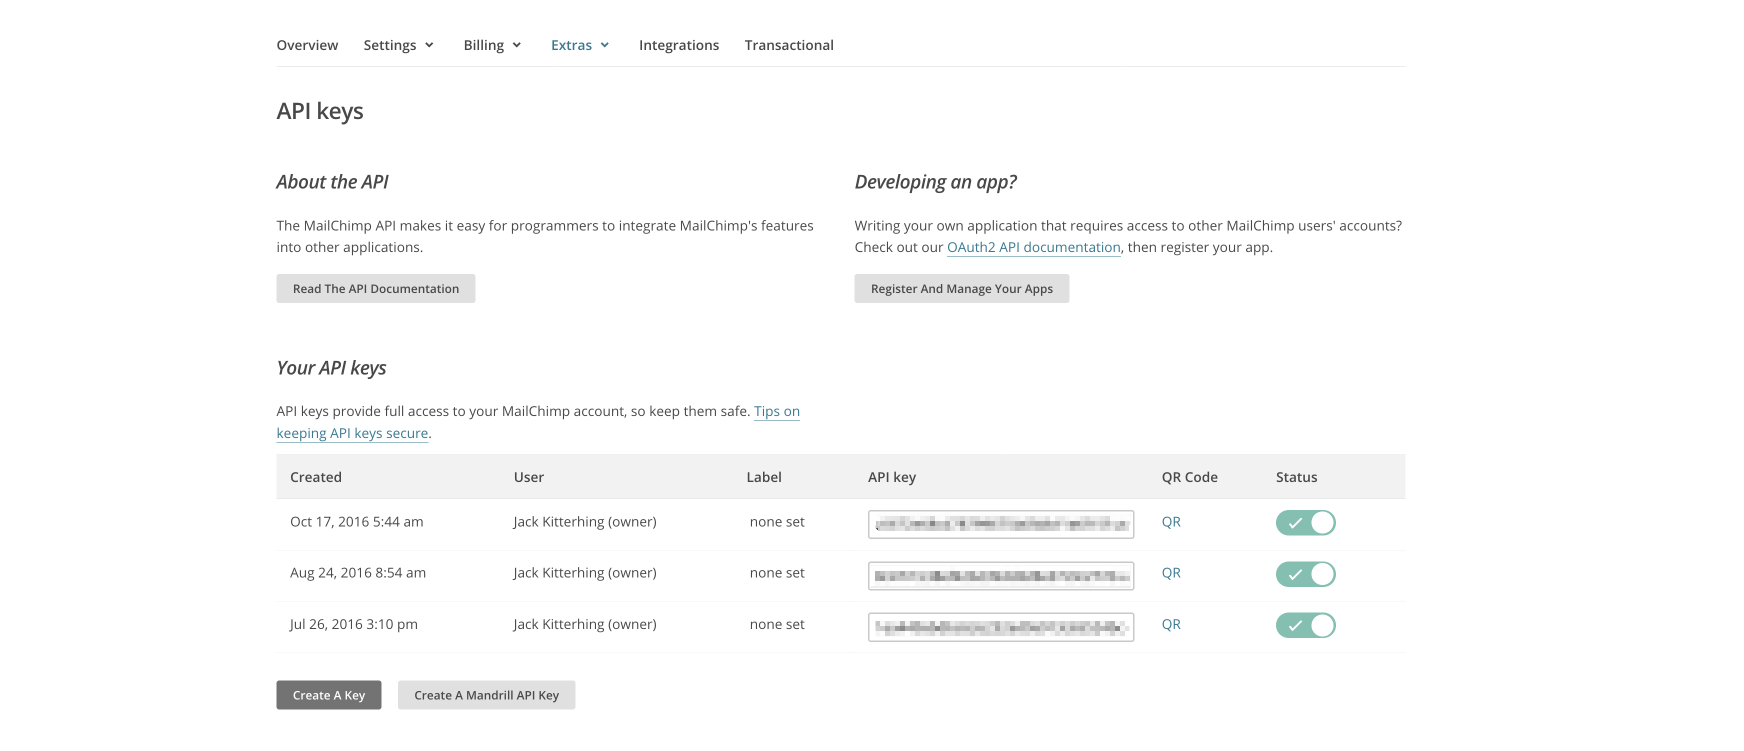
Once you're logged into your MailChimp account navigate to > Account > Extras > API Keys here you'll see any existing API keys you've already created and the option to add a new API Key:
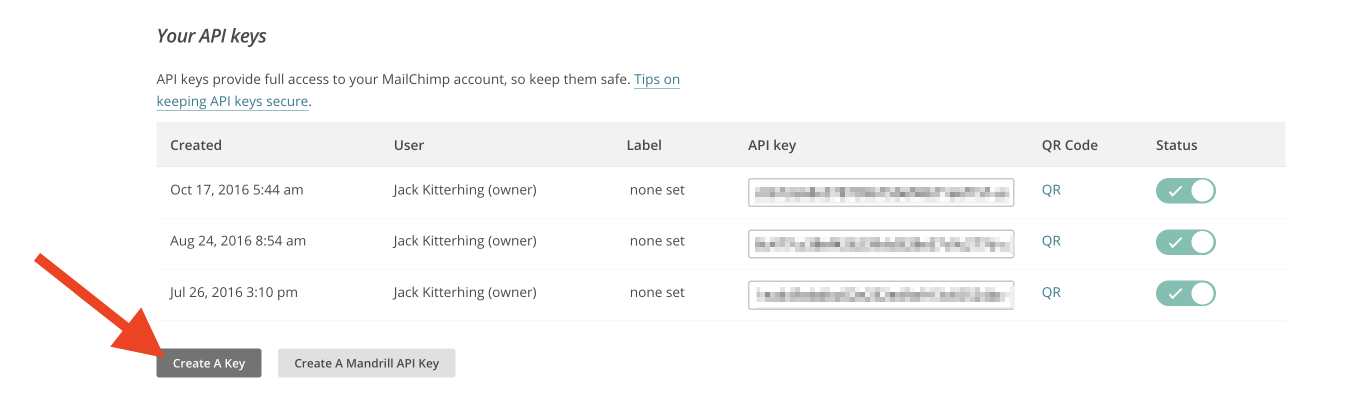
Click on Create A Key:
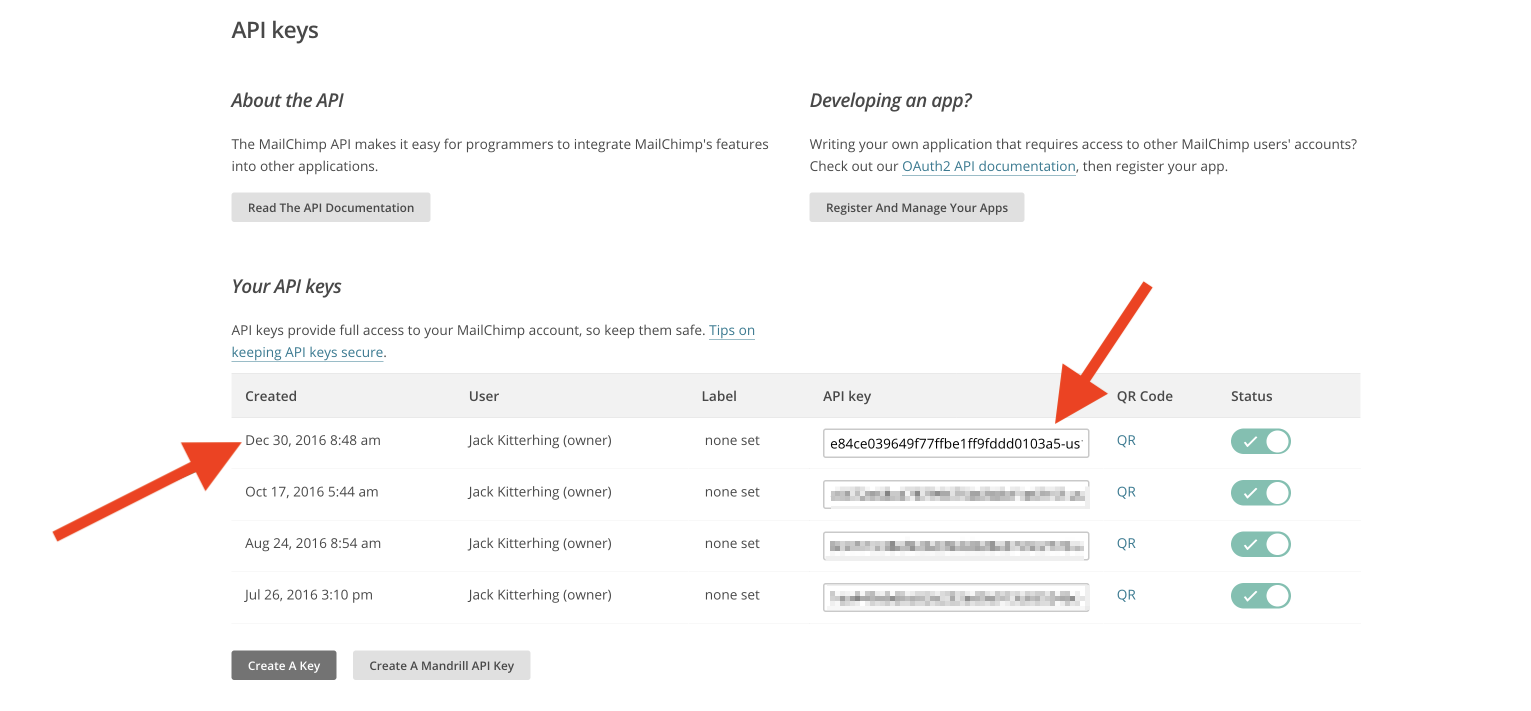
When you click on Create A Key MailChimp will automatically create you a new unique API key and it'll also be automatically enabled for use. You should see your new API Key like this:
Go ahead and copy that API key and head over to your WordPress Admin area. Then navigate to X/Pro > Email Forms > MailChimp you should be on this screen:
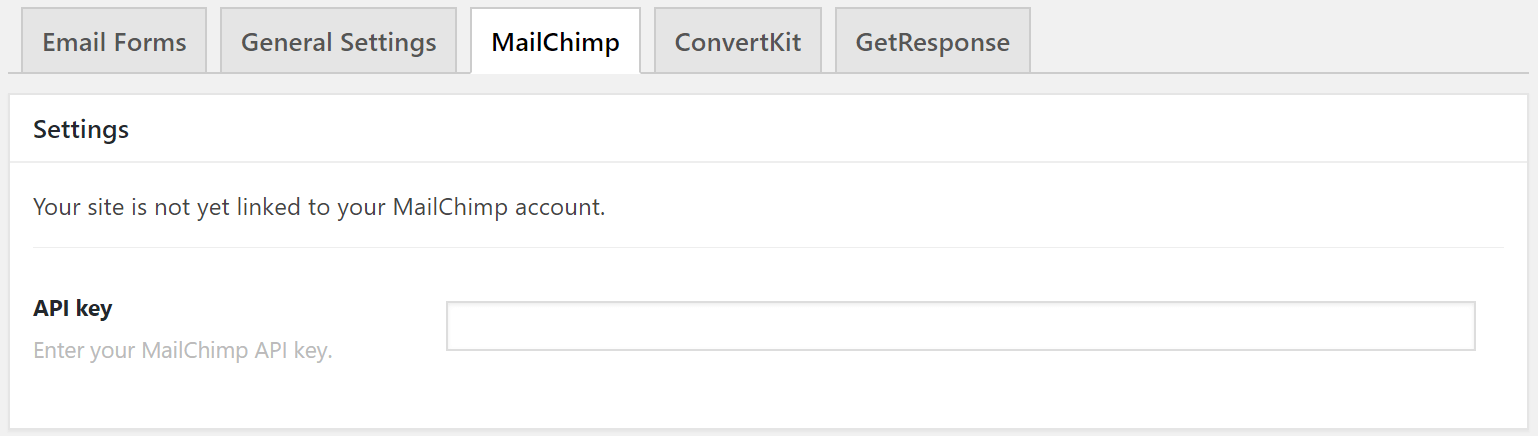
Go ahead and paste the API key you just copied from your MailChimp account into the API key box and then click on Update. You should now see some extra settings and a success message that your website is now connected to your MailChimp account.
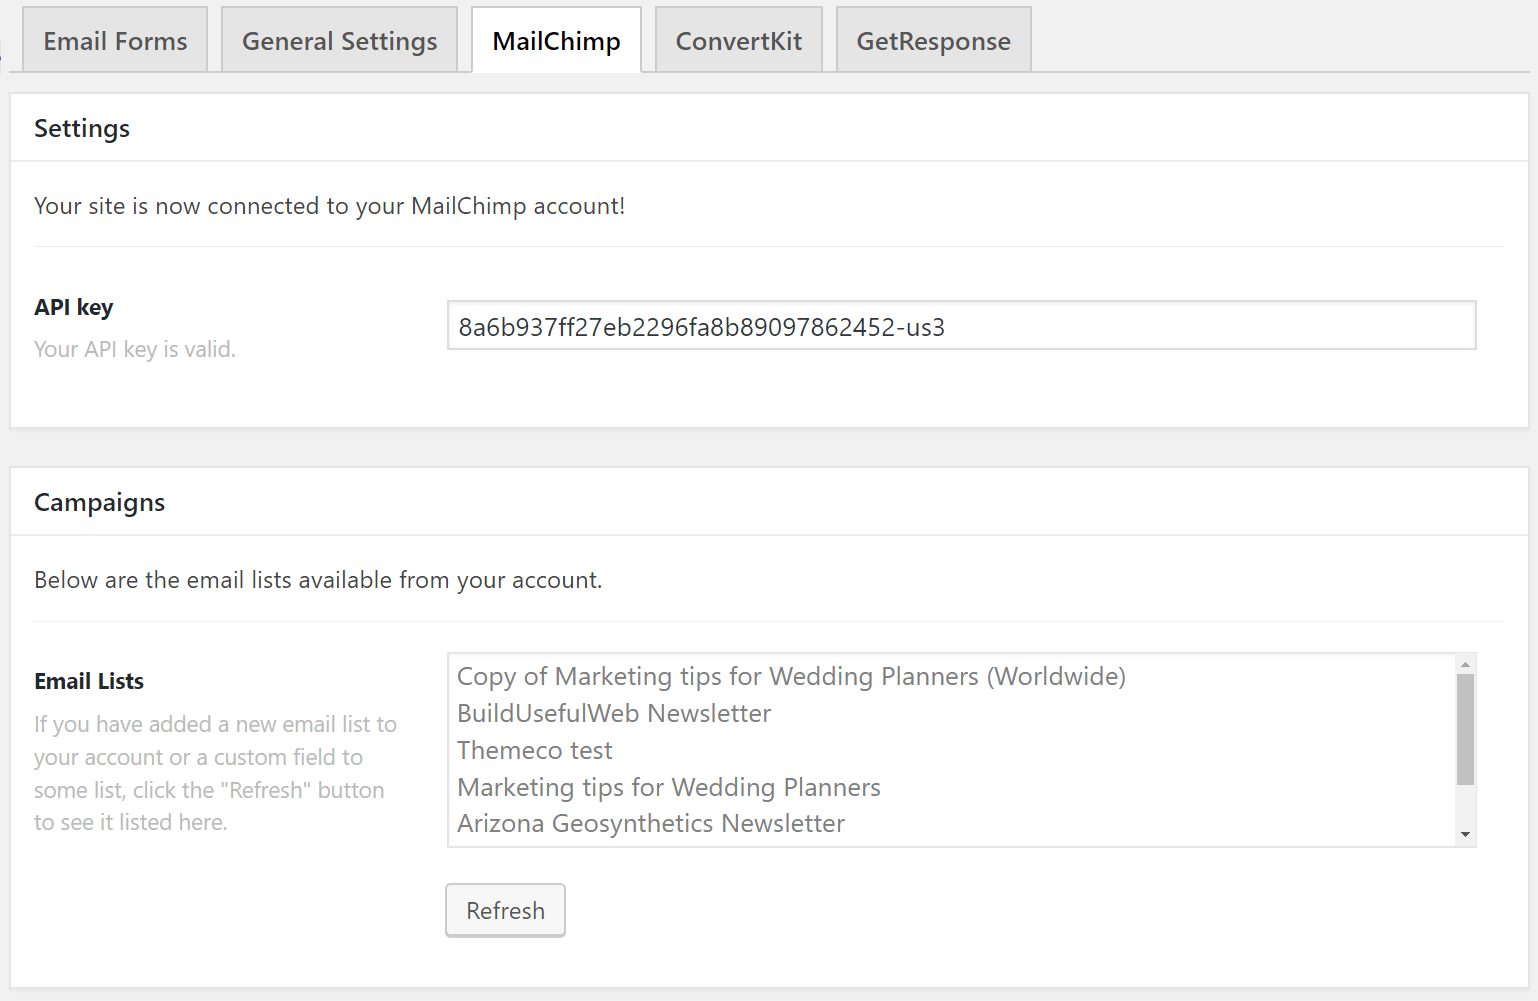
If everything has gone correctly, you'll also be able to see the Email Lists which the plugin has pulled from your MailChimp account. If for some reason your list isn't showing just click on Refresh and the plugin will re-populate the lists from your MailChimp account.
Now you've connected your website to MailChimp navigate to the General Settings tab in the Email Forms settings.
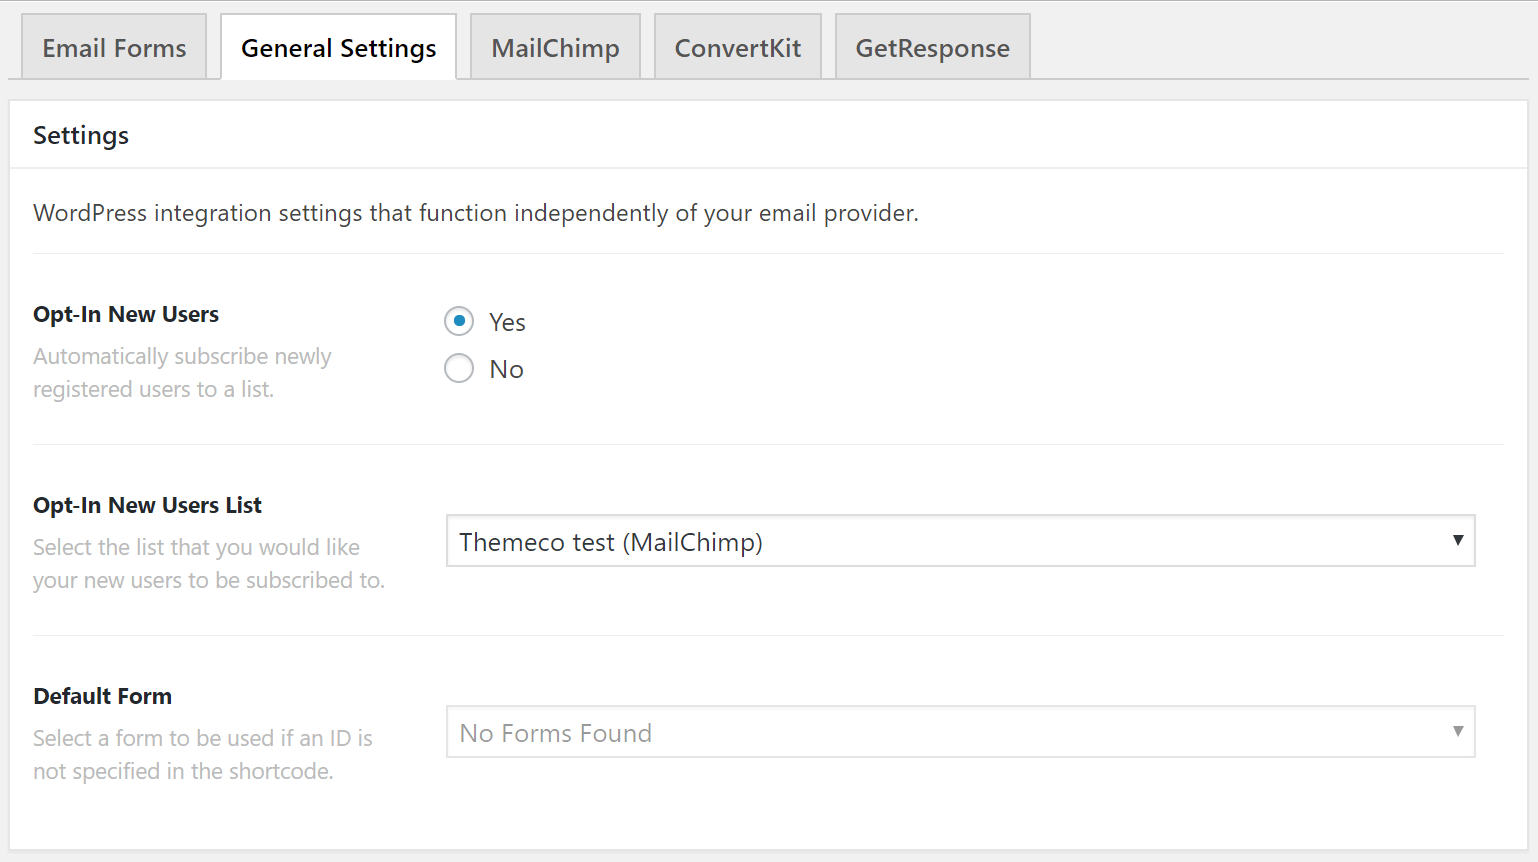
Here you can set whether to automatically opt-in newly registered users or not. This allows you to automatically add them to a list in your MailChimp account useful for if you want to use automated workflows where maybe you send anyone new to the list a welcome email after 24hours or a promotional offer. You'll also be able to select the form to be used if you don't specify a form ID when adding the email form shortcode which we cover below. For this to populate you will have already needed to create an email form within the Email Forms settings.
Creating an Email Form
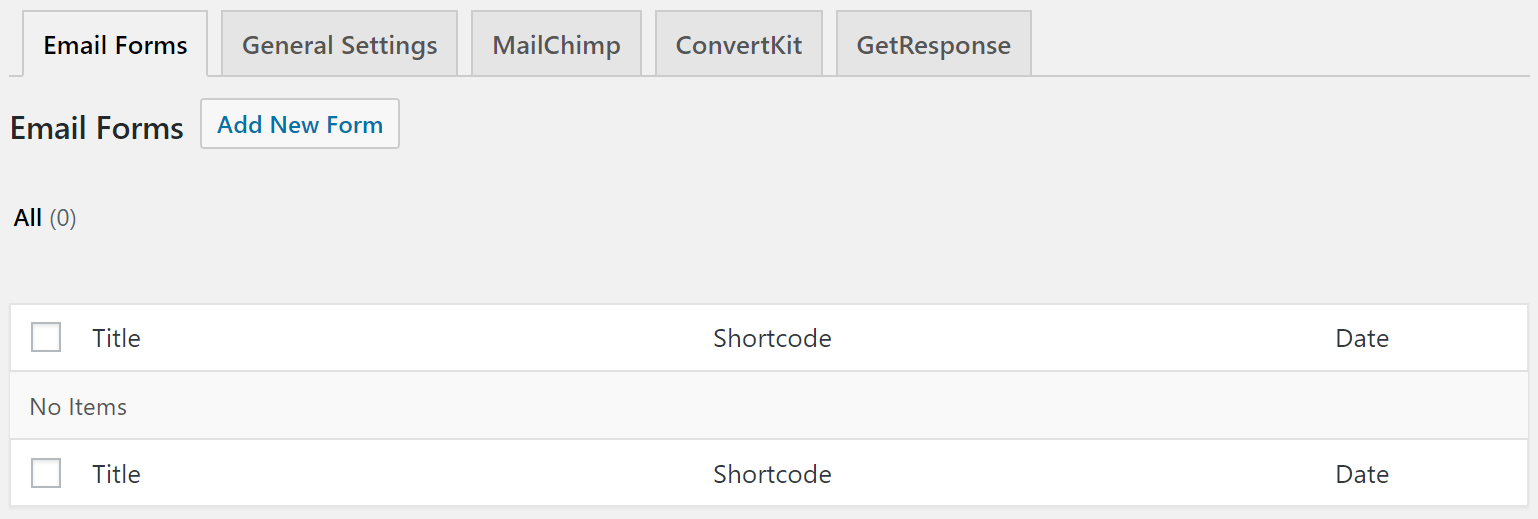
First of all, make sure you're on the Email Forms tab and then click on Add New Form.
You should then see the new Email Form settings like this:
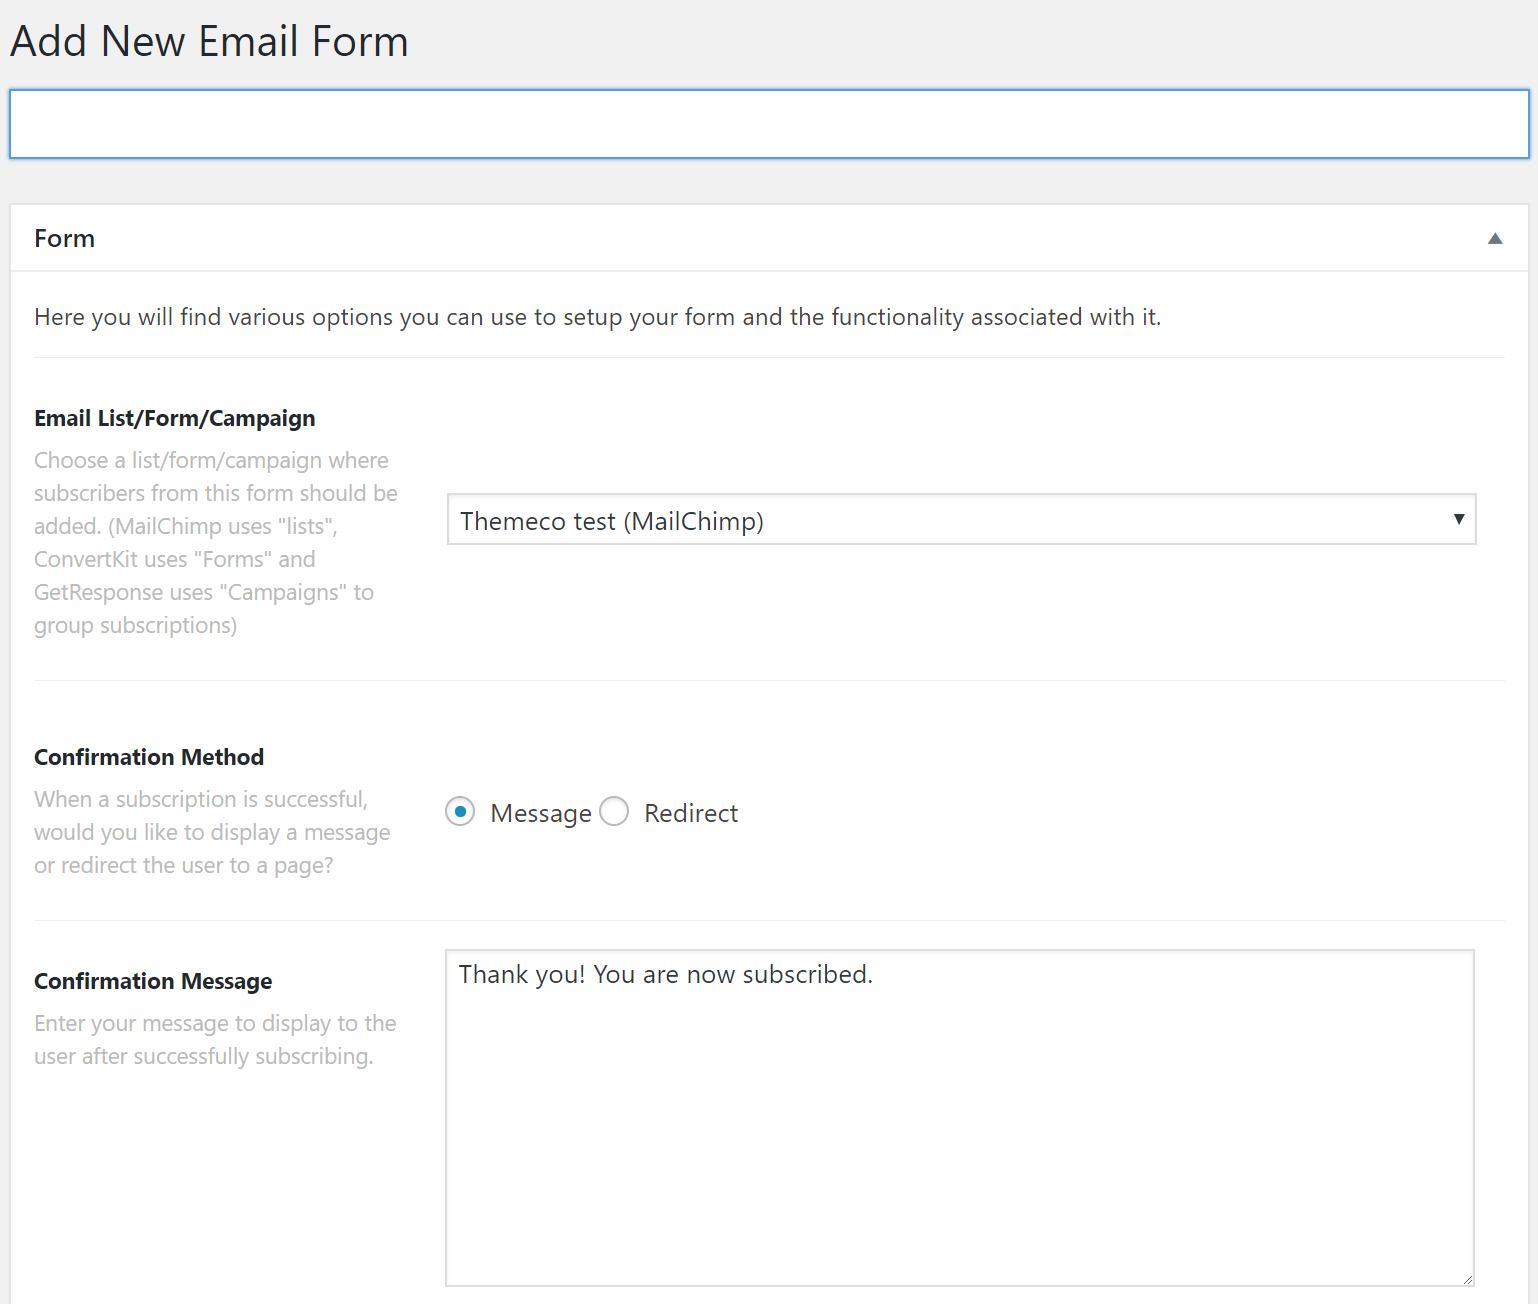
We'll go through each set of options, first of all, are the forms options which are as follows:
- Email List - The Email List from your MailChimp account that you want new subscribers to be added to.
- Confirmation Method - When a user successfully subscribes to your list either show a custom message or redirect to a page of your choice (useful if you'd like to provide a free download etc).
- Confirmation Message (if you select a message in the Confirmation Method option) - Enter your custom message to show once a user has successfully subscribed, plain text only.
- Confirmation Redirect (if you select Redirect in the Confirmation Method option) - Enter the URL of the page you'd like users to be redirected to upon successfully subscribing to your list.
- Show Title - Whether to display or hide the form title, if you choose to display the title, it'll output before the subscription form
- Name Field - Select how the name field displays on your subscription form either: None (The name field won't display), First, Last, Full (separated) or Full (Combined).
- Full Name Placeholder - This option will vary depending on what you selected in the previous step. For example, it may only be a first name placeholder. Enter the text (plain text) that you want to be the placeholder for the name field.
- Name Requirement - Select whether you want to require a user to enter their name.
- Email Field Placeholder - Enter the email placeholder which will display in the email field before a user starts typing.
- Submit Button Text - The text that displays in within the submit button. Plain text only.
- Show Labels - Select whether to display labels before the output of the subscription fields.
If you selected to show label before the inputs in your subscription form, you'll also see options for the following.
- First Name Label
- Last Name Label
- Full Name Label
- Email Label
The next options all relate directly the appearance of your form.
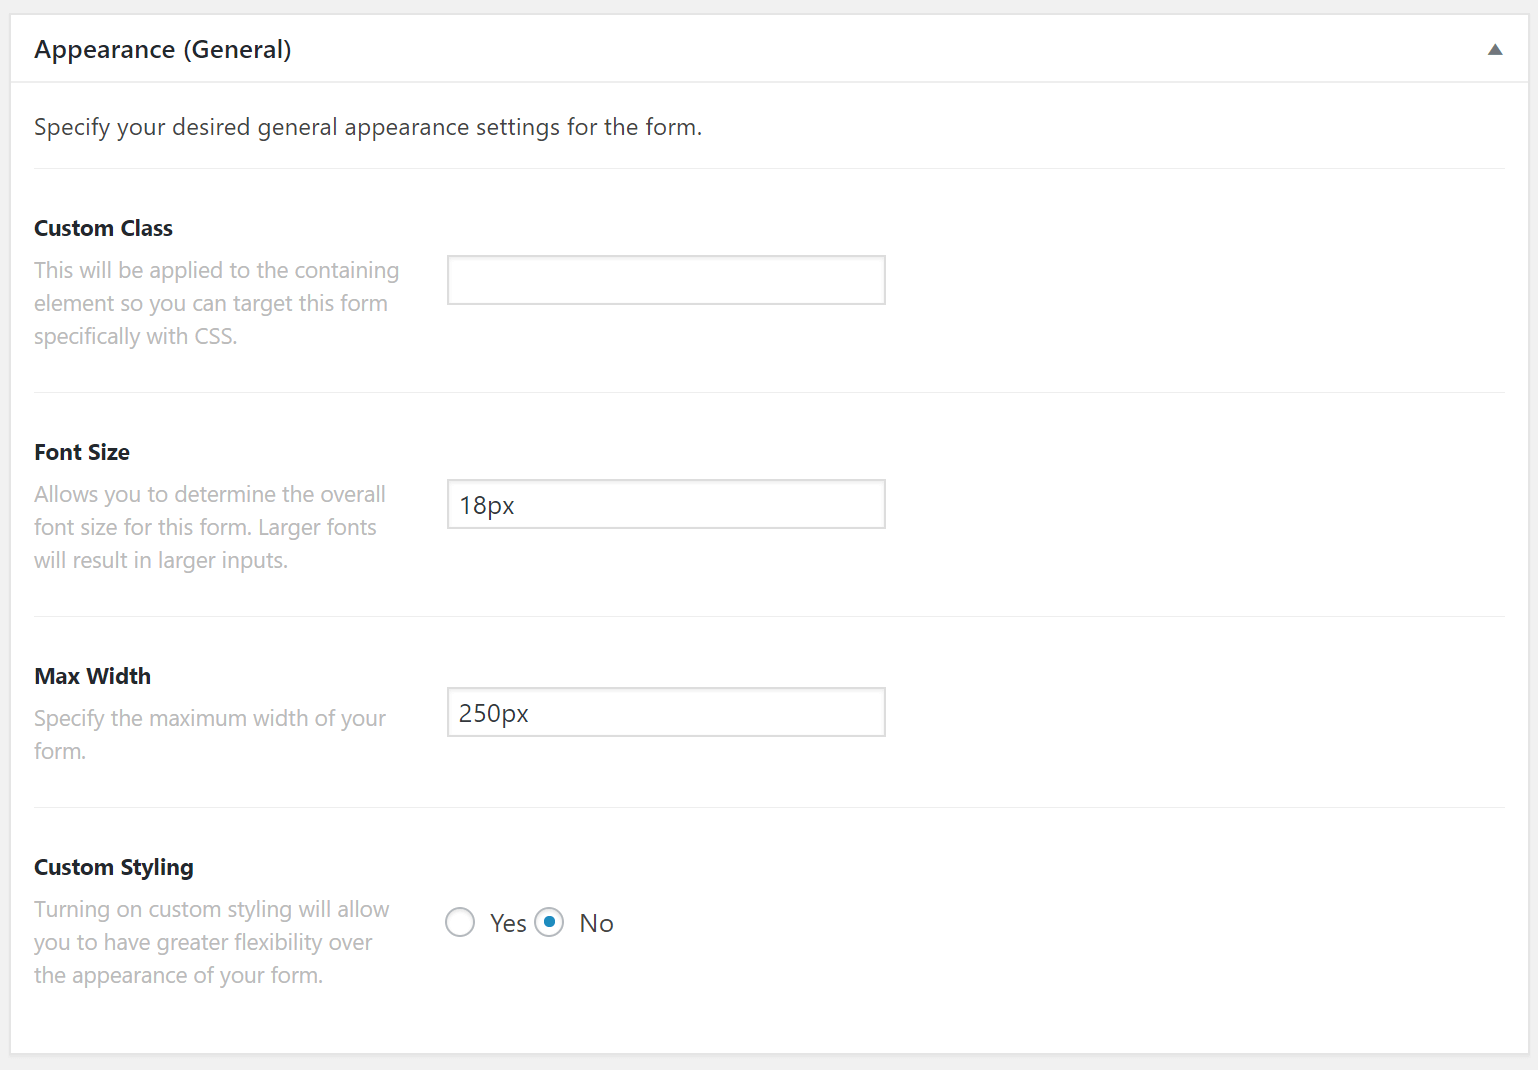
The options are:
- Custom Class - Allows you to specify a CSS class of your choice, which you can then use to apply custom styling to your form.
- Font Size - Set the font-size of all the text for your subscription form.
- Max Width - Allows you to specify the maximum width in pixels that your subscription form will take up.
- Custom Styling - Set custom styling on or off, if enabled you'll be presented with another set of options for modifying the appearance of your form.
If you set Custom Styling to Yes in the previous step you'll see another range of form modifications options like this:
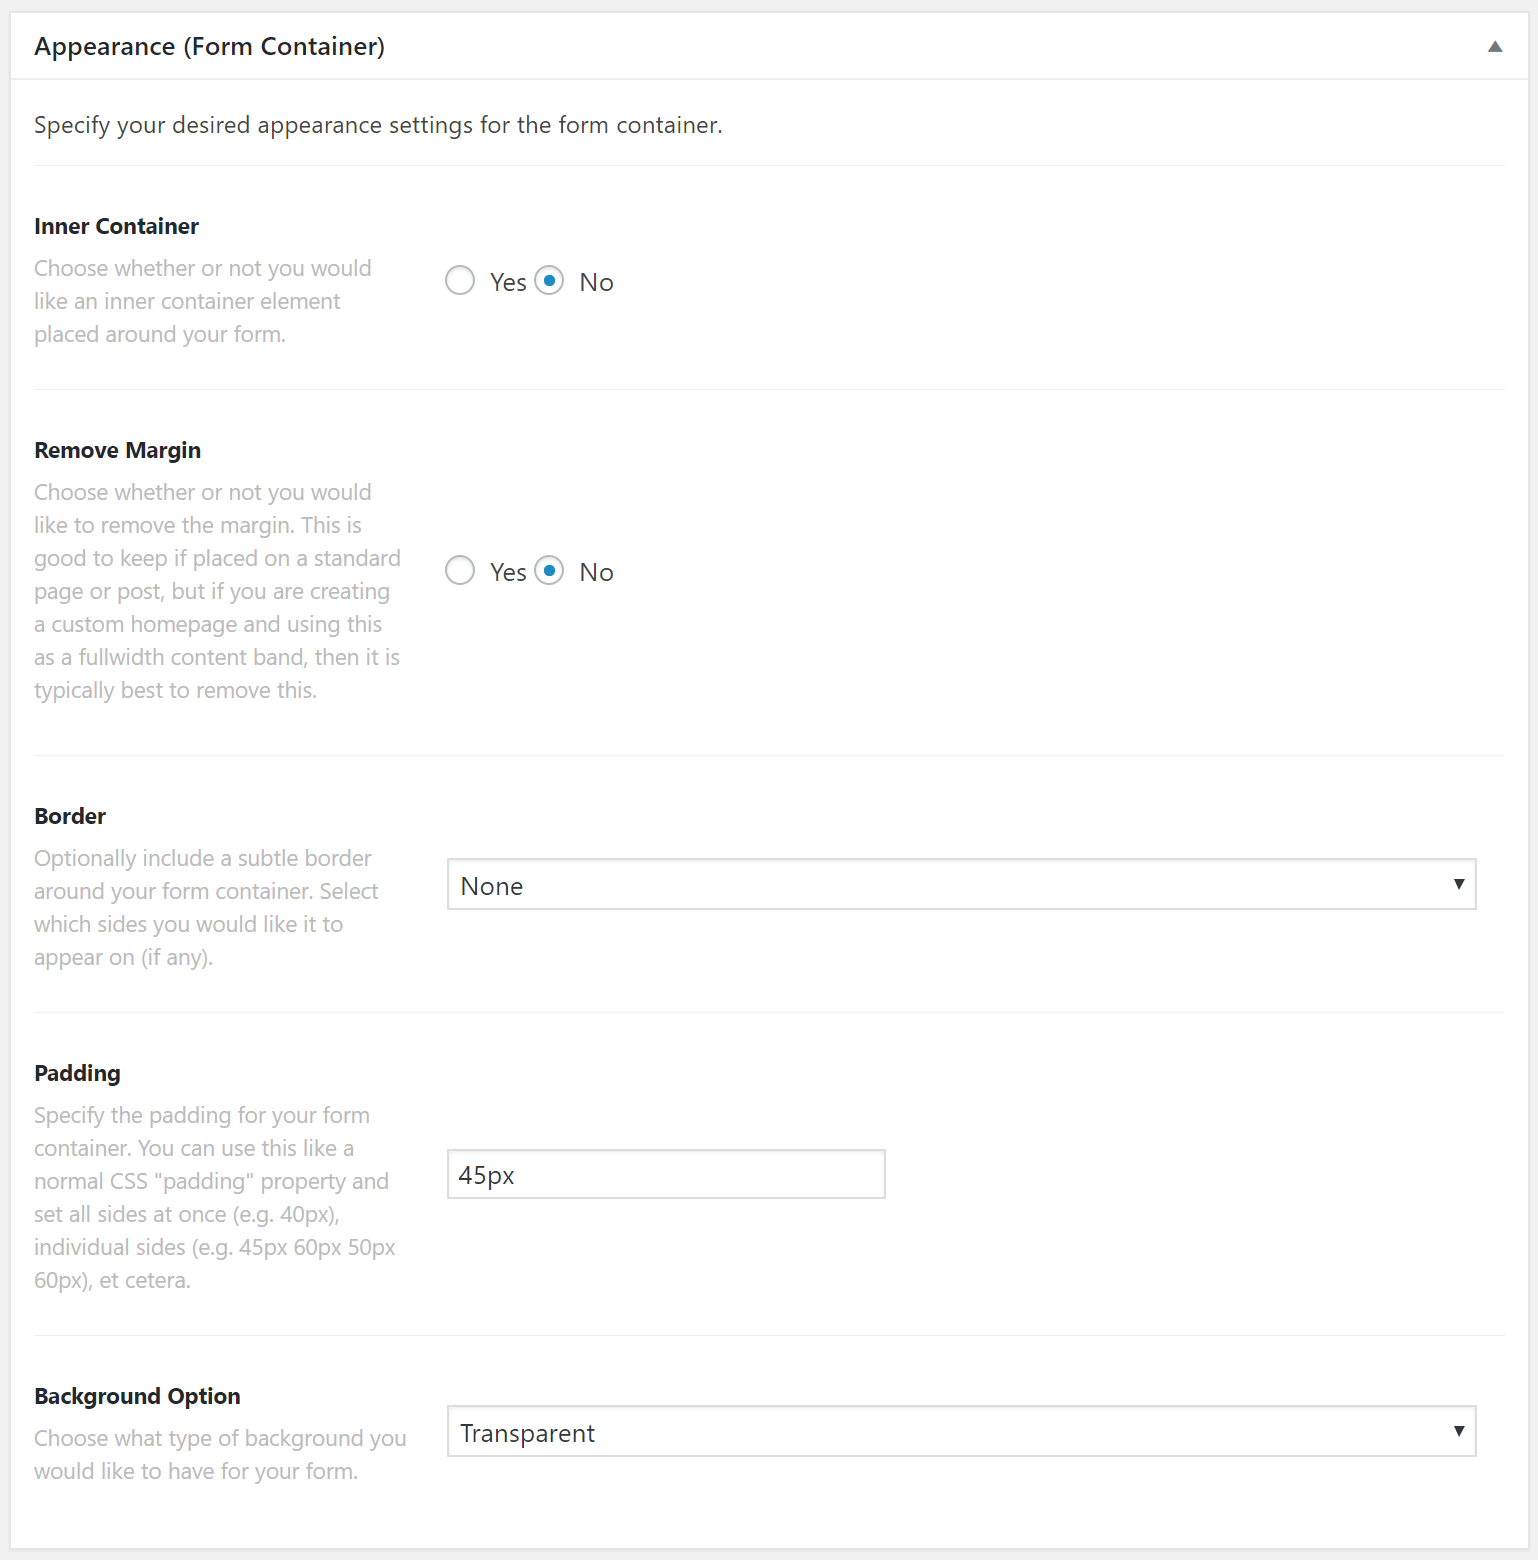
The first batch of options all specifically relate to the form container, which are:
- Inner Container - Yes or no, select whether you want the inner container to be placed around your form or not.
- Remove Margin - Select whether you want to remove the margin around the form or not. This is good to keep if placed on a standard page or post, but if you are creating a custom homepage and using this as a fullwidth content band, then it is typically best to remove this.
- Border - Allows you to select a subtle border to display your form.
- Padding - Allows you to set the padding for your form container. Requires you to enter a PX value, i.e, 45px. Not 45 for example.
- Background Option - This option allows you to set a background for your subscription form, useful if you'd like to create a full-width section for your subscription form and want a background behind it. You can select from either Transparent, Color, Pattern or Video.
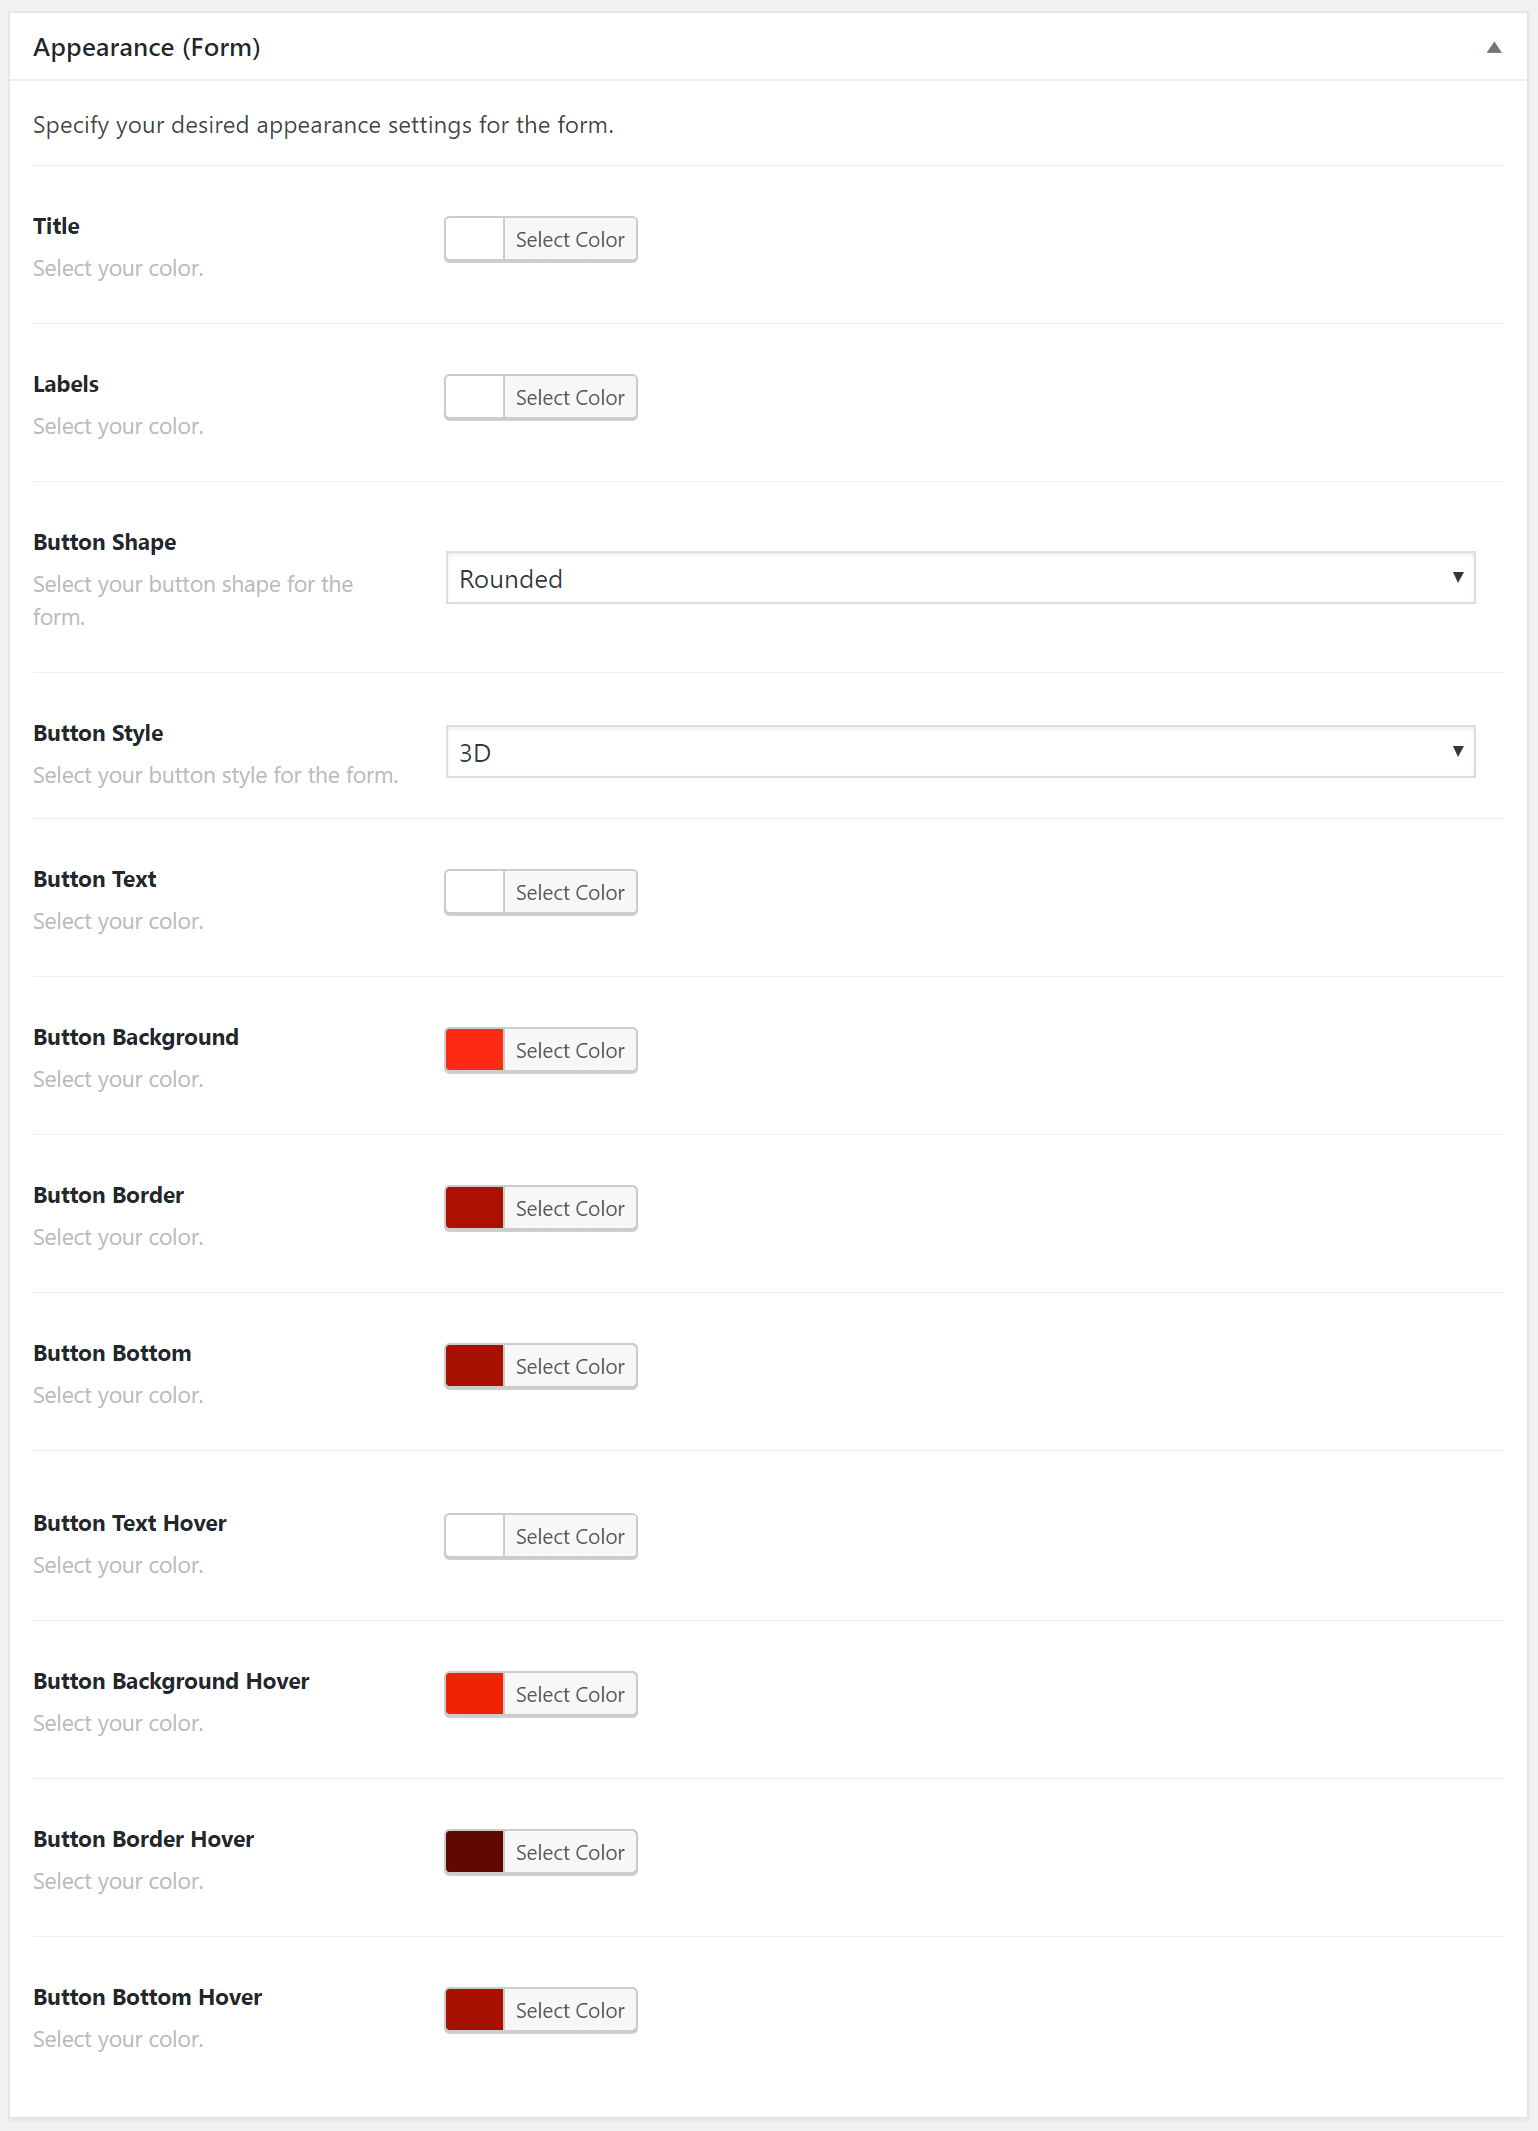
The next set of options all directly relate to the form appearance and colors. All options are self-explanatory and let you set various colors using color pickers for different aspects of the forms, such as buttons, hover colors etc.
Once you're happy with your form configuration to go ahead and click on Publish.
Displaying Your Email Form
Now you form is published head on over to X/Pro > Email Forms > Email Forms and you should see your newly created form like this:
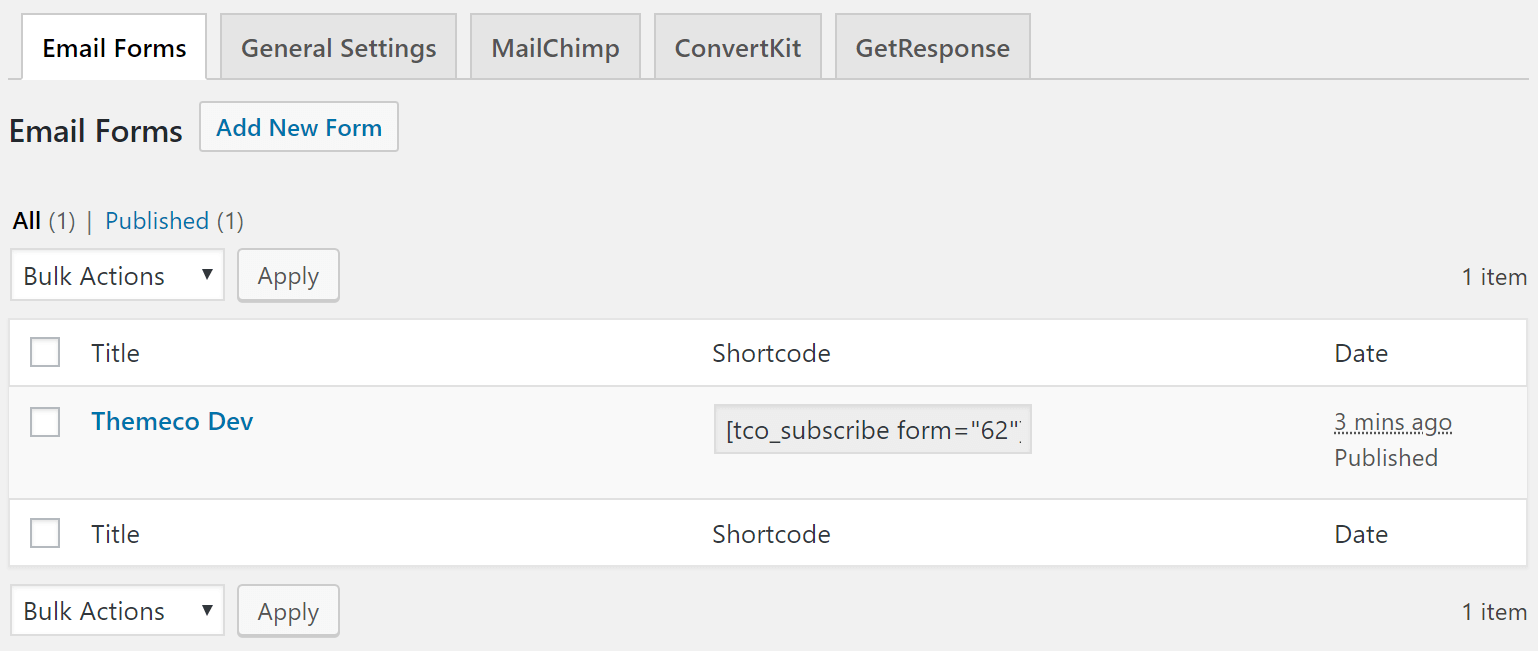
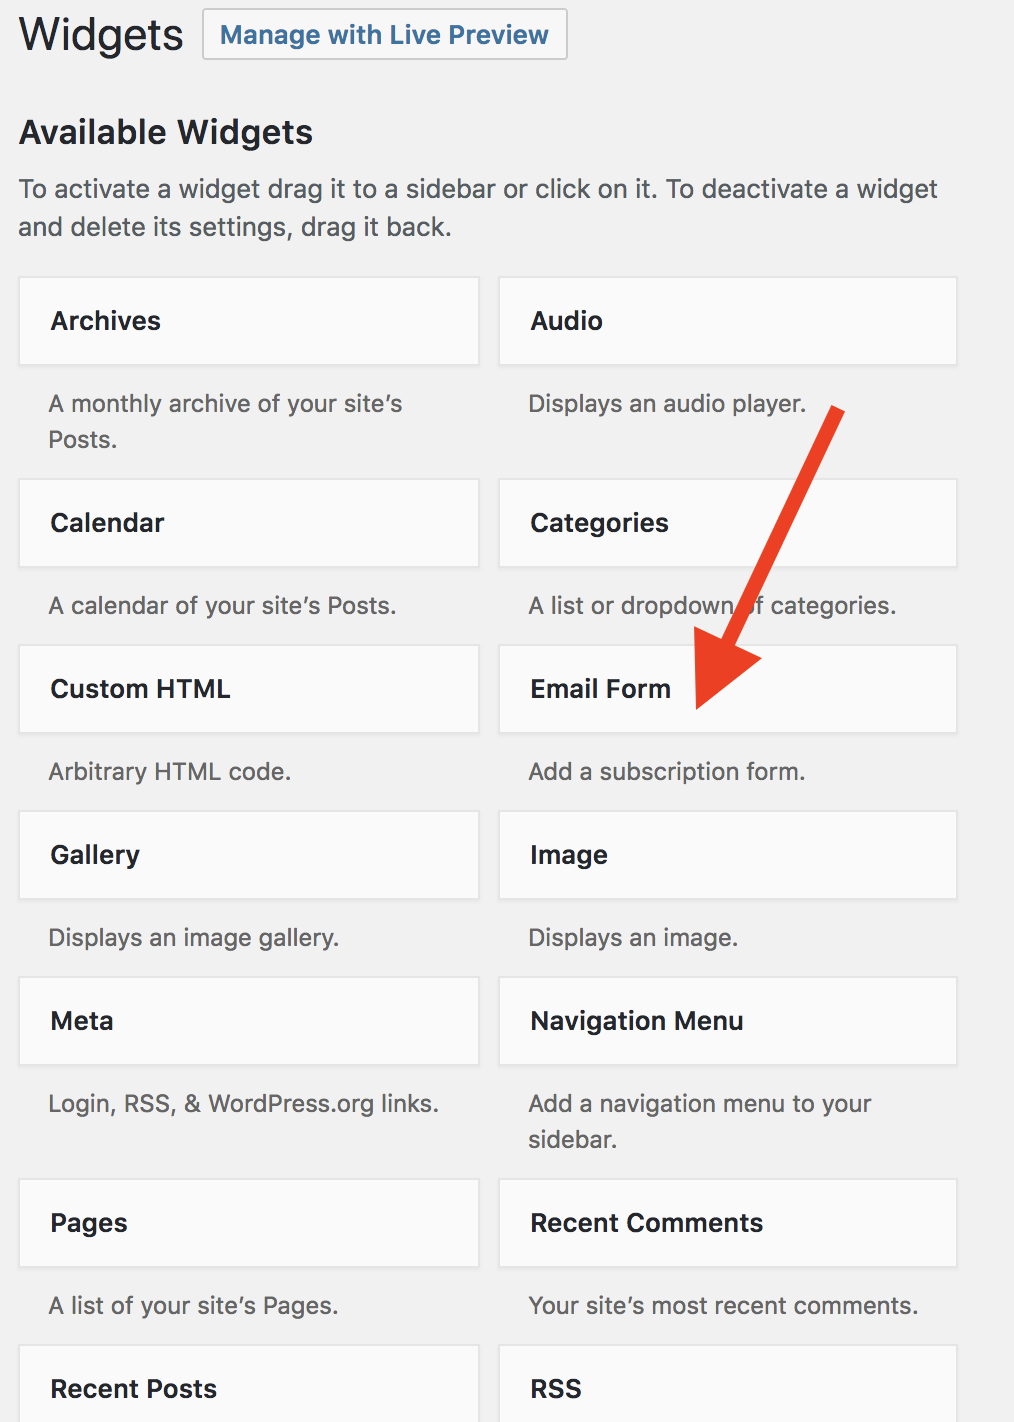
Where you see the Shortcode this is what you use to place your form. You can use the shortcode in a Cornerstone text element, raw content element, on any post or page etc. Email Forms also includes an Email Form widget option. If you navigate to Appearance > Widgets in your WordPress Admin you'll see the Email Form widget like this:
If you drag that over to any of your active widget areas, you can then select the email form you want to output within the widget:
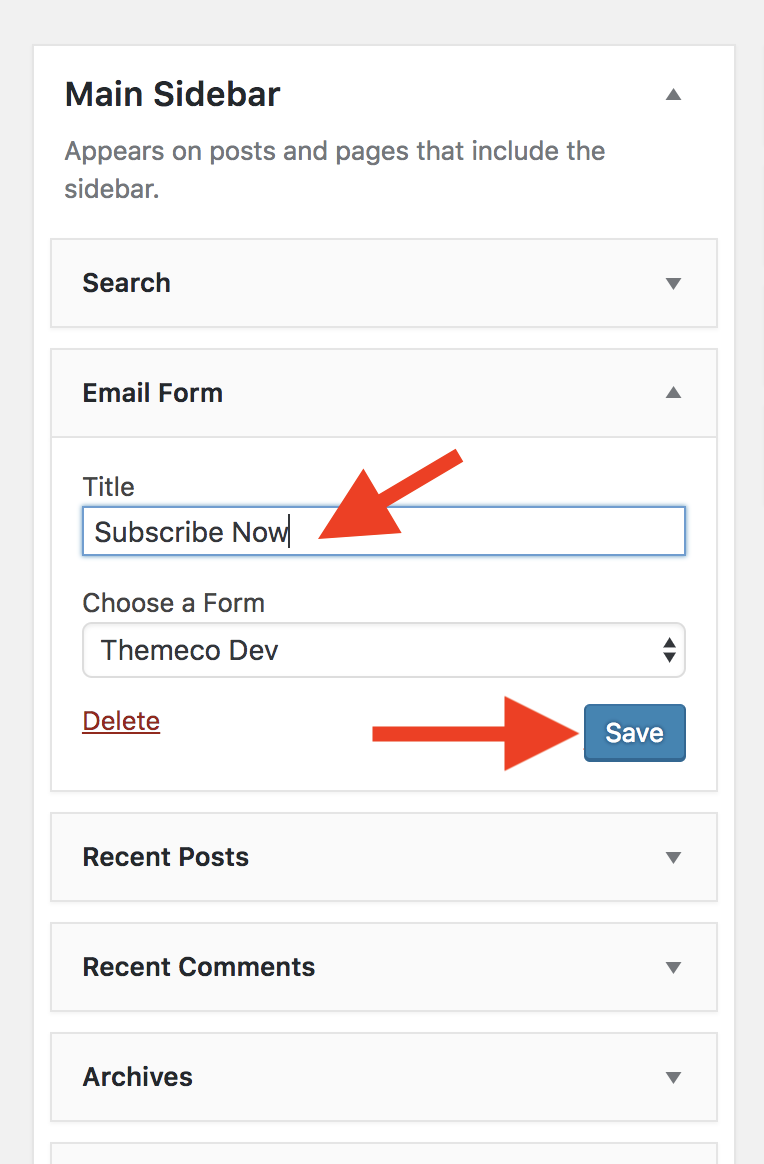
Just select your form from the drop-down and click save.
Once you've set everything up and added your shortcode to a page, you should see your new Email Form displaying on your website like this:
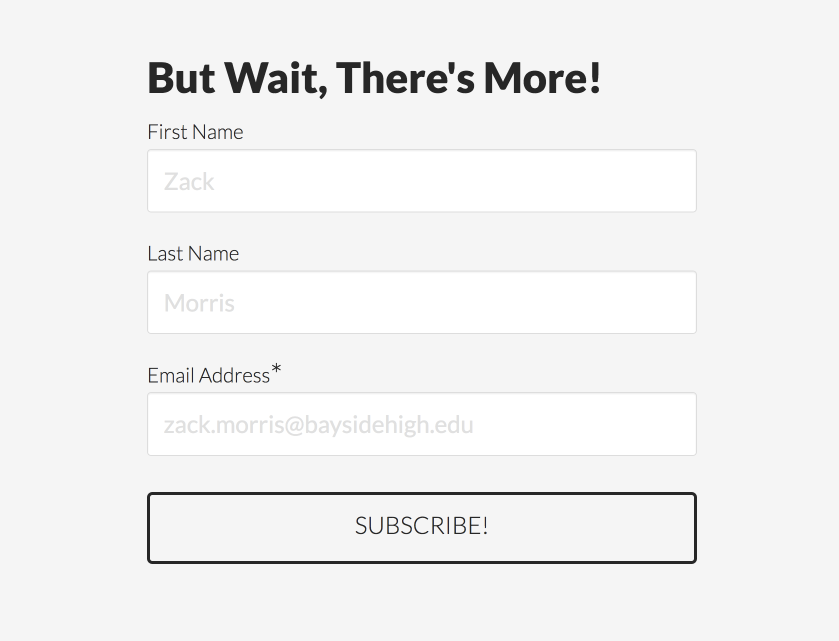
Congrats! You have now successfully configured your brand new Email Form.
Summary
There you have it! You're on your way to boosting the number of subscribers on your website using MailChimp and our Email Forms extension.
See something inaccurate? Let us know