ConvertPlus
In this article, we'll cover some usage examples of how you can utilize ConvertPlus within your X or Pro powered site. We'll mainly be focusing on how to use ConvertPlus and so may skip over some finer details.
ConvertPlus is one of the most extensive lead generation plugins available. It lets you fuel engagement, get more subscribers and increase conversion rates.
Getting Started
Go to Pro > Validation or X > Validation for X then look for ConvertPlus. Click Install.

Once installed, the Install button will change and say Activate. Click that button and it will activate the plugin. You will then see the status change to Installed and Activated.
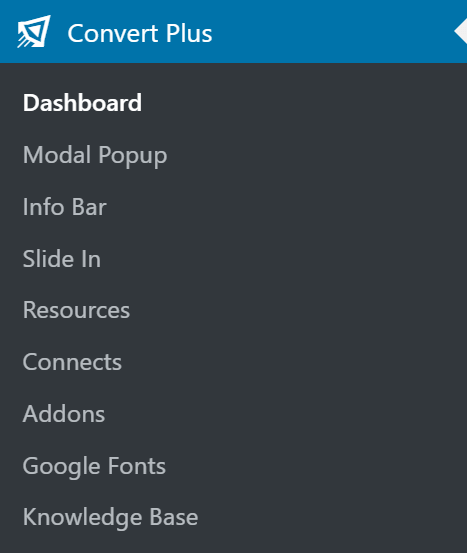
After installing and activating ConvertPlus, you should then see the ConvertPlus menu item on your WordPress dashboard.
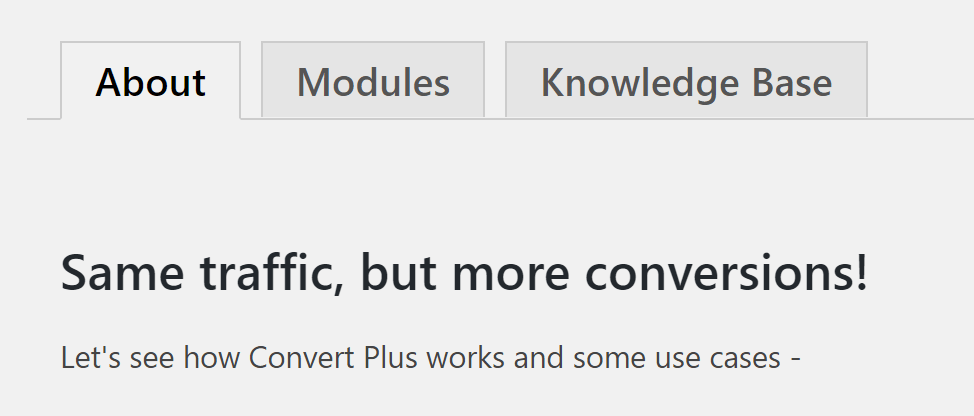
When you activate ConvertPlus for the first time, it'll take you to the getting started screen as shown below:

Use Cases for ConvertPlus
ConvertPlus is an extremely flexible plugin that provides elements such as Exit Intent Modal Popups, Notification Bar, Slide Ins that are designed to boost conversions on websites including:
- Exit Intent & Two Step Popups
- Notification Bar, Slide Ins
- Integration with mailers like MailChimp, Aweber
- Easy A/B Testing
- Built-in Analytics
Use cases include:
- Build the email list, get more subscribers.
- Promote your offers, share news, drive traffic.
- Get feedback from abandoning visitors.
- Convert more visitors to eCommerce websites.
- Or simply, use it to create a cool modal popup on your website.
In the first example, we're going to set up one of the default modal designs and change the text on the modal buttons.
Creating Your First Modal
Once you've landed on the welcome screen, you'll see options such as modules and registration.
These are explained in the official documentation. So we're just going to get started with adding an opt-in form to our site.
Go ahead and click on Let's get started.

This will take you to choose the theme/style for your modal:
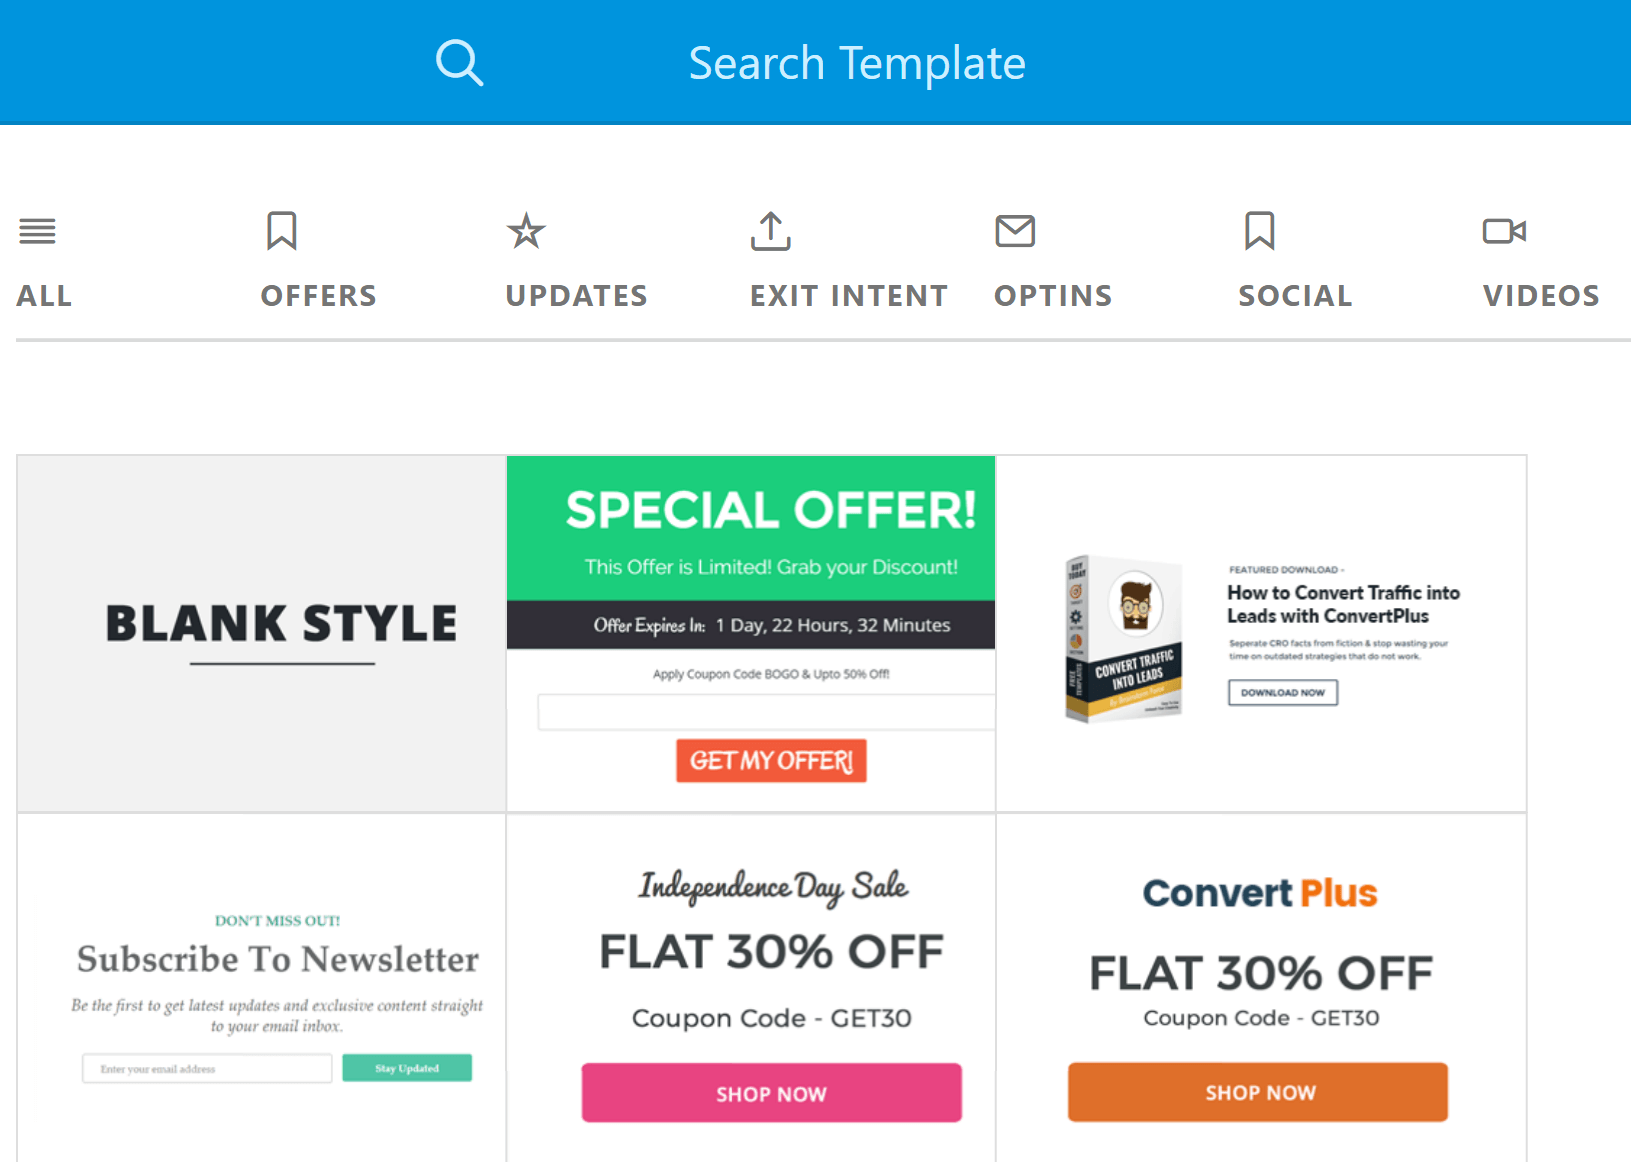
Select any style of your choice to create your modal. You can also preview the modals by hovering over them and clicking on Live Preview.
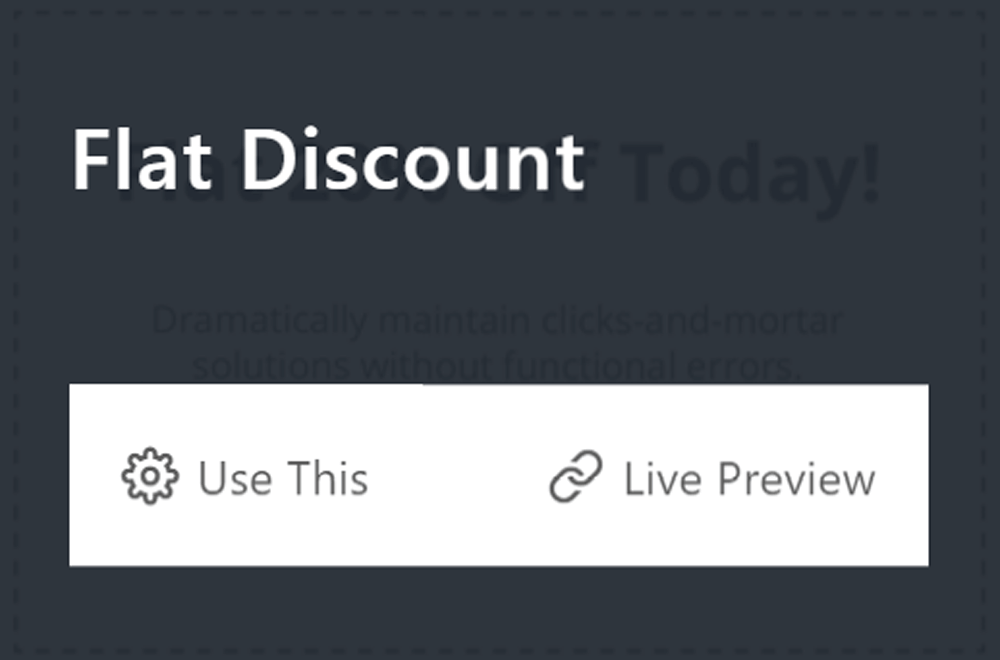
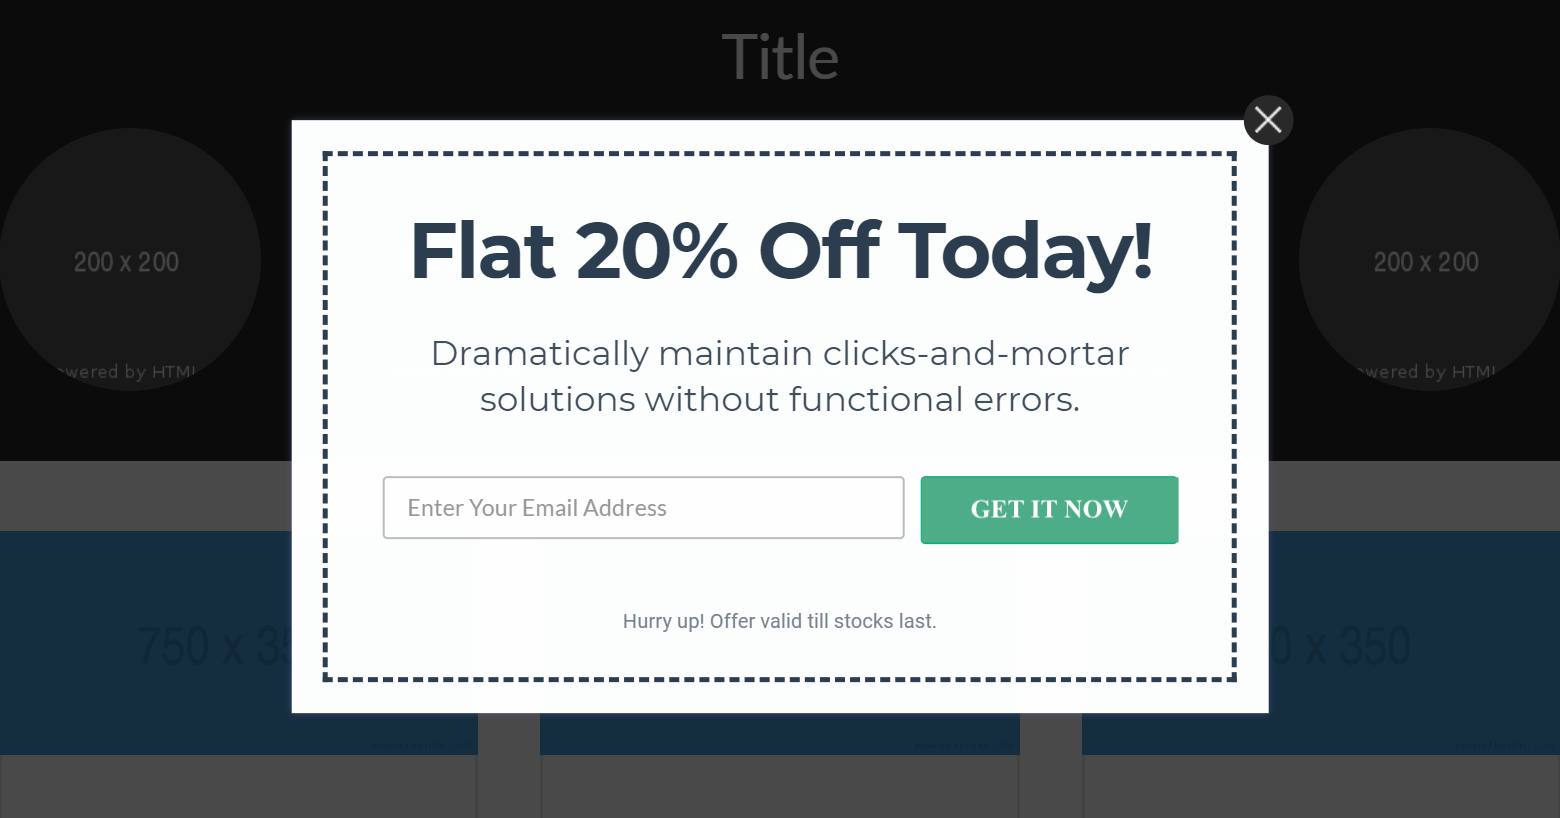
When you click Live Preview, you'll see the preview of the modal in the admin area like this:

For the purpose of this article, we're going to use the Flat Discount 20% off today modal. Click Use This to select the modal style. Once you've done that, you'll be taken to the design section like shown below:
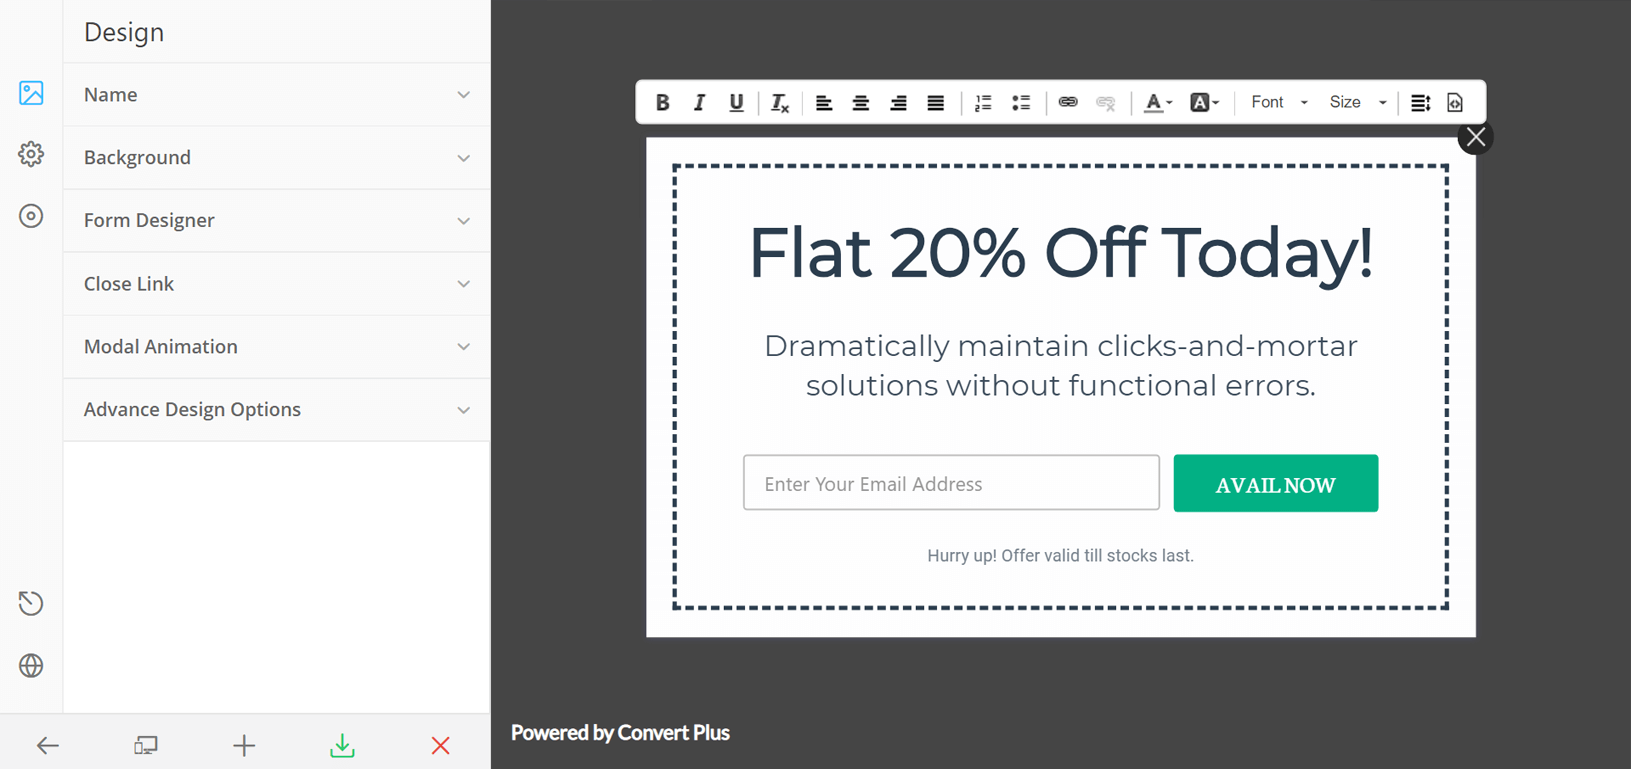
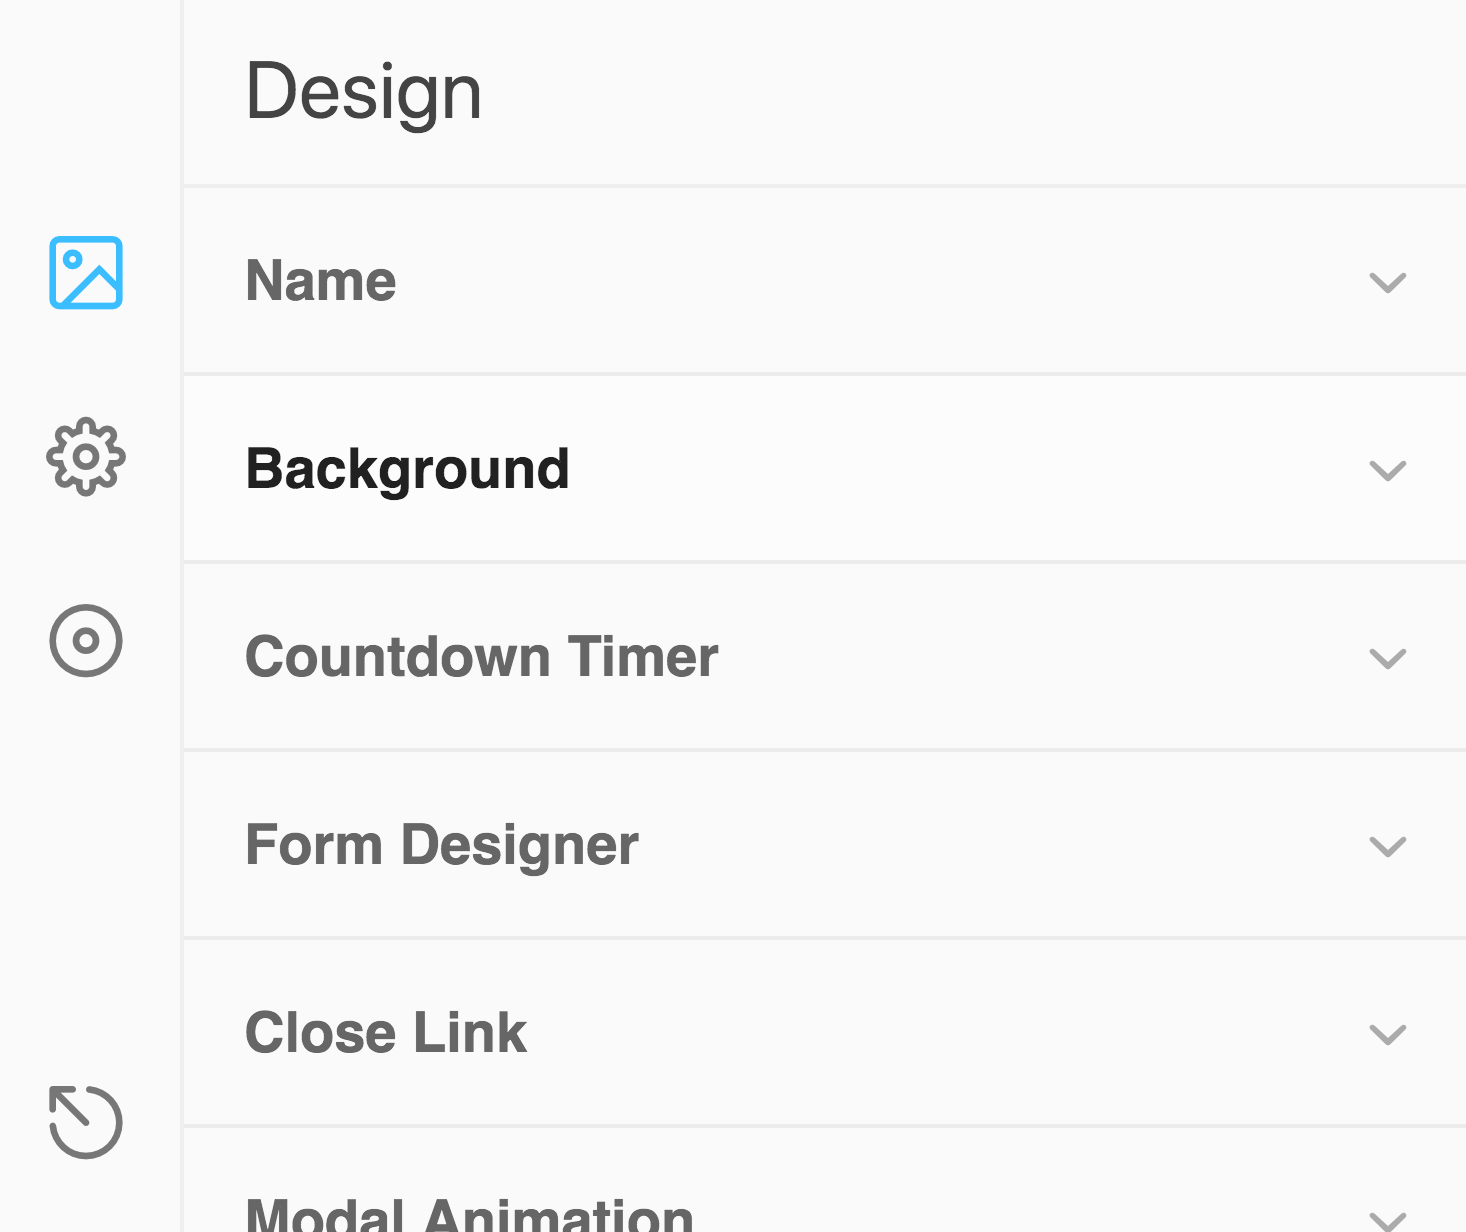
As you can see on the left hand side there are various options that once clicked reveal a dropdown to display more options. We won't cover all of these, but you can find out more about each option in the official documentation which you can find in the Further Reading section below.
You'll want to click on the Name and fill that in.
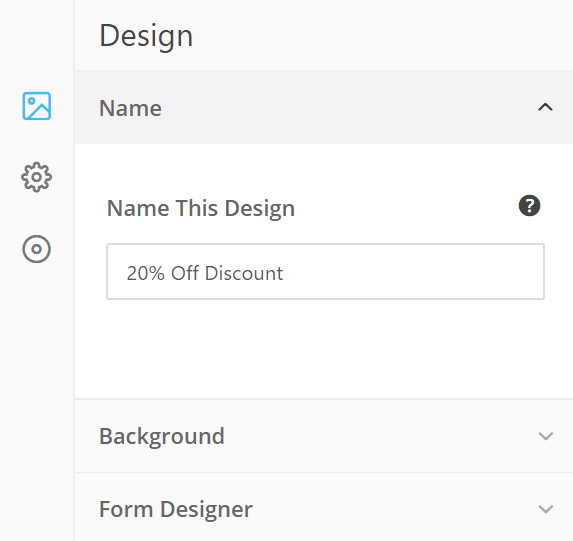
The Name will appear in your WordPress dashboard analytics for ConvertPlus allowing you to keep track, so make sure it's something memorable!
Next up are the design options. On the far left are three icons. These cover Design (what we've just covered), Behaviour (When the modal should show and how) and lastly Submission (how you collect the leads, default form, custom form etc). All this is explained in depth in the plugin documentation.
One interesting possibility with the Behavior options is the Launch With CSS class which you can find by clicking on Behaviour > Manual Launch:
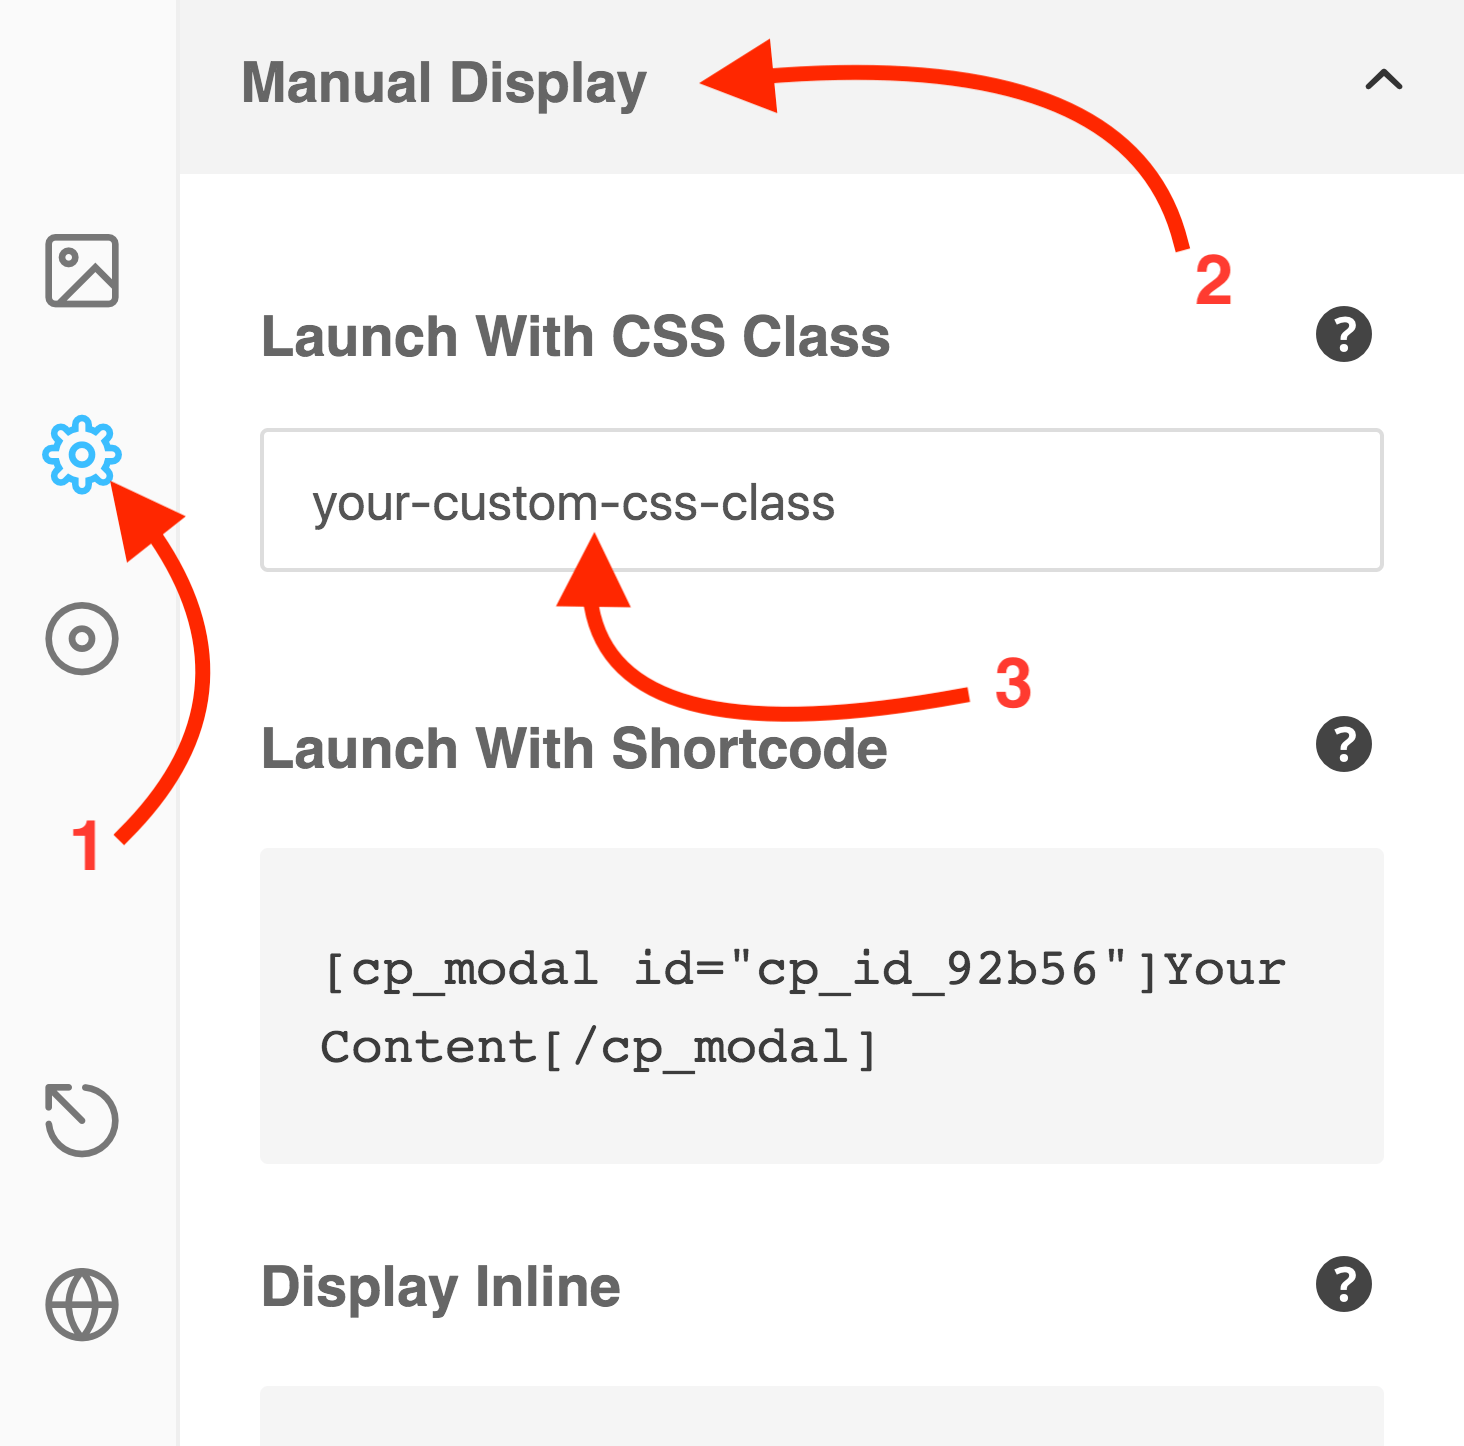
This would allow you to add a button in Cornerstone / Content Builder with a custom CSS class then use that same CSS class we added in the behaviour option, allowing it to be launched on click.
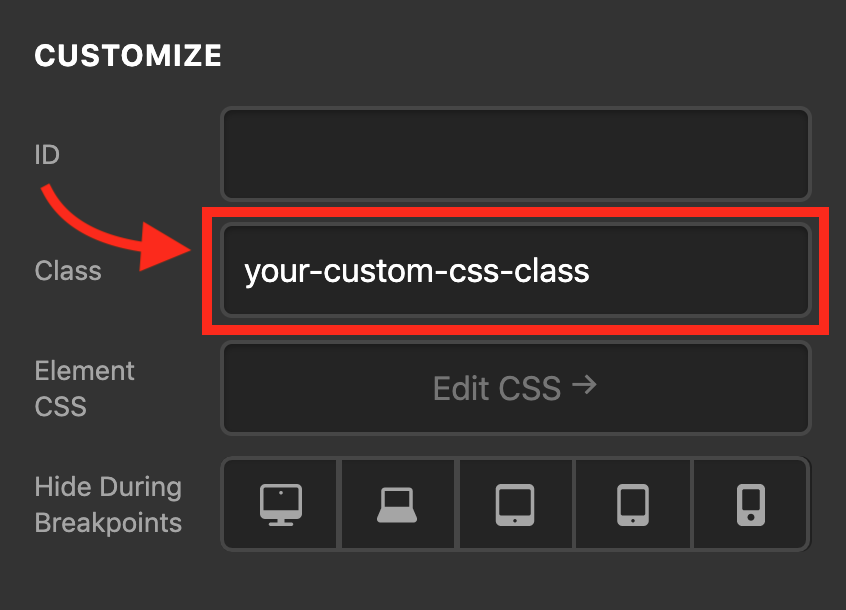
To do that, we open up the page using Cornerstone / Content Builder and add a Button element. Inspect the button and add your-custom-css-class in the Class field to match the class we associated with our modal.
So now if visitors click that button on the front-end, the modal popup we created will be displayed.
Now let's change the text on button from Avail Now to Get it Now. To do that, first click on the button. You'll see a blinking cursor at the end of the text and an editing toolbar shown below.
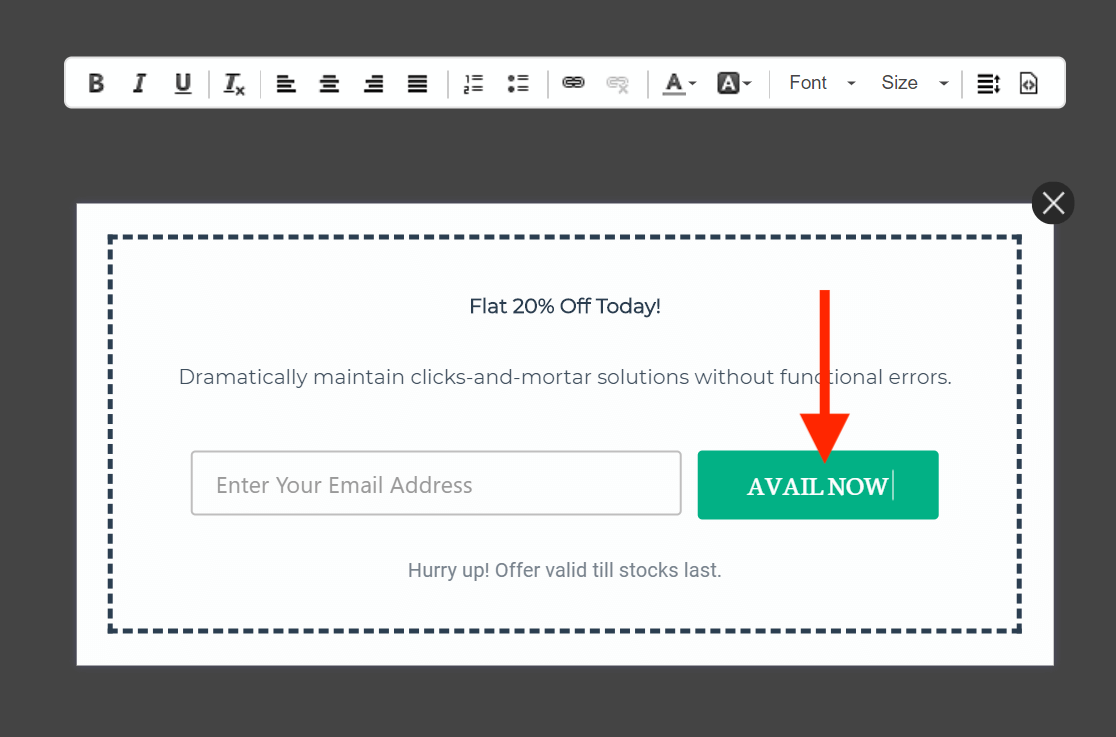
Then type the text..
After you've done all your changes, click the Save icon:
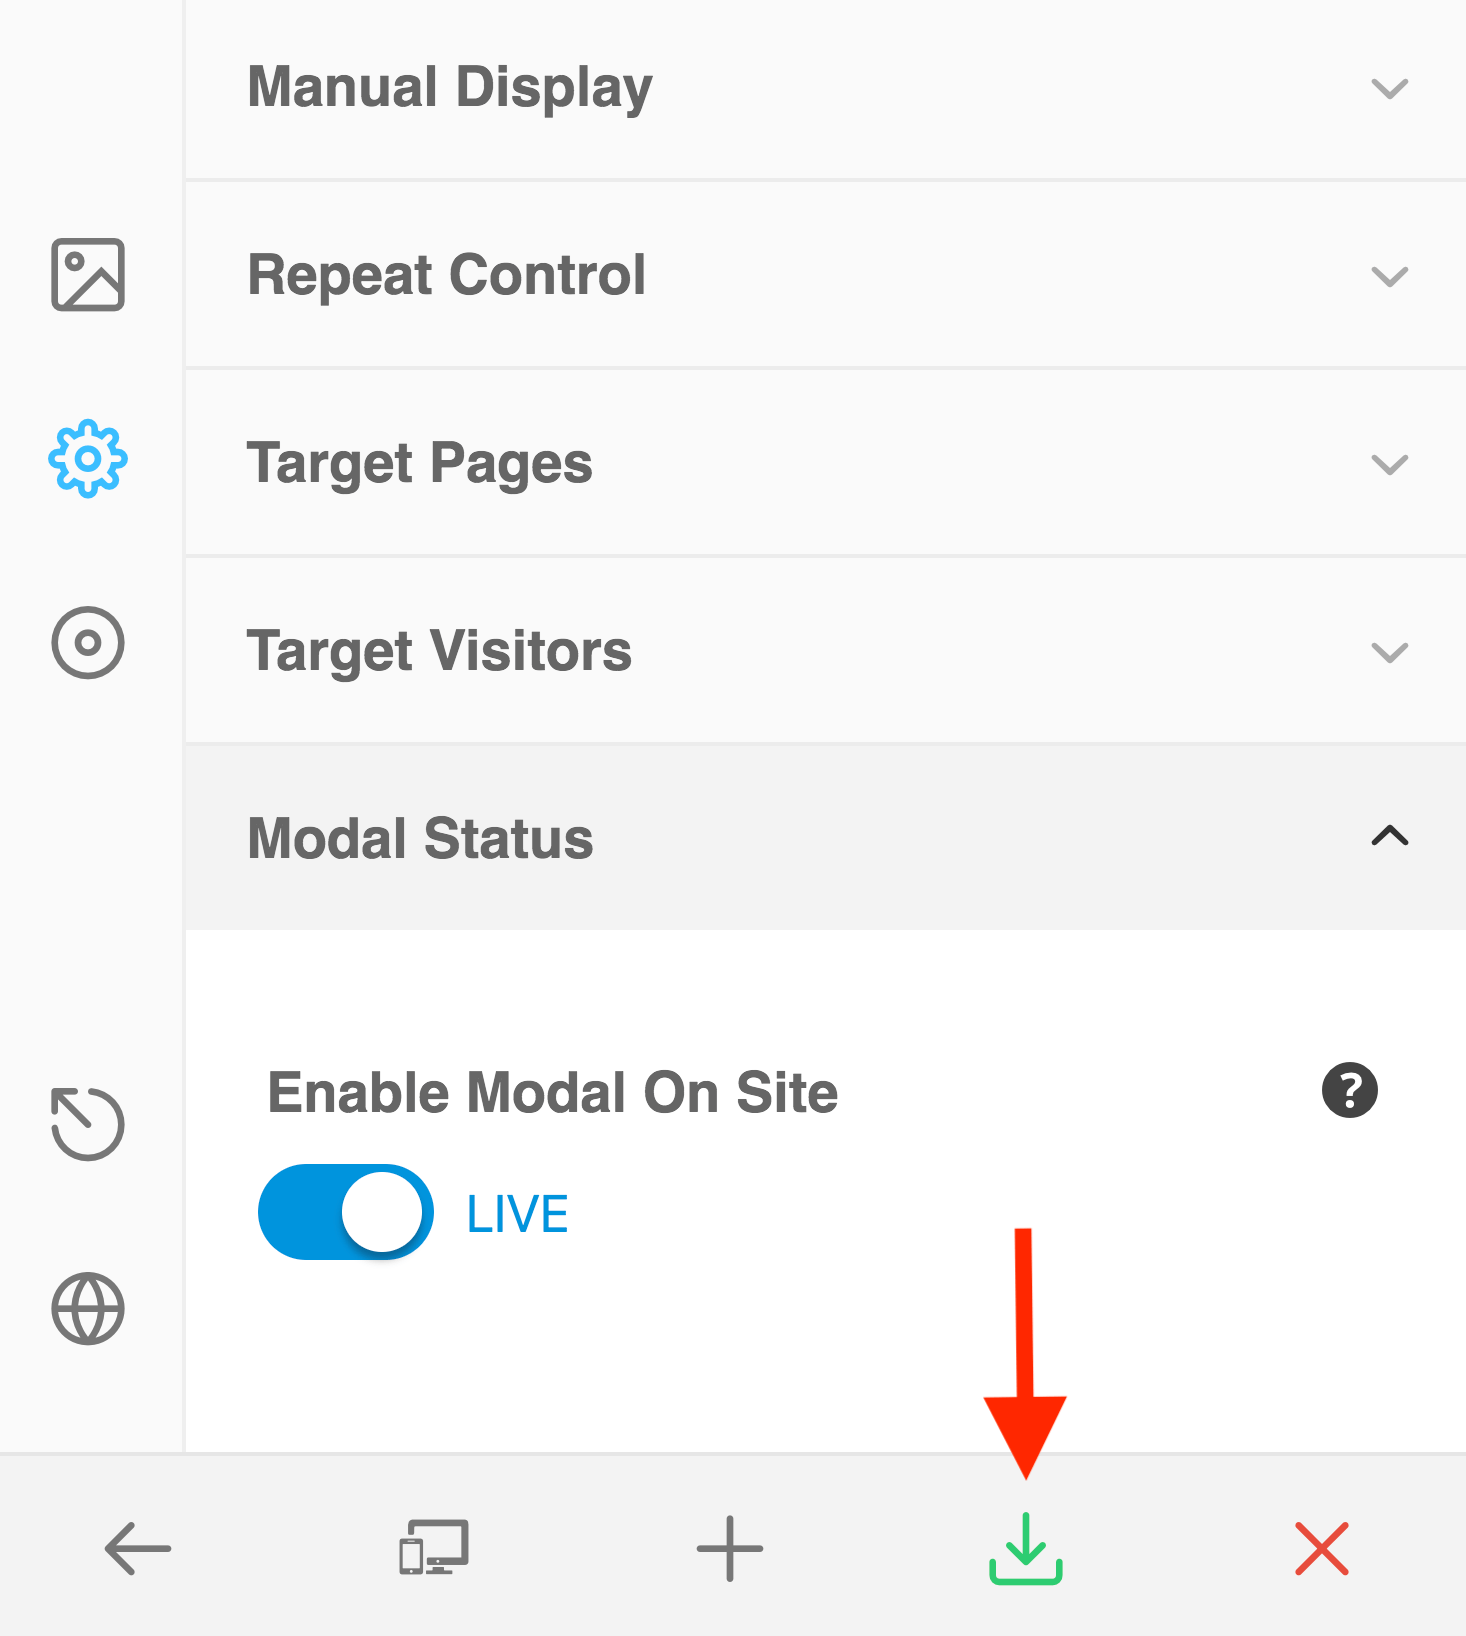
After you've successfully saved the change, click on the bottom icon to view your site:
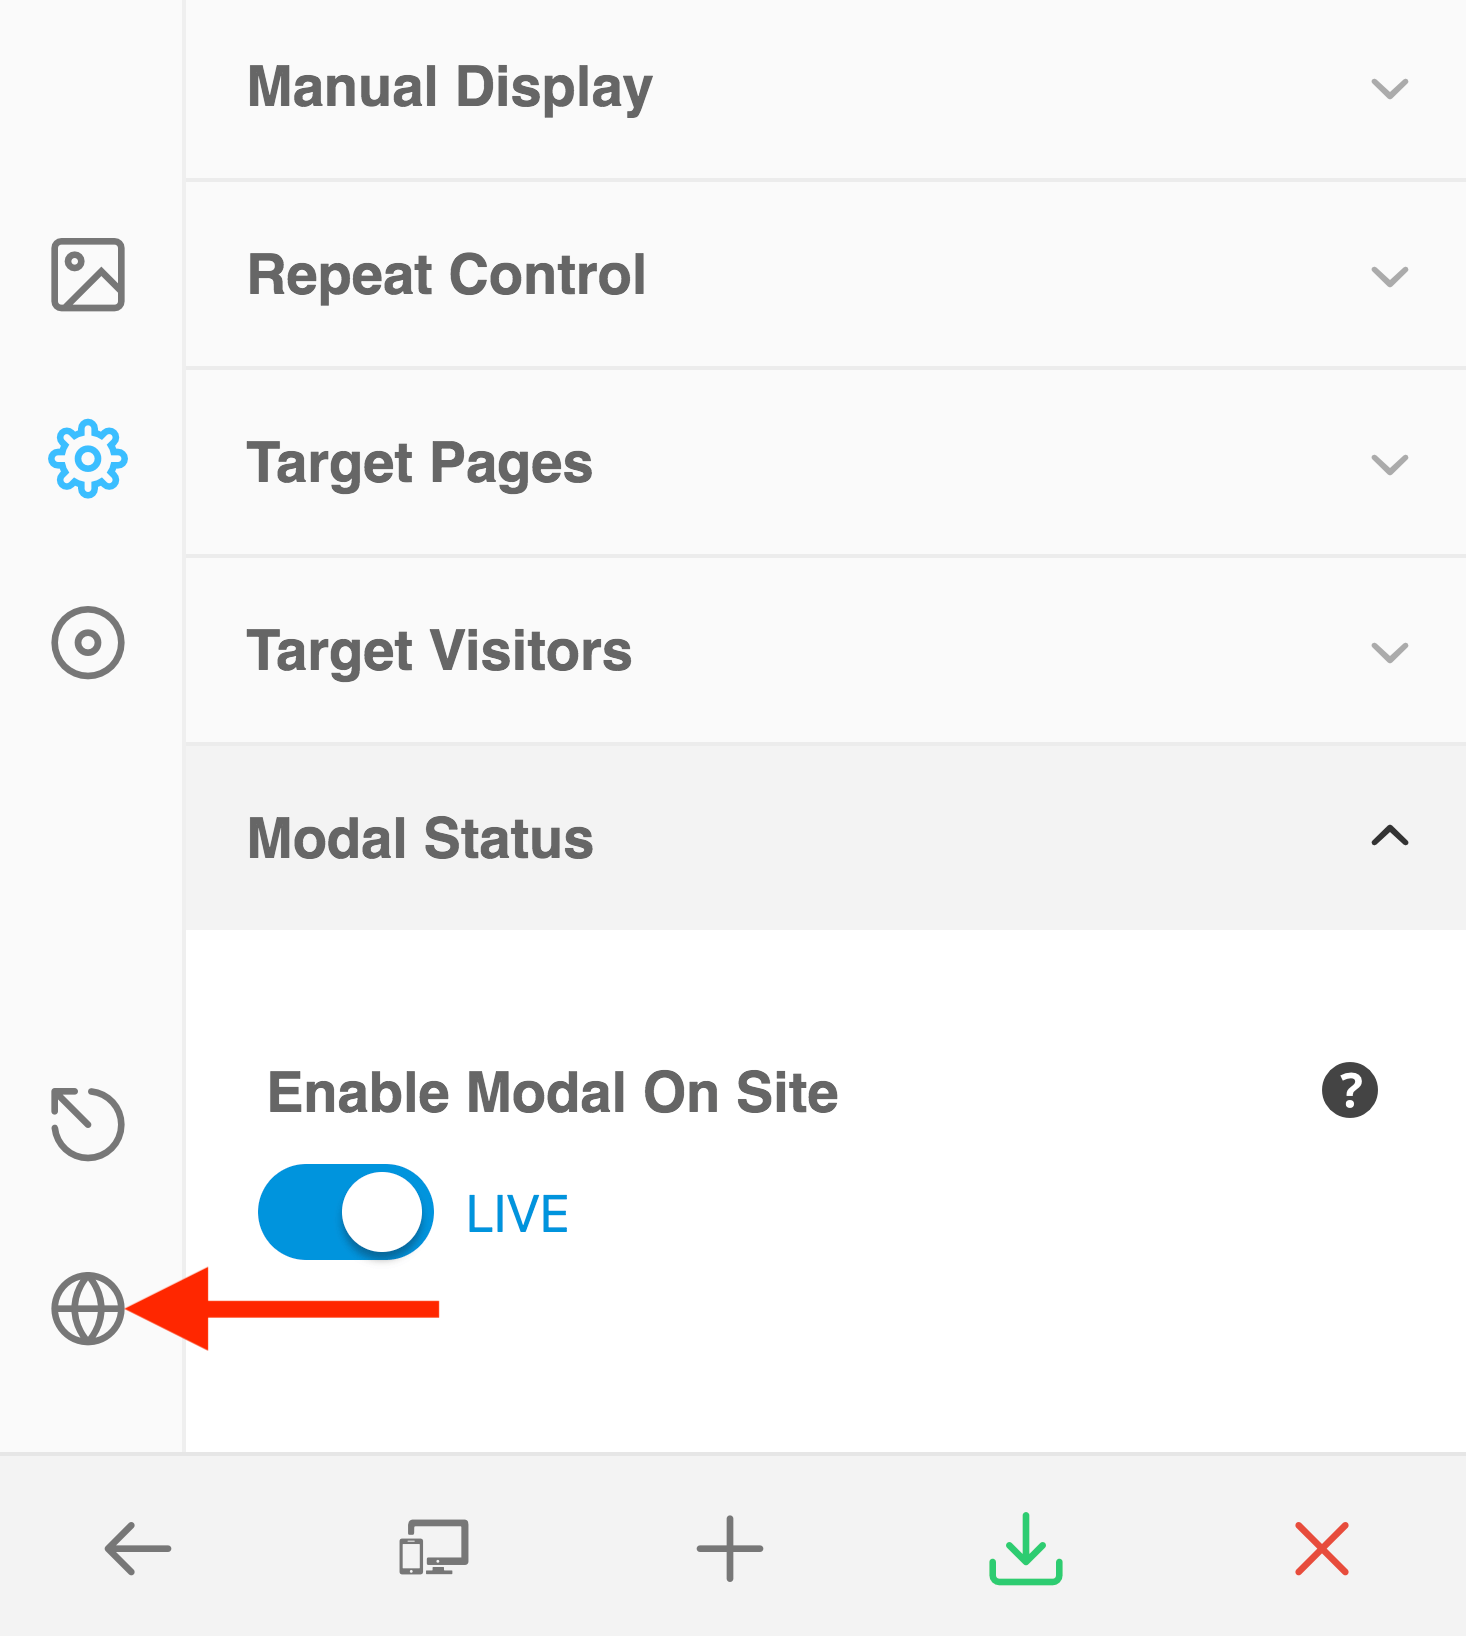
Once you've clicked that icon, you'll see a notice asking you if you want to publish the modal or not like this:

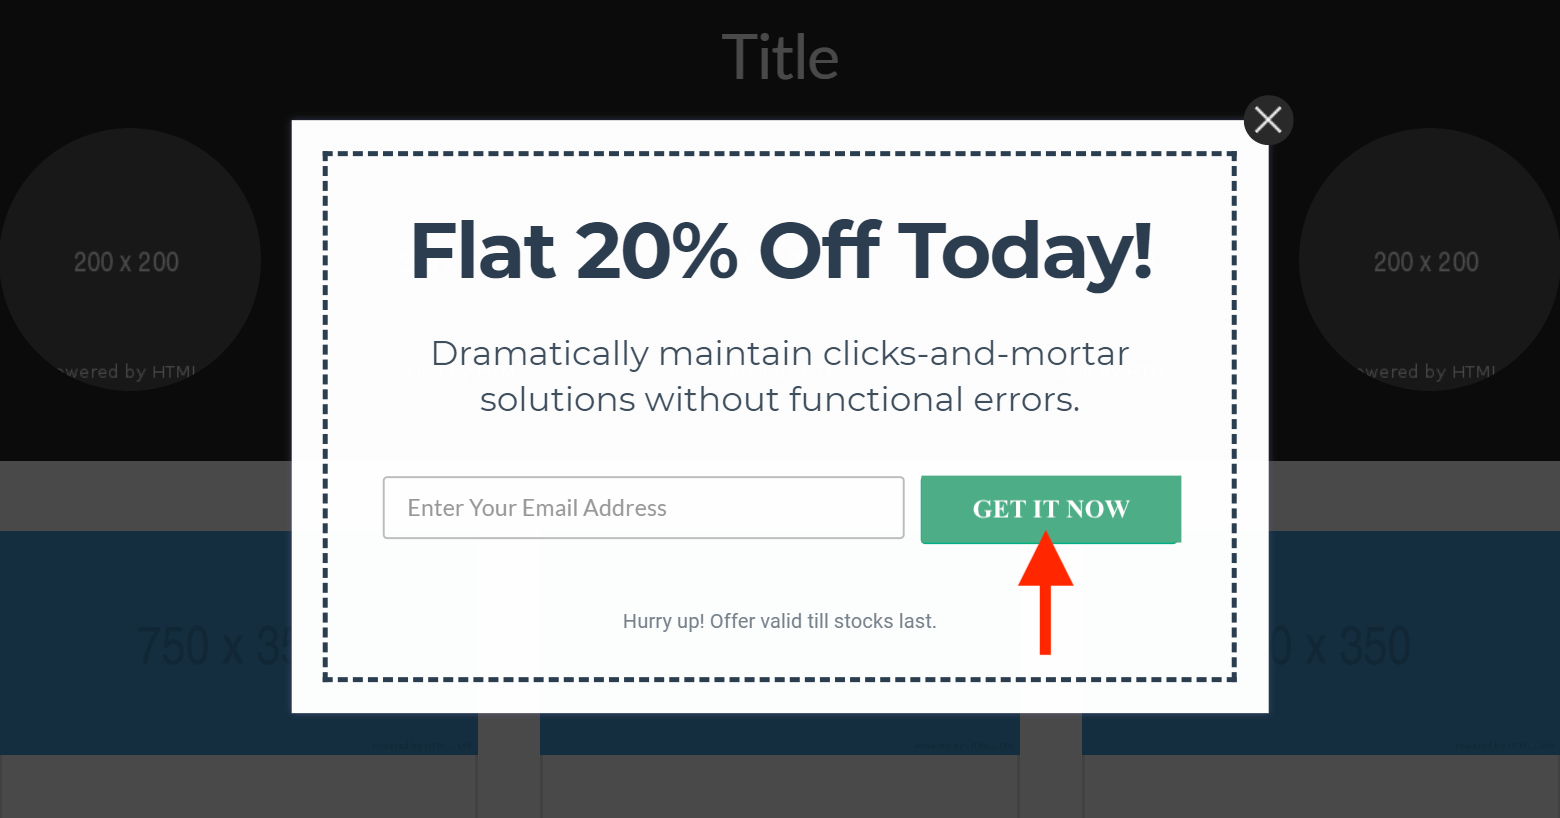
Click on Yes, Let's Publish It. Now when we visit our website, we will see the modal popup showing like this.
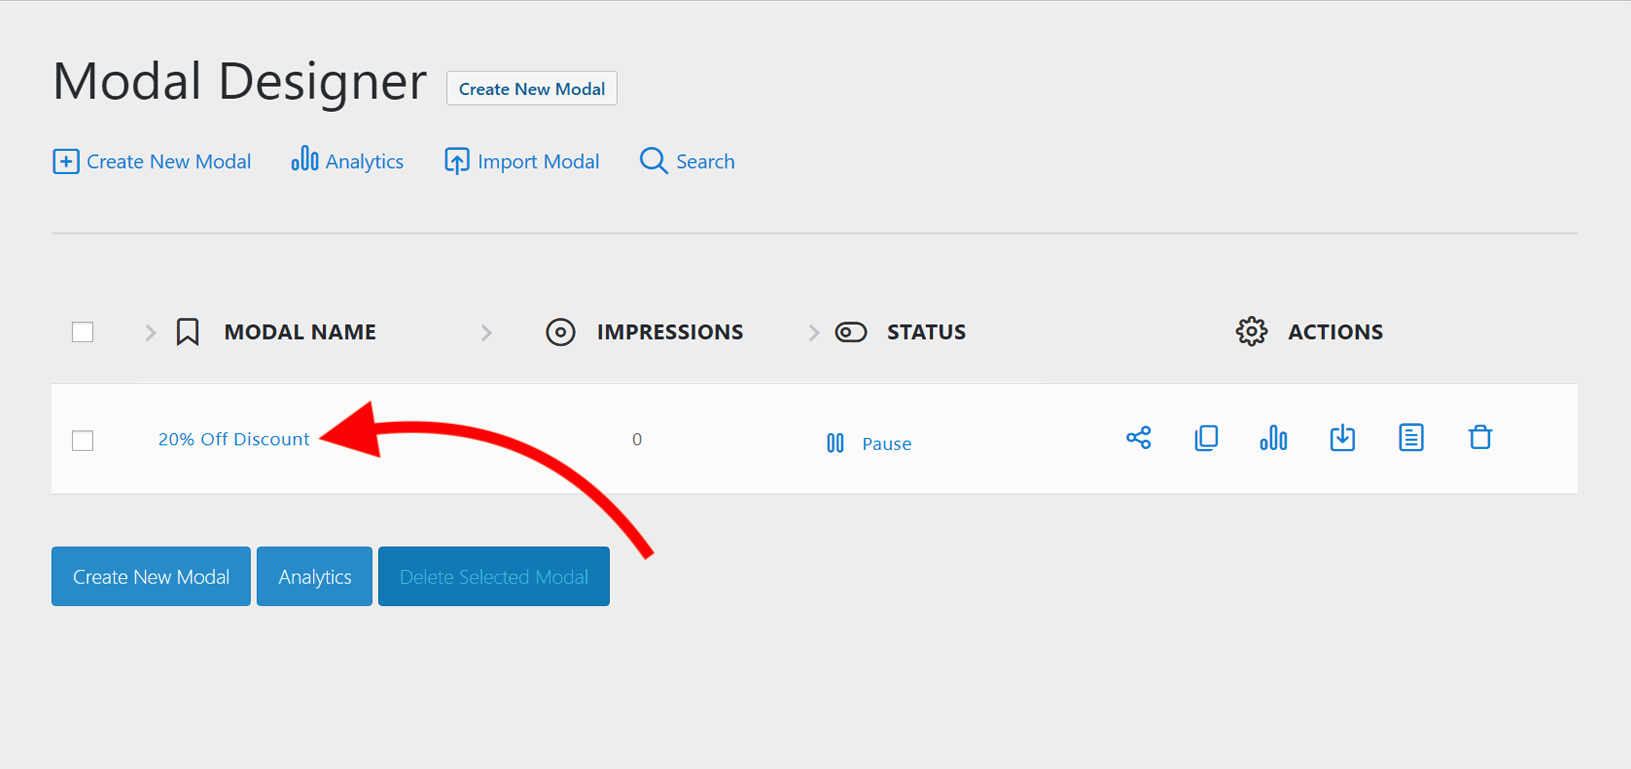
If you head back to the wp-admin, under the ConvertPlus menu item, you'll see the various menu options it provides. If you click on Modal Popup that will take you to the main modal screen, where you can see all modals you've created and also pause, schedule and edit them.
As you can see ConvertPlus has a wide array of options allowing you to create the perfect popup forms for your site.
Connecting Mailchimp With Your ConvertPlus Modal
To integrate the ConvertPlus to the Mailchimp you will need to follow the steps mentioned here.
ConvertPlus Addons
Since version 2.0.0 ConvertPlus has included a wide range of add-ons that can be installed via ConvertPlus > Addons.
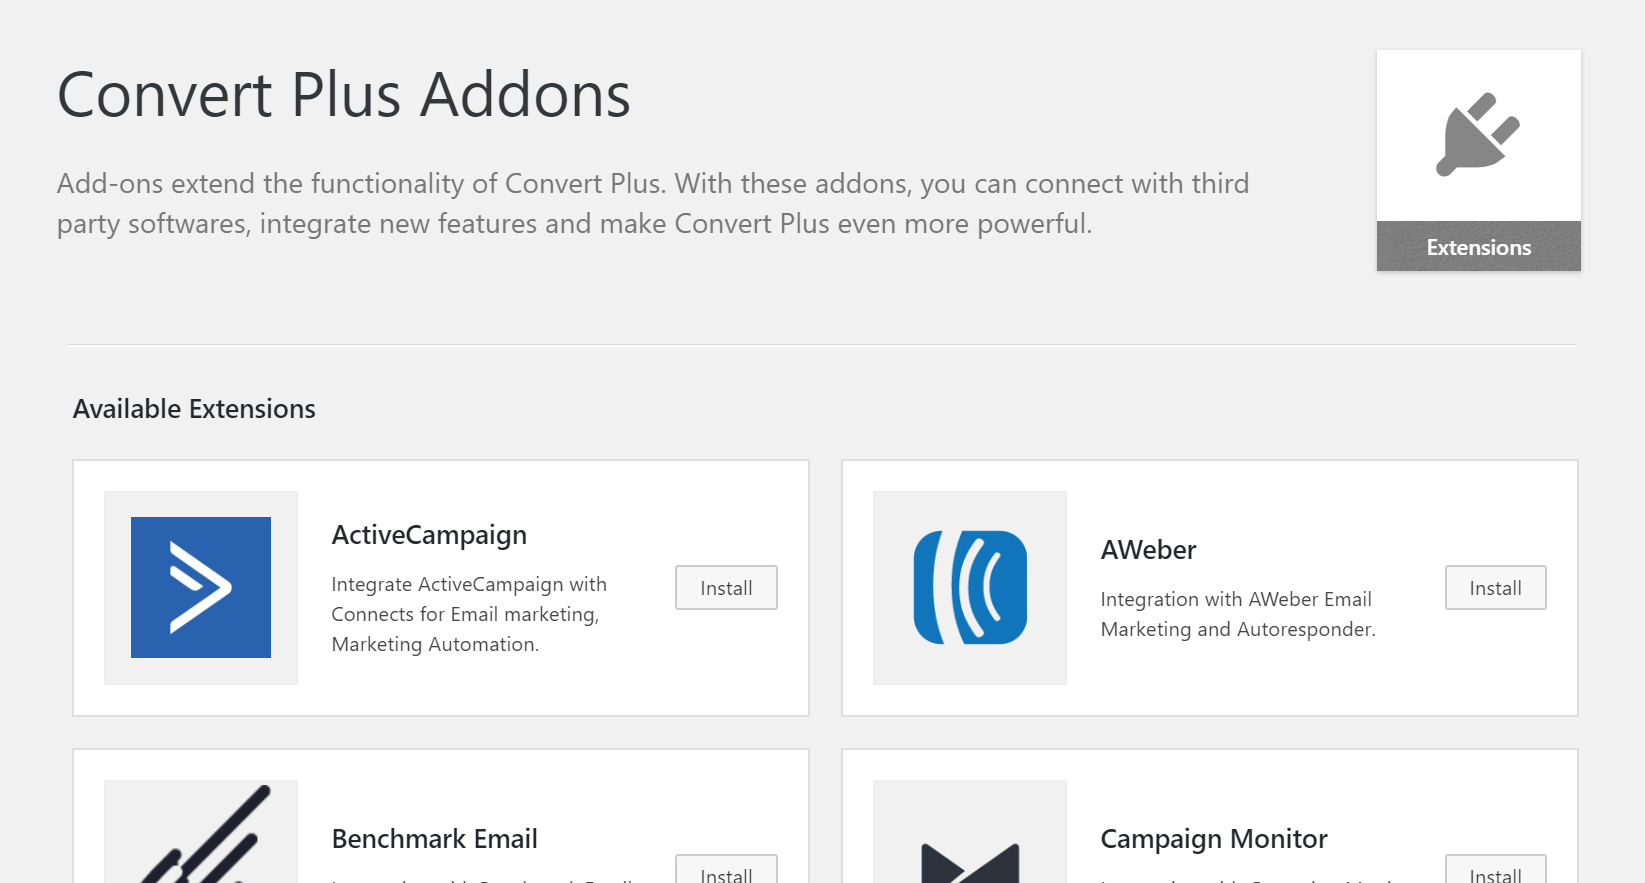
Installing an add-on is as simple as clicking on Install. The addon is then automatically downloaded and installed from the ConvertPlus servers.
Summary
These are the things you've learned from this article:
- How to install and activate the ConvertPlus bundled plugin.
- Different possible uses of ConvertPlus.
- How to create your first modal, choosing a template and editing the text.
- How to display the popup when a button created in either Cornerstone or Content Builder is clicked.
- Lastly, you learned the available Add-ons you can install and activate in ConvertPlus.
Further Reading
To get more in-depth understanding of ConvertPlus, visit their official documentation.
See something inaccurate? Let us know