Quote
In this article, we're going to discuss the Quote Element and its settings.
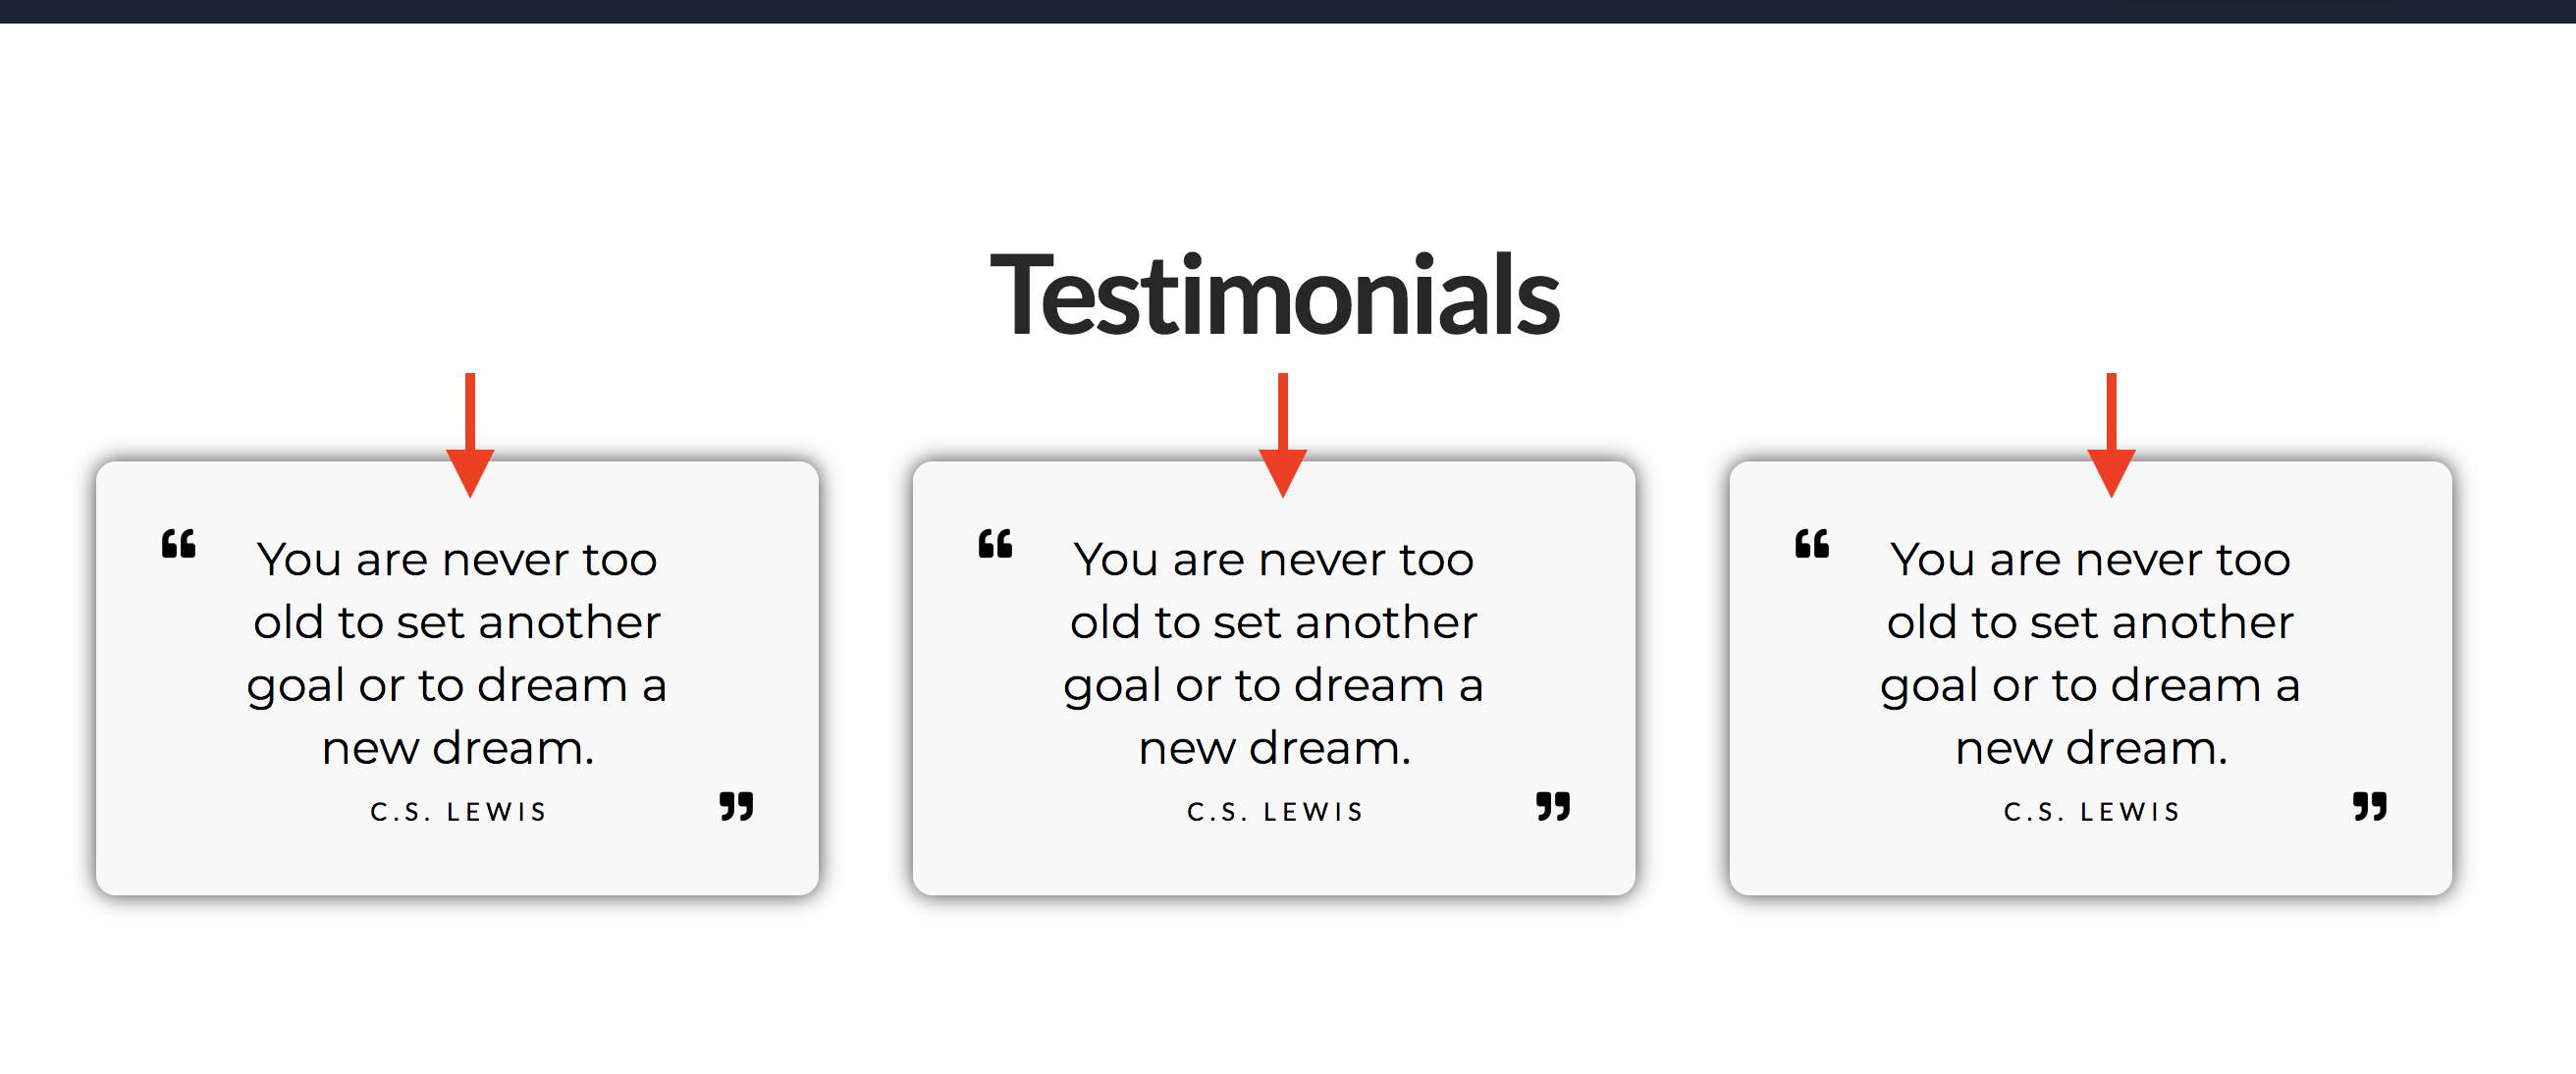
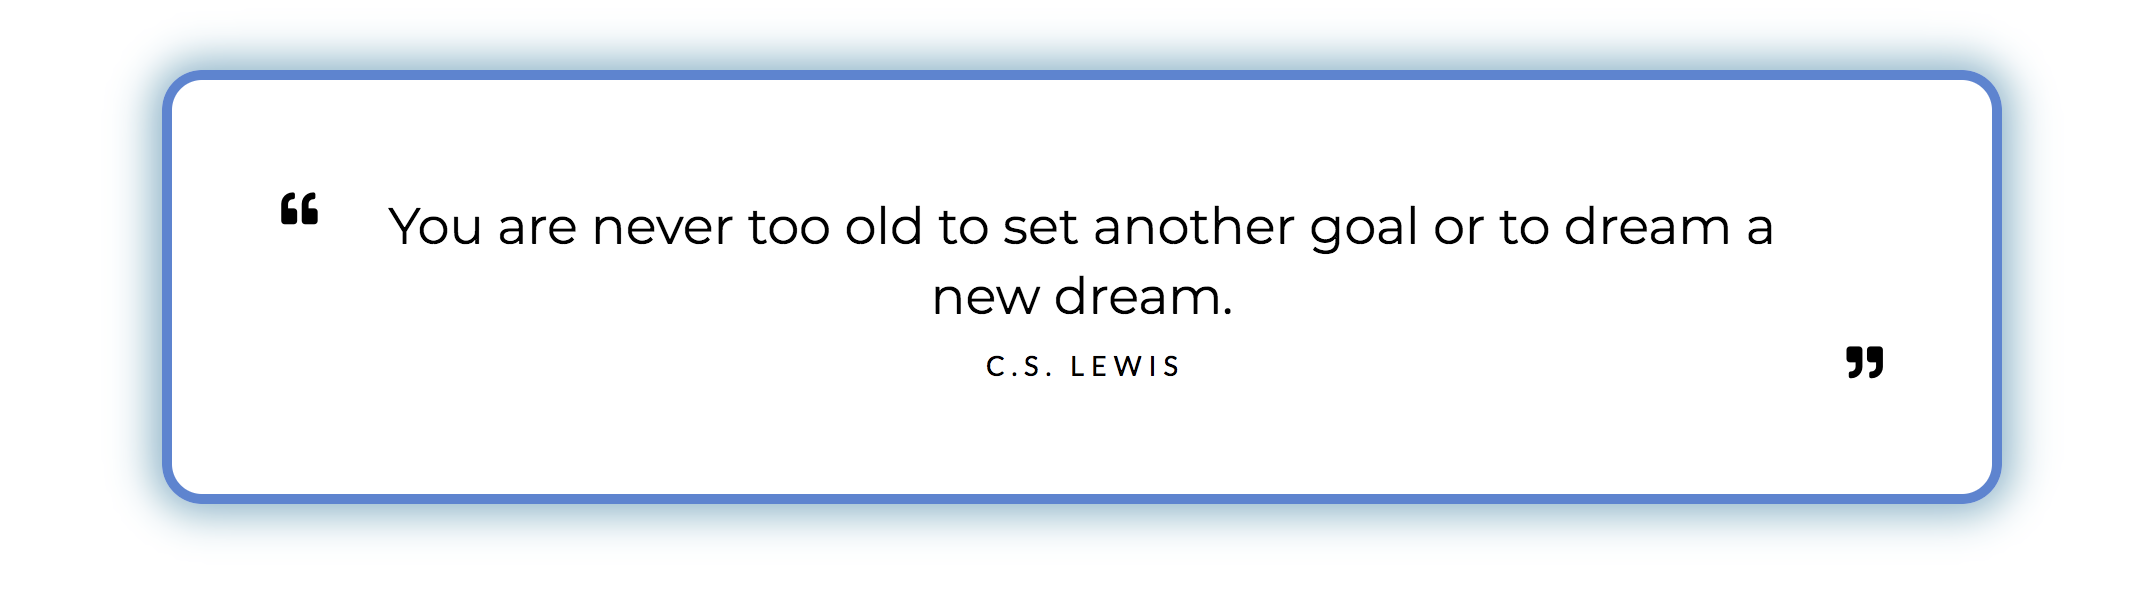
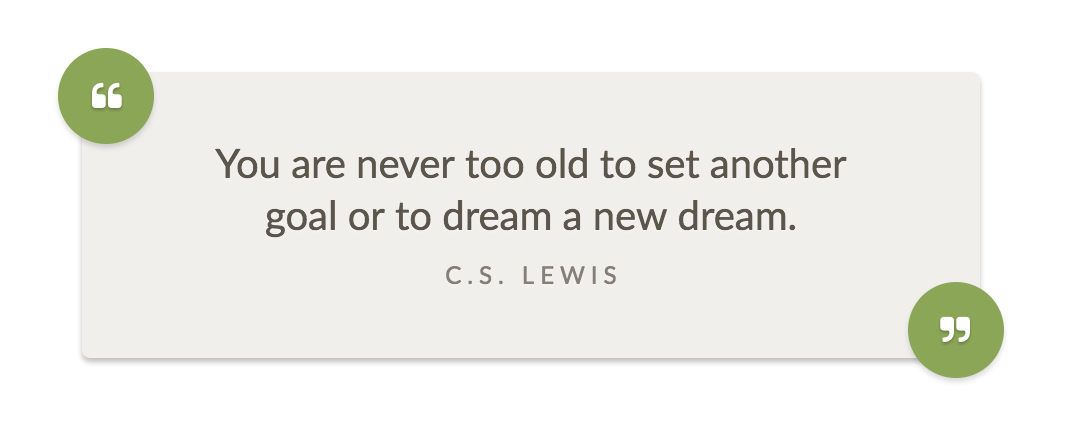
Below is an example of testimonials created using the Quote Element. Each testimonial is a Quote Element placed inside a column.
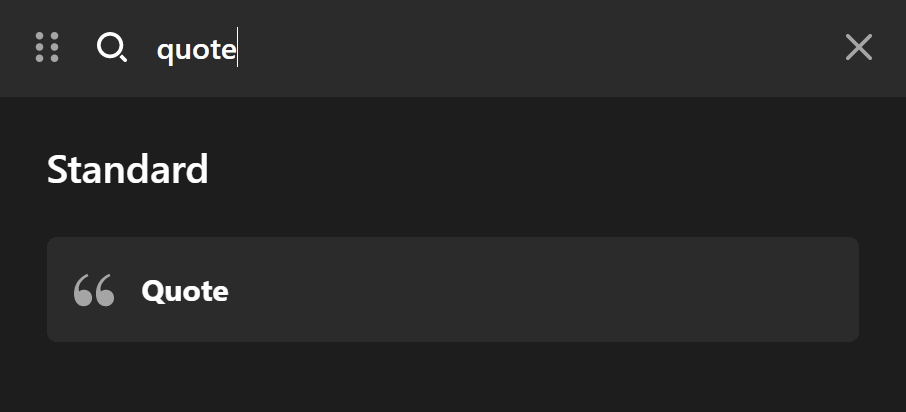
To add the Quote Element, simply search for "quote" and drag "Quote" to the canvas.
Quote Content Settings
The most basic setting (and I dare say most important) is the content setting, consistent of the Quote and Citation fields.
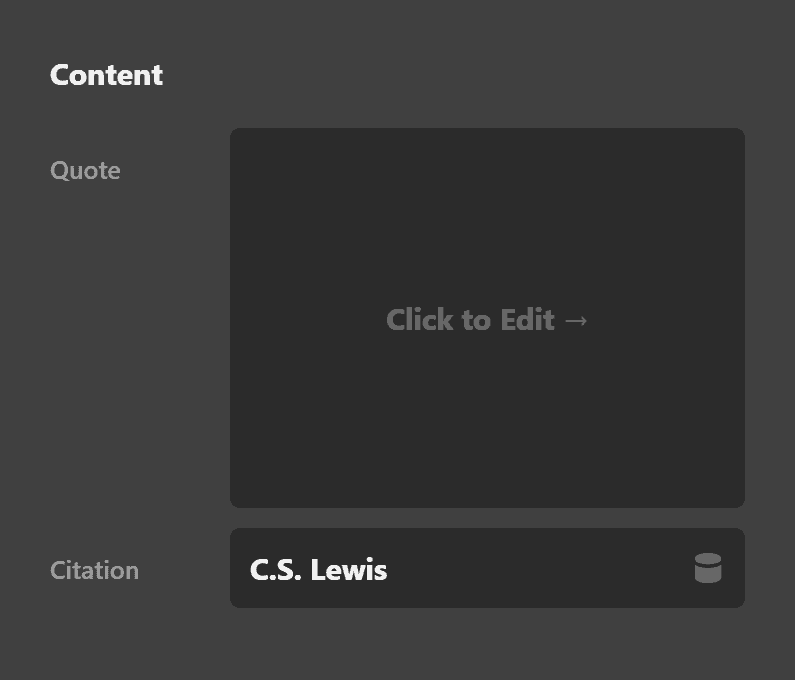
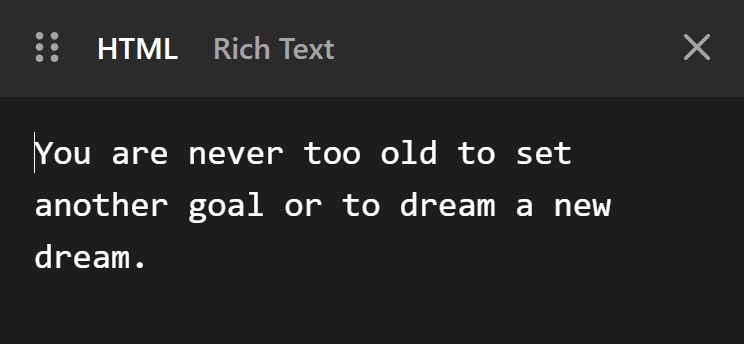
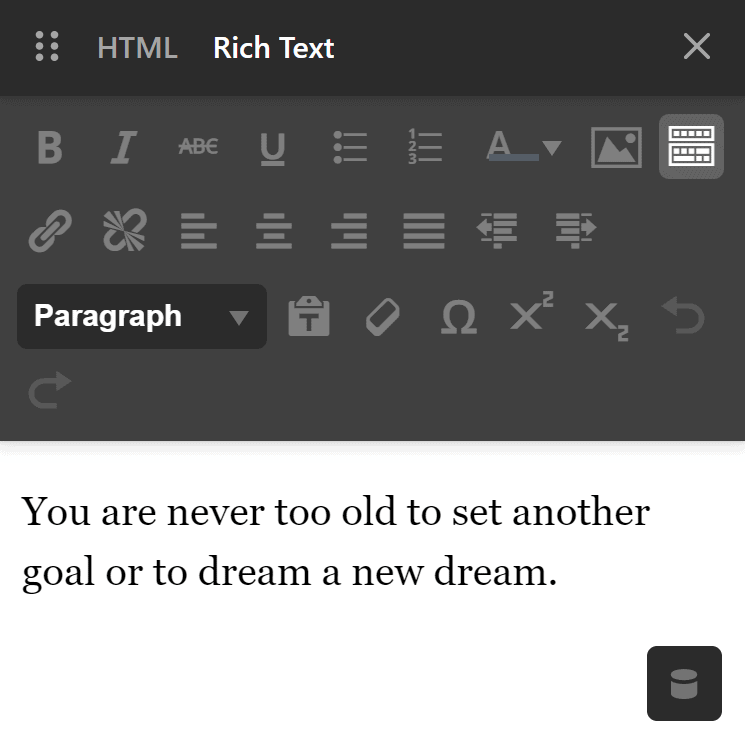
Pointing on the Quote box will display the "Click to Edit -->" clickable area. Clicking it will open up the text editor pane. You have an option to enter content using the HTML mode or the Rich Text Mode similar to the default WordPress editor.
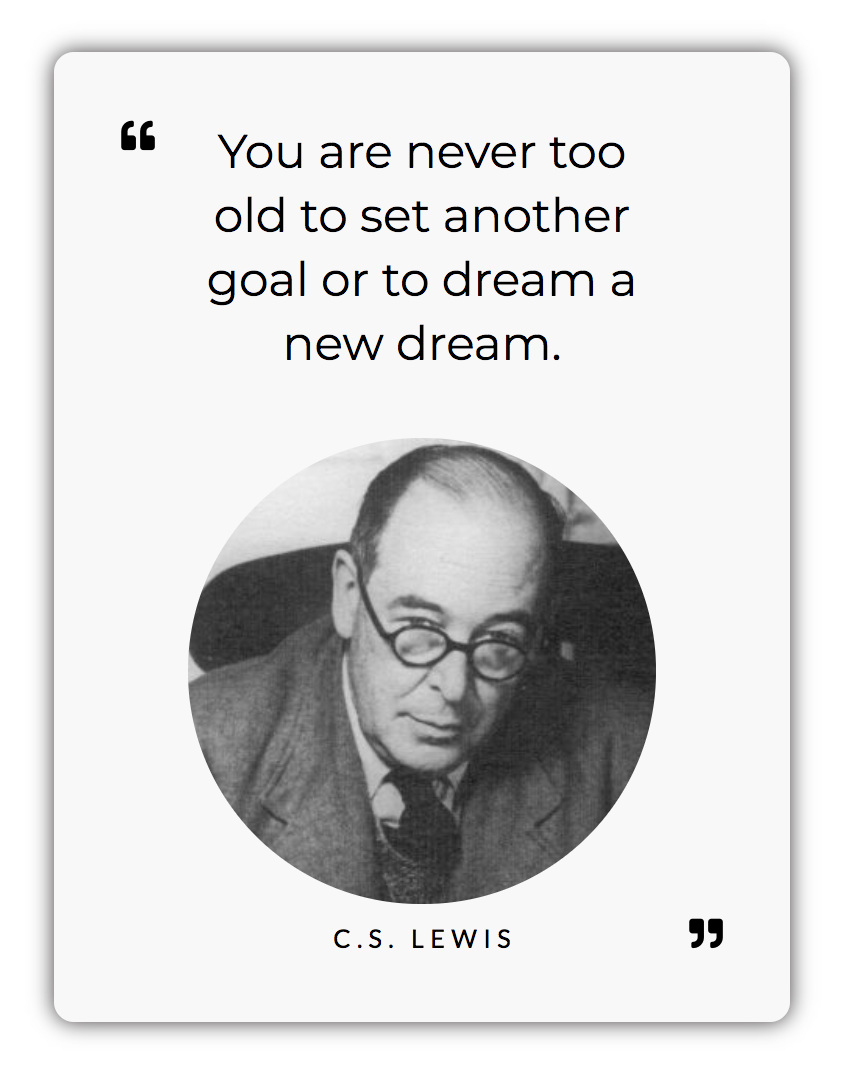
If you want to add content other than just plain text, such as a photo of the client/customer on the testimonial, the Rich Text Mode is the easiest way to go. Simply click the Media icon, select the photo, then click the Insert to post button.
Now you have a photo on the quote.
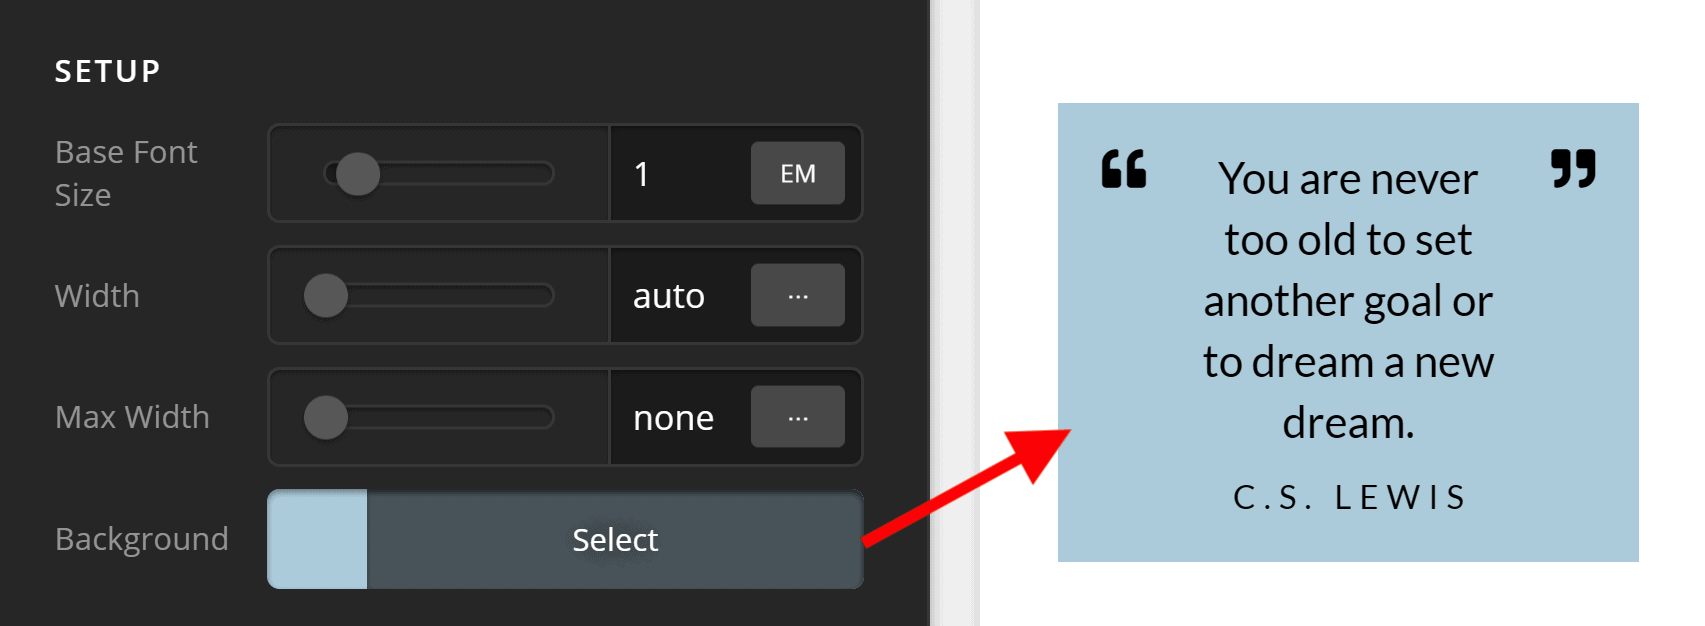
Quote Setup
Under Setup, you'll see these common fields: Base Font Size, Width, Max Width and Background.
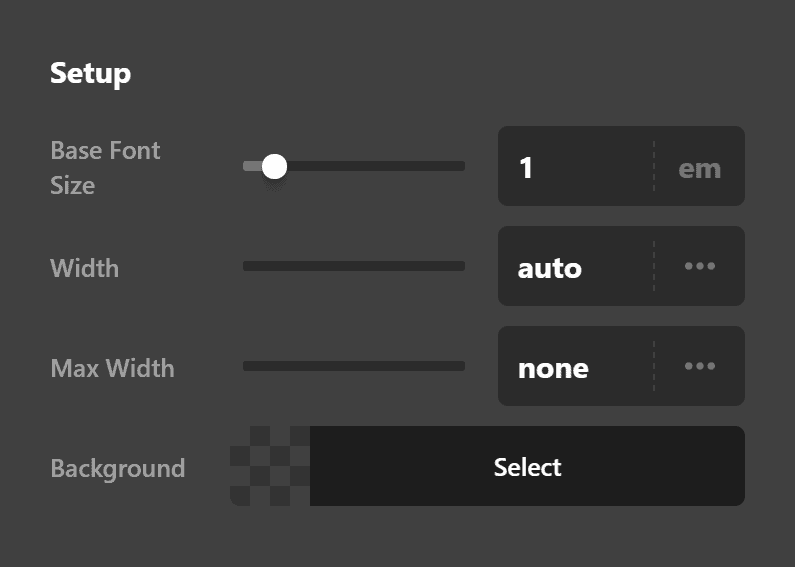
Changing Background field changes the background of the quote.
Quote Design Settings
Under the Design settings, you have options to set the margin, padding, border, box shadow and border radius of Element's container. For the sake of demonstration, below is an example where all the said settings are applied.
Note: You don't need to use all of them in one instance of the Element but the example above is just a demo.
Margin
Use this option to set the margin of the Quote. You can change the settings for all the sides of the Quote or modify them individually.
Padding
Use this option to set the padding of the Quote. You can change the settings for all the sides of the Quote or modify them individually.
Border
Use this option to set the border of the Quote. You can set the style, width and color of the border on all sides or each side individually.
Border Radius
Use this option to set a border radius for the Quote. You can set the curve on all sides or set them individually.
Box Shadow
You can set a shadow over the Quote using the box-shadow control group.
- X-Offset - Use this option to set the X offset of the shadow in the Quote.
- Y-Offset - Use this option to set the Y offset of the shadow in the Quote.
- Blur - Use this option to set the intensity of the blur effect in the Quote.
- Spread & Position - Use this option to set the spread amount of the items section shadow and decide if you want the shadow to sit inside or outside of the Quote.
- Color - Use this option to set the color of the Quote shadow.
Quote Text Settings
Also notice that there are options to set the text such as the format, style and text shadow:
Do note that these settings are only for the quote content itself and doesn't include the citation. In a little while we'll discuss how to set the text design of the citation but it's important to make this distinction at this point.
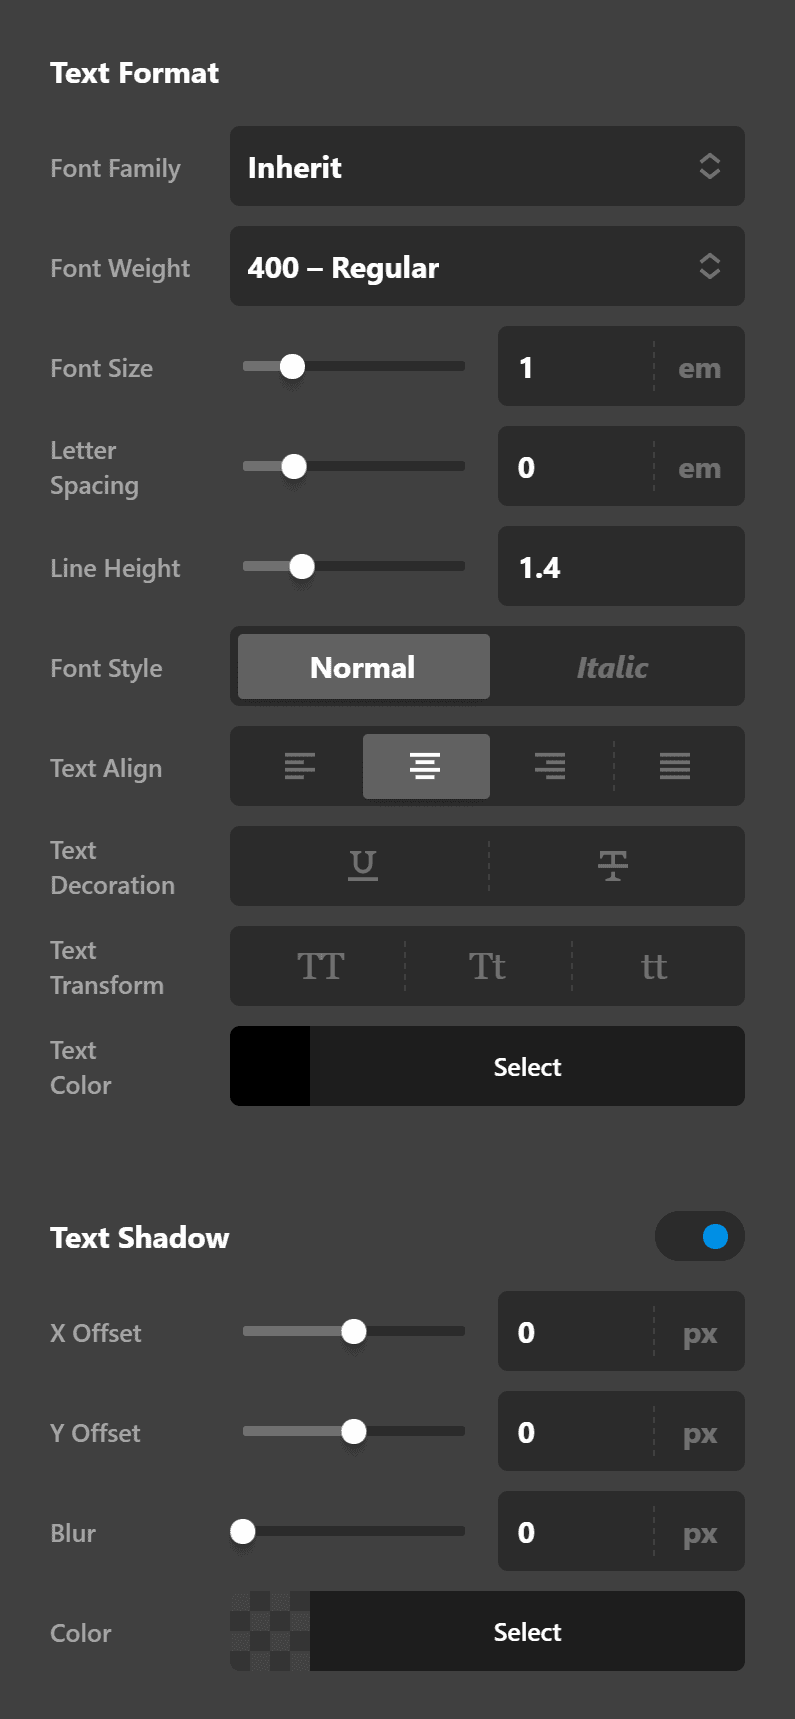
Text Format
You can use this control group to set the format of the text of the Quote.
- Font Family - Use this option to set the font of the Quote text.
- Font Weight - Use this option to set the weight or thickness of the font. The values may differ depending on the selection of the font and if the select font supports weights or not.
- Font Size - Use this option to set the size of the font.
- Letter Spacing - Use this option to set the spacing between letters.
- Line Height - Use this option to set the spacing between each line.
Text Style
You can use this control group to set the style of the text of the Quote.
- Font Style - Use this option to decide if you want to have a normal or italic style.
- Text Align - Use this option to set the alignment of the text. Possible values are left, center, right, and justify.
- Text Decoration - Use this option to force an underline or linethrough style.
- Text Transform - Use this option to set the case of the text. Available options are uppercase, camel case, and lowercase.
- Text Color - Use this option to set the color of the text.
Text Shadow
The text shadow control group contains settings to set a text shadow for the Quote text.
- X-Offset - Use this option to set the X offset of the text shadow.
- Y-Offset - Use this option to set the Y offset of the text shadow.
- Blur - Use this option to set the intensity of the blur effect in the text shadow.
- Color - Use this option to set the color of the text shadow.
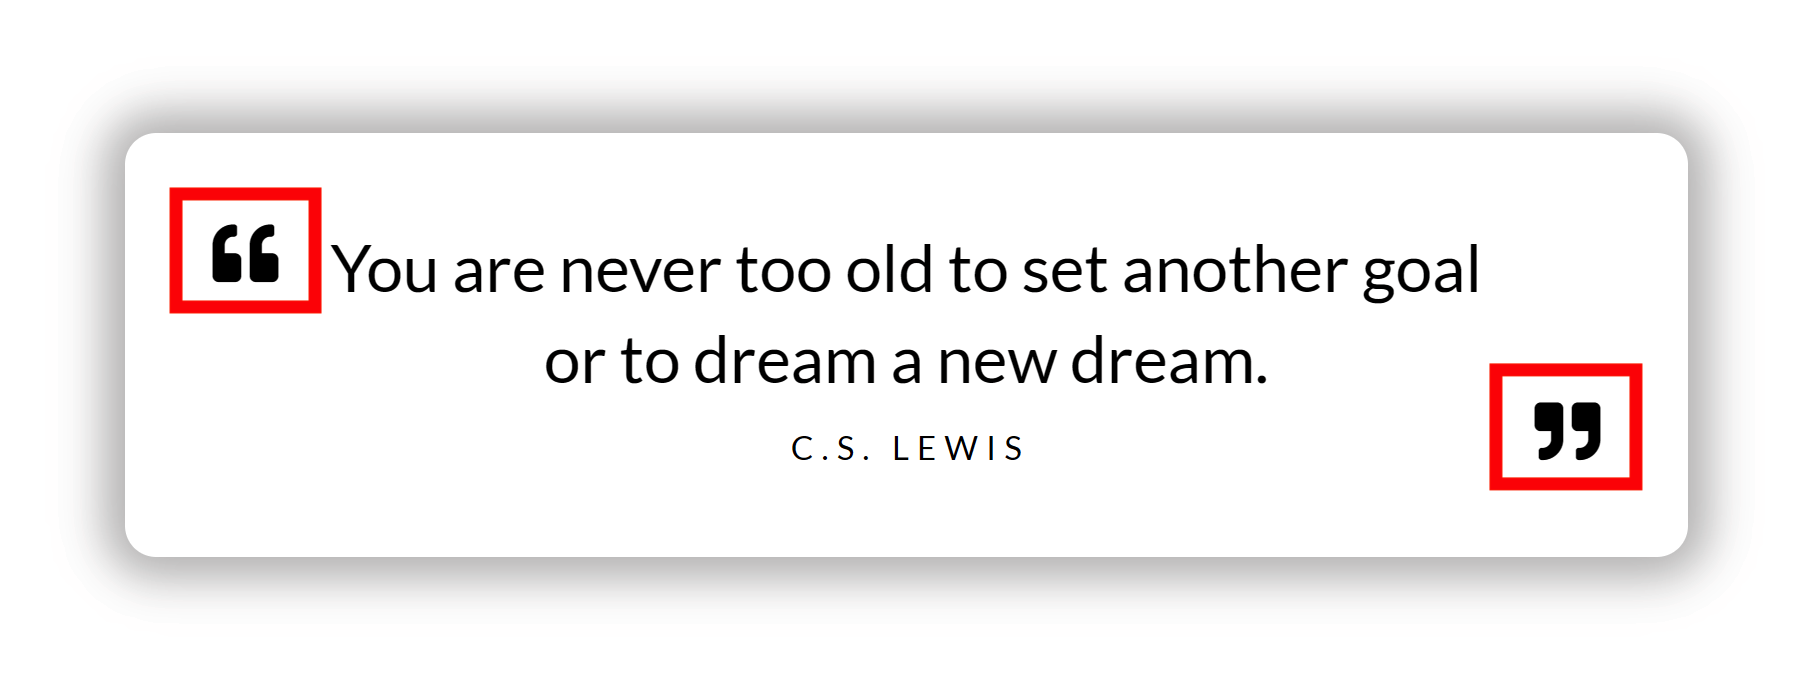
Quote Mark Settings
Marks are the quotation marks. The first one that appears is called the opening mark and the last is the closing.
To configure this, click on the Marks tab and you'll see the following:
By default, marks are disabled. That's why when you first add a Quote Element, you won't see quotation marks. You can display and configure either one or both of them by enabling them.
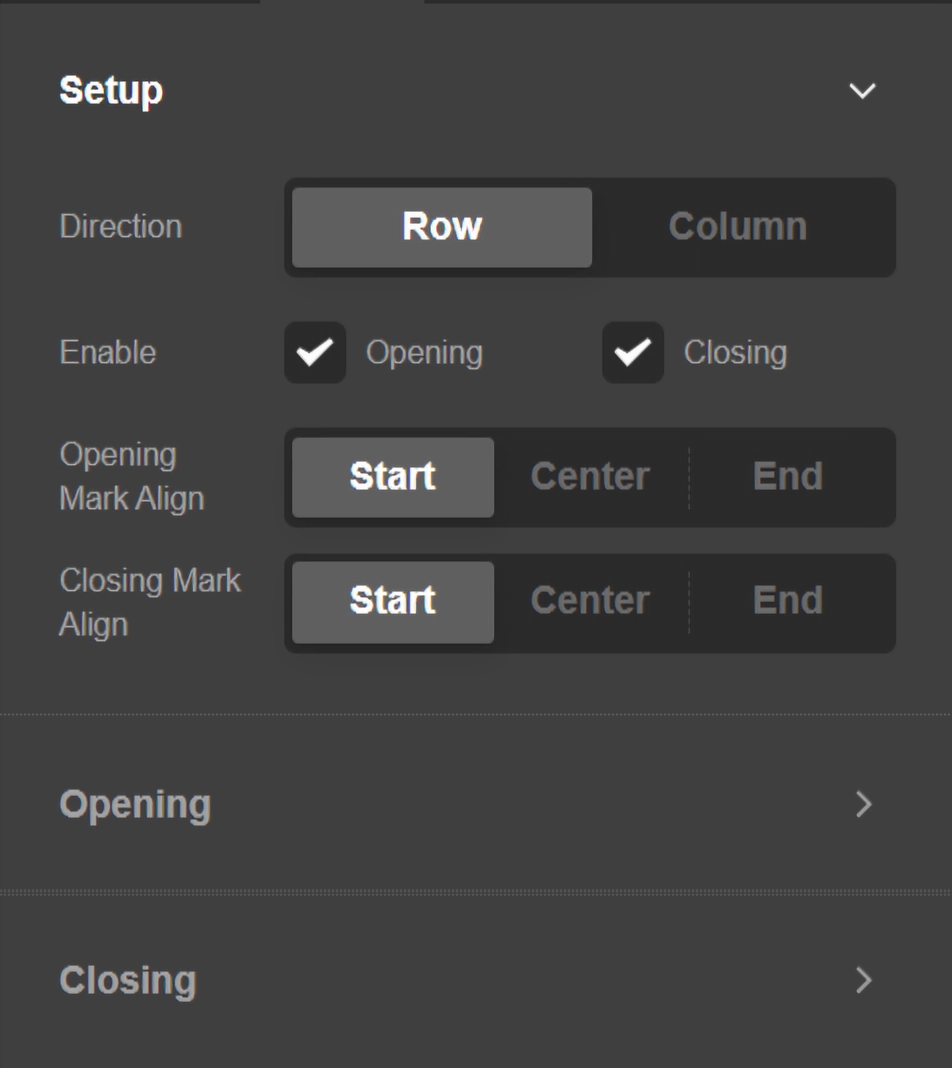
Marks Setup
- Direction - If you choose Row, the opening mark will always be at one end, with content in the middle, and the closing mark at the far end. If you choose Column, the opening mark will be on top, the content will be below that, and the closing mark below that.
- Opening Mark Align - Sets the alignment of the opening mark.
- Closing Mark Align - Sets the alignment of the closing mark.
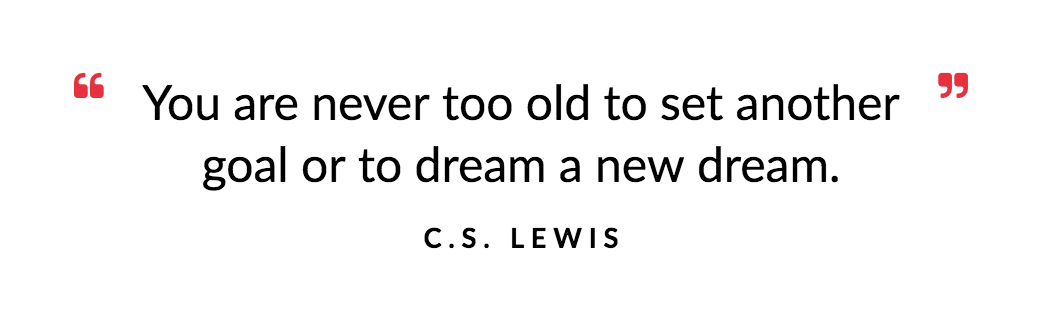
This can lend itself to many different looks depending on how you set things up. For example, here is a Quote with the marks "Direction" set to Row and both marks are aligned Start:
Here is a different style, still set to Row but marks are aligned Center:
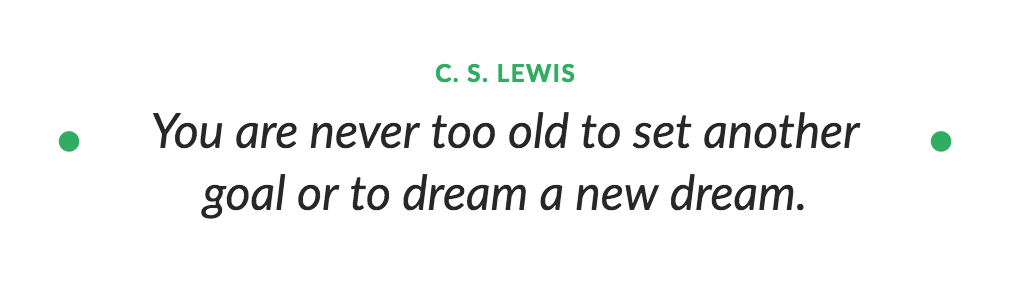
Here is another Row example, but the opening mark is aligned to Start, while the closing mark is aligned to End. Next, we've used a little negative margin on each graphic to offset them a bit, creating a very cool staggered look:
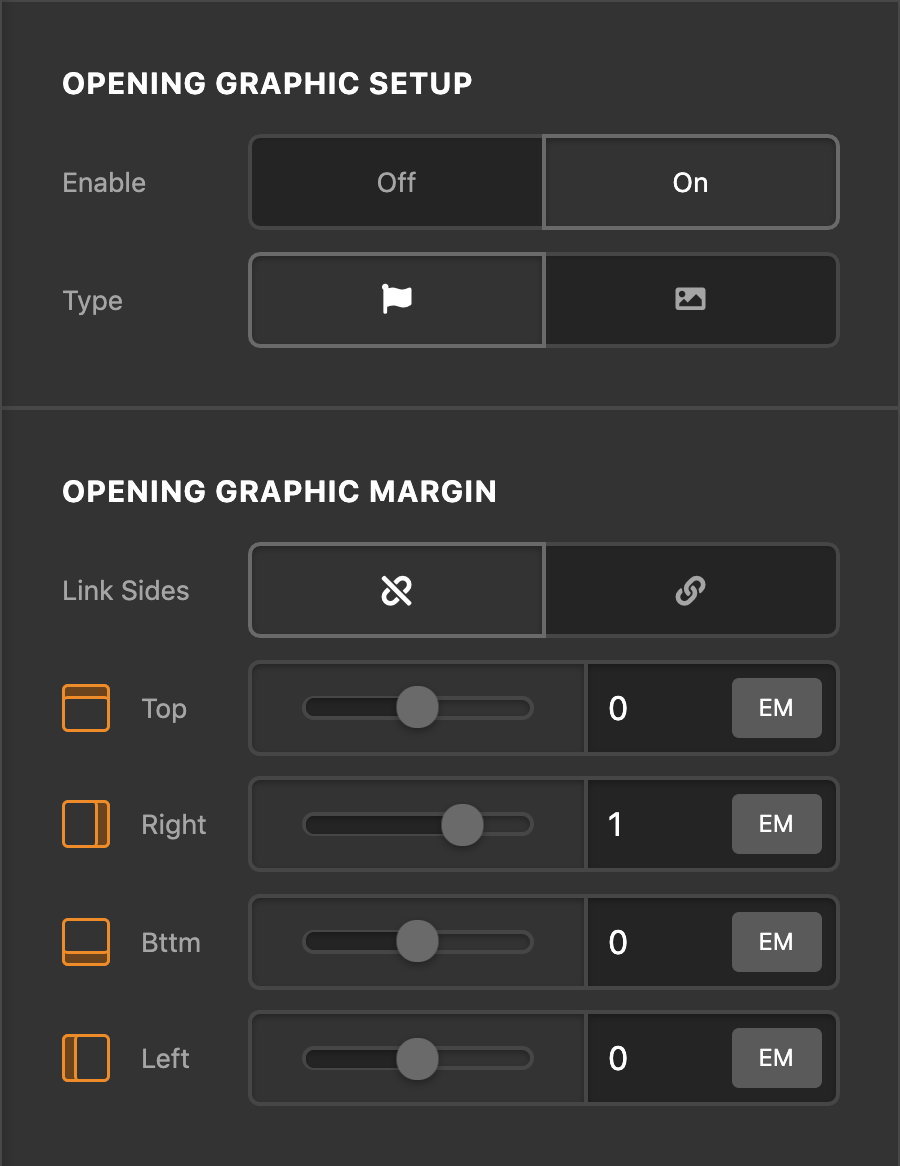
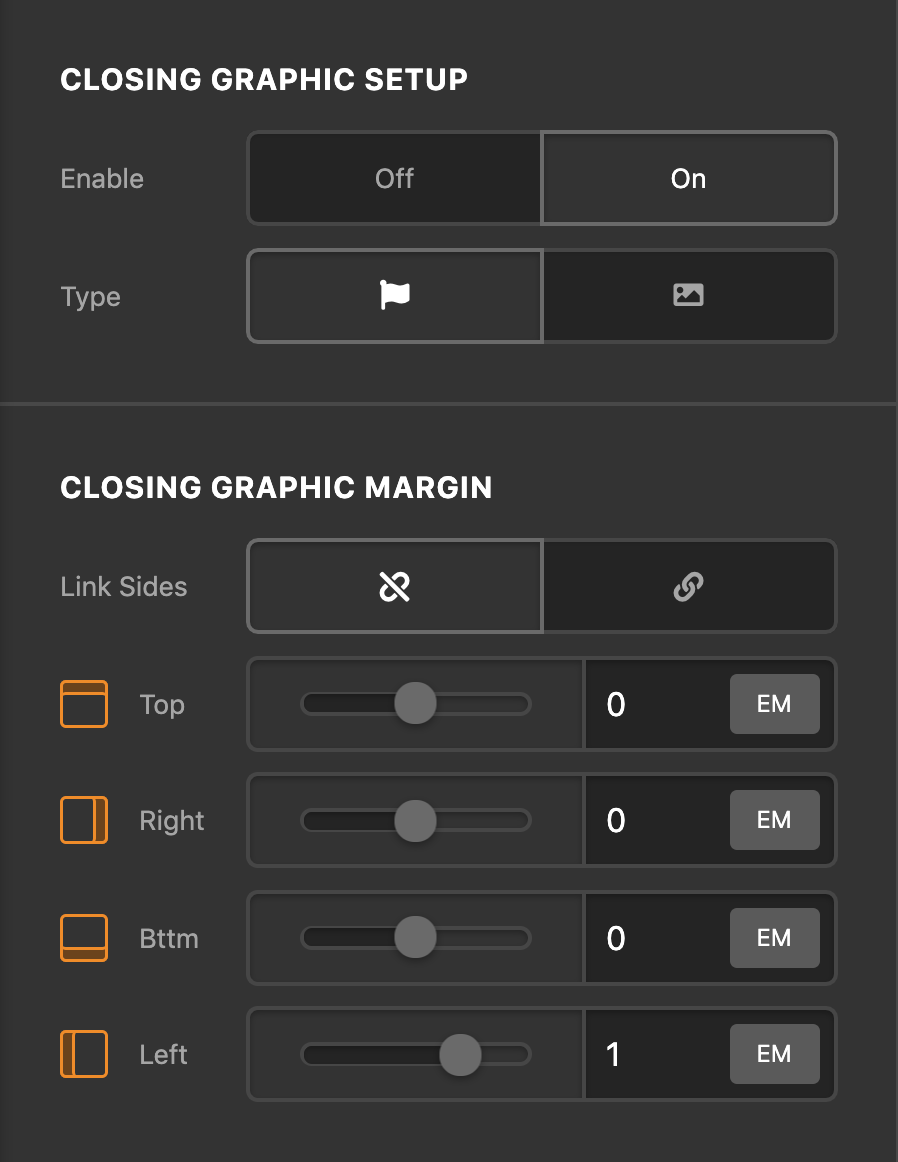
Opening / Closing Graphic Setup
Earlier we mentioned that if want to display either or both the opening and closing marks that you just need to enable them. If you've done that, you'll notice that additional settings appear that let you configure how the marks look like. You have the freedom, not to mention the power, to make it look the way you want.
Quote Citation Settings
Lastly, we can set how the citation looks like. To view the settings available, click the Citation tab.
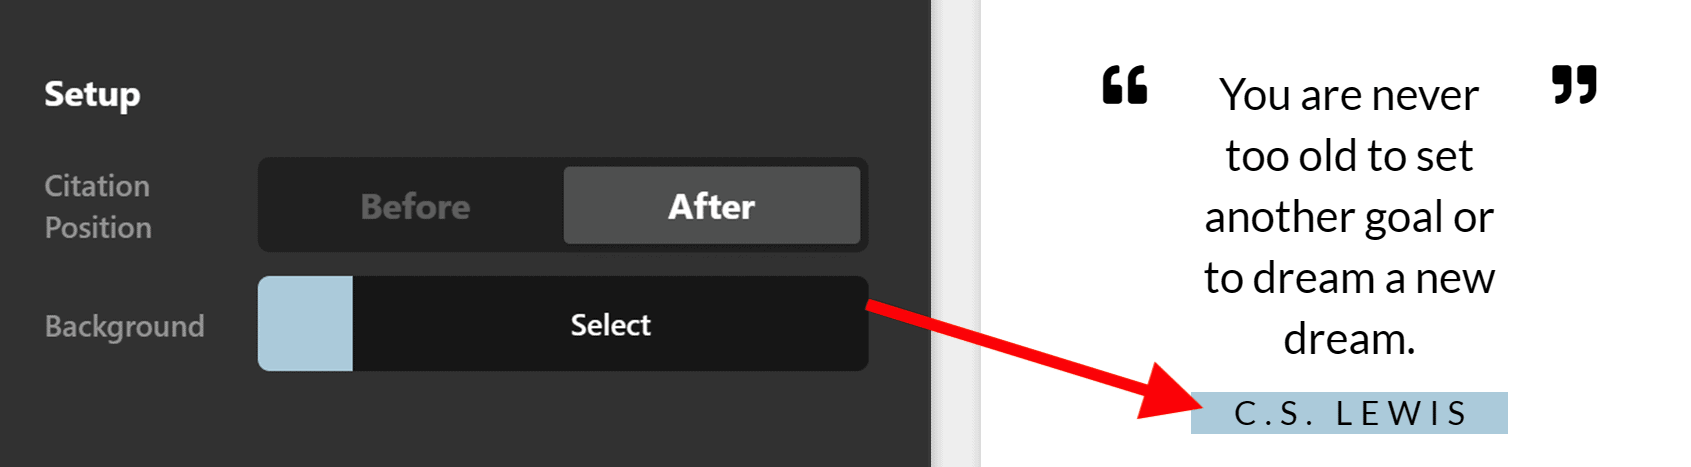
Setup
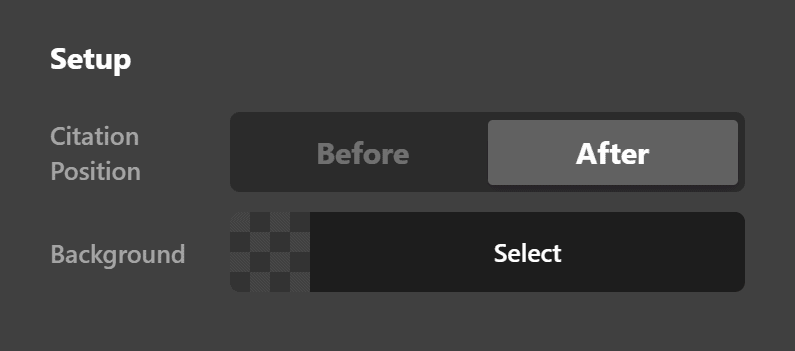
- Citation Position - You can choose whether the citation appears before the quote content or after it.

- Background - You can also assign a background color to the citation.
Common Settings
Common settings such as padding, margin, box shadow, border, border radius and text styles are available.
Customize
The Customize pane consists of various features that allow you to take further control over your Element's styling and functionality:
- ID – Sets an HTML ID on the Element.
- Class – Sets an HTML Class on the Element.
- Element CSS – Use this feature for increased stylistic control of your Element, especially over nested markup. Click here for more detailed information on this feature, such as using
$elto dynamically target the base tag, et cetera. - Hide During Breakpoints – Hides the Element at different screen sizes when design alterations are needed. Click here for more information.
- Conditions – Adds / removes Elements from the page when certain criteria are met (e.g. “If a featured image is set...”). Click here for more information.
- Custom Attributes – Use this option to add custom HTML attributes to the root tag of the Element (e.g.
data-info="123"). This can be particularly helpful when integrating with various scripts and libraries.
Demo
To see a live demo of the Quote Element click here.
Summary
To sum in, we've discussed the Quote Element. We've discussed that the Quote Element is an easy tool for adding testimonials on a page and we've learned how to change it's content and design as well as customizing the design of the quotation marks and its "citation."
See something inaccurate? Let us know