Gap
In this article, we're going to explain the Gap Element and its settings.
In web design whitespaces, or negative spaces, are important. For one, they increase the legibility of a website and also act as separators between Elements or groups of Elements. Put simply, Elements that are closer to each other are perceived as related (or in the same group) compared to those that are far from each other.
In Cornerstone, you can easily bring separation between Elements, rows, columns and sections using either padding and margins. However, there's also another way to bring separation - and that is by using the Gap Element.
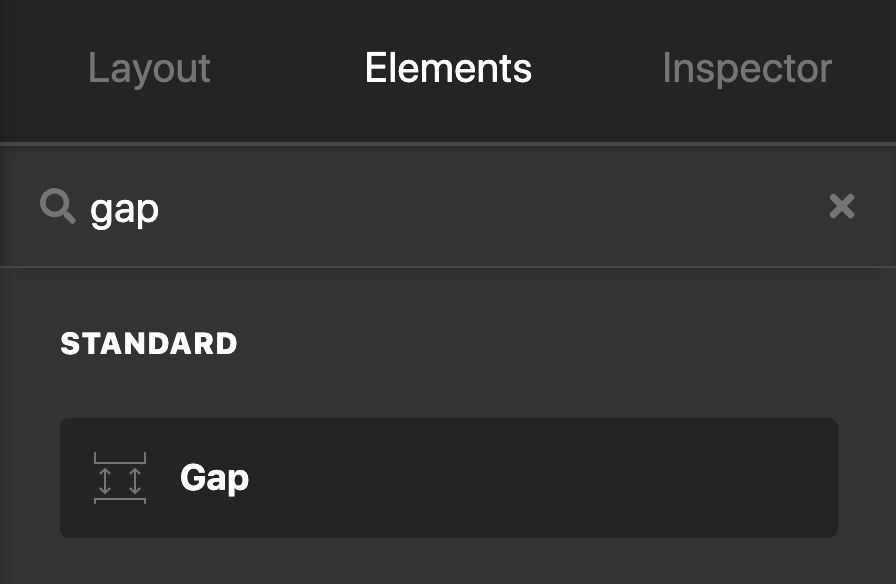
When using Cornerstone or Pro's Content Builder, simply search "Gap" and drag the Gap Element into the content pane.
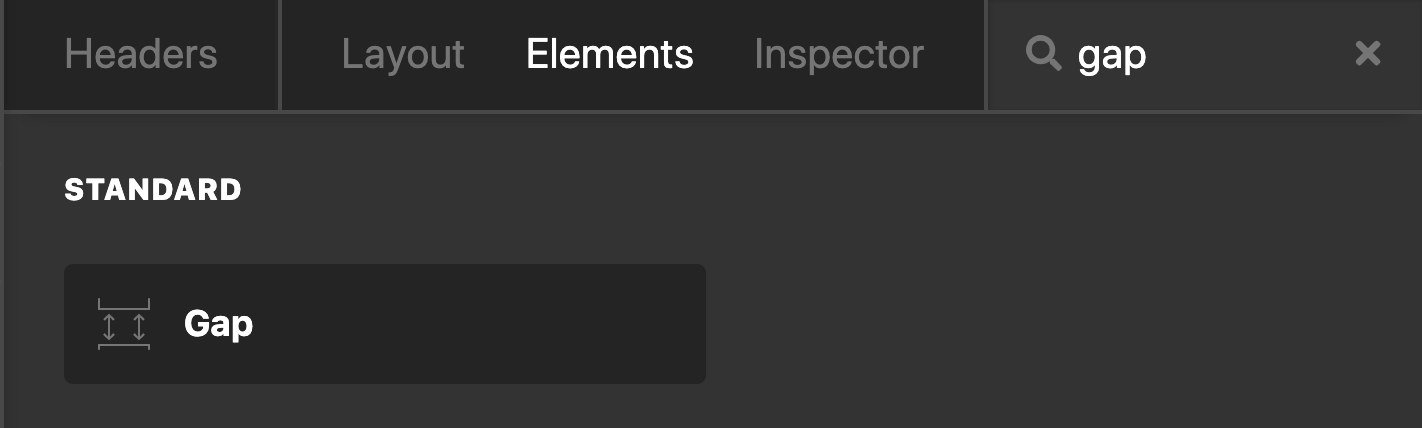
In either Header or Footer Builder in Pro, just go to Elements then search for "Gap" then drag the Gap Element into the canvas.
The Gap Element is one of the simplest element in X and Pro. It only has two tabs, Setup and Customize, and doesn't have a Design tab.
Let's discuss the Setup tab!
Gap Setup
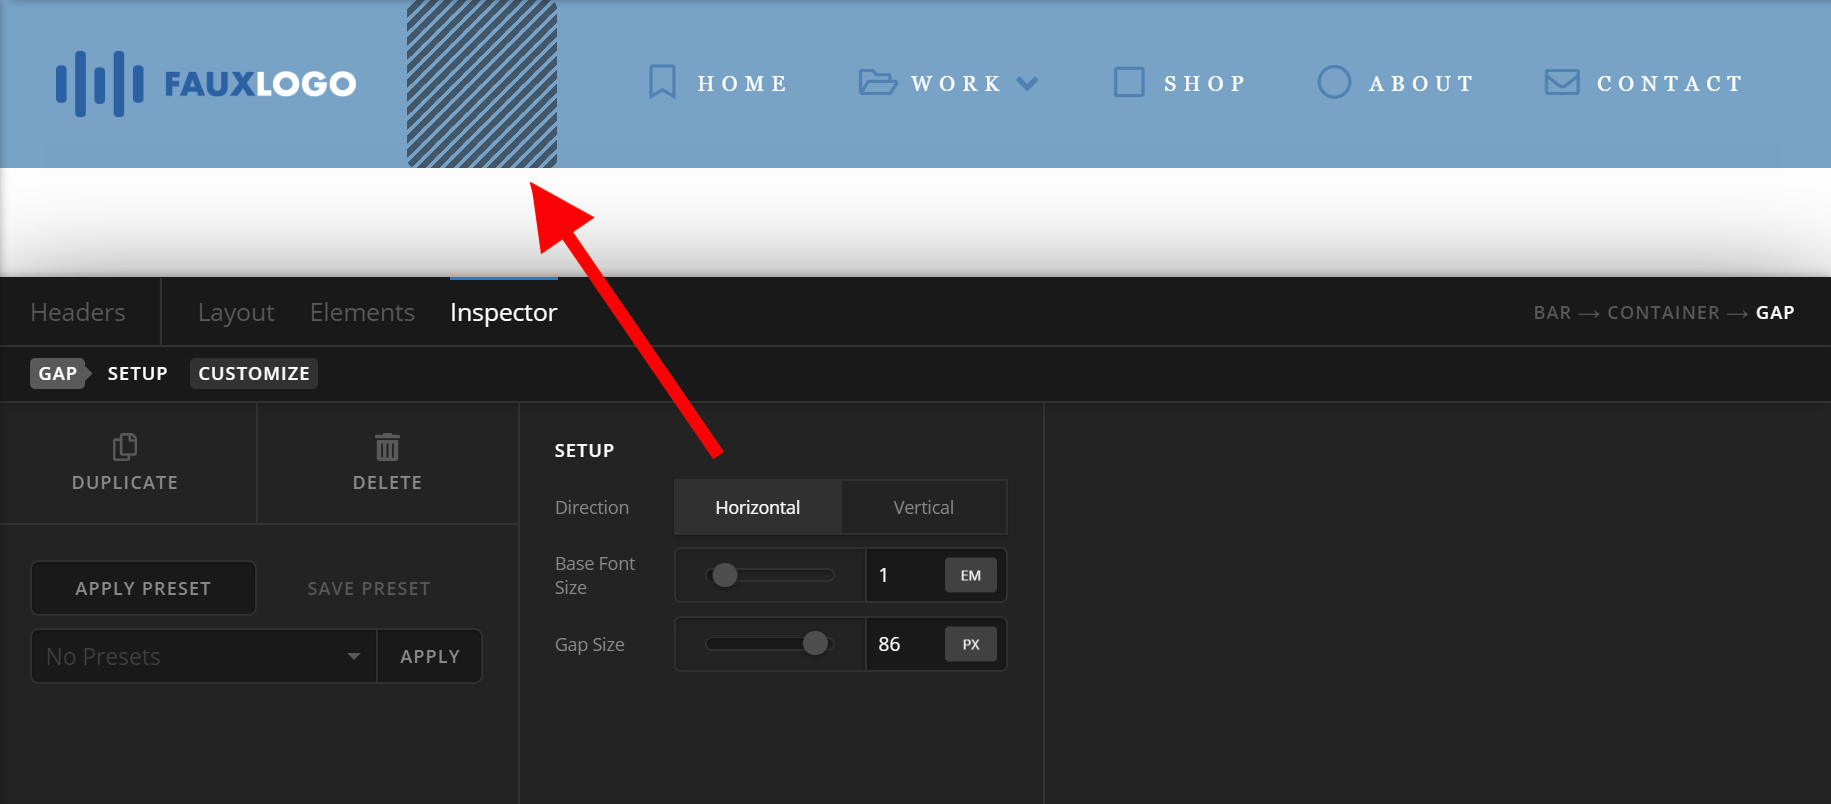
When you "Inspect" a Gap element, you'll see only three settings/fields: Direction, Base Font and Gap Size.
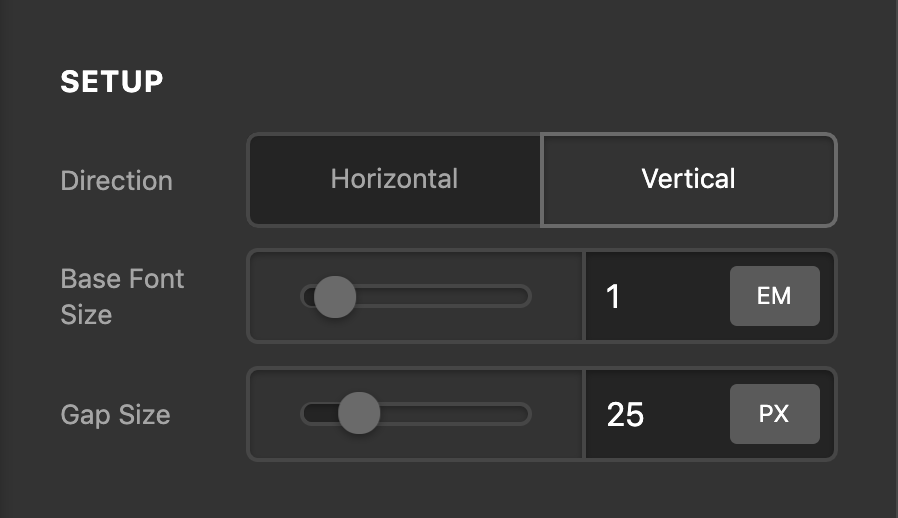
Direction
"Vertical" is the default value. If this is the selected option, the Gap Element will divide Elements above it and below it. In most cases, especially when using Cornerstone / Content Builder, this is what you want. I think it's rare that you'd need to use "Horizontal" on Cornerstone / Content Builder but this option is still available to you.

The practical use of the "Horizontal" option is usually in the Header and Footer Builders where Elements are usually beside each other (e.g. Logo is beside the navigation). So it makes sense that if you'd like to add a distance between the two Elements that are side-by-side, you'll set the Gap's Direction to horizontal.
Base Font Size
It's best to leave the default value as it is and just adjust the size of the gap using the Gap Size setting discussed below.
Gap Size
If the Direction of the Gap is "Vertical," the value you put in the Gap Size will be the height of the Gap. The larger the value, the greater the distance between the element before the Gap and after it.
If the value for Direction is "Horizontal," the Gap Size will be the width of the Gap.
Customize
The Customize pane consists of various features that allow you to take further control over your Element's styling and functionality:
- ID – Sets an HTML ID on the Element.
- Class – Sets an HTML Class on the Element.
- Element CSS – Use this feature for increased stylistic control of your Element, especially over nested markup. Click here for more detailed information on this feature, such as using
$elto dynamically target the base tag, et cetera. - Hide During Breakpoints – Hides the Element at different screen sizes when design alterations are needed. Click here for more information.
- Conditions – Adds / removes Elements from the page when certain criteria are met (e.g. “If a featured image is set...”). Click here for more information.
- Custom Attributes – Use this option to add custom HTML attributes to the root tag of the Element (e.g.
data-info="123"). This can be particularly helpful when integrating with various scripts and libraries.
Demo
To see a live demo of the Gap Element click here.
Summary
Now you know how to use the Gap Element to easily add separation between Elements.
See something inaccurate? Let us know