Countdown
In this article, we're going to discuss the Countdown Element and its settings. The Countdown Element can be used to add countdowns to pages, so let's dive in!
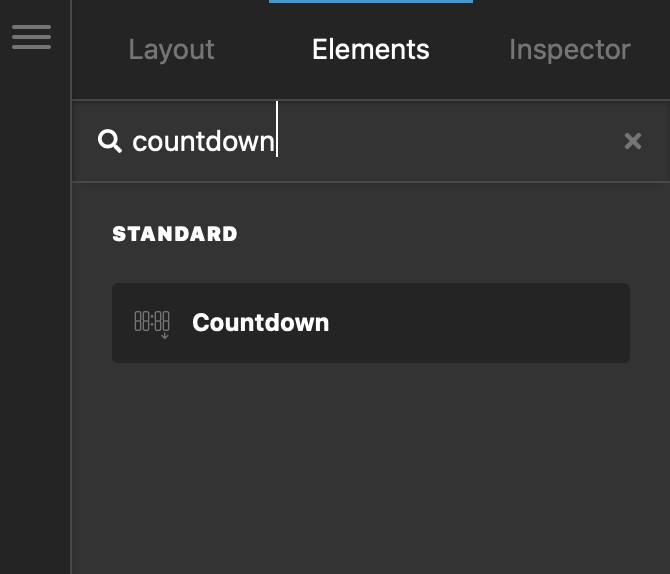
The Countdown Element adds a countdown on the page. To add the Countdown Element, simply search for "Countdown" and drag "Countdown" to the canvas.
Countdown
In addition to the general appearance settings of the Element, this is also the section where the Countdown End time is set as well as the format of the countdown output.
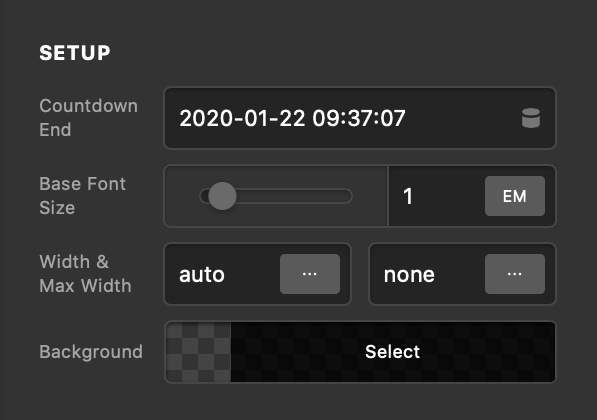
Setup
The Setup section consists of the basic settings you'll want to add when setting up a Countdown. The Countdown End sets the end time for the countdown. Always ensure that the date is in the future. In addition to that function the other parameters are purely related to styling. Once you've set the countdown date you can see the visual changes in the preview and tweak everything to your needs.
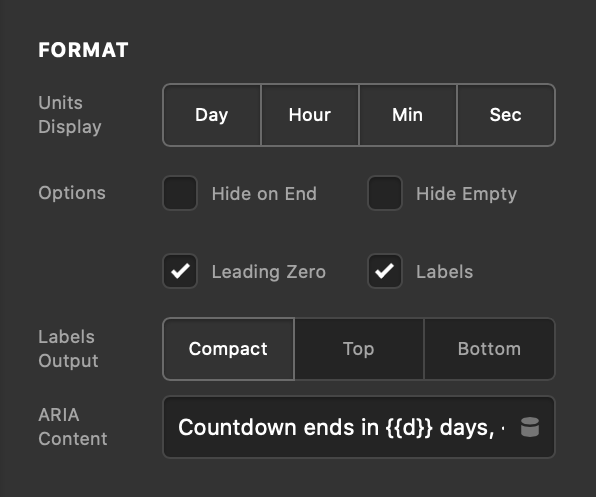
Format
The Format section is important when it comes to how the countdown is appearing on your page. By selecting and de-selecting the Units Displays you can narrow done if seconds, minutes, hours or days are displayed.
Other options are:
- Hide on End - Hides the counter when it ends.
- Hide Empty - Hides when the input is empty.
- Leading Zero - Enable or disable the leading zero in the countdown.
- Labels - Show the day, hour, minute, second label in conjunction of the number or not.
Margin & Padding
The Margin & Padding section allows you to style the counter by adding margin or padding to the Element.

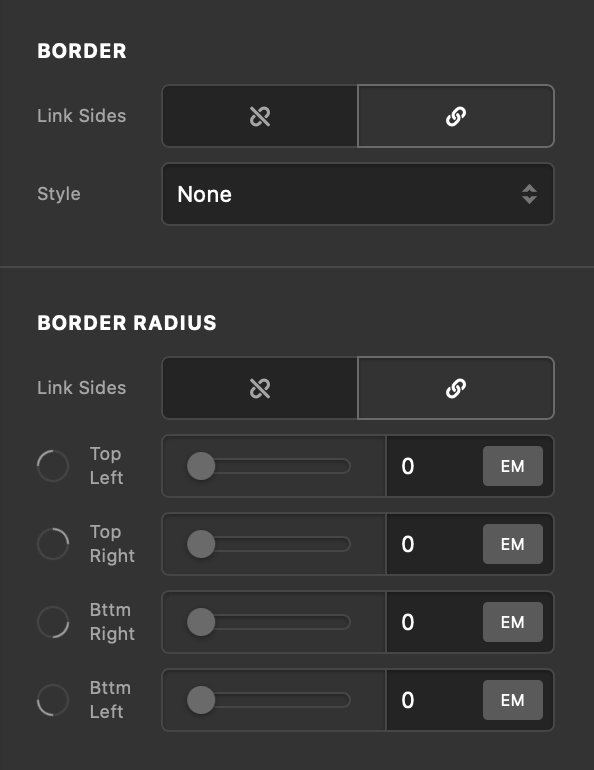
Border
The Border function gives you plenty of options to add a border around the countdown to make it visually pop.
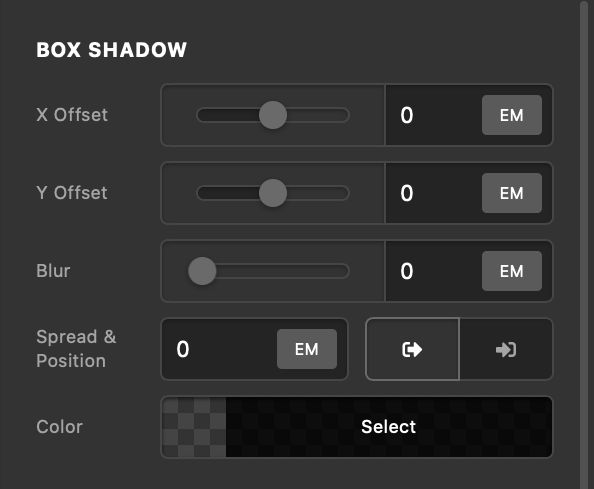
Box Shadow
The Box Shadow control grouping allows you to add a box shadow to the counter to make it stand out.
Customize
The Customize pane consists of various features that allow you to take further control over your Element's styling and functionality:
- ID – Sets an HTML ID on the Element.
- Class – Sets an HTML Class on the Element.
- Element CSS – Use this feature for increased stylistic control of your Element, especially over nested markup. Click here for more detailed information on this feature, such as using
$elto dynamically target the base tag, et cetera. - Hide During Breakpoints – Hides the Element at different screen sizes when design alterations are needed. Click here for more information.
- Conditions – Adds / removes Elements from the page when certain criteria are met (e.g. “If a featured image is set...”). Click here for more information.
- Custom Attributes – Use this option to add custom HTML attributes to the root tag of the Element (e.g.
data-info="123"). This can be particularly helpful when integrating with various scripts and libraries.
Demo
To see a live demo of the Countdown Element click here.
Summary
To sum up, we've discussed the Countdown Element. We've discussed that a Countdown Element is an easy tool for adding countdowns on a page and we've learned how to change it's content and design. Finally, we delved into details of the Countdown Element settings.
See something inaccurate? Let us know