Video Lock
In this article, we're going to show you how to use Video Lock to lock posts and pages on your site with videos that puts your marketing message in front of your visitors.
The Video Lock Extension allows you to lock your pages and posts with a video that a user needs to watch before viewing the content or to set a video to appear after a set amount of time.
Getting Started
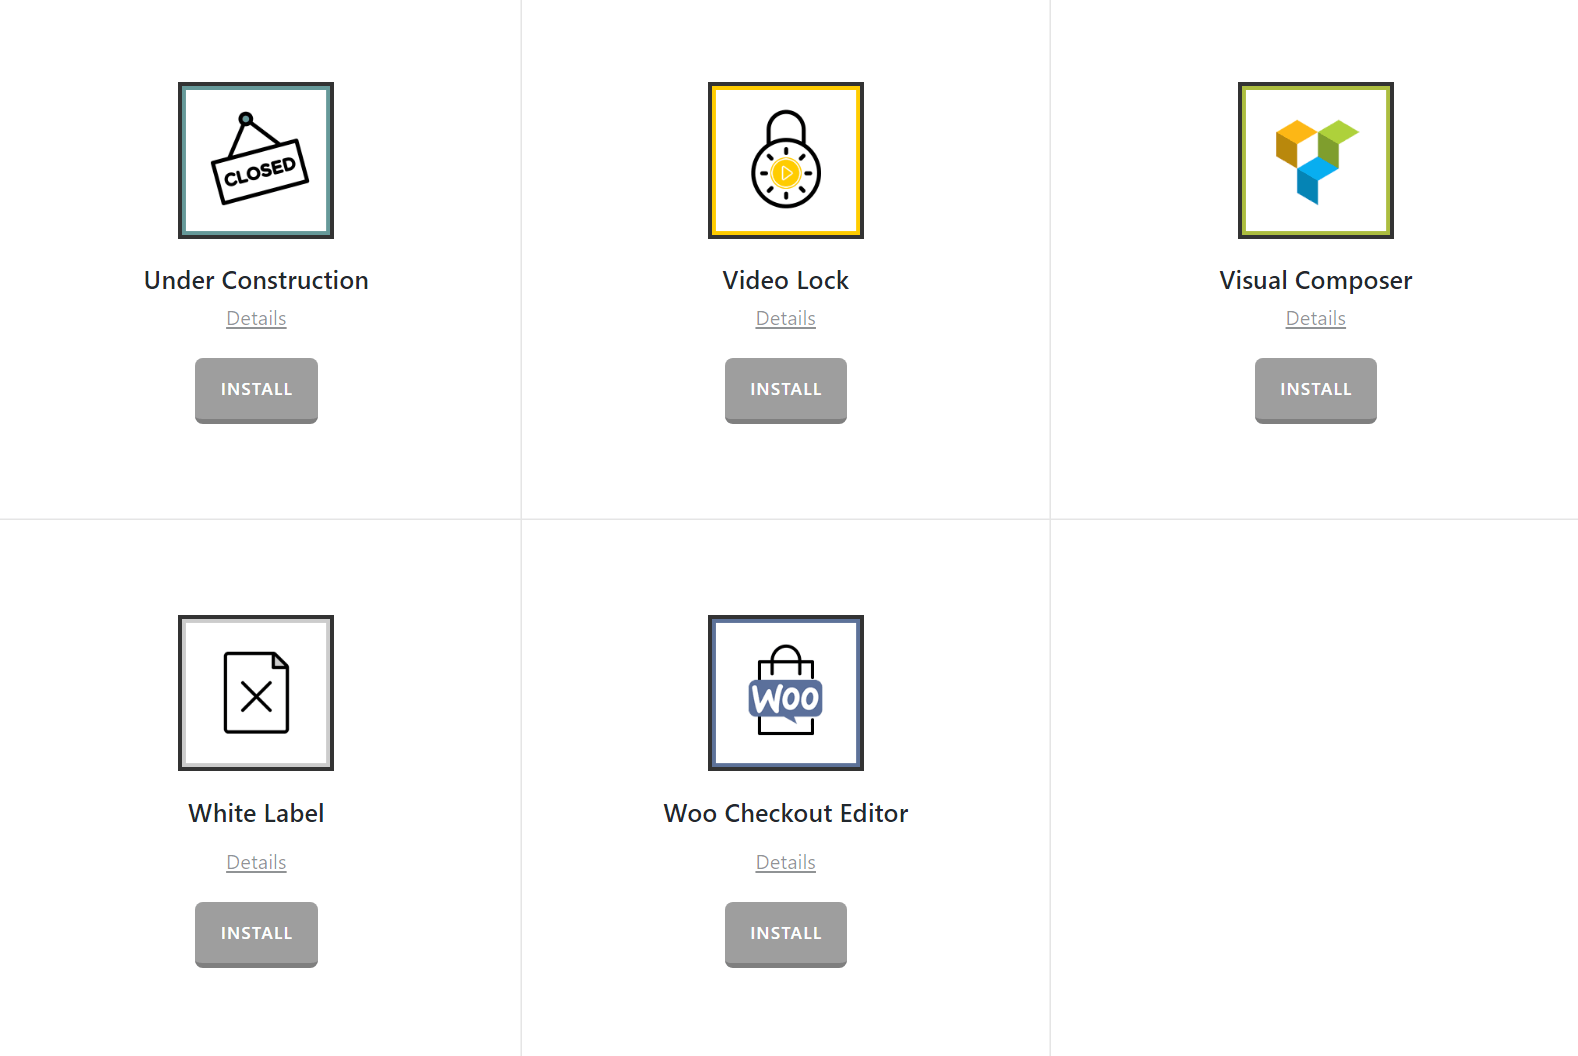
Go to Pro > Validation or X > Validation then look for Video Lock. Click Install.
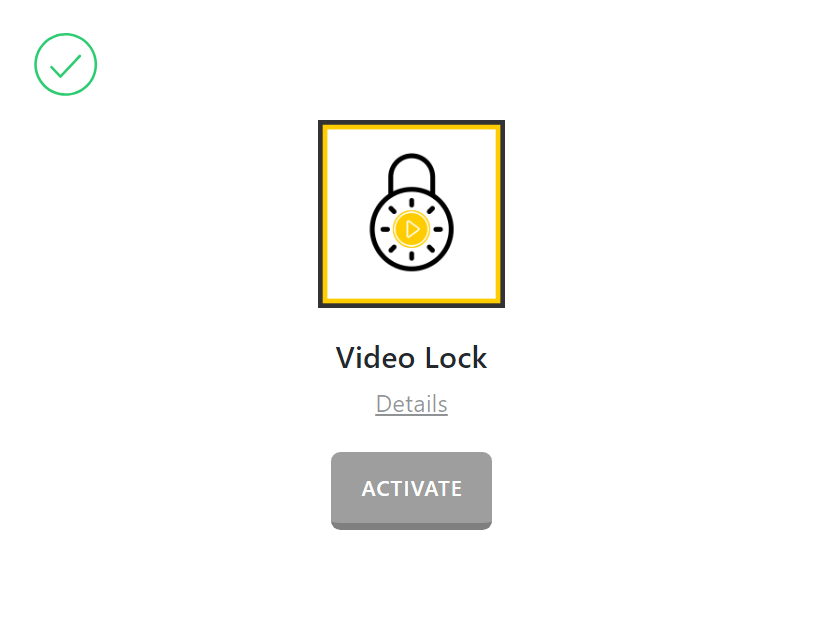
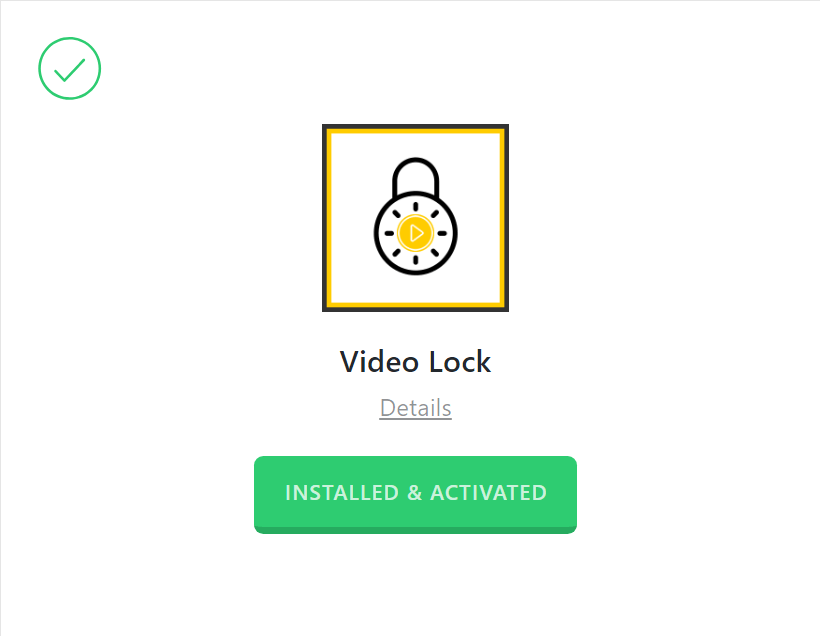
Once installed, the Install button will change and say Activate. Click that button and it will activate the plugin. You will then see the status change to Installed and Activated.
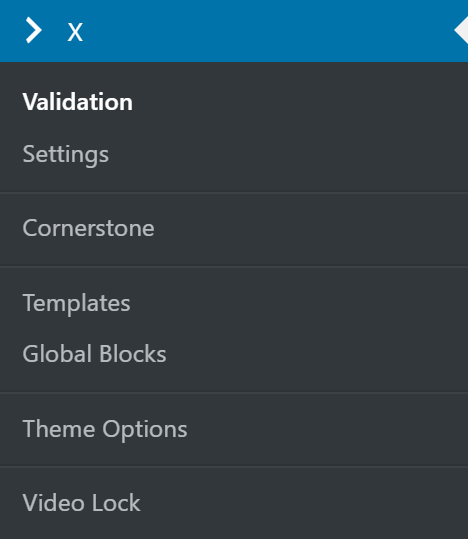
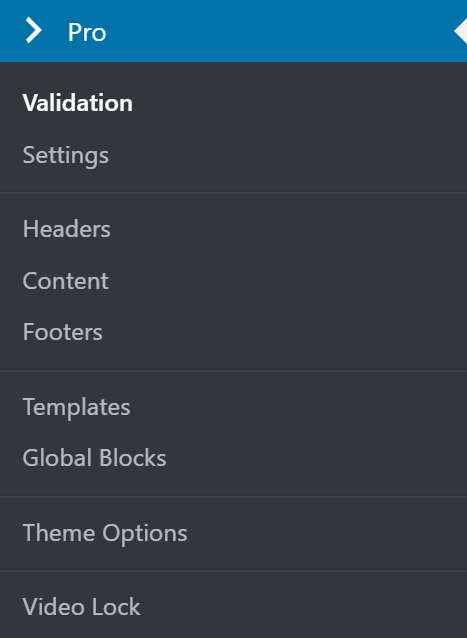
After installing and activate Video Lock, you'll find it's settings under the X menu item if X is installed and activated, or the Pro menu item if Pro is installed and activated.
From the main Video Lock settings screen you can choose to disable or enable the plugin as needed:
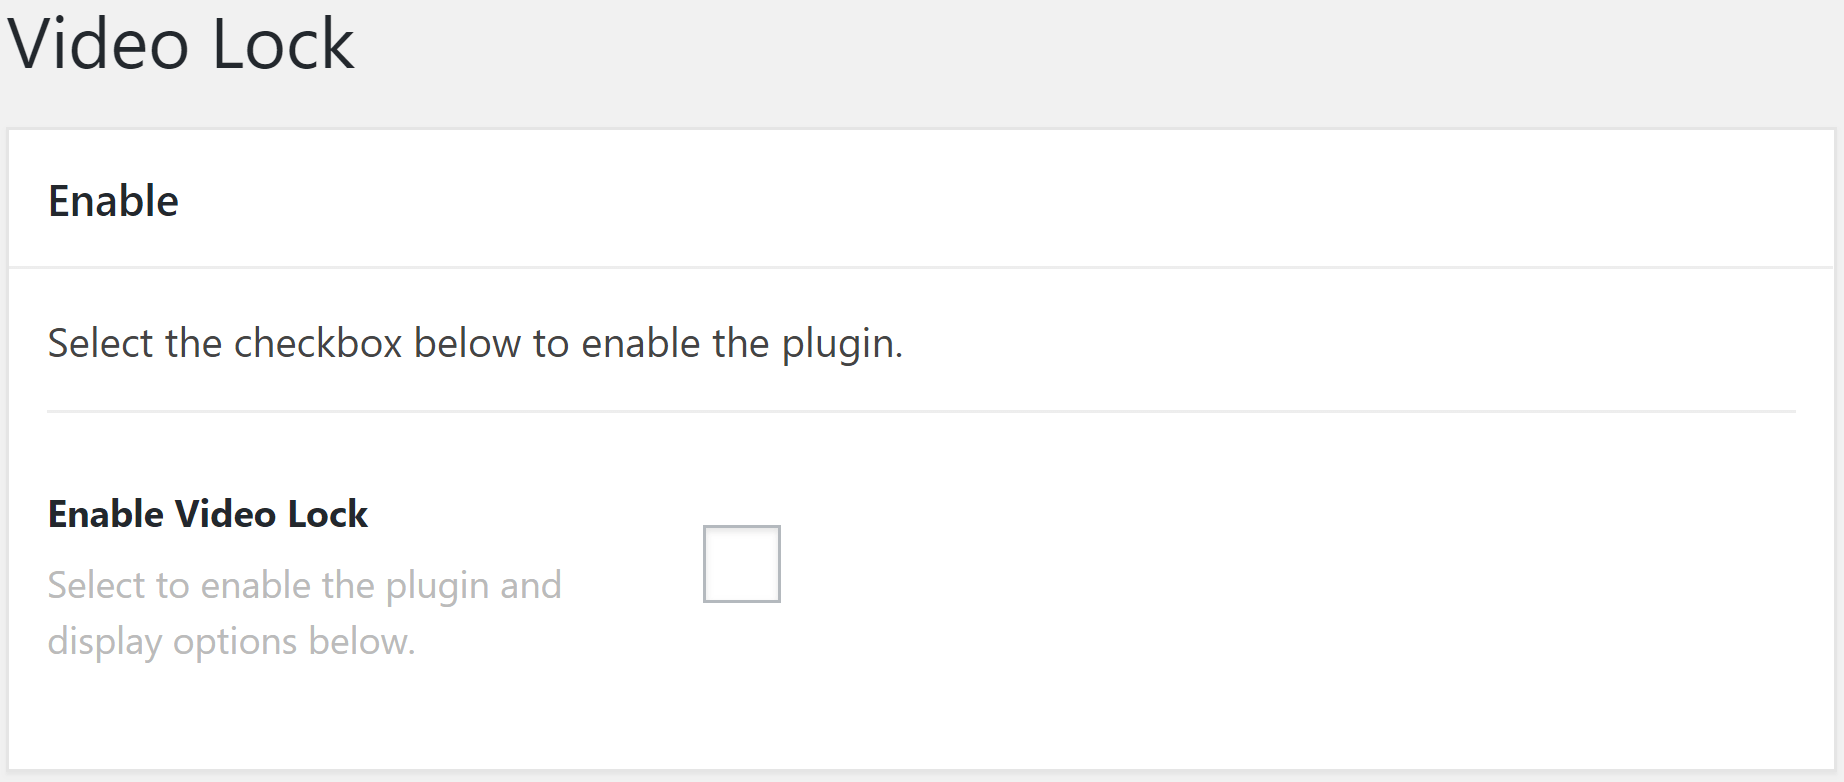
Disabling the plugin will effectively turn off all output from the plugin (e.g. HTML, CSS, JavaScript etc). This is useful as a quick way to toggle activity if you ever need without having to go through the Plugins menu and worry about activating/deactivating it completely. This way you can work with and manage all of your X specific functionality from one centralized place under the Addons section.
Selecting the enable checkbox will bring up the Settings meta box below. This is where you will adjust any options for the plugin and input your data as needed.
Setting Up Video Lock
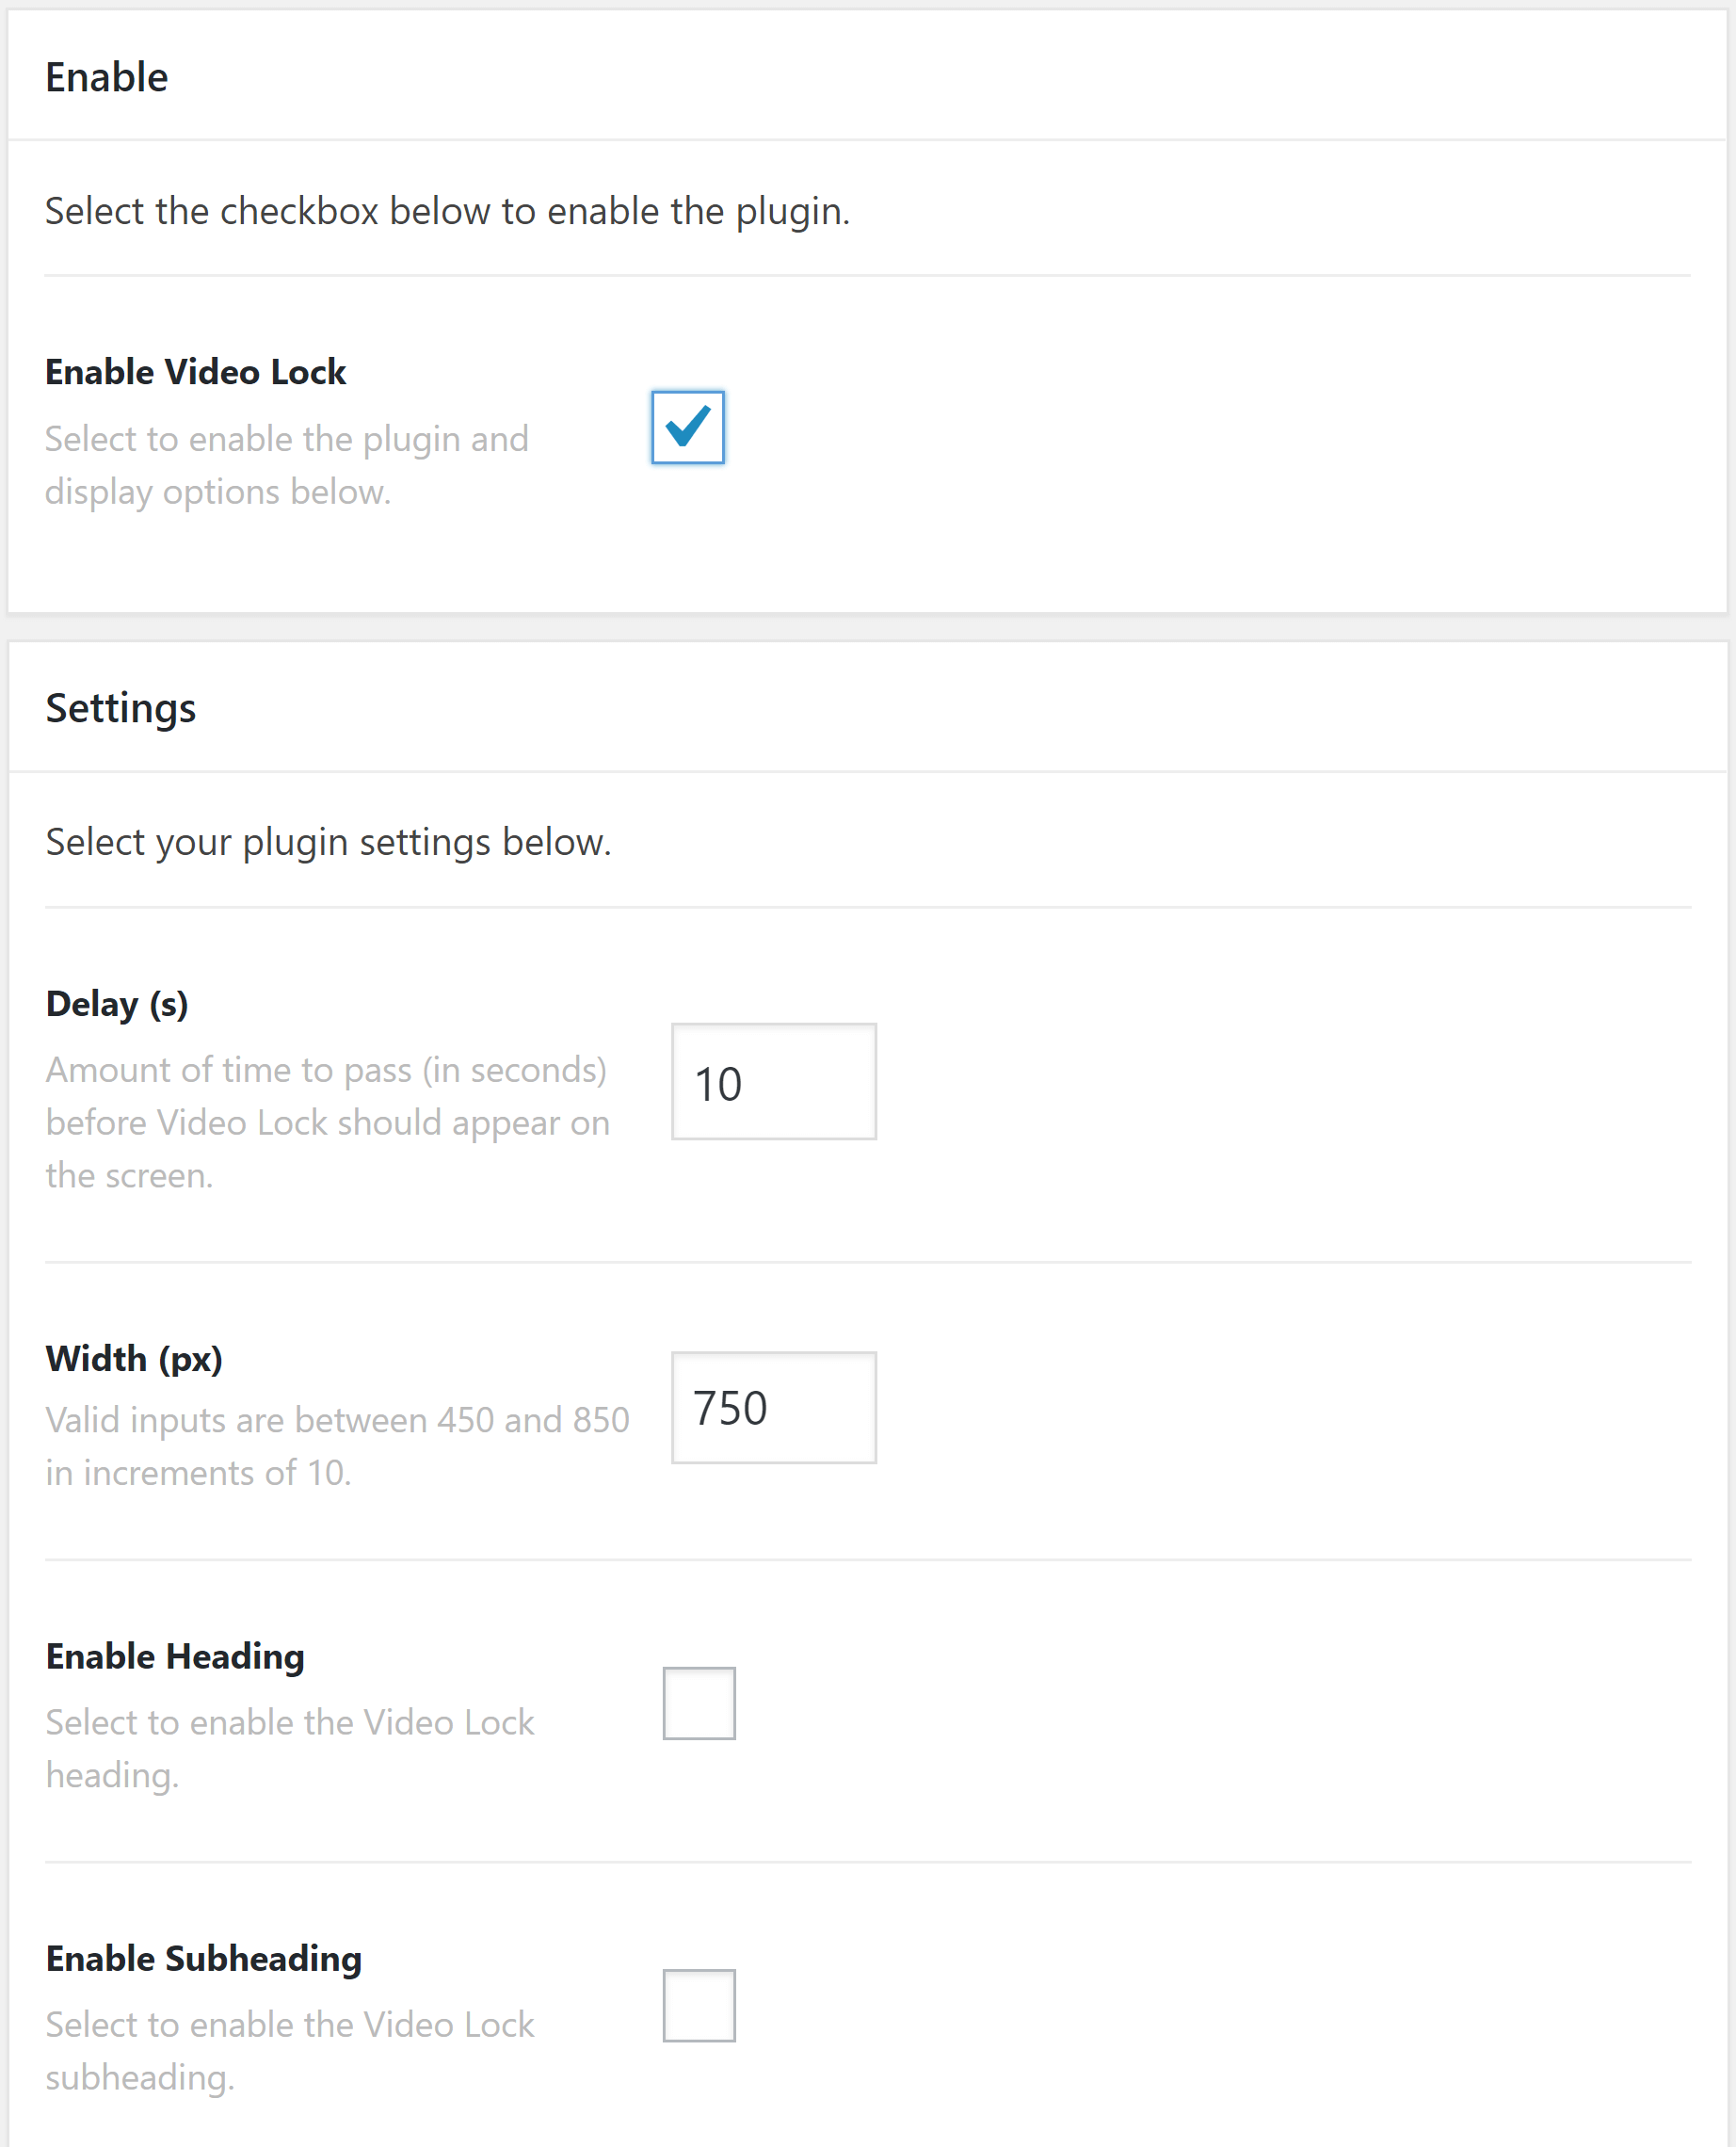
Video lock has an extensive array of settings that we'll cover below.
- Delay(s) - This is the amount of time to pass in seconds before the Video Lock displays on the screen.
- Width (px) - The width of video lock in pixels.
- Enable Heading - If you enable the heading, you'll be able to enter a custom heading for your Video Lock and set a custom heading color.
- Enable Subheading - If you enable the subheading, you'll be able to enter a custom subheading for your Video Lock and set a custom heading color.
- Source - Select if the source of your video is either self hosted (i.e, if your serving an MP4 direct from your own site) or Third Party (i.e, Youtube, Vimeo or other video source embed code).
- Video - Enter the URL to your video if you selected Self-hosted in the Source option.
- Embed Code - Enter the embed code for your video if you selected Third Party in the Source option.
- Video Post - Set a image to be used if autoplay is disabled.
- Enable Video Autoplay - Select whether to automatically play the video or not.
- Disable Video Controls - Select to disable Video Controls, keep unchecked to continue displaying Video Controls.
- Button Text - Enter text for your custom button to display in your Video Lock.
- Button Link - Enter the URL for where you'd like the button to go in Video Lock.
- Button Style - Select the button styling for Video Lock. Either Global, Marketing - Red, Marketing - Yellow or Marketing - Green.
- Button Delay (s) - The delay in seconds after Video Lock appears before the button appears.
- Enable Close Button - Select to enable a close button within Video Lock for the end user/site visitor to be able to dismiss/close Video Lock.
- Include - Multi-select box to pick which pages and posts you'd like Video Lock to display on.
On the include option, to select multiple nonconsecutive pages or posts, hold down CTRL (Windows) or ⌘ CMD (Mac), and then click each item you want to select. To cancel the selection of individual items, hold down CTRL or ⌘ CMD, and then click the items that you don't want to include.
Once you're happy with all the options set click on Update to save your settings and then video lock should be working on your site.
Use Case Example
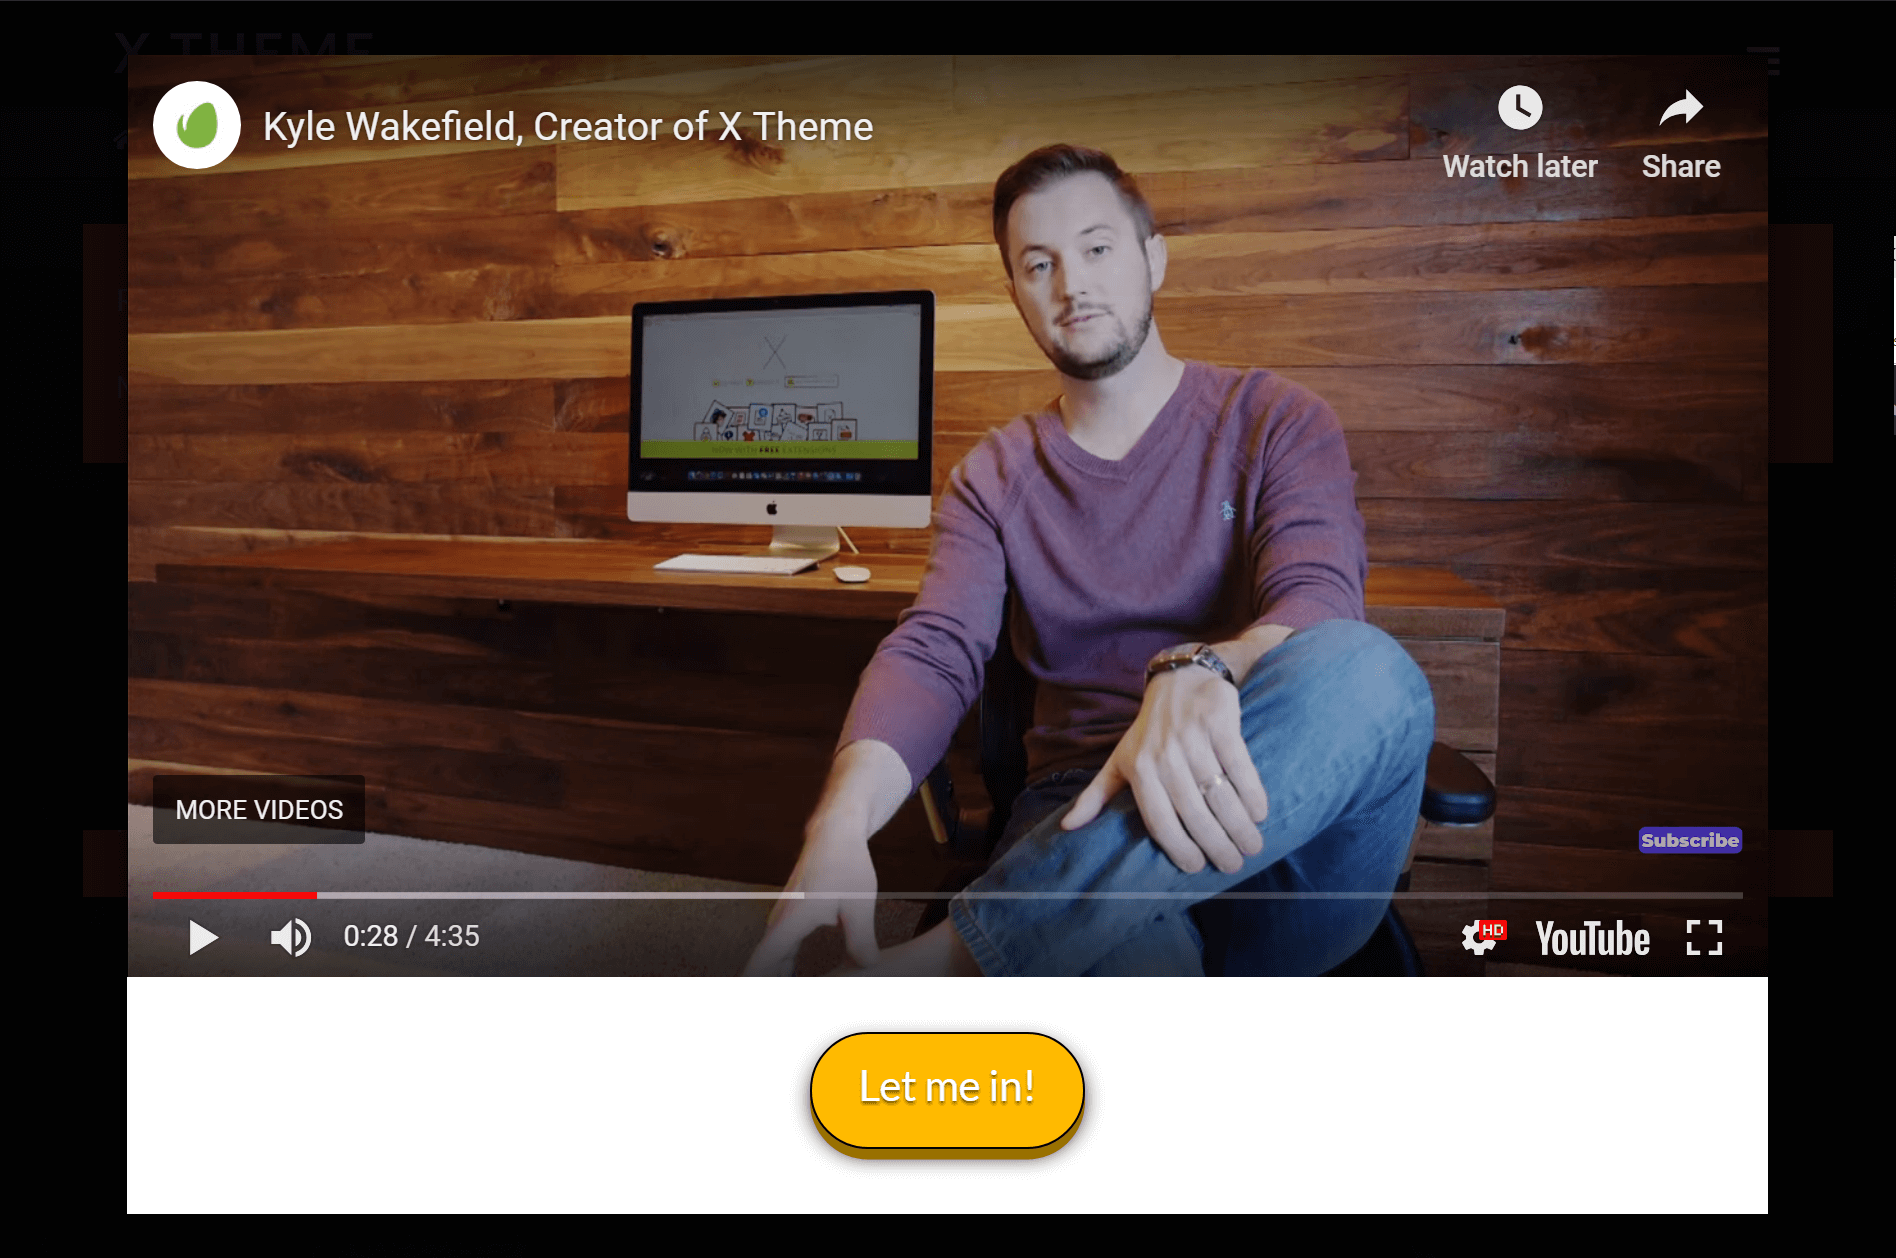
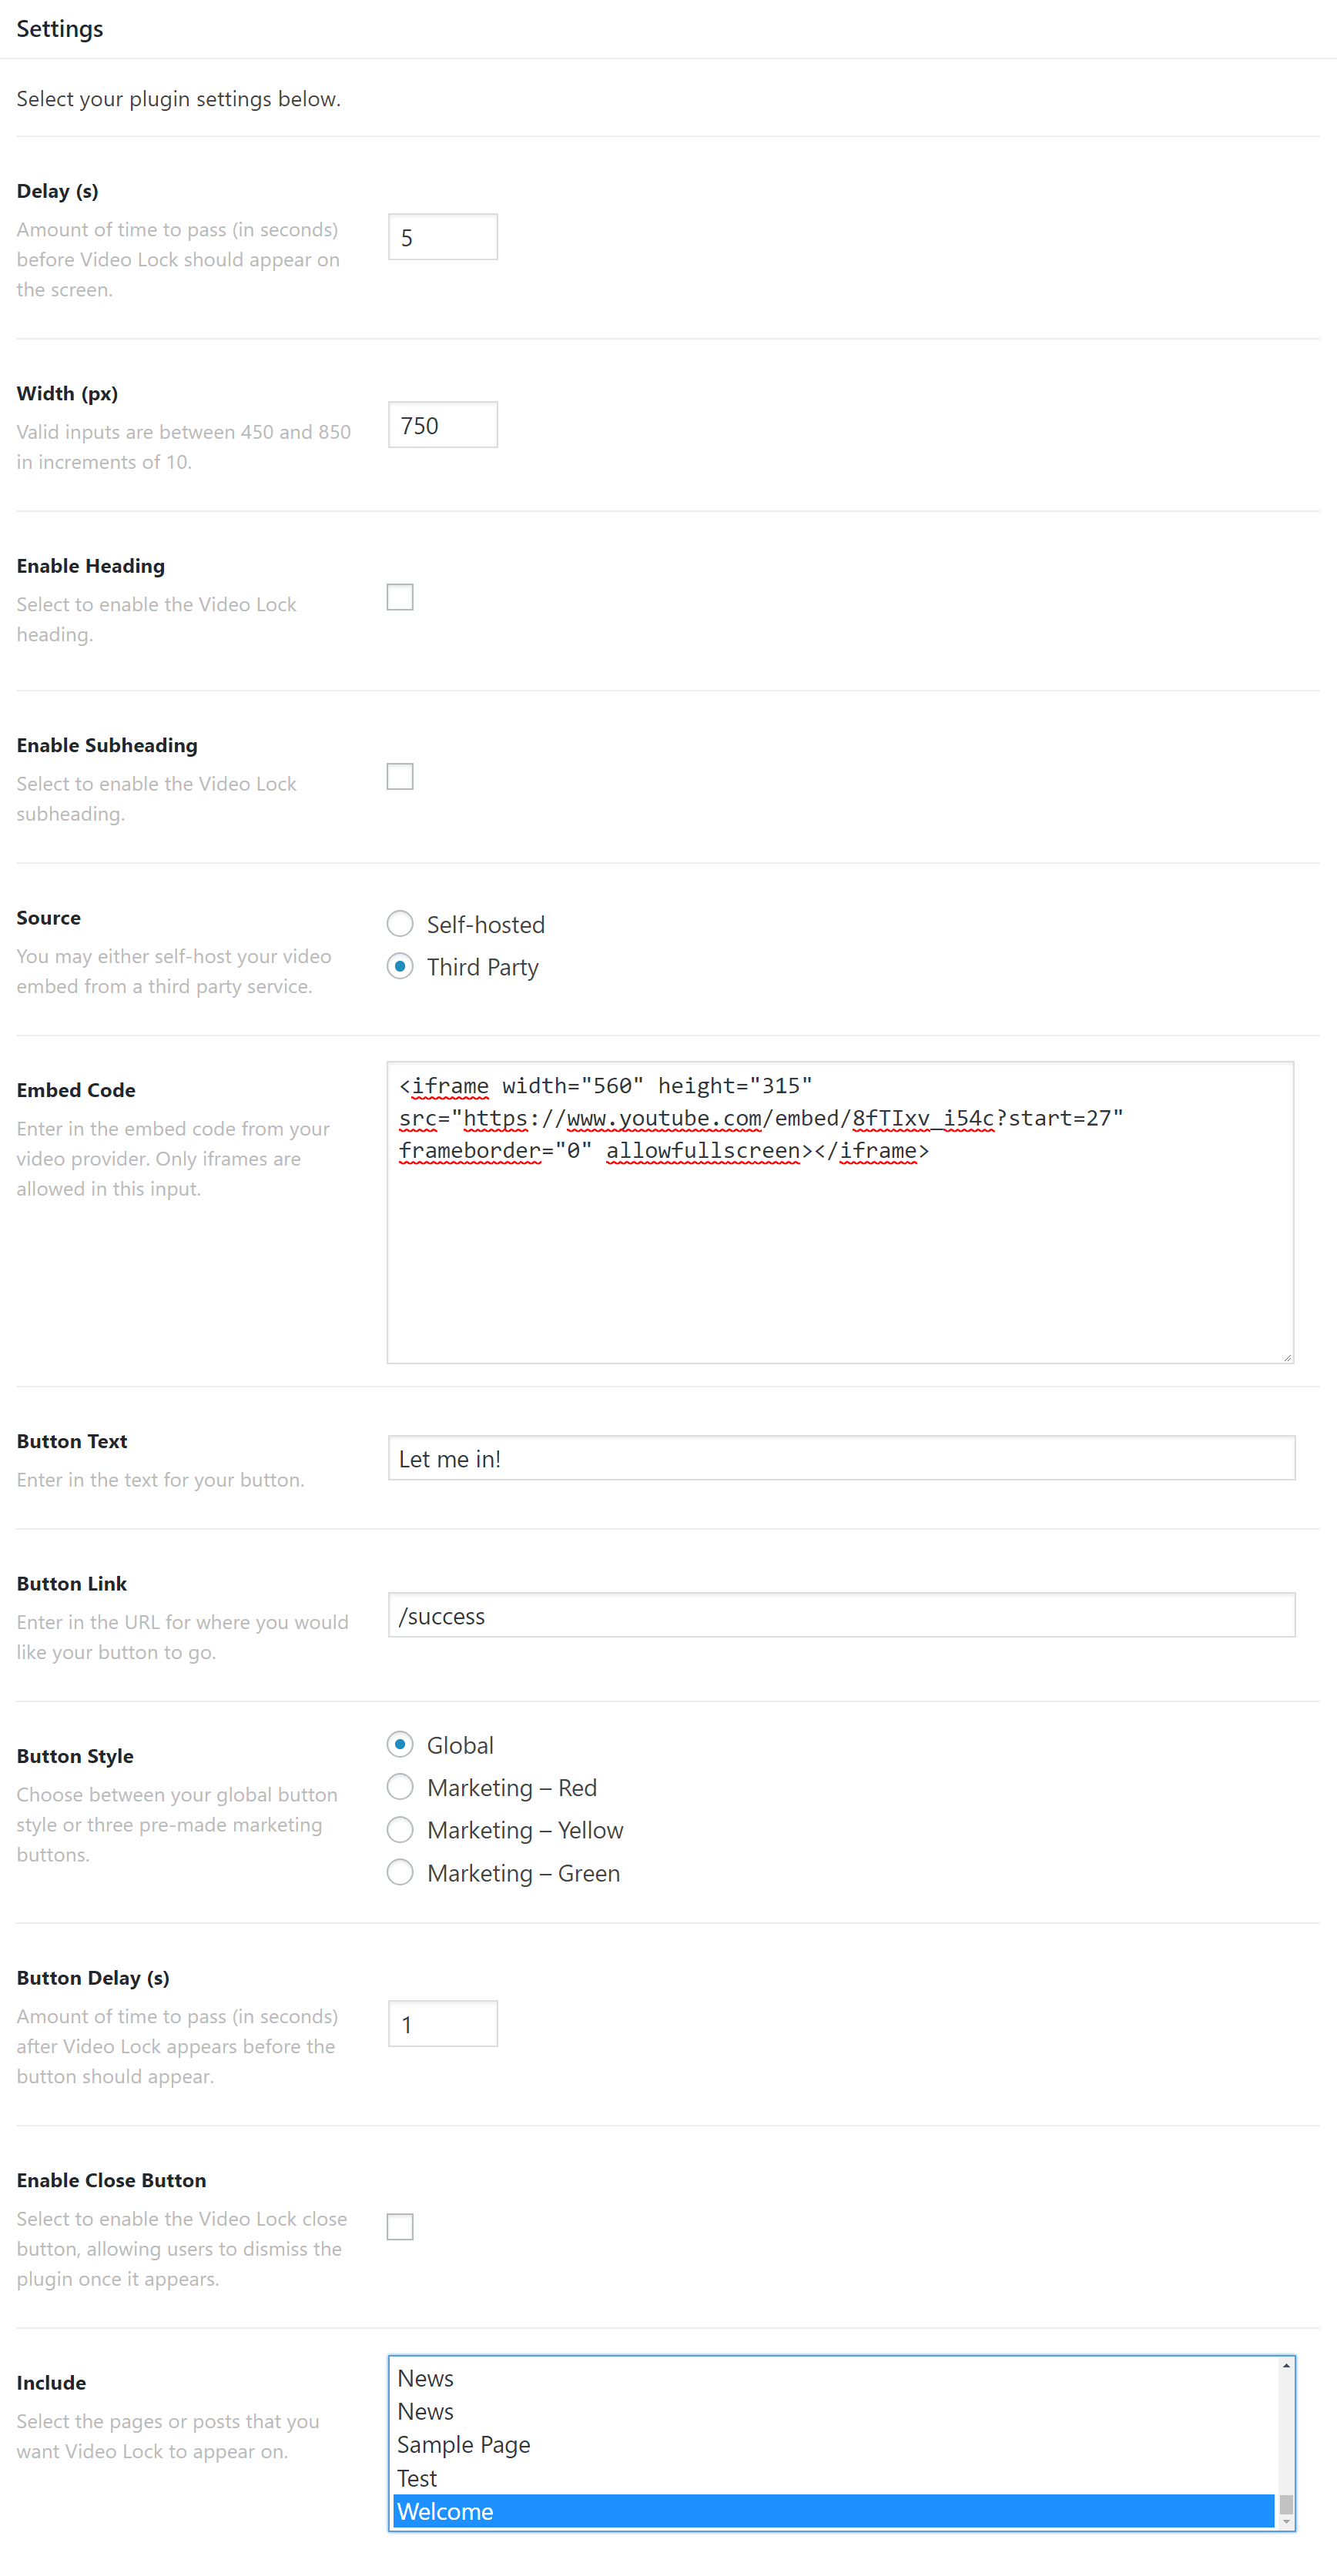
Let's look at a real-world example. Let's say you have a welcome page named, "Welcome," and you want to lock it with a promo video. The promo video will display 5 seconds after the page loads and there will be a button with the text "Let me in!" When the button is clicked, it will redirect to a success page.
Here's our sample page:
Then these are the settings:
Summary
Congrats! You've successfully setup Video Lock and now have a great marketing tool at your disposal.
See something inaccurate? Let us know