How do I make CSS adjustments to a layer in RevSlider under the new interface

Hi Friends,

Quick question I’m trying to figure out how to make basic CSS adjustments to a layer in RevSlider under the new interface. I feel like I’m pretty close:

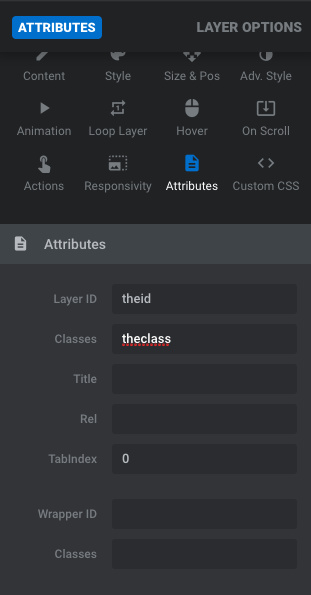
I’ve found a way to give the layer a tag but it look like they only offer pre-canned tags like h# and spans, the closest thing they are offering to a class based selector is rs-layer.

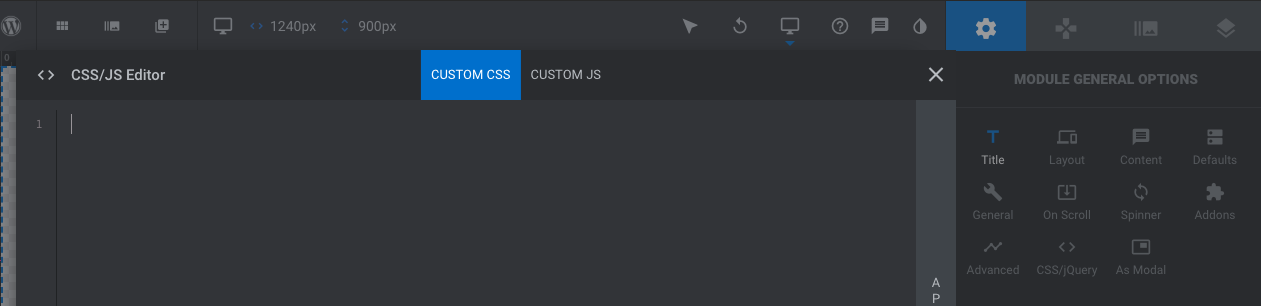
But I’m having a hard time drilling in getting the rules to apply inside the RevSlider interface ( I assume this is where you do your styling). There is a custom CSS button and that opens up an editor, but I’m having a hard time getting any styling rules to apply:

I know RevSlider isn’t really your product but any light you can shed on this 2 part questions:

  1. How to assign custom selectors
  2. How to drill in and assign rules to those selectors

Would but very appreciated!
Hi John,

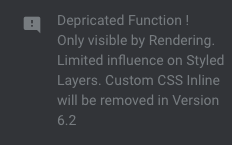
The feature in question is limited functionality and it is going to be deprecated and removed soon:

Just, to let you know how it works, you will not need to add any selector and it should be like this:

CustomCSS {
​/* ADD WHATEVER SLIDE THAT YOU LIKE HERE */
}

The CustomCSS is a special keyword which selects the current wrapper.

I suggest that you hit the Attribute button and add a Layer ID or Class. Such as the screenshot below:

Then, you can click the Settings tab at the top right section and click the CSS/jQuery button to add the Custom CSS:

In our example if you want to use ID you should add:

#theID {
/* Add whatever Style you like */
}

Or if you use a class:

.theClass {
/* Add whatever Style you like */
}

For more information please kindly check this article.

Thank you.

Worked great, thanks a lot!

We are happy to help, Cheers!

This topic was automatically closed 10 days after the last reply. New replies are no longer allowed.