The Font Manager is one of the easiest ways to manage your fonts with no hassle and instant updating site wide! Going back and changing 20+ font options is a thing of the past.
First of all you’ll need to launch the font manager in your wp-admin hover over “X Theme” and then click on Launch. That will take you to the main screen with the builders and template options like this:

Click on Templates and you’ll see the available options like this:

Go ahead and click on Fonts on the left hand side and you’ll see the main font manager interface like this:

On the left hand side you have your existing fonts and can add new fonts. Then in the center you have the font selector and the font preview. Clicking on a font on the left hand side will select that font for editing. Once you’ve selected the font you’d like to edit. You can then pick the font you want from the dropdown in the center like this:
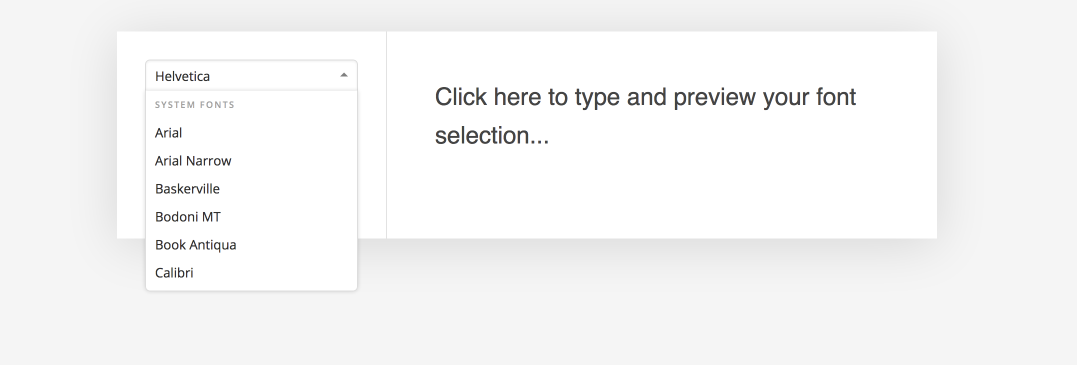
The fonts available for selection are system fonts (WordPress) and every Google font available. Once you’ve selected the font you want, the available font weights will be loaded all of which can be previewed. If you hover over the font weight you’ll see a preview link like this:
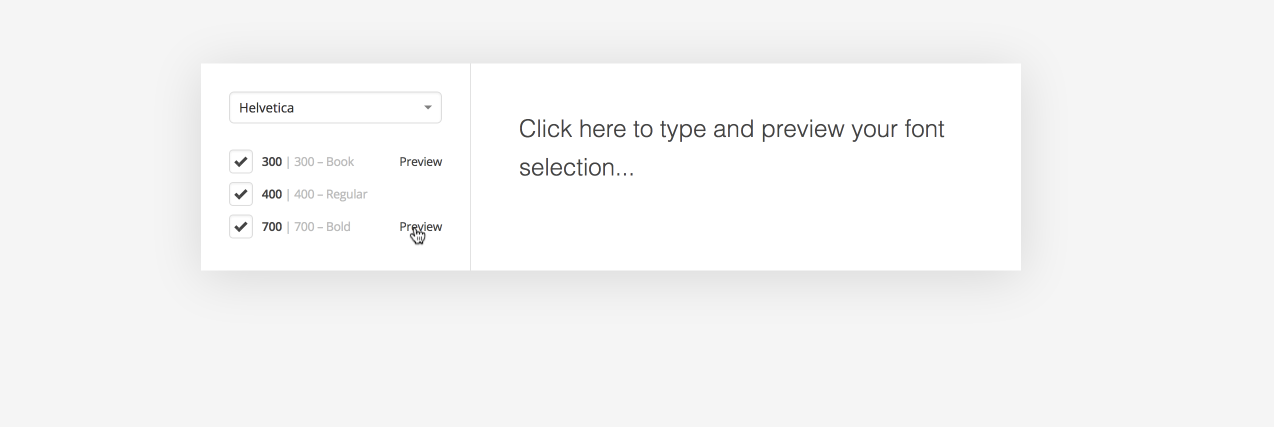
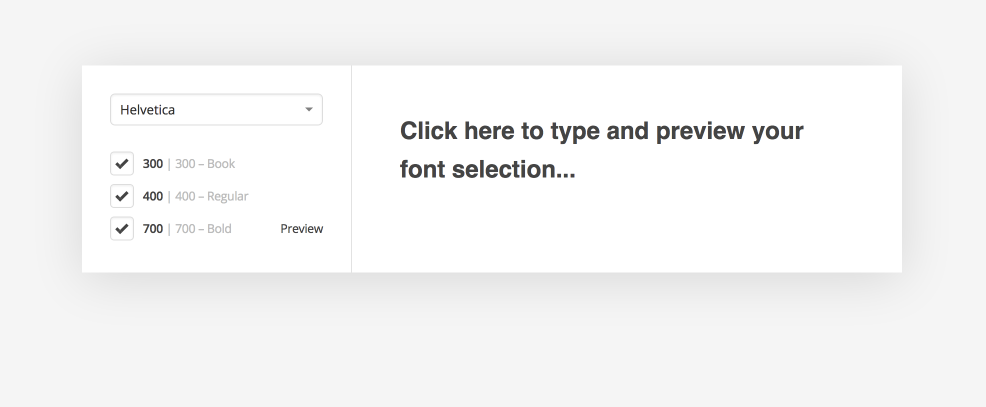
If you then click on that Preview link you’ll see the font update in the live preview like this:
Another option available within the Font Manager is Adobe TypeKit and to enable extra character font subsets for the Google Fonts. To access these options click the T in the Font Manager interface:

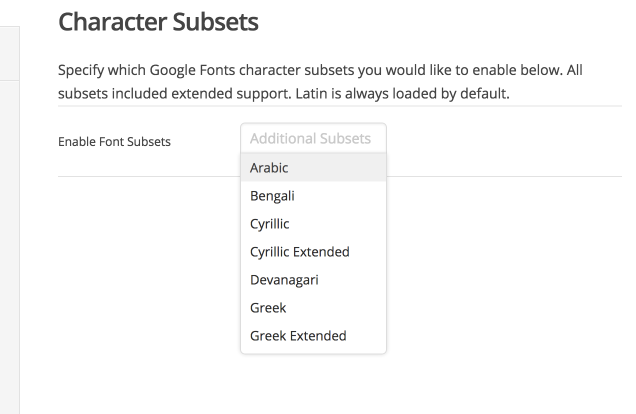
You should see now the new options for the character subsets and Adobe TypeKit like this:

To add a new character subset just click in the dropdown and you’ll be presented with a list of available subsets like this:
Now if you click on TypeKit you’ll see the Adobe TypeKit options like this:
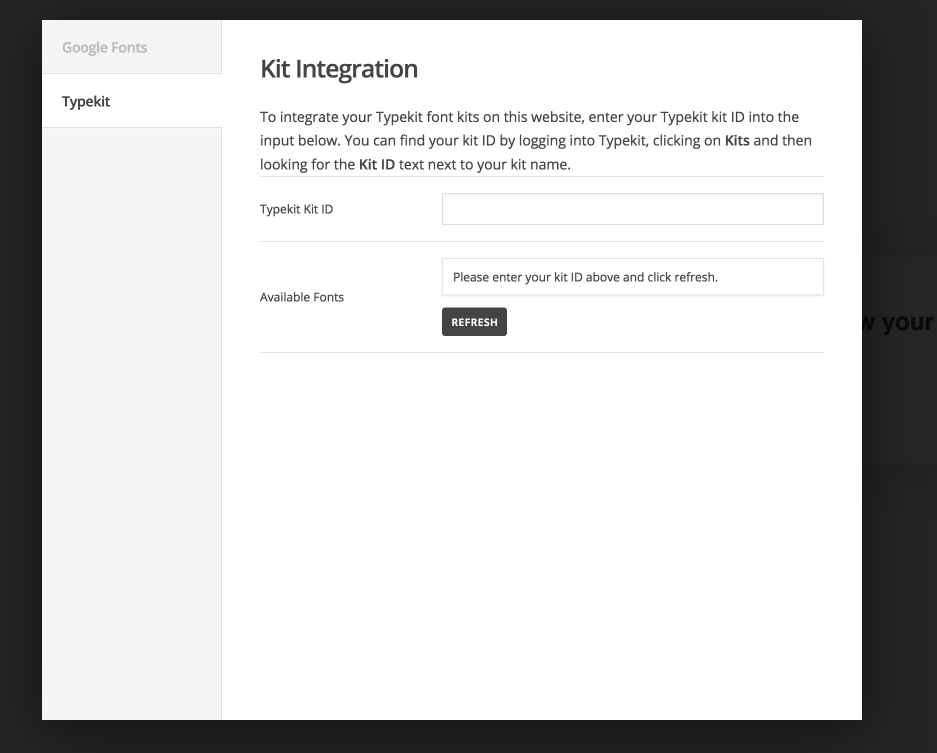
Once you’ve entered your Adobe TypeKit ID you’ll see a list of available fonts which will then be selectable from the dropdown in the Font Manager. To get your Adobe TypeKit ID follow our other article here you don’t need to install our Adobe TypeKit extension just follow the article from the Getting your TypeKit ID section.
Once you’ve finished editing your fonts click on save in the bottom left and your fonts will be updated throughout the site. This is useful if you want to change a specific font all at once. For example if you use a specific fonts for h1s, you can add a font and then in the theme options set that to be used for your h1s, then if you want to switch to a new font, just come into the font manager. Change the font used click save and it’ll be updated everywhere on your site.