Hello everybody,
I just wanted to jump in here really quick to provide a post that will hopefully outline in detail the way font settings are “stacked” in the theme as well as a little more context for how to utilize different workflows based on your needs.
Introduction to the Font Manager
Before we even get into assigning fonts anywhere, let’s take a moment to review the Font Manager under Templates → Fonts in the backend. The purpose of utilizing the Font Manager is to have a centralized place to setup fonts utilized across your website for easy reuse as well as updating them from one central place rather than multiple (potentially dozens or hundreds) of spots. Take the following screenshots as examples:
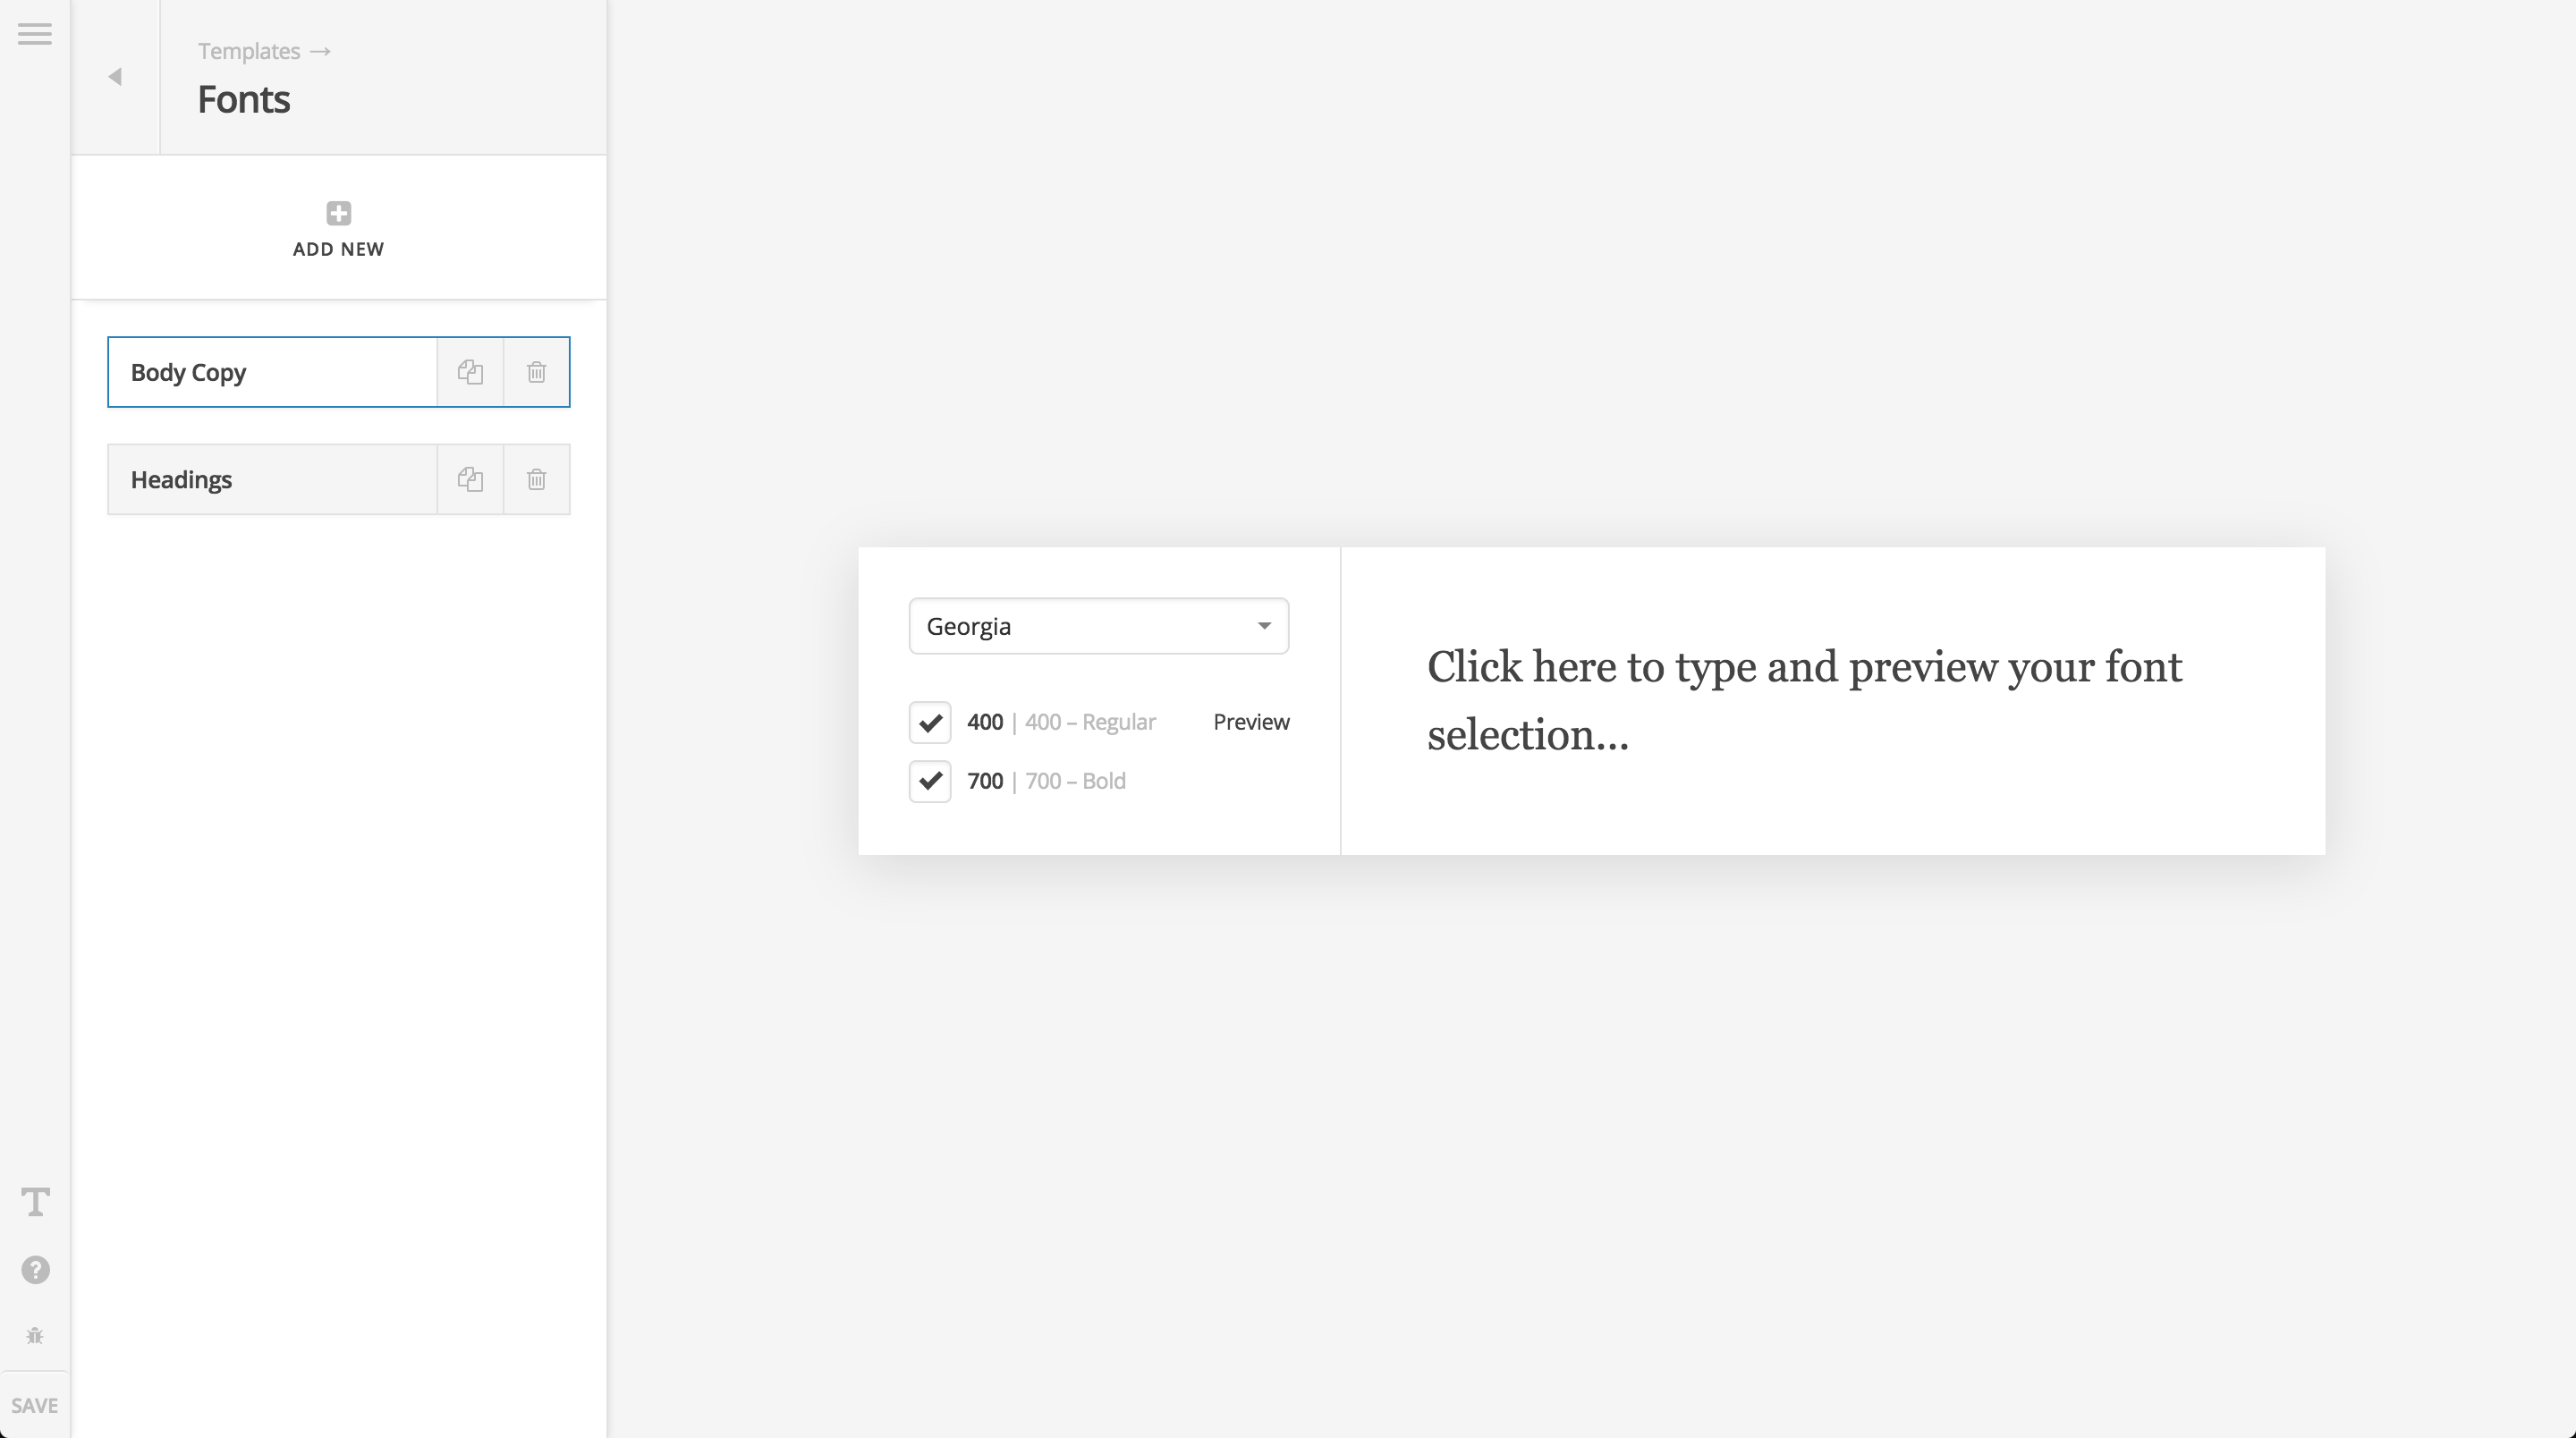
In these examples, I have setup 2 font families to be utilized on my site. I have named one Body Copy and the other Headings. I can name these whatever I wish, and make as many as I wish to assign, but we’ll use these 2 to keep things simple. What I’m doing when I create these fonts is making an abstraction, which can be assigned where necessary and easily overwritten later if needed. So if I go into an element and assign the “Body Copy” family to it, what I’m really doing is saying font-family: Georgia; in this case, and then based on the font weights I added in the manager, those options will pull through to the element for me to use like so:
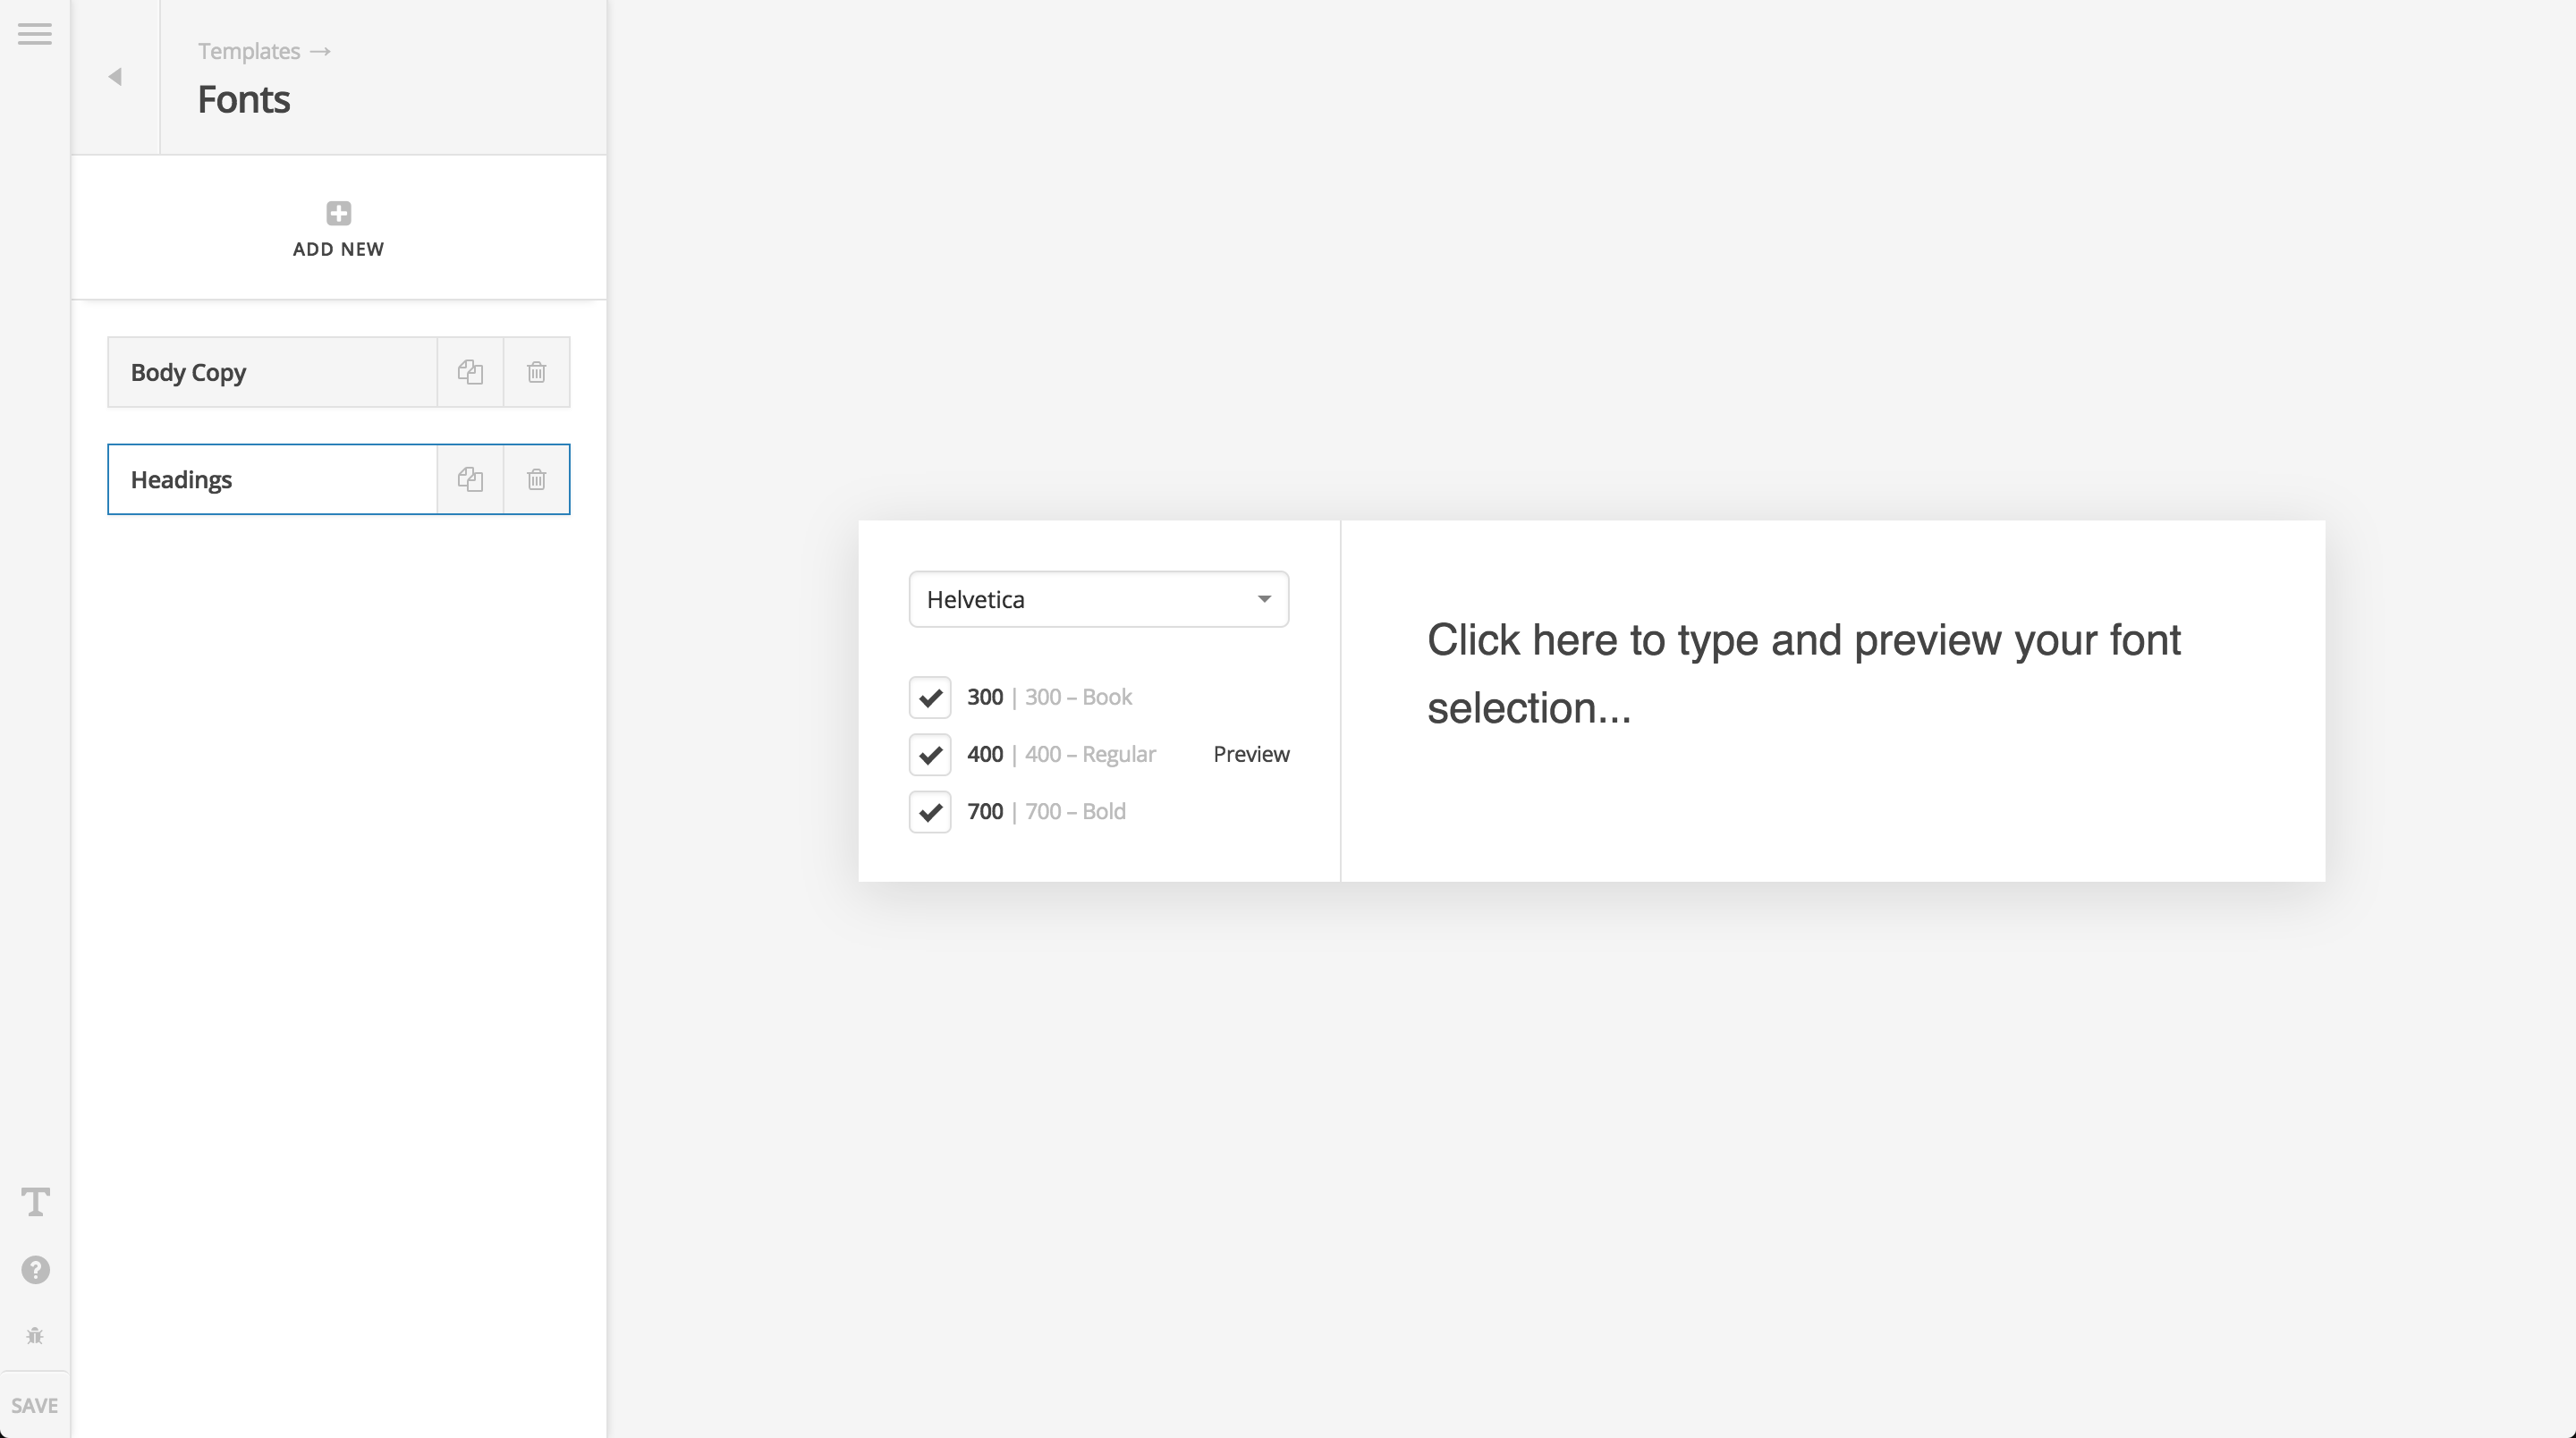
This keeps things organized and consistent across multiple elements. Now lets say down the road I don’t want to use Georgia anymore as my “Body Copy” font-family, and instead wish to use Helvetica. Without these font manager abstractions, you would have to go back to each individual element and change Georgia to Helvetica over and over and over again. However, if utilizing the Font Manager, you can simply go back to this one central spot, update the font-family, hit Save, and these changes will be reflected out across all “Body Copy” assignments on your site from Theme Options (if you’re using it there) to individual elements.
That is the real power of utilizing the Font Manager, and it is highly encouraged that you do so for all the reasons mentioned above, but you do not have to utilize it, or can use it to varying degrees of integration as you wish and you will see below.
Setting up “Base Fonts”
Starting from the very base level, the first thing you will want to do when setting up your website is define the overall foundational fonts used for your “body copy” (all text other than headlines) and your headlines. To do this, go to Theme Options → Typography and to start, you can choose to opt-in to the Font Manager system mentioned previously, or you can assign fonts directly by turning the Enable Font Manager option on and off as you wish. If you turn this off, you will assign all of your fonts and weights directly within the Theme Options panel. If you turn this on, you will need to setup a font group in the Font Manager first, then you can come back here to assign it.
Starting with the Body and Content settings, let’s say you assign Lato as your font-family and 400 as your font-weight in here (either directly, or via the Font Manager’s groups). On the frontend, those styles are translated as such:
body {
  font-family: "Lato", sans-serif;
  font-weight: 400;
}
So at the very base level, Lato with its associated font-weight is assigned to the body tag. Next, for the Headings section, let’s say you assign Lato as your font-family and 700 as your font-weight. On the frontend, those styles are translated as such:
h1, h2, h3, h4, h5, h6, .h1, .h2, .h3, .h4, .h5, .h6 {
  font-family: "Lato", sans-serif;
  font-weight: 700;
}
So all of our most base level heading tags, as well as the theme’s heading modifier classes will receive these font settings. Now that we’ve assigned both of these values, let’s go take a look at a simple blog post that I’ve mocked up (I just wrote this directly in the WordPress backend, not using any page editing from the builders):
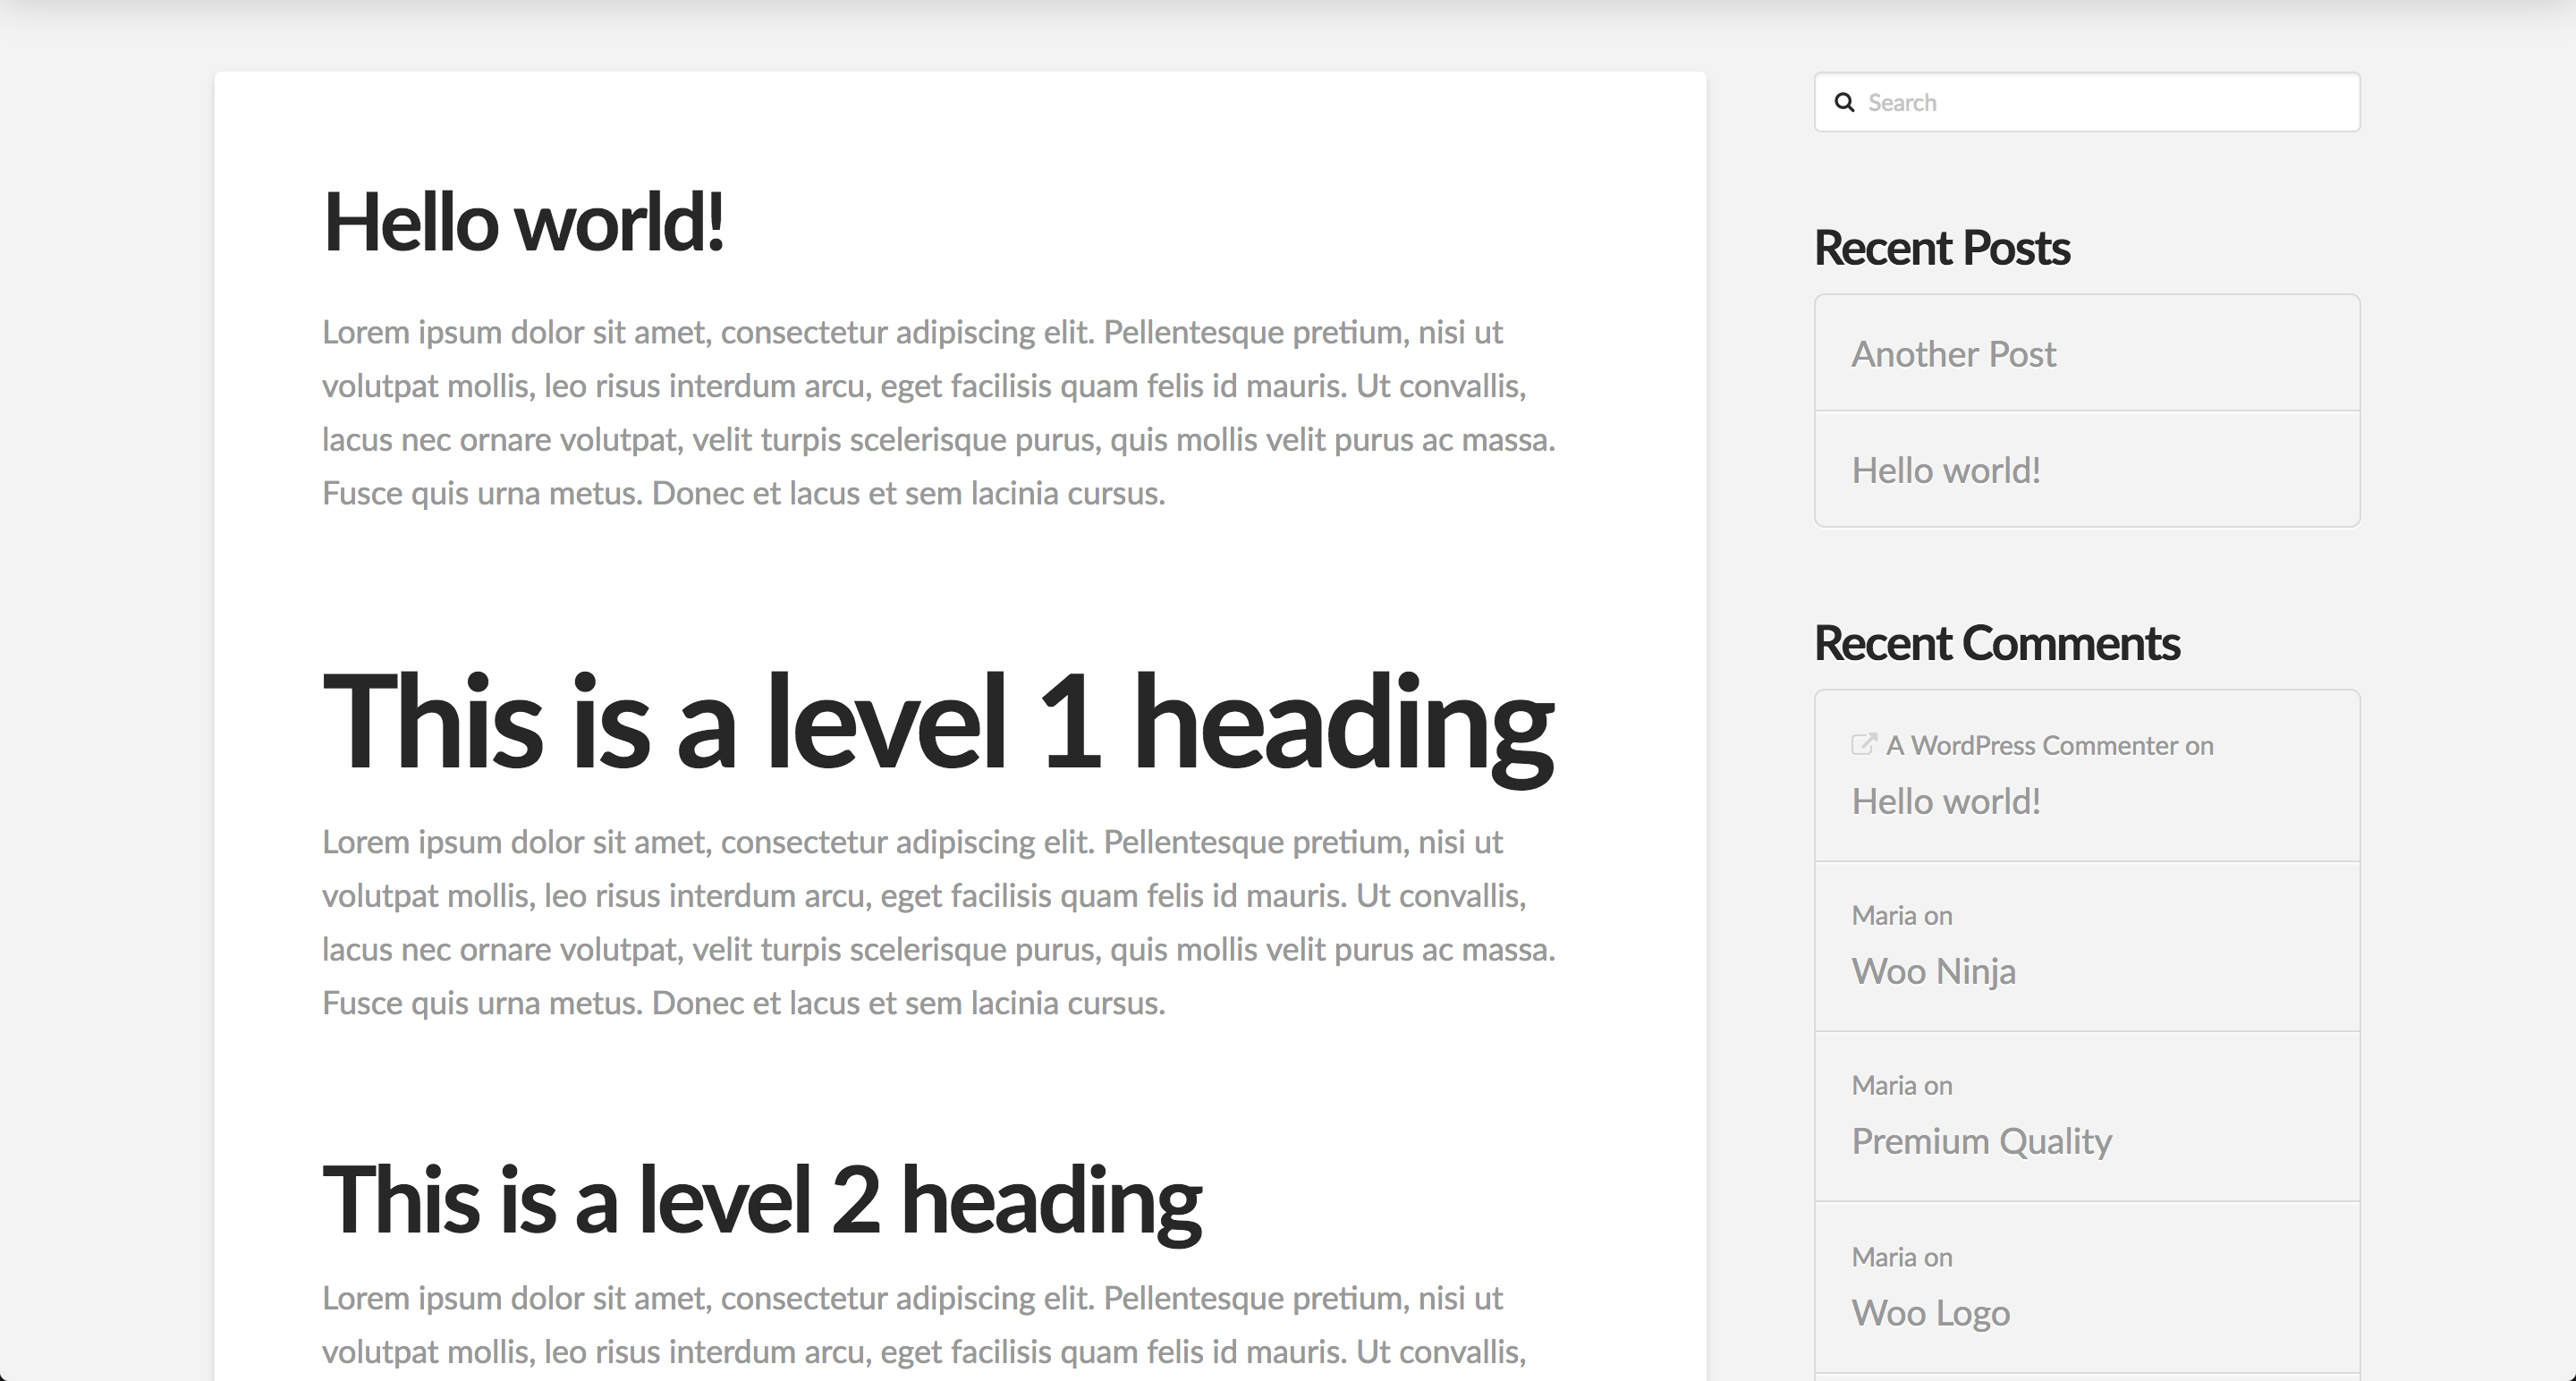
Note that all of my base level copy is using the 400 weight for Lato, and all headings are using the 700 weight for Lato. This you can see takes place inside my main content, as well as my sidebar area with the widgets, and also throughout all other areas of the theme. This is my site’s base typographic foundation for working with fonts.
Using Fonts in the Builders
Now, if I switch over to utilizing a builder, we have a couple options for how we can either use these base fonts, or alter them as needed on a case by case basis. Going back to my initial example where we were using Georgia as our “Body Copy” font and Helvetica as our “Headings” font, let’s pretend that I have assigned those values in the Theme Options as well to their respective places. If I go into a page in the Content Builder and add a Text Element, you would see something like the following:
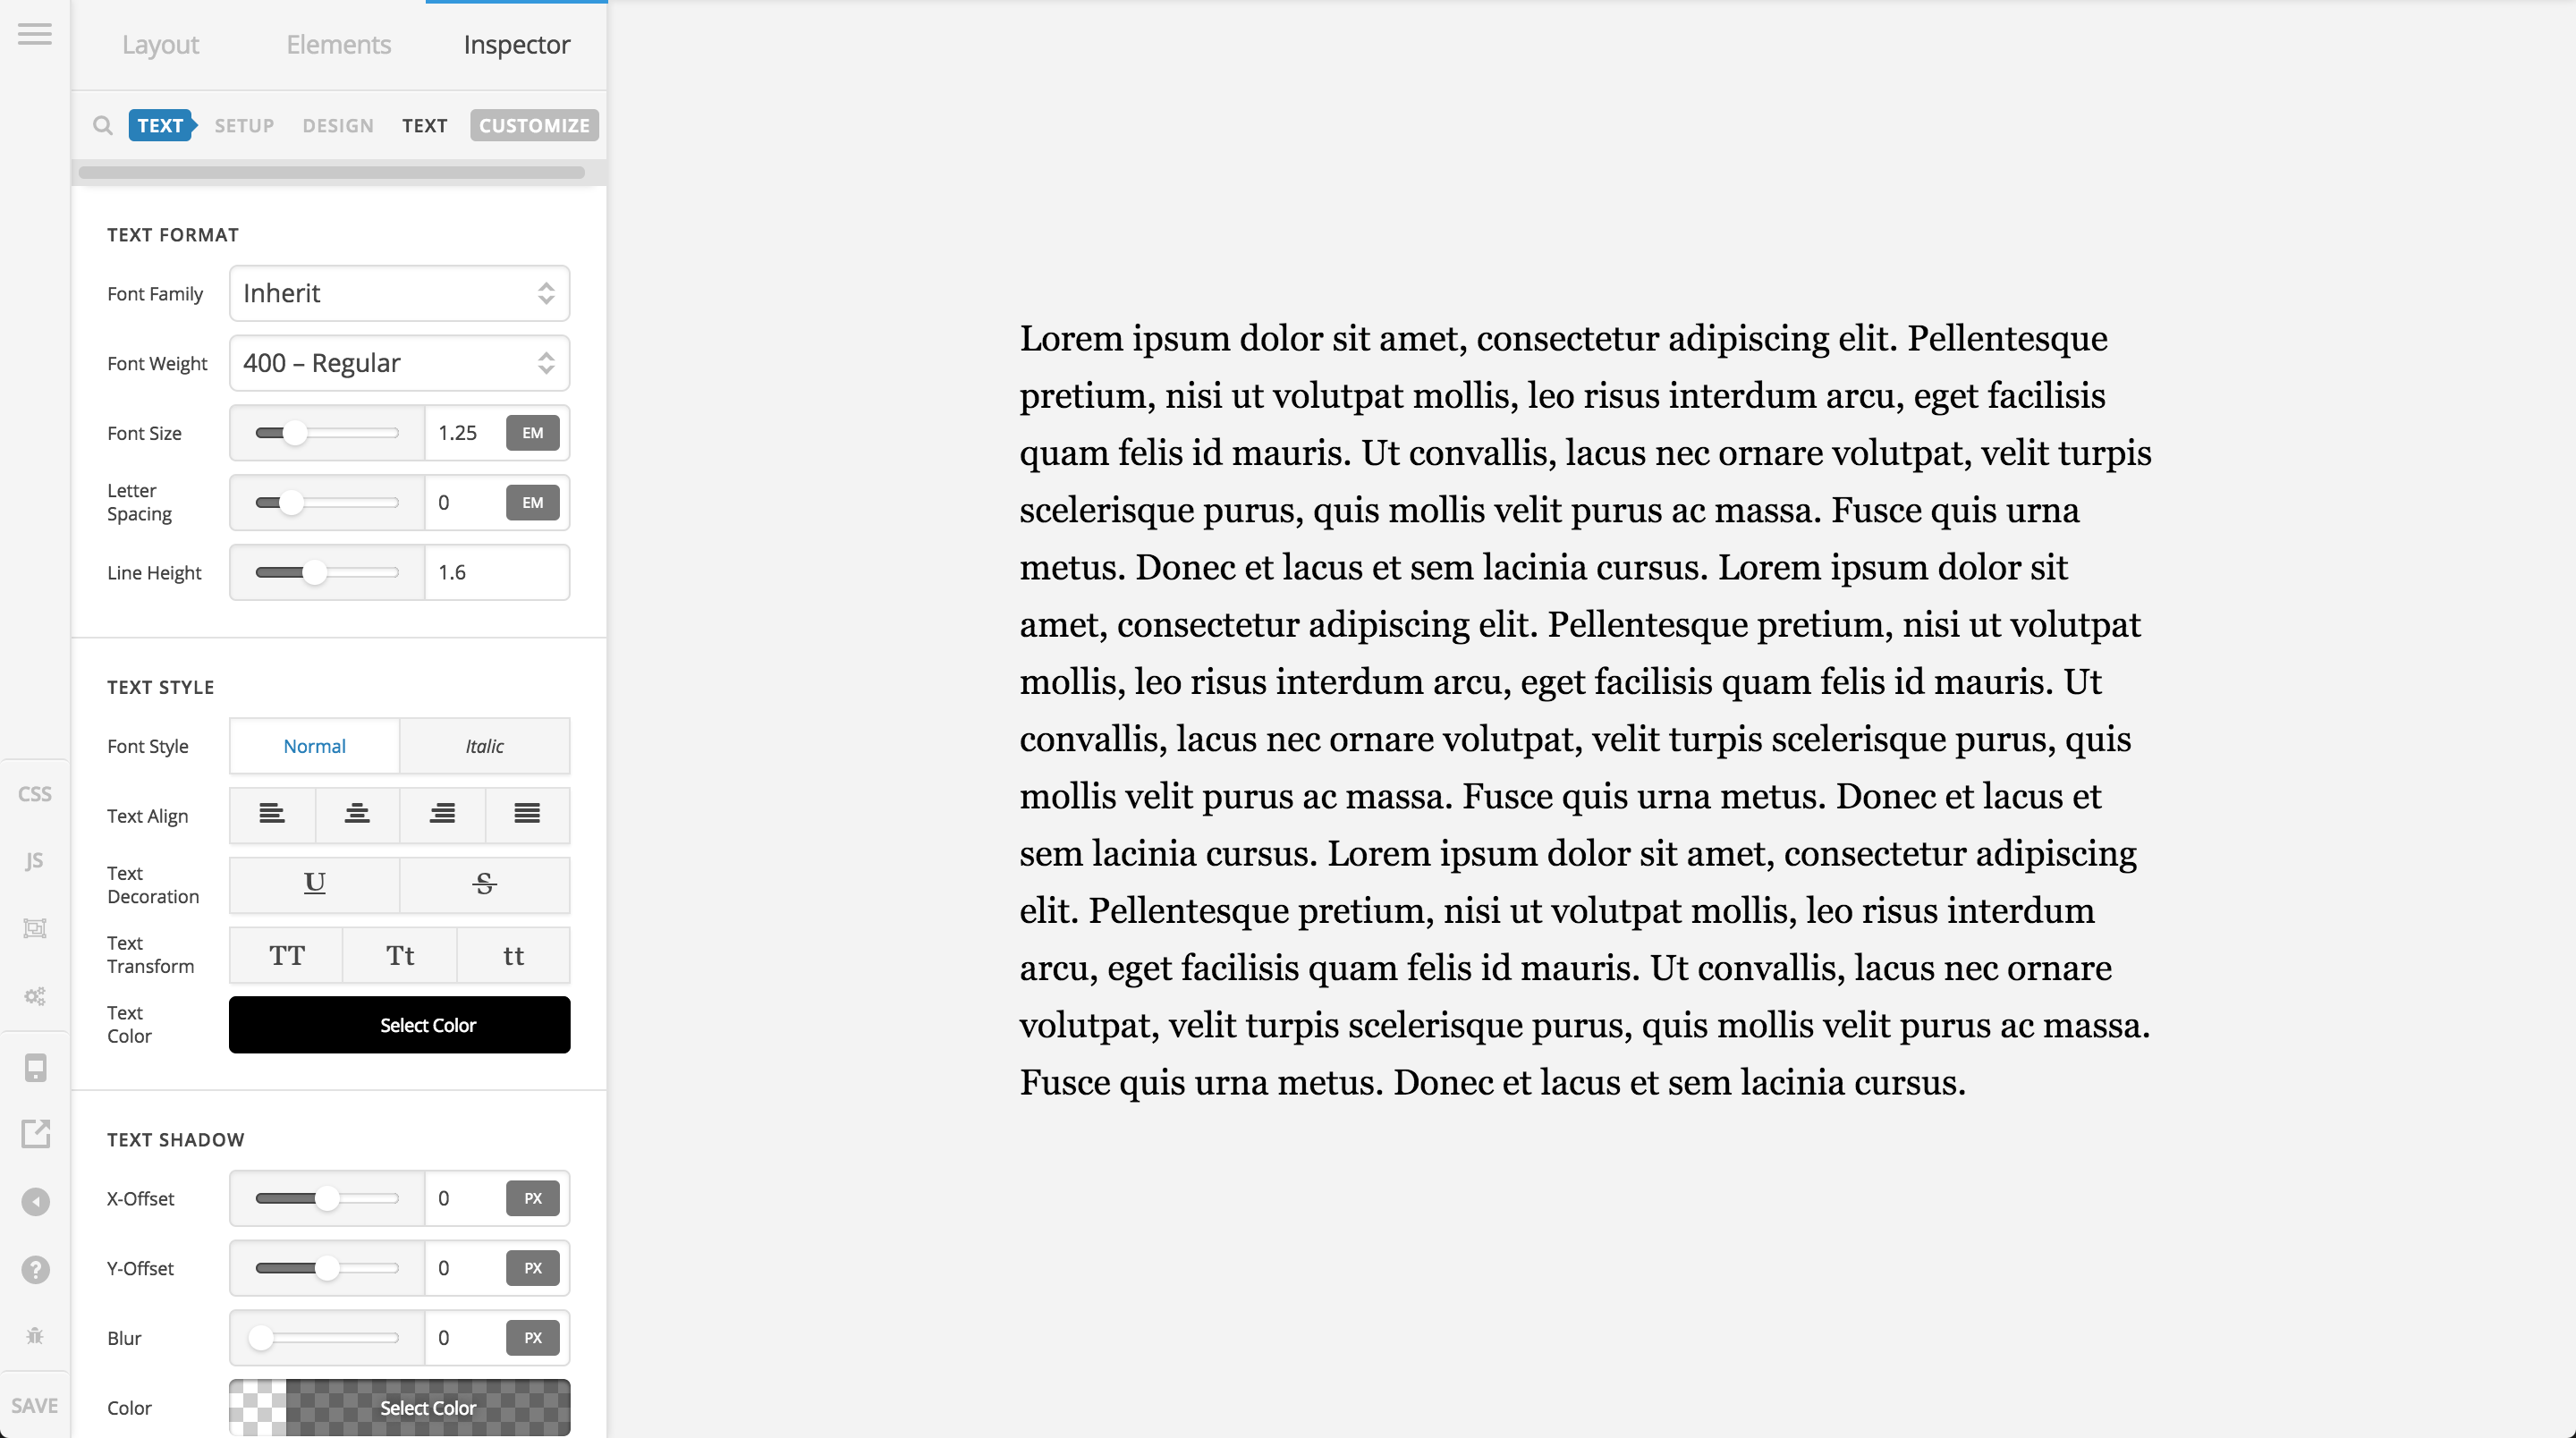
You will notice how the text of the Text Element has taken on the base font setup from the Body and Content options set in Theme Options. This is because by default, the setting for the Font Family option in these elements is inherit, which means it will take on the font-family of its parent. Since all the way up the chain, that font-family in this case is Georgia (unless otherwise customized by yourself), Georgia is the font you should see (as we do here).
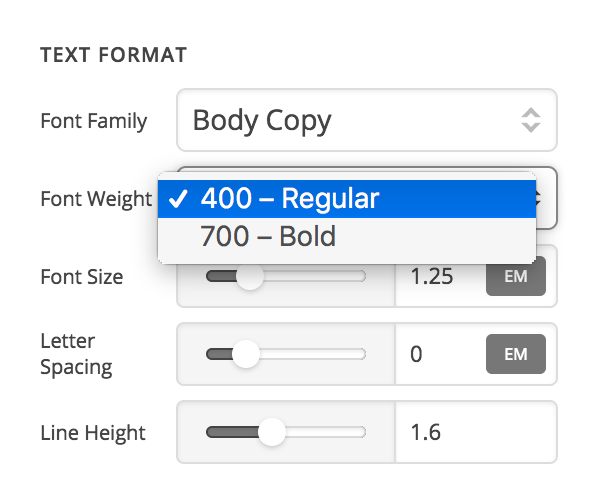
Also, take note that when inherit is selected as the Font Family setting, all font weights are available to you in the Font Weight dropdown. This is out of necessity as we can’t determine what font’s you’re inheriting, and you might have multiple weights associated with a particular font, so you can set them as you please using this setting.
Next, if we happened to assign the Body Copy option from the Font Family dropdown, we would notice that nothing changes. This is because we had matching settings of Georgia for our site’s base body styles, and for this Font Manager grouping. The only thing that changes when selecting this option is that only our font weights assigned in the manager would be available in the Font Weight dropdown now, as we’re not utilizing the Font Manager system in full.
Next, if we decided to apply the Headings option from the Font Family dropdown, you would see the following:
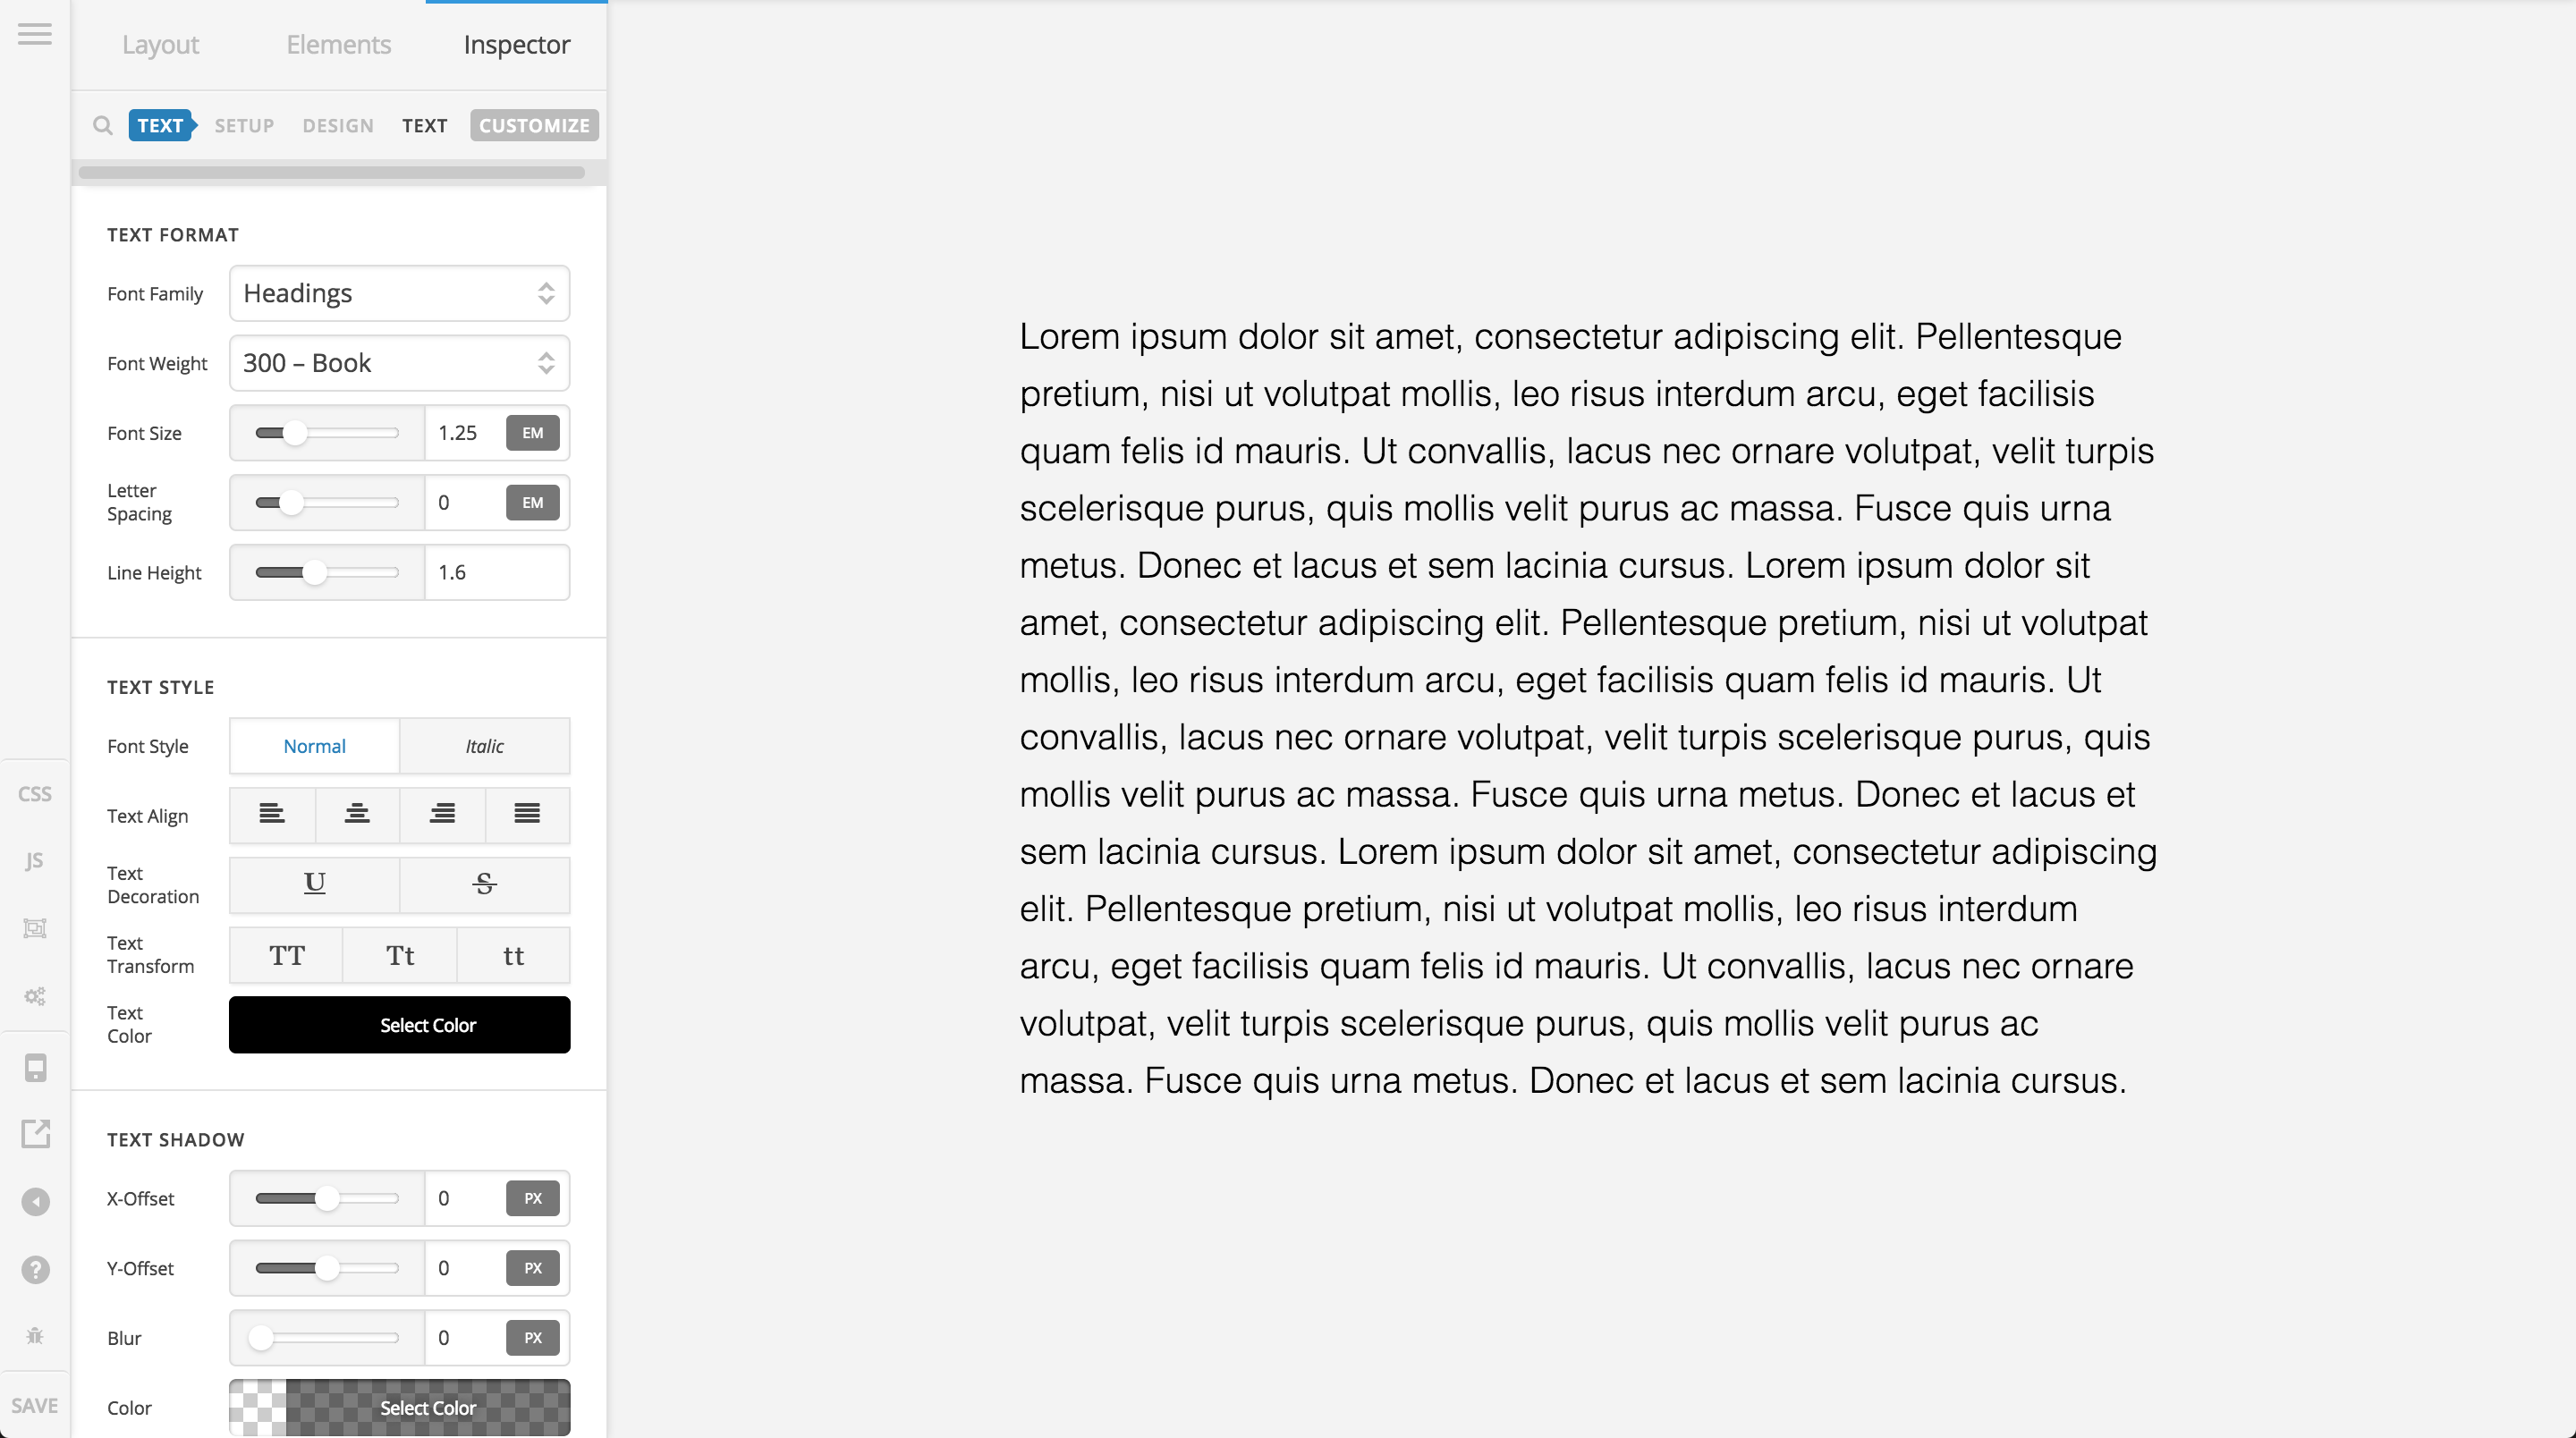
The font-family has changed to Helvetica as that is the assignment for my Headings group in the Font Manager. I’ve also changed the weight to 300, as that is one of the weights I assigned in the Font Manager for this grouping. So we can use the Font Manager to assign alternate values to different places when we want. This is helpful because there are certain situations where you may have a headline that you wish to visually appear like regular text, or perhaps you have a short run of text you wish to visually appear as headline text, but we want to keep their semantic meaning the same.
Conclusion
We’ve seen how all the levels of font management options build on one another to provide the necessary levels of customization from global, down to individual instances of elements. @iTurtle, referencing your statement of “I am interested in how to set up global font settings so that they will reflect in default text elements,” hopefully you can see that there are multiple ways to do this, and by default, this should be happening using the Inherit method for the Font Family dropdown with an element. However, keep in mind that even if you do decide to go the route of assigning a Font Manager group to each element, the whole point of this is so that if you decide to go back later and change fonts, you can easily do this from one place, and not have to go into all elements. If you find that you still have questions after going through this write-up, we will be happy to continue providing assistance in clarifying anything that might need it.
Cheers!


