Audio
The Audio Element has two types of setups, namely Embed and Player. In this article, we'll discuss both setups, and when each setup should be used over the other.
To add the Audio Element, simply search for "audio" on the Elements search and drag the Audio Element on the content pane.
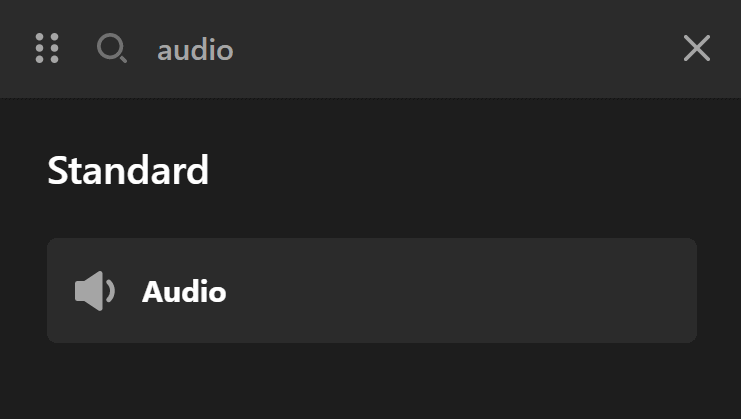
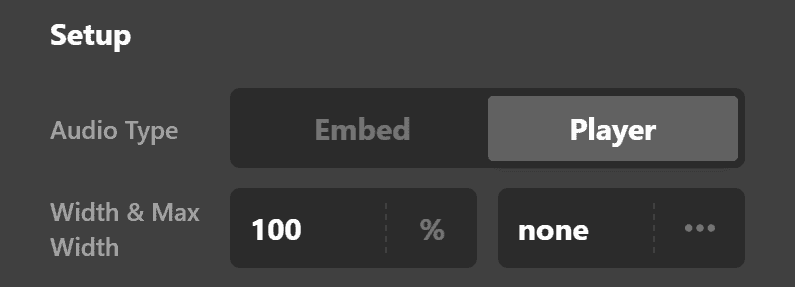
Once you've added the Element, you'll this on the settings pane:
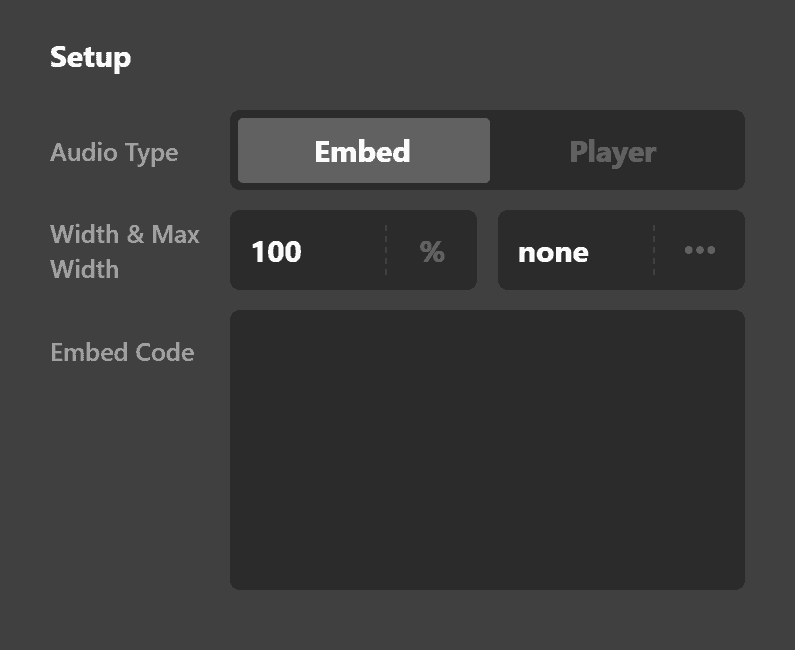
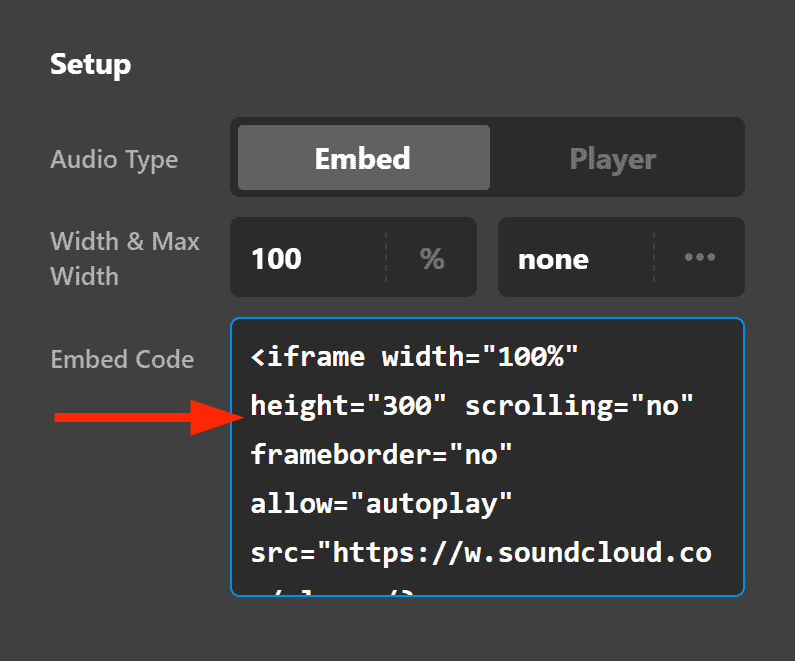
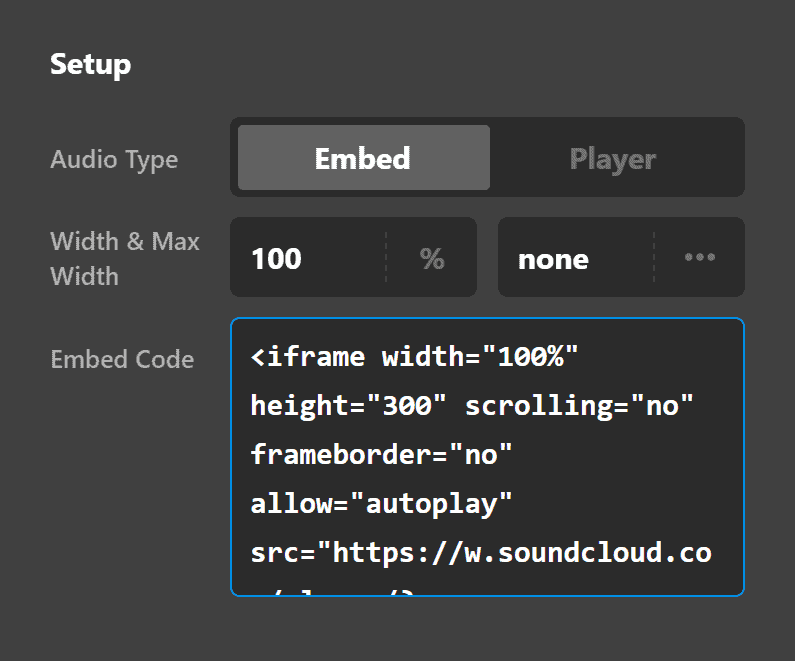
Under Setup, you'll see Embed and Player. Let's discuss Embed first.
Audio Embed Setup
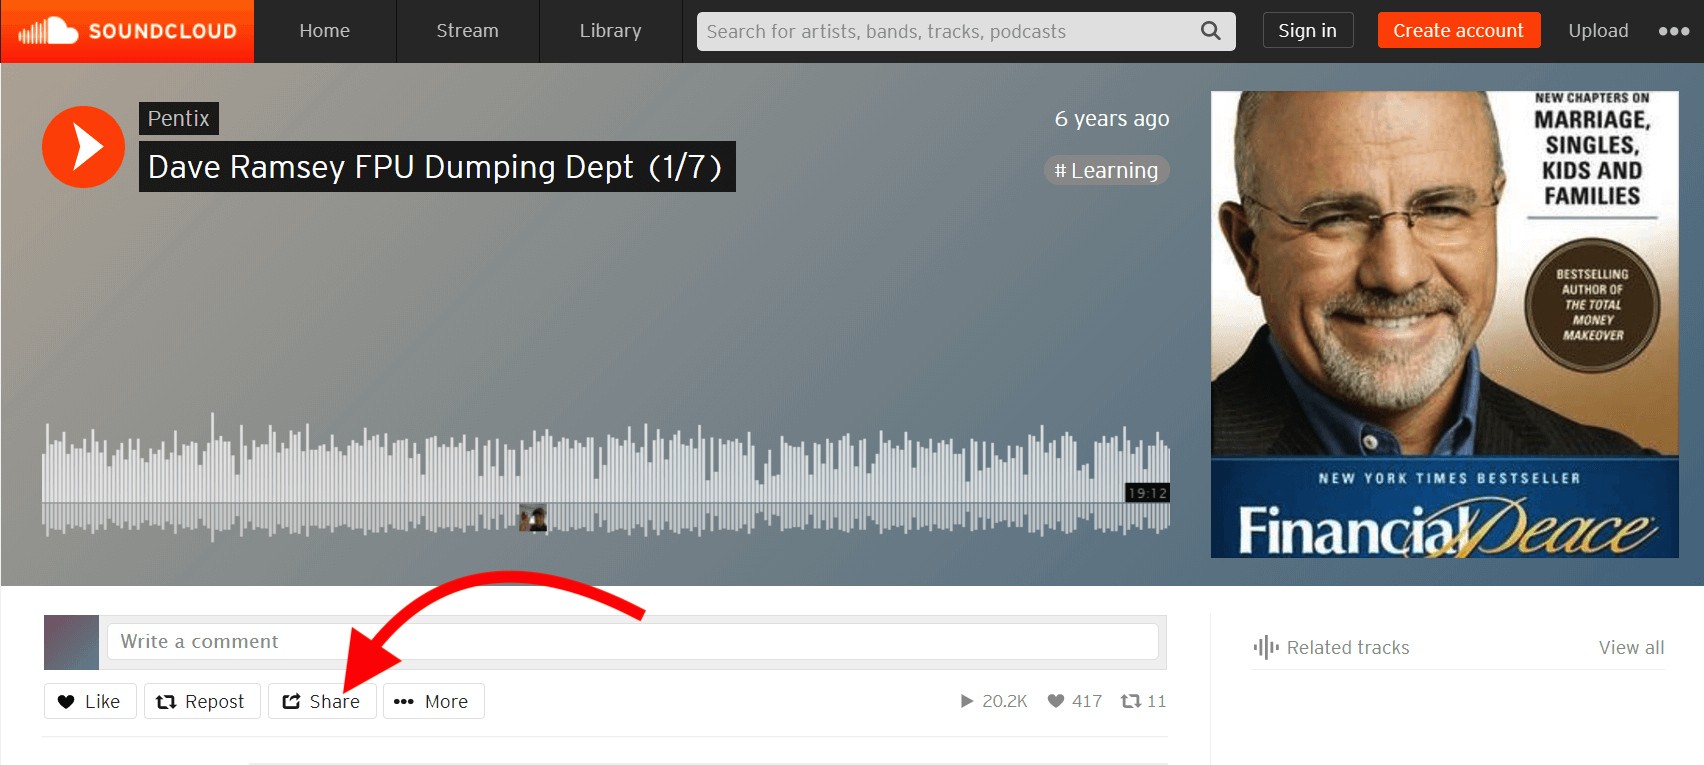
On the Embed setup, you'll see a field named Embed Code. Websites such as SoundCloud and TuneIn (just to name a few) allow you to display their audio entries to your website. So let's say you want to add this audio on SoundCloud on your website, just click the Share button:
Then click the Embed tab on the modal:
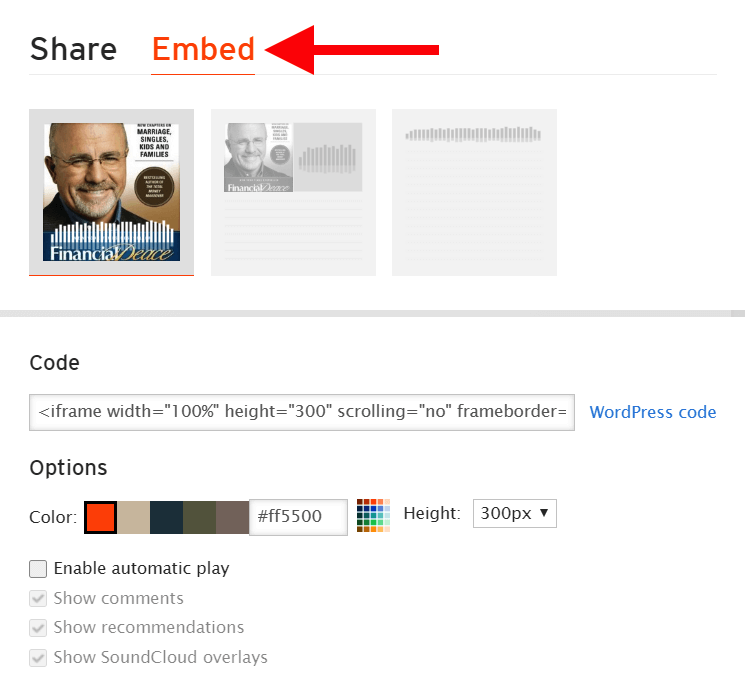
Copy the Embed code:
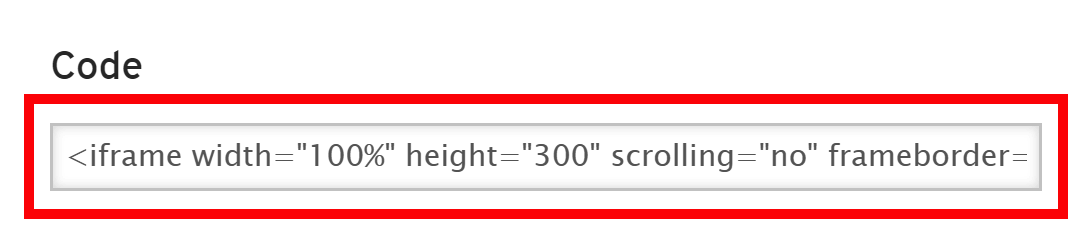
Then paste that code to the Audio Element's Embed Code field:
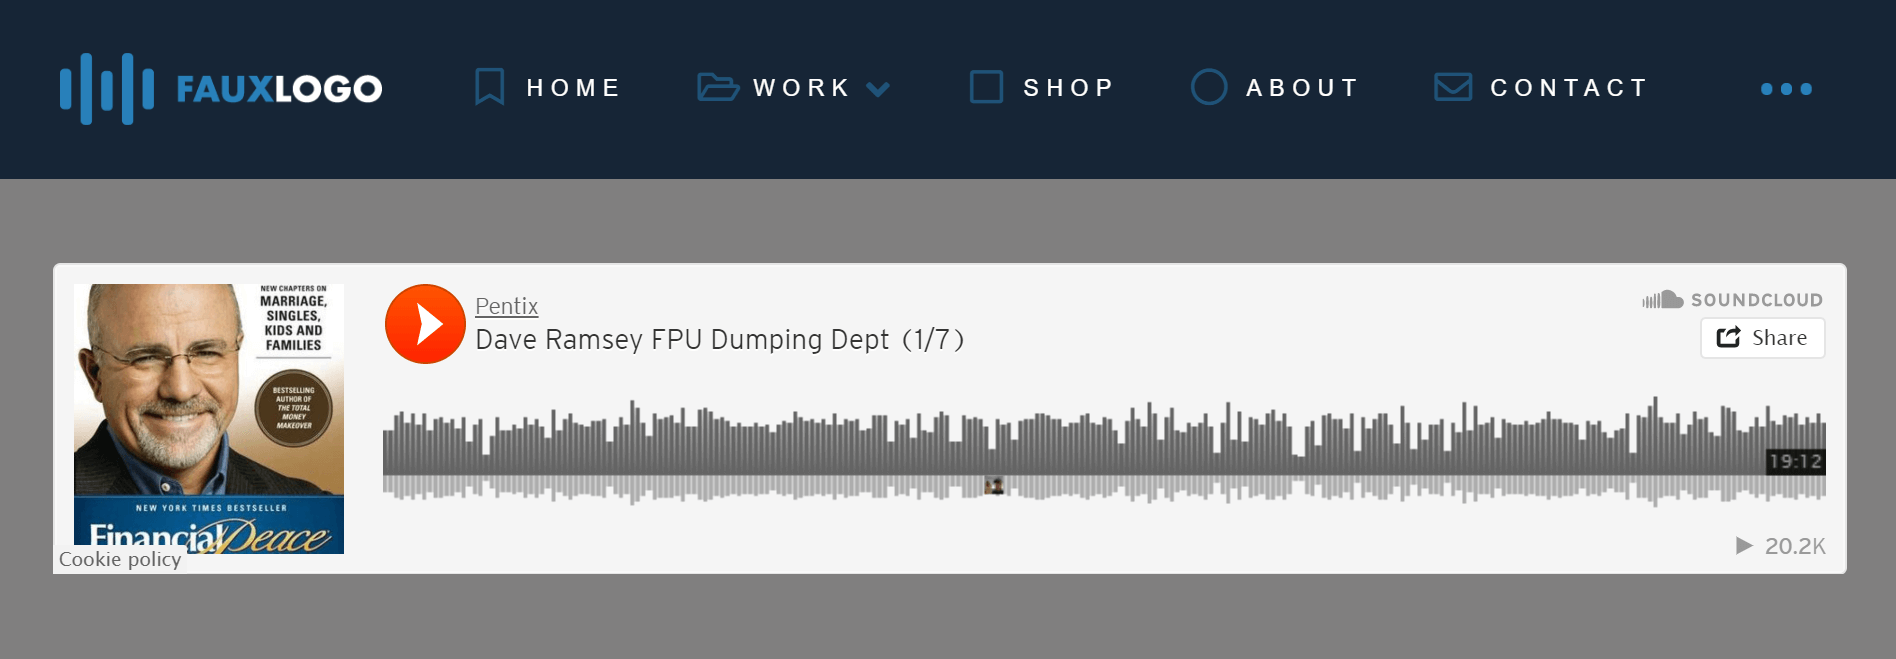
You'll then see that the audio has been added along with the designs and controls found on SoundCloud also. It's the same thing you do when embedding a Youtube video on your website, only that this one is for audio.
Note: Different websites have their own embed codes.
Lastly, you'll see the option to set the maximum width and the width of the player as well as set the margins.
Audio Player Setup
Now the second setup option is Player.
Basically, instead of using an embed code from an audio hosting website, you'll have to enter the URL of the actual audio file. If you host your audio files, whether it's in your website or on a CDN provider, this is the option you will choose.
You simply have to enter the URL of the file (e.g., example.com/audio/music.mp3) on the Sources field.

Now you'll notice that inside the parenthesis of the Sources field, there's a text that says "1 Per Line." Let me explain that.
Because there are so many devices and browsers that could be viewing your website and would want to listen to your audio file, it is recommended that you offer multiple file sources. Basically, a source is the same audio file offered in a different file format. So if you have an MP3 file format, it is recommended that you put an OGG version as well.
The purpose is that if a certain browser doesn't play one audio format (e.g., MP3), you'll have a backup format which the browser may support.
Here's how you will implement it:

Audio Controls Setup
If you select the Player setup, an additional set of options are added that allows you to customize the audio player controls. They are the following:
Controls Setup
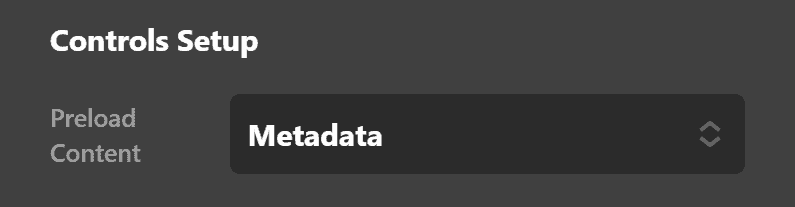
There's a dropdown labeled Preload Content with three options:
None - Requests the browser not preload the audio file.
Audio - Requests that the browser download the audio file's metadata immediately on page load.
Metadata - Requests the browser to download the entire audio file, regardless of whether the user is going to play it or not.
Note: There's no 100% guarantee that the browser will follow this. Some browsers ignore this option.
You'll also see the Display & Function option with three checkboxes:
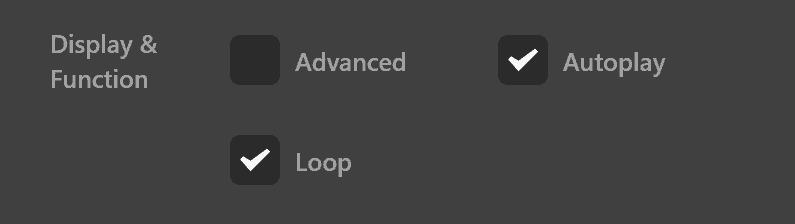
Advanced
Autoplay - When checked, the audio file will play automatically once the page is loaded.
Loop - If checked, the audio file will replay after it is finished.
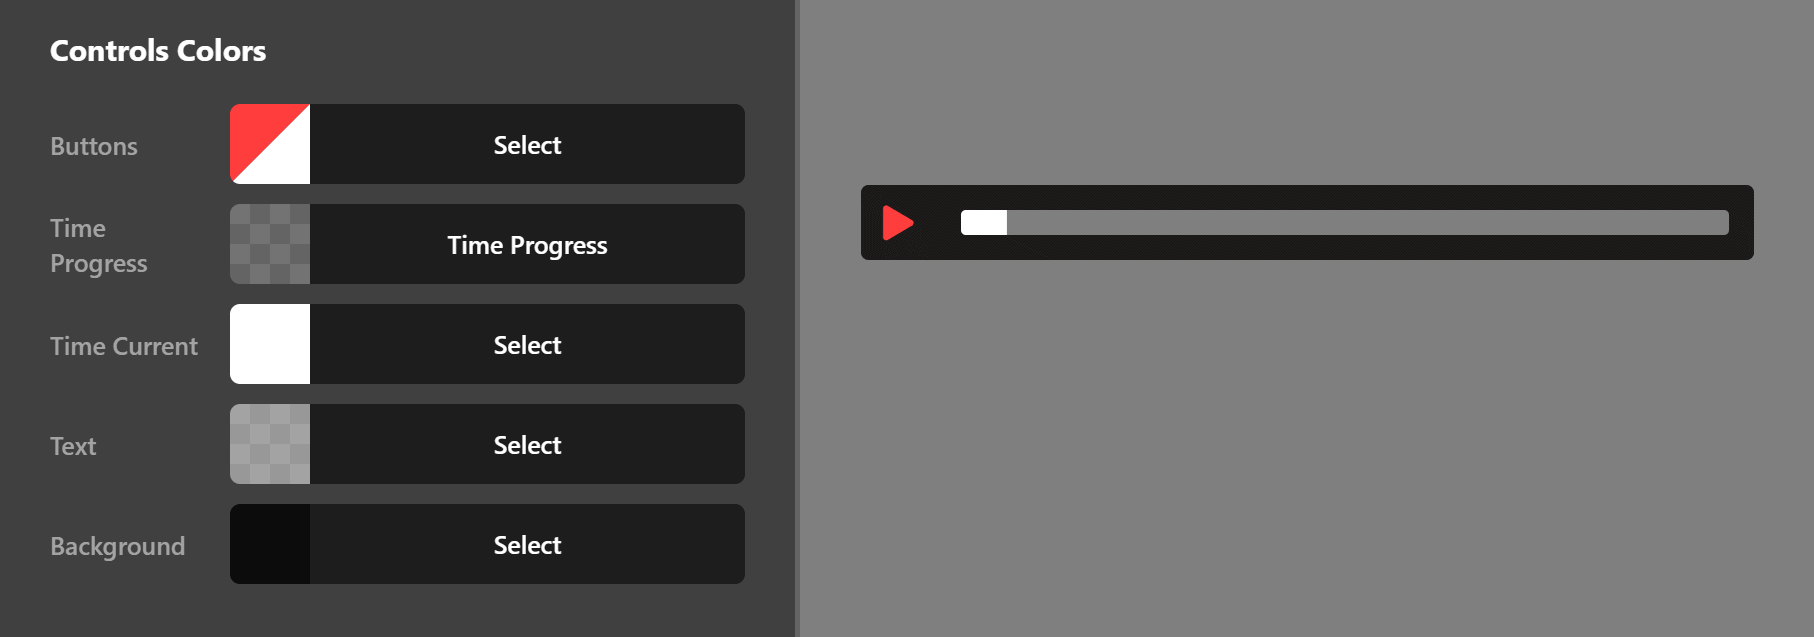
Controls Colors
Use this group of settings to set the colors of the audio controls.
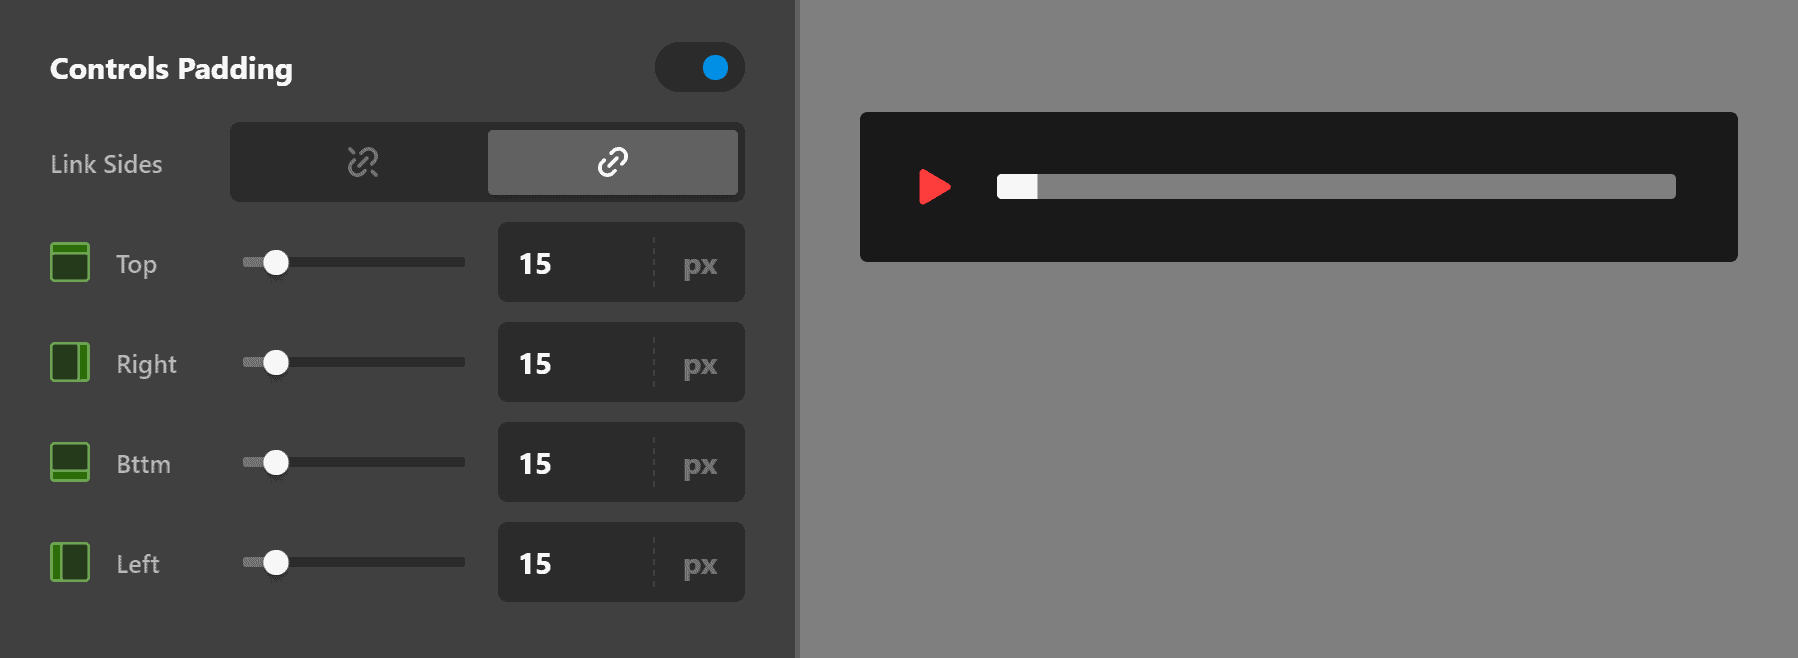
Controls Padding
Use this group of settings to set the padding of the audio controls.
Controls Border
Use this group of settings to set a border around the audio controls.

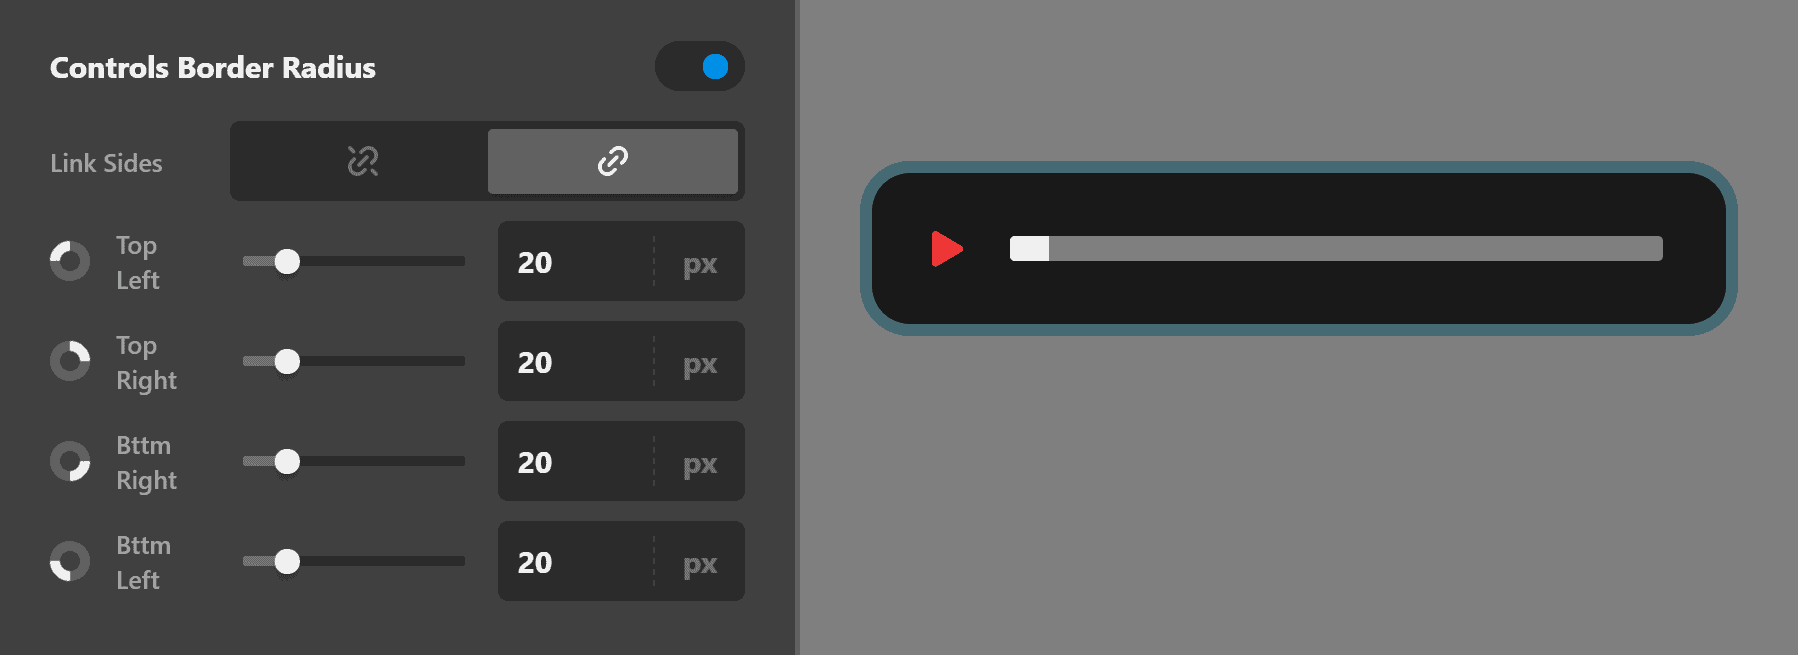
Controls Border Radius
Use this group of settings to set the curve of the audio controls border.
Controls Box Shadow
Use this group of settings to set a shadow around the audio controls box.

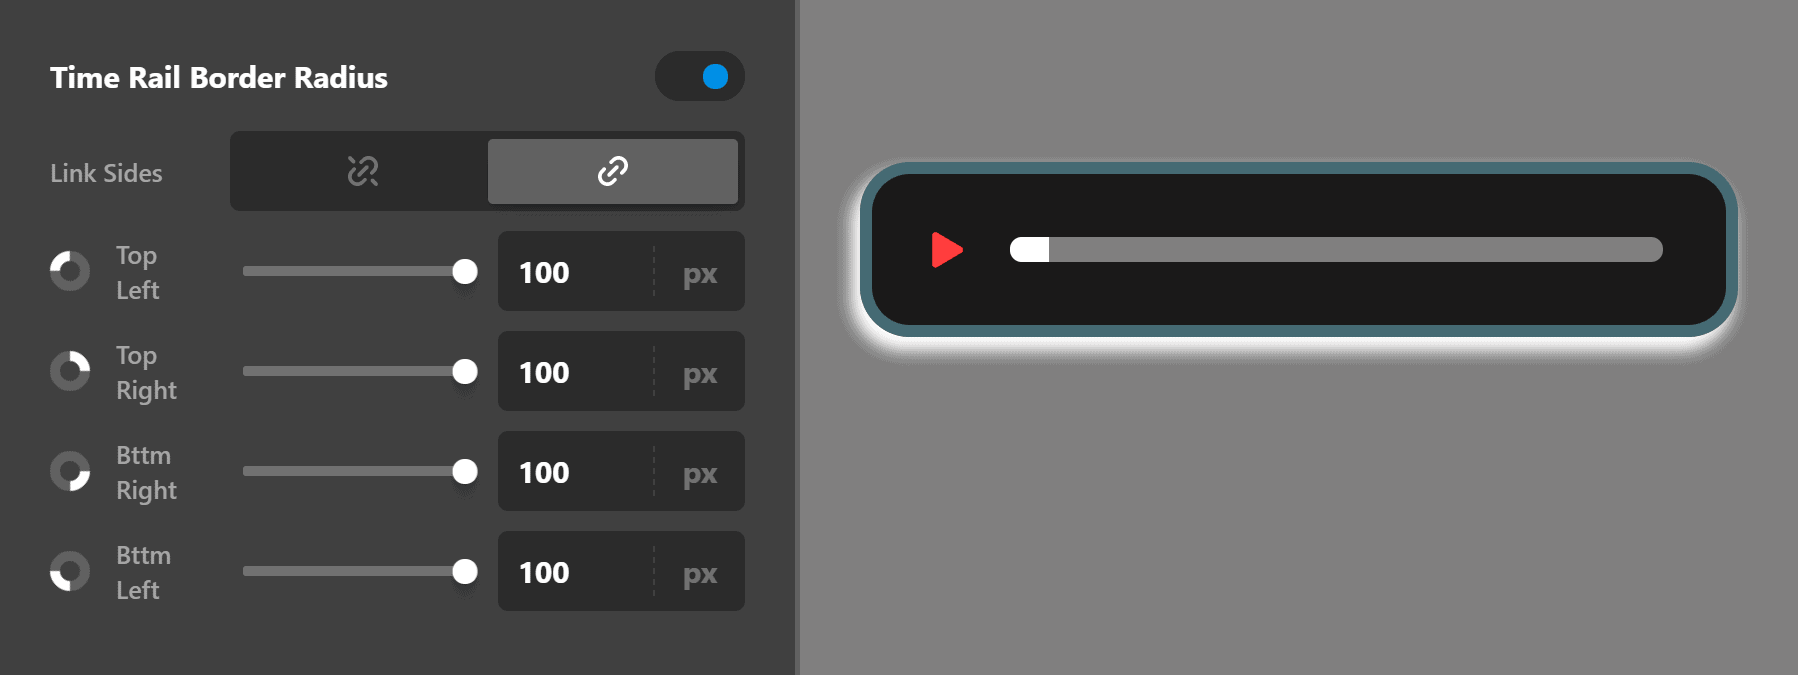
Time Rail Border Radius
Use this group of settings to set the curve of the time rail border. The time rail is the line which shows the time of the audio which is playing now.
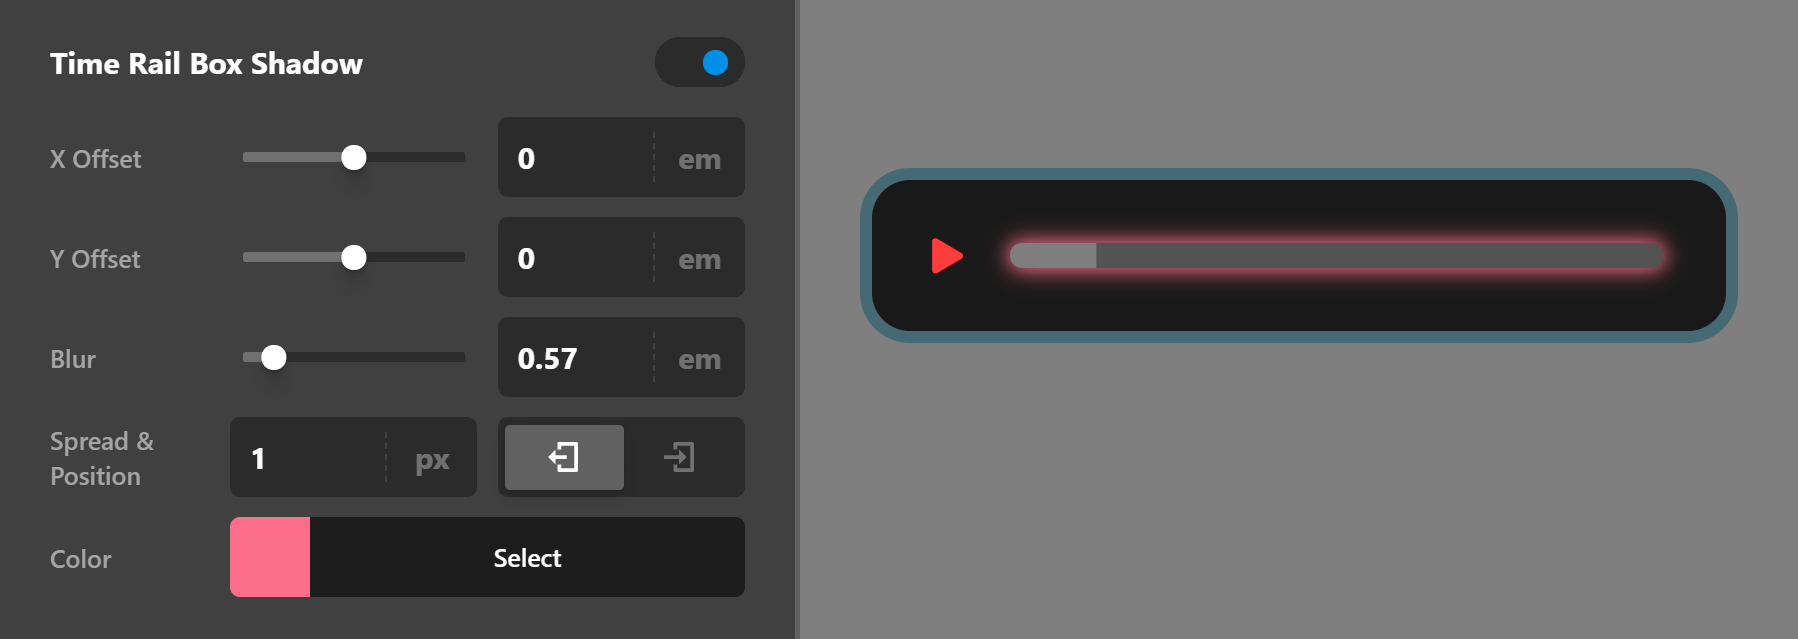
Time Rail Box Shadow
Use this group of settings to add a shadow over the time rail box.
Customize
The Customize pane consists of various features that allow you to take further control over your Element's styling and functionality:
- ID – Sets an HTML ID on the Element.
- Class – Sets an HTML Class on the Element.
- Element CSS – Use this feature for increased stylistic control of your Element, especially over nested markup. Click here for more detailed information on this feature, such as using
$elto dynamically target the base tag, et cetera. - Hide During Breakpoints – Hides the Element at different screen sizes when design alterations are needed. Click here for more information.
- Conditions – Adds / removes Elements from the page when certain criteria are met (e.g. “If a featured image is set...”). Click here for more information.
- Custom Attributes – Use this option to add custom HTML attributes to the root tag of the Element (e.g.
data-info="123"). This can be particularly helpful when integrating with various scripts and libraries.
Demo
To see a live demo of the Audio Element click here.
Summary
In this article, you've learned how to use the Audio Element. You've also learned the difference between the Embed and Player setup. Additionally, you've learned how to embed code from an audio-hosting website to your Themeco website using the Audio Element. Lastly, you learned how to add self-hosted audio files and how to customize the controls.
See something inaccurate? Let us know